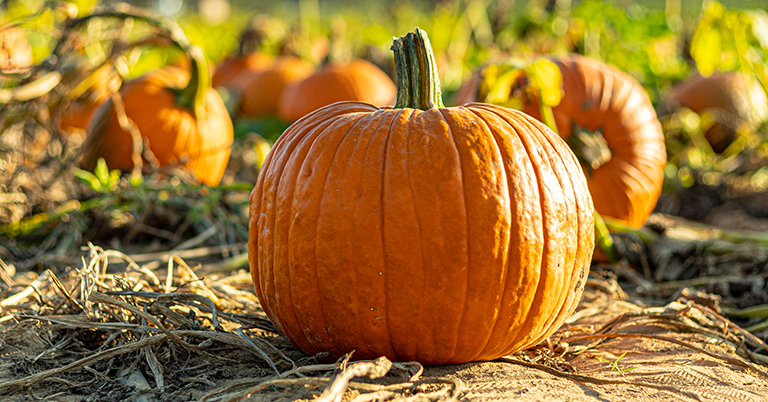

Growing pumpkins in hardiness zone 9 is a fun and rewarding experience for gardeners of all levels. With the right soil and adequate sunlight, pumpkins will thrive in this area and produce a bountiful crop of the seasonal favorite.
Not only are pumpkins an excellent source of nutrition, but they also provide a festive touch to Halloween decorations and can be used for a variety of recipes and creative projects. While growing pumpkins in hardiness zone 9 may require some extra effort, the end result is well worth it.
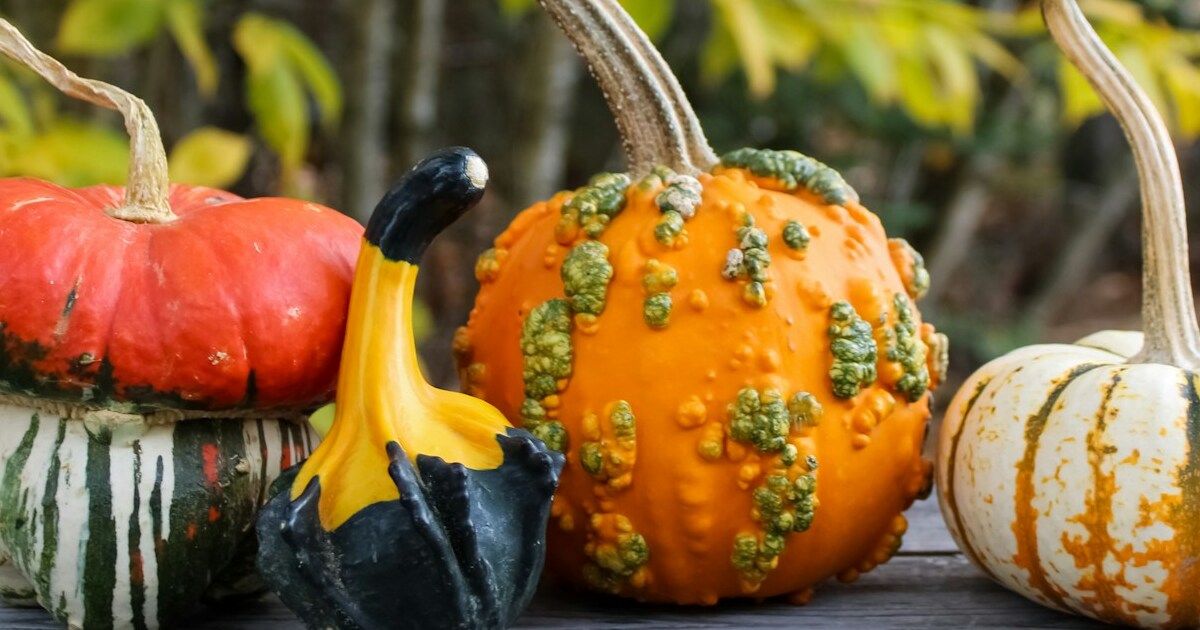
Popular pumpkin varieties
Selecting the right variety of pumpkins for your purposes and climate is an important step in growing pumpkins. If you live in a climate with a shorter growing season, you’ll want to pick a variety that matures in under 100 days. These are some popular pumpkin varieties and their approximate days to harvest:
- Jack-O-Lantern – 90 to 100 days
- Sugar Pie – 90 to 100 days
- Atlantic Giant – 120 to 150 days
- Connecticut Field – 100 days
- Howden – 110 days
- Cinderella – 100 to 120 days
- Lumina – 100 days
- Baby Boo – 90 to 100 days
- Jarrahdale – 90 to 100 days
- Rouge Vif d’Etampes – 100 to 110 days
Please note that the days to harvest may vary depending on growing conditions, so it’s best to refer to the seed packet or consult with a local gardening expert for more specific information.
When to plant pumpkins indoors in zone 9
If you want to get a head start on your pumpkin crop or live in a region with a shorter growing season, starting your pumpkin seeds indoors can be a great option. Generally speaking, you should aim to start your pumpkin seeds indoors about 4-6 weeks before you plan to transplant them outdoors. This timing will give the seedlings time to mature and develop strong root systems, without becoming too large or root-bound. In zone 9, you should plant your pumpkin seeds indoors around January 17th.
To start your pumpkin seeds indoors, you’ll need to gather some supplies, including seed-starting trays, seed-starting mix, and a grow light or sunny windowsill. Fill the seed-starting trays with the seed-starting mix, and plant one or two pumpkin seeds per cell, planting the seeds about 1 inch deep.
Place the seed trays in a warm, bright location, and keep the soil consistently moist. Once the seeds have germinated and developed their first set of true leaves, you can begin to fertilize them with a balanced fertilizer.
As the seedlings continue to grow, you may need to thin them out to one plant per cell to prevent overcrowding. It’s also important to harden off your seedlings before transplanting them outdoors, gradually exposing them to outdoor conditions over the course of several days to avoid shock. With proper care and attention, your indoor-grown pumpkin seedlings will be ready to transplant outdoors and continue their growth into mature, beautiful pumpkins.
When to transplant pumpkins outdoors
Once your pumpkin seedlings have grown into sturdy plants and the weather has warmed up, it’s time to transplant them outdoors. Before transplanting, it’s important to make sure that the soil temperature is at least 60°F (15°C) and that there is no longer a risk of frost. The final frost date in zone 9 is February 28th.
To prepare your garden bed for pumpkin starts, choose a sunny location with well-draining soil. Add plenty of compost or well-rotted manure to the soil, as pumpkins are heavy feeders and require lots of nutrients to thrive.
When planting your pumpkin starts, make sure to space them about 3-5 feet apart, depending on the variety. Dig a hole that is slightly larger than the root ball of the seedling, and place the seedling into the hole, making sure to bury it up to its first set of true leaves. This will encourage the plant to develop a strong root system and establish itself in the soil.
After planting, water your pumpkin starts thoroughly and regularly, making sure to keep the soil consistently moist but not waterlogged. Adding a layer of mulch around the plants can help retain moisture and prevent weeds.
As the pumpkin plants continue to grow, you may need to provide additional support in the form of trellises or cages to keep the vines from sprawling too far and taking up too much space. With proper care and attention, your pumpkin starts will grow into mature plants and produce beautiful, healthy pumpkins just in time for the harvest season.
Caring for pumpkin plants
Once you’ve planted your pumpkins outdoors, it’s important to provide them with proper care. Doing so will help you get the most out of your pumpkin plants and have an amazing harvest!
- Choose the right location: Pumpkin plants need full sun and well-draining soil. Choose a location that receives at least 6 hours of direct sunlight and has soil that is rich in organic matter.
- Plant at the right time: Pumpkin plants are warm-season crops that require warm soil and air temperatures to grow. Plant them after the last frost date in your area, when the soil temperature is at least 60°F (15.5°C).
- Water regularly: Pumpkin plants need regular watering, especially during hot and dry weather. Water deeply once a week, providing at least 1 inch (2.5 cm) of water per week. Avoid overhead watering, which can promote diseases.
- Fertilize appropriately: Pumpkin plants need plenty of nutrients to produce large fruits. Fertilize them with a balanced fertilizer once a month, or use compost or well-rotted manure as a natural fertilizer.
- Control pests and diseases: Common pumpkin pests include squash bugs, cucumber beetles, and vine borers. Monitor your plants regularly and use organic or chemical insecticides as needed. Common pumpkin diseases include powdery mildew and downy mildew. To prevent these diseases, avoid overhead watering and provide good air circulation.
- Harvest at the right time: Pumpkin fruits are ready to harvest when they have reached their full size and the vines have started to dry out. Cut the stem about 2 inches (5 cm) above the fruit and store the pumpkins in a cool, dry place.
When to harvest pumpkins in zone 9
Pumpkins are typically ready to harvest when they have reached their full size and the vines have started to dry out. Here are some signs that your pumpkins are ready to be picked:
- Check the skin: The skin of a ripe pumpkin will be hard and difficult to pierce with a fingernail. If the skin is soft or easily punctured, the pumpkin is not yet ripe.
- Look for a uniform color: Ripe pumpkins will have a uniform color all over the surface, with no green spots or patches. If the pumpkin has green areas, it is not yet fully mature.
- Check the stem: A ripe pumpkin will have a hard, woody stem. If the stem is green and flexible, the pumpkin is not yet ripe.
- Perform the “thumbnail test”: Gently press your thumbnail into the skin of the pumpkin. If the skin is hard and resists the pressure, the pumpkin is ripe. If the skin is soft and gives way, the pumpkin is not yet ripe.
- Check the date: Depending on the variety, pumpkins typically take between 80 to 120 days to mature from the time the seed is planted. You can check the seed packet or ask a local gardening expert to determine when your specific variety is ready for harvest.
When harvesting pumpkins, it’s important to use sharp, clean shears or a knife to cut the stem about 2 inches (5 cm) above the fruit. Avoid pulling or twisting the pumpkin, which can damage the stem and make it more susceptible to rot. After harvesting, store your pumpkins in a cool, dry place with good air circulation to help them last longer.