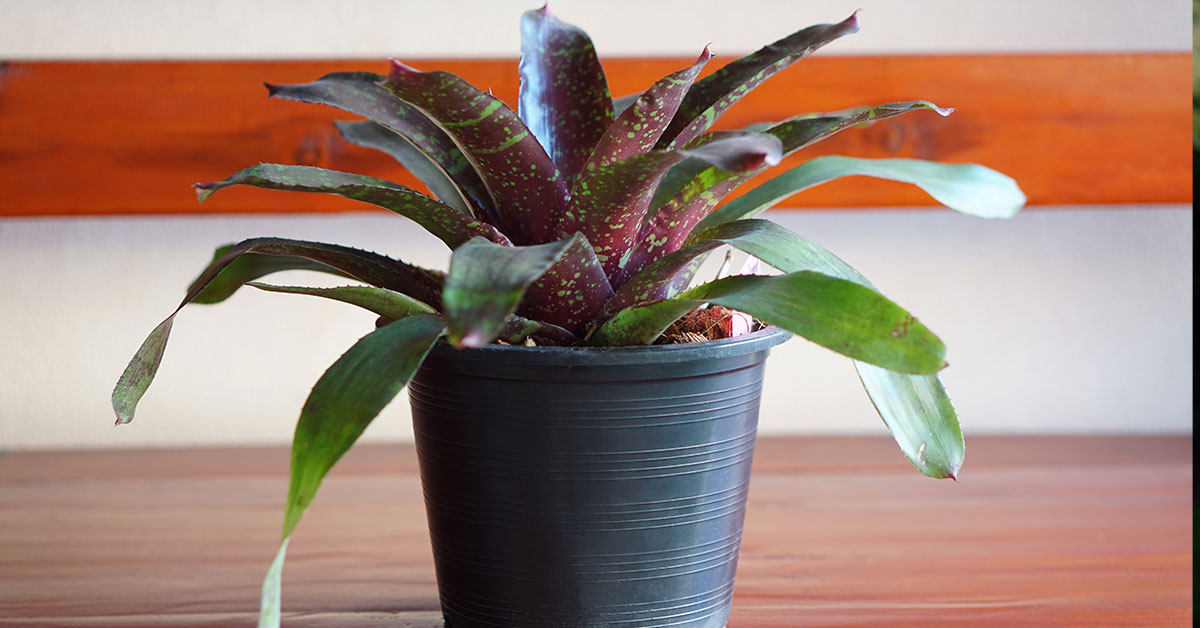

A bromeliad is a flowering plant with bright and colorful leaves. Its thick leaves are vibrant and come in a variety of shades. The most common bromeliads have green leaves that form a rosette shape and can feature bands or spots of color. They are native to tropical climates but can also be found in temperate regions worldwide. When grown as houseplants, you do sometimes have to repot a bromeliad.
Bromeliad roots are typically shallow and small, but they can grow to be quite large in some species. The majority of bromeliads have a fibrous root system that grows from the base of the plant and is used for anchoring it in place rather than absorbing nutrients. Most bromeliad varieties do not require extensive soil or potting mix as their roots feed mainly off of atmospheric humidity through specialized structures known as trichomes located on their leaves.
Why repot a Bromeliad
Re-potting a bromeliad can be an important part of keeping your plant healthy and vibrant. Bromeliads are unique plants with specialized needs that require special care to thrive. Repotting should be done with care and research. In this article, we will discuss the basics of re-potting a bromeliad as well as tips on how best to do it for successful results.
Should I Repot my plant?
Sparingly, yes. Depending on the size of the pot your pup started in you may not have to repot your bromeliad. Their small root systems don’t take much space or require a nutrient-rich environment as they are more anchors than anything else. Many types of bromeliad can live their full and best lives in a 6-inch pot. Often pups (immature Bromeliads) will come in 4-inch pots, these will have to be transferred eventually. Using too large of a container will make the soil hold too much water causing root rot.
Luckily, there are easily recognizable signs that your plant wants a bigger home. An obvious sign is if your plant is yellowing or wilting leaves, poor blooming results, and overall stunted growth then it may be time to repot. You should double-check your watering schedule and lighting before repotting. If the plant seems healthy from the soil up, periodically look at the bottom of your pot to see if there are roots actively growing out of it. If there are, it’s 100% time to repot.
When to Repot a Bromeliad
For pups and mature bromeliads, the best time to repot them is in spring. This is after their growing season so they have lots of energy and momentum built up. Take care to repot them before they begin to bloom. This window is the time that bromeliads can most easily stand the stress of movement and recover in time to bloom regularly. You can still repot your plant after it starts to bloom. It may cause the plant to stop blooming or the flowers to be stunted.
Does My Bromeliad Have Root Rot?
Root rot is a serious problem with bromeliads. Root rot is caused by over-watering or poorly draining soil. It can be hard to diagnose before it is too but there are a few signs to look out for. Your soil should never be waterlogged, if your potting medium is retaining too much water consider if your plant is in an appropriately sized container.
If your plant leaves are turning brown and have a soft, soggy texture at their base, this is a clear sign of root rot. Another symptom is if the outer leaves of your bromeliad are falling off with light touches or tugs. There may also be a dank, moldy smell, if this is occurring then the situation is critical.
If you strongly believe that your plant is suffering from root rot then your only option is to repot and trim the affected roots as best you can.
How to Repot a Bromeliad
Repotting a Bromeliad isn’t difficult but do take it when transferring it. The root system is small so any damage affects a higher percentage of the overall system. You will most likely be switching to a 6-inch for most bromeliads, this can often be their forever home. Make sure you have an appropriate soil medium, one that is fast draining. A cactus mix will do.
Gently remove your bromeliad from its old pot. hold it from the base as close to the roots as you can. Gently remove as much debris as you can without damaging them. Take a clean pair of scissors and cut away any unwanted pups, and dead/damaged leaves. Cut the pups off at the base of the parent plant. These can be propagated into new plants. If you suspect root rot dip the bromeliad roots into a fungicide.
Fill the new pot with your potting medium just below the edge. place your bromeliad in the pot and cover it with the potting medium. Take your time with this step. you don’t want the roots too deep or shallow. Too deep and you invite root rot, too shallow the plant will tip over or have a hard time establishing itself. The ‘soil’ line should stop at the base of the leaves.
If the Bromeliad can’t stand up straight put a wooden stake in its pot to help straighten it out while it establishes. Water thoroughly and move to a bright area with lots of indirect light.