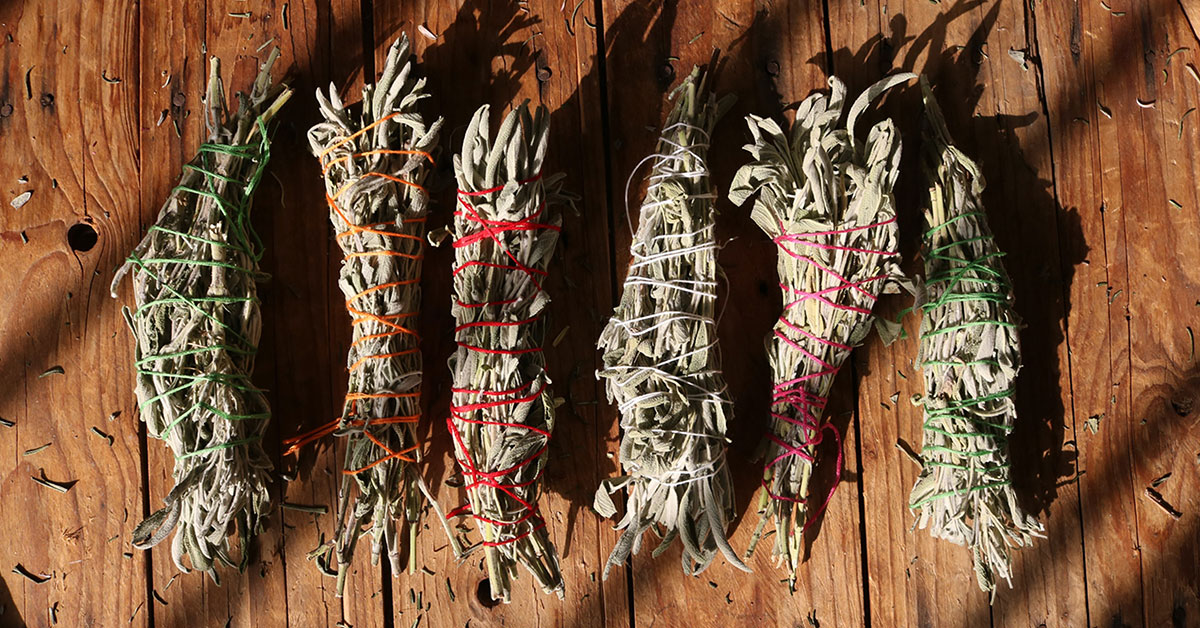

Growing sage is a great way to add a fresh, herbal flavor to many dishes. Pineapple sage is probably my favorite! It is easy to grow, and can be harvested quickly and easily. Sage can be grown in a garden or in containers, making it perfect for small spaces. It needs full sun and well-drained soil, and can tolerate some drought conditions. When harvesting sage, you can simply snip off the leaves or cut the entire stem. Sage can be used fresh or dried, and it keeps well in the refrigerator or in a cool, dry place. Growing sage is an easy and enjoyable way to add some delicious flavor to your cooking! In this article, we’ll go over when and how to harvest sage.
When to harvest sage
Sage can be harvested as soon as the plant is established, usually when it is about 3 months old and has grown to at least 8-10 inches tall. This is typically when the plant has developed enough foliage to support a good harvest. To harvest, you should clip off the top 4-5 inches of the stems, leaving the bottom leaves intact so that the plant can continue to grow. Make sure to only take around one-third of the total foliage to avoid over-harvesting and damaging the plant. Be sure to wear gloves when harvesting sage since the leaves contain oils that may cause skin irritation.
How to harvest sage
Harvesting sage is a simple process that will allow you to enjoy the aromatic and flavorful herb for culinary, medicinal, and spiritual purposes. Remember, it’s best to only remove, at most, one-third of the sage plant when harvesting.
- Start by picking the leaves from the stems. Either use scissors or your fingers to snip or pinch the leaves off of the stems. You can harvest the leaves at any stage of growth, but the leaves will be most fragrant when harvested just before the plant flowers.
- Dry the sage leaves. Spread the leaves out on a screen or paper plate and place in a warm, dry area with good air circulation. Alternatively, you can use a food dehydrator at a low-temperature setting. The leaves should be dry and crisp when done, which usually takes a few days.
- Store the sage in an airtight container or jar. You can also freeze the leaves for up to a year.
- Enjoy the sage in your favorite dishes or for medicinal, spiritual, and other uses.
Caring for your sage after harvesting
After harvesting sage, it’s important to properly care for the plant to ensure it will continue to thrive. Here are some tips for how to care for a sage plant after harvesting: Prune off any dead or dying branches and leaves, and thin out the remaining foliage to allow more light to reach the plant. After pruning and harvesting, fertilize the sage plant with a high-quality organic fertilizer that is specifically formulated for herbs. Follow the directions on the package for how much to apply and when.
Water the sage deeply once a week. Sage prefers soil that is consistently moist, but not soggy. Allow the top inch or two of soil to dry out before watering again. Place the sage plant in an area that receives plenty of sunshine. Sage prefers full sun or partial shade, but too much direct sun can cause the leaves to burn.
Monitor the foliage for signs of disease or pests. If you notice any wilting, discolored, or damaged leaves, remove them immediately. Treat the plant with an appropriate pesticide or fungicide if needed. By taking these steps, you can ensure that your sage plant will remain healthy and productive for many years to come.