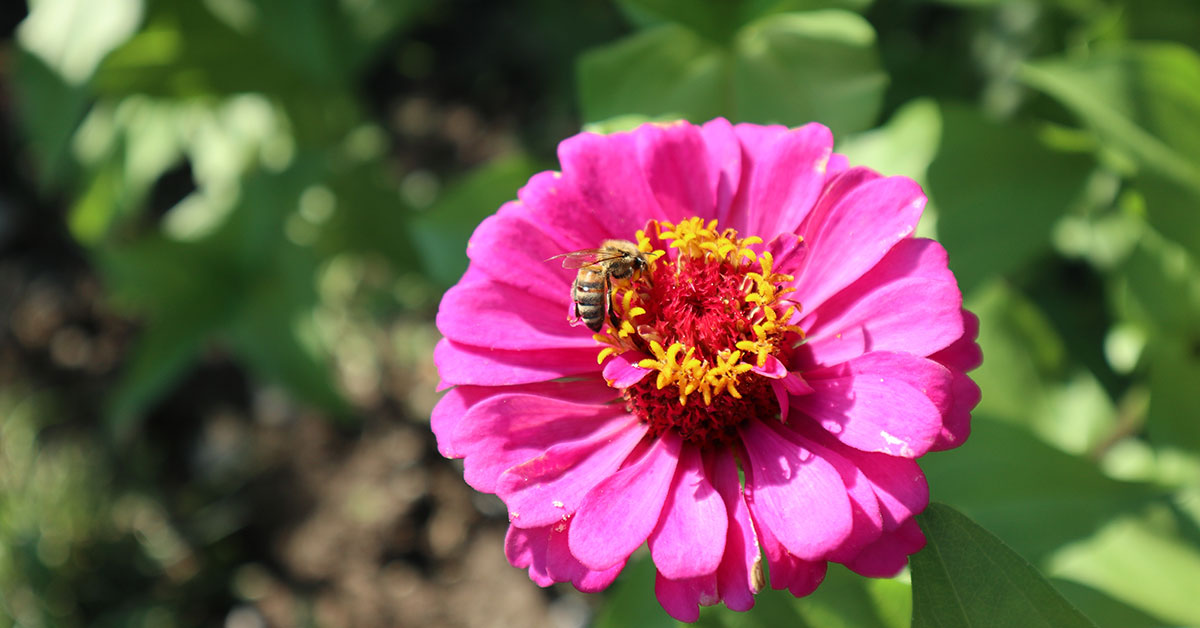

Welcome to the world of zinnias, where vibrant colors and beautiful blooms abound! Zinnias are a popular choice among gardeners for their ability to add a burst of color to any landscape or flower bed. To ensure that your zinnias continue to produce an abundance of blooms throughout the season, it is important to practice proper deadheading techniques. In this article, we will delve into the art of how to deadhead zinnias, exploring the benefits, techniques, and timing to help you achieve a stunning display of zinnia blooms all season long. So, grab your pruners and let’s get started on this journey to rejuvenating your zinnias!
Should you deadhead zinnias?
Deadheading zinnias is highly recommended for several reasons. Deadheading refers to the removal of spent flowers or flower heads from a plant. Here’s a detailed explanation of why deadheading zinnias is beneficial:
- Prolonged blooming: Zinnias are known for their vibrant and long-lasting blooms. Deadheading helps to extend the flowering period by preventing the plant from going to seed. When zinnias are allowed to produce seeds, they tend to slow down or stop blooming altogether. By removing spent flowers, you encourage the plant to redirect its energy towards producing new blooms, resulting in a more prolonged and abundant flowering season.
- Neater appearance: Zinnias are often grown for their ornamental value, and deadheading helps to maintain a tidy and attractive appearance. As the flowers fade and wither, they can become discolored, droopy, or develop a messy appearance. Removing these spent flowers not only improves the overall aesthetic appeal of the plant but also prevents the formation of seed heads, which can make the plant look untidy.
- Preventing self-seeding: Zinnias are prolific self-seeders, meaning they can easily scatter their seeds around the garden. While this can be desirable in some cases, it can also lead to overcrowding and competition among plants. Deadheading zinnias prevents the formation of seed heads, reducing the chances of self-seeding and allowing you to have more control over where the zinnias grow.
- Disease prevention: Leaving spent flowers on the plant can create a favorable environment for the development of fungal diseases. As the flowers decay, they can become a breeding ground for pathogens that can spread to other parts of the plant. By removing these spent flowers promptly, you minimize the risk of disease and promote overall plant health.
Now that we understand the benefits of deadheading zinnias, let’s discuss the proper technique:
- Deadhead zinnias by cutting the stem just above a set of healthy leaves or lateral bud. This encourages new growth and branching.
- Use clean and sharp pruners or scissors to make a clean cut. Avoid tearing or damaging the stem or surrounding foliage.
- Deadhead regularly throughout the blooming season, ideally every few days or as soon as the flowers start to fade.
- Dispose of the spent flowers properly, either by composting or discarding them in a green waste bin.
In conclusion, deadheading zinnias is highly recommended for prolonged blooming, a neater appearance, prevention of self-seeding, and disease prevention. By following the proper deadheading technique, you can enjoy a more vibrant and healthy zinnia plant in your garden.
When to deadhead zinnias?
The best timing to deadhead zinnias is when the flowers start to fade and wilt. Deadheading is the process of removing spent flowers to encourage the plant to produce more blooms. By removing the faded flowers, you prevent the plant from diverting energy into producing seeds and instead redirect that energy into producing new flowers.
To deadhead zinnias, follow these steps:
- Regularly inspect your zinnia plants for faded or wilted flowers. This is usually noticeable when the petals start to lose their vibrant color or become droopy.
- Locate the base of the faded flower where it meets the stem. You will notice a swollen area called the seed head just below the flower.
- Using a pair of clean and sharp pruning shears or scissors, make a clean cut just above the first set of healthy leaves or a new bud. This ensures that you remove the entire faded flower along with the seed head.
- If you notice any yellowing or diseased foliage, it is also a good idea to remove those leaves while deadheading to promote overall plant health.
- Continue deadheading regularly throughout the growing season, especially during peak blooming periods. This will encourage the zinnias to produce more flowers and extend the blooming period.
It’s important to note that zinnias are prolific bloomers, and deadheading is not always necessary. Some gardeners prefer to leave the faded flowers on the plant, as they can still add visual interest and provide food for pollinators. However, if you want to maintain a neat and tidy appearance and maximize flower production, deadheading is recommended.
How to deadhead zinnias
Deadheading zinnias is an essential task to promote continuous blooming and maintain the overall health and appearance of the plants. Here is a detailed, step-by-step guide on how to deadhead zinnias:
- Timing: Deadheading should be done regularly throughout the growing season, starting from when the first blooms begin to fade. Aim to deadhead zinnias every 1-2 weeks to encourage new growth and prolong the flowering period.
- Tools: Gather a pair of clean, sharp pruning shears or scissors. Make sure they are sanitized to prevent the spread of any diseases.
- Identify spent blooms: Look for zinnia flowers that have started to fade, wilt, or have lost their vibrant color. These are the blooms that need to be removed.
- Locate the stem: Follow the stem of the spent flower down to where it meets a set of leaves or a branching point. This is where you will make your cut.
- Cut above the node: Using your pruning shears or scissors, make a clean cut just above the node or leaf junction. The node is the point on the stem where new growth can emerge.
- Angle of cut: Make the cut at a 45-degree angle, sloping away from the node. This helps prevent water from pooling on the cut surface and reduces the risk of disease or rot.
- Remove the entire flower head: Ensure that you remove the entire flower head, including any developing seed pods or faded petals. Leaving behind any part of the spent flower can inhibit new growth.
- Dispose of the cuttings: Collect the removed flower heads and dispose of them in a compost bin or trash bag. Do not leave them on the ground near the zinnias, as this can attract pests or diseases.
- Repeat the process: Continue deadheading zinnias regularly, working your way around the plant, removing all spent blooms. This will encourage the plant to redirect its energy into producing new flowers.
- Water and fertilize: After deadheading, water the zinnias thoroughly to ensure they remain hydrated. Additionally, provide regular fertilization with a balanced, water-soluble fertilizer to support healthy growth and continuous blooming.
By following these steps, you can keep your zinnias looking vibrant and encourage a longer blooming period throughout the growing season.
Aftercare
After deadheading zinnias, it’s important to follow a few care guidelines to ensure the continued health and blooming of the plant. Here are the detailed steps:
- Deadheading: Deadheading is the process of removing spent flowers from the plant. Use sharp, clean pruning shears or scissors to cut the stem just above the first set of healthy leaves or above a leaf node. This will encourage new growth and more blooms.
- Watering: Zinnias prefer regular watering, especially during dry periods. Water deeply at the base of the plant, avoiding overhead watering that can lead to fungal diseases. Aim to keep the soil consistently moist but not waterlogged.
- Fertilizing: Zinnias are heavy feeders and benefit from regular fertilization. Apply a balanced, water-soluble fertilizer every two to three weeks during the growing season. Follow the package instructions for the correct dosage and application method.
- Mulching: Apply a layer of organic mulch around the base of the zinnias to help retain moisture, suppress weed growth, and regulate soil temperature. Use materials like straw, wood chips, or compost, and ensure the mulch is not touching the stems to prevent rot.
- Sunlight: Zinnias thrive in full sun, so ensure they receive at least 6-8 hours of direct sunlight each day. Insufficient sunlight can result in leggy growth and reduced flowering.
- Pruning: Besides deadheading, occasional pruning can help maintain the shape and vigor of zinnias. Pinch back the tips of the plant when it reaches about 6-8 inches in height to encourage branching and bushier growth.
- Pest and Disease Control: Keep an eye out for common pests like aphids, spider mites, and caterpillars. If detected, treat with organic insecticides or use natural pest control methods. Also, monitor for any signs of fungal diseases such as powdery mildew or leaf spot. If necessary, apply appropriate fungicides following the instructions.
- Support: Depending on the variety, some zinnias may require support to prevent them from flopping over. Install stakes or cages early in the growing season to provide support as the plants grow taller.
By following these care guidelines, your zinnias should continue to produce abundant blooms and remain healthy throughout the growing season.