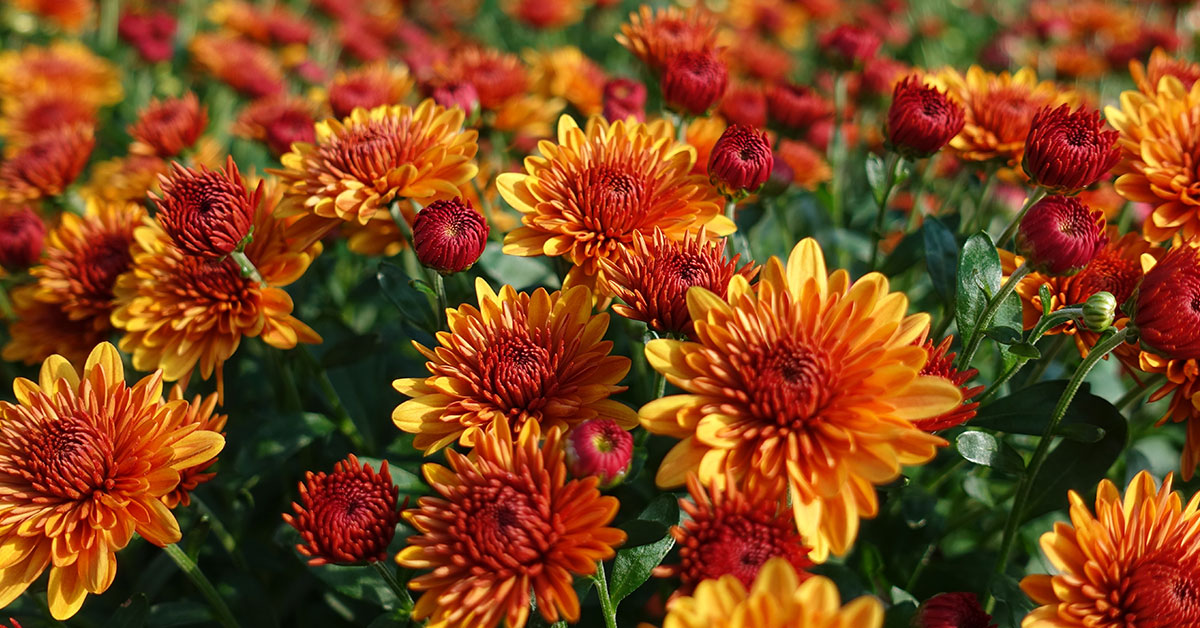
Welcome to our comprehensive guide on deadheading mums, a crucial technique for maintaining the health and beauty of these vibrant flowering plants. In this article, we will delve into the reasons why you might want to deadhead mums, the best time to do it, and provide step-by-step instructions to help you master this essential gardening practice. So, let’s dive in and discover the secrets to keeping your mums looking their best!
Should you deadhead mums?
Deadheading mums, also known as chrysanthemums, is a common practice in gardening. Deadheading refers to the removal of spent flowers from a plant. Whether or not one should deadhead mums depends on the desired outcome and the specific variety of mum being grown. Here are some factors to consider when deciding whether to deadhead mums:
- Prolonged Blooming: Deadheading mums can promote prolonged blooming. By removing spent flowers, you redirect the plant’s energy from seed production to new flower production. This encourages the mum to continue blooming and can extend the flowering period.
- Aesthetics: Deadheading mums can improve the overall appearance of the plant. Removing faded flowers keeps the plant looking tidy and prevents it from becoming unsightly. This is especially important if you are growing mums for ornamental purposes or in a prominent location in your garden.
- Seed Production: If you are interested in collecting seeds from your mums for propagation, it is best to avoid deadheading. Allowing the flowers to mature and produce seeds will ensure a supply for future planting. However, keep in mind that some mum varieties may not come true from seed, meaning the offspring may not resemble the parent plant.
- Self-Seeding: Some mum varieties are known to self-seed, meaning they drop their own seeds and produce new plants. If you want to encourage self-seeding, it is best to leave the spent flowers on the plant until they naturally disperse their seeds. This can lead to new plants popping up in your garden the following year.
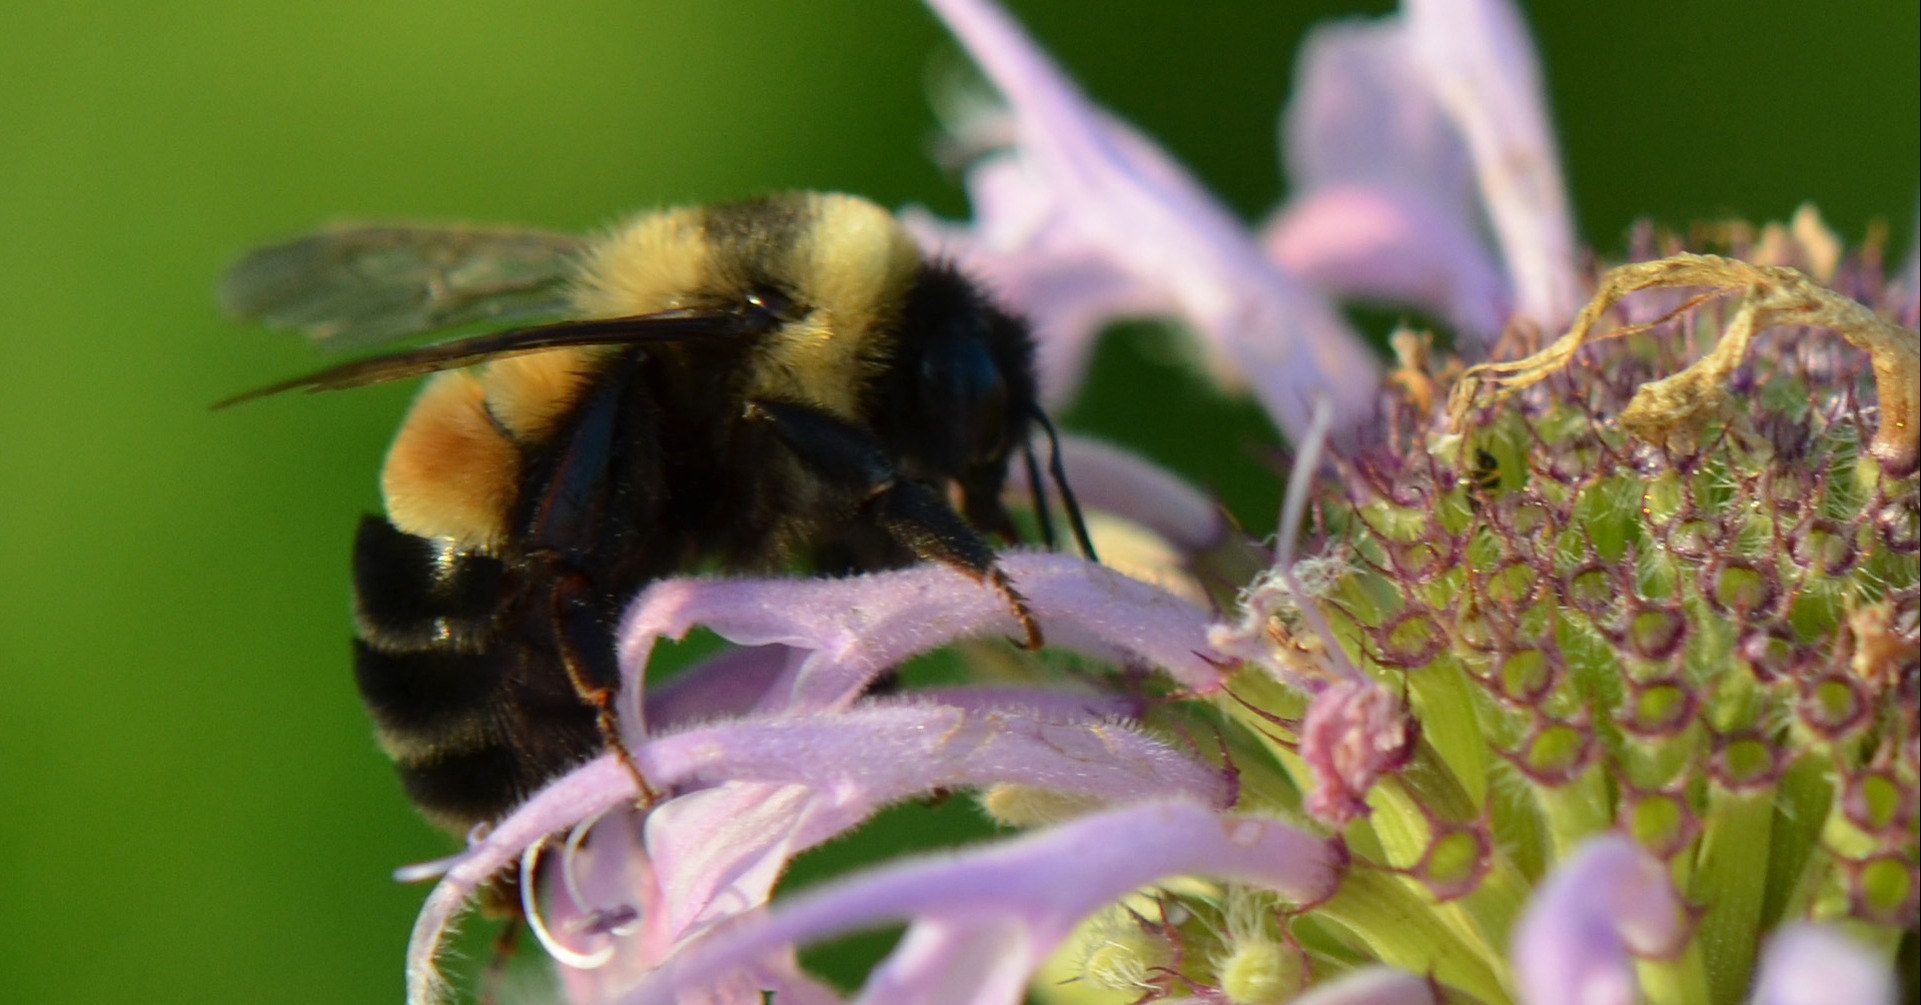
- Wildlife Attraction: Leaving spent flowers on mums can attract beneficial insects and pollinators to your garden. Many insects, such as bees and butterflies, are attracted to the nectar and pollen found in the flowers. If you want to support pollinators and wildlife, consider leaving some spent flowers on the plant.
In summary, deadheading mums can promote prolonged blooming, improve aesthetics, and prevent self-seeding. However, if you are interested in collecting seeds or attracting wildlife, it may be best to leave some spent flowers on the plant. Ultimately, the decision to deadhead mums depends on your specific goals and preferences as a gardener.
When to deadhead mums
Deadheading mums, or chrysanthemums, is an important practice to promote healthy growth and encourage continuous blooming. The best timing for deadheading mums depends on the specific variety and the desired outcome. Here are some general guidelines to follow:
- Regular Deadheading: For most mums, regular deadheading should be done throughout the growing season. As soon as the flowers start to fade and wither, it’s time to remove them. This can be done by pinching or cutting off the spent blooms just above a set of healthy leaves or buds.
- Pinching vs. Cutting: Pinching is the preferred method for deadheading mums because it encourages bushier growth. To pinch, simply use your fingers or pruning shears to remove the faded flowers along with a small portion of the stem. This technique helps stimulate lateral bud growth and results in more compact and fuller plants.
- Early Deadheading: If you want to encourage earlier blooming, you can start deadheading mums as soon as the first set of flowers begins to fade. By removing spent blooms early, you redirect the plant’s energy towards producing new buds, resulting in an earlier second flush of flowers.
- Late Deadheading: On the other hand, if you want to extend the blooming period into the fall, you can delay deadheading until late summer or early fall. This allows the plant to produce more flowers and prolongs the overall blooming season. However, keep in mind that delaying deadheading may result in taller plants that require staking to support their growth.
- Avoid Seed Production: Deadheading is essential to prevent mums from producing seeds. When a mum plant puts energy into seed production, it diverts resources away from flower production. By removing spent blooms, you encourage the plant to focus on producing more flowers instead.
Remember to regularly monitor your mums and deadhead as needed. By following these guidelines, you can help your mums stay healthy, promote continuous blooming, and maintain an attractive appearance throughout the growing season.
How to deadhead mums
Deadheading mums is an important task to keep your plants looking healthy and encourage more blooms. Here’s a detailed, step-by-step guide on how to deadhead mums:
- Timing: Deadheading should be done throughout the growing season, starting in early summer when the first blooms begin to fade. Continue deadheading until late summer or early fall, depending on your climate and the specific mum variety.
- Tools: Gather the necessary tools before you begin. You’ll need a pair of sharp pruning shears or scissors, a clean cloth or towel, and a container or bag for collecting the dead flowers.
- Inspect the plant: Take a close look at your mum plant and identify the flowers that have started to fade or wilt. These are the ones you’ll be removing.
- Choose the right flowers to deadhead: Focus on removing spent flowers that have lost their color, petals, or are drooping. Leave the healthy, vibrant flowers intact.
- Cut above the node: Locate the first set of healthy leaves below the spent flower. Position your pruning shears or scissors just above this node, and make a clean, angled cut. This will encourage new growth from the node.
- Dispose of the dead flowers: After deadheading each flower, collect the removed blooms in a container or bag. This will help prevent any diseases or pests from spreading to the rest of the plant.
- Clean your tools: Regularly wipe your pruning shears or scissors with a clean cloth or towel, especially if you notice any signs of disease or pests. This will help prevent the spread of any potential problems.
- Repeat the process: Continue inspecting the mum plant regularly and deadhead any fading or spent flowers you come across. This will promote continuous blooming and keep the plant looking neat and tidy.
- Fertilize and water: After deadheading, give your mums a boost by applying a balanced, slow-release fertilizer according to the package instructions. Water the plants thoroughly to ensure they receive adequate moisture.
- Monitor for pests and diseases: While deadheading, keep an eye out for any signs of pests or diseases, such as aphids, powdery mildew, or leaf spots. If you notice any issues, take appropriate measures to address them promptly.
By following these steps, you’ll be able to deadhead your mums effectively, promoting healthier growth and more abundant blooms throughout the season.
Aftercare
After deadheading mums, it is important to follow these care guidelines:
- Remove spent flowers: Deadheading involves removing the faded or spent flowers from the mum plant. Use clean, sharp pruning shears or scissors to cut the flower stems just above a set of healthy leaves or buds.
- Regular watering: Mums require regular watering to keep the soil evenly moist. Water deeply at the base of the plant, avoiding wetting the foliage. Ensure the soil is well-drained to prevent waterlogged roots.
- Fertilize: Apply a balanced, slow-release fertilizer or a water-soluble fertilizer every four to six weeks during the growing season. This will provide the necessary nutrients for healthy growth and abundant blooms.
- Mulch: Apply a layer of organic mulch, such as shredded bark or compost, around the base of the plant. Mulching helps retain moisture, suppresses weed growth, and regulates soil temperature.
- Pinching: To encourage bushier growth and more compact plants, pinch back the tips of the stems when the plants are about 6 inches tall. This can be done by using your fingers or pruning shears to remove the top inch or two of growth.
- Sunlight requirements: Mums thrive in full sun, so ensure they receive at least 6-8 hours of direct sunlight per day. Insufficient sunlight can lead to leggy growth and fewer blooms.
- Pest and disease control: Monitor the plants regularly for any signs of pests or diseases. Common issues include aphids, spider mites, and powdery mildew. Treat any problems promptly with appropriate organic or chemical controls.
- Support: If your mum plants become tall and floppy, provide support with stakes or cages to prevent them from bending or breaking under the weight of the flowers.
- Pruning: After the blooming season, you can prune the mums back to about 6 inches from the ground. This will help maintain the plant’s shape and encourage new growth for the following season.
By following these care guidelines, you can ensure healthy, vibrant mums that will continue to produce beautiful blooms throughout the growing season.
