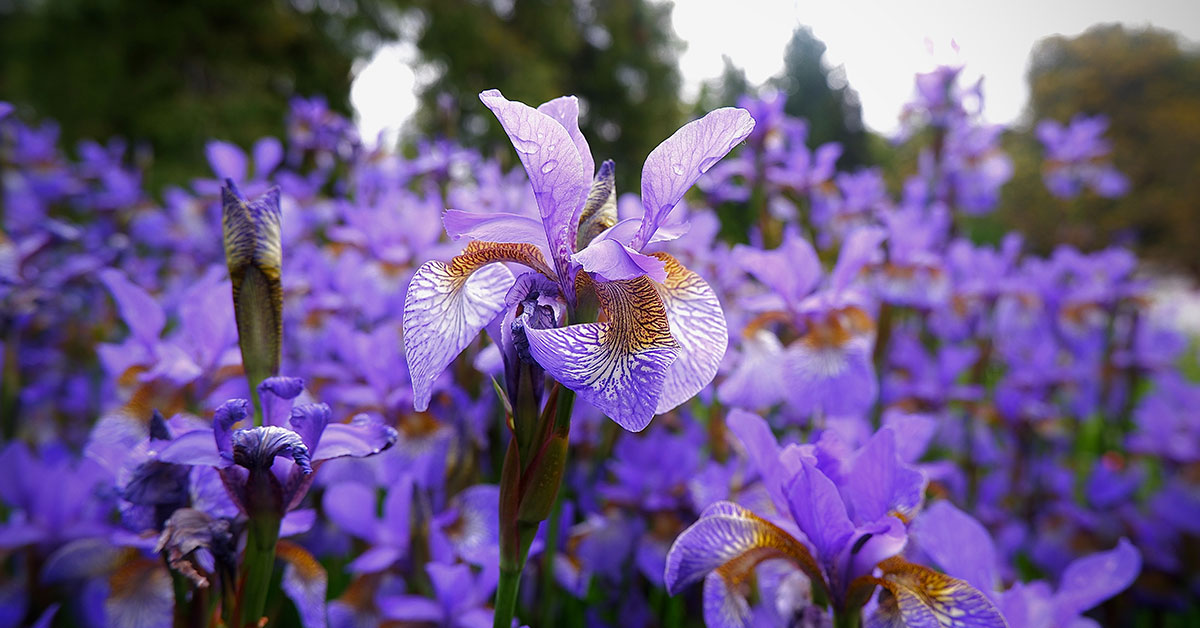

Welcome to our comprehensive guide on how to deadhead irises, a simple yet essential practice for maintaining the health and beauty of these stunning flowering plants. Irises, with their vibrant colors and elegant blooms, are a favorite among gardeners.
Deadheading, the process of removing spent flowers, not only enhances the aesthetic appeal of irises but also promotes vigorous growth and encourages the development of more blooms. In this article, we will delve into the reasons why deadheading is crucial for irises, the best time to perform this task, and the step-by-step methods to ensure you do it correctly.
Whether you are a seasoned gardener or a novice plant enthusiast, this guide will equip you with the knowledge and skills to keep your irises thriving and flourishing throughout the growing season. So, let’s dive in and discover the art of deadheading irises!
Should you deadhead irises?
Deadheading irises is a common practice that can benefit the overall health and appearance of the plant. Deadheading refers to the removal of spent flowers or flower stalks. While it is not necessary for the survival of irises, it can promote better blooming, prevent self-seeding, and improve the overall aesthetic appeal of the plant. Here are some reasons why deadheading irises can be beneficial:
- Encourages reblooming: Deadheading spent flowers on irises can stimulate the plant to produce more blooms. By removing the faded flowers, you redirect the plant’s energy from seed production to the development of new flower buds. This can result in a longer blooming period and more vibrant blooms.
- Prevents self-seeding: Irises are known for their ability to self-seed, which can lead to overcrowding and competition for resources among the plants. Deadheading prevents the formation of seed pods, reducing the chances of self-seeding and allowing the plant to focus on vegetative growth.
- Enhances aesthetics: Removing faded flowers improves the overall appearance of the iris plant and the garden as a whole. Deadheading keeps the plant looking tidy and prevents it from having unsightly, withered flowers. This can be particularly important if the irises are used as focal points or in formal garden settings.
It’s worth noting that not all iris varieties require deadheading. Some irises, such as bearded irises (Iris germanica), have a natural tendency to drop their spent flowers on their own. In such cases, you can simply remove any withered petals to maintain a neat appearance. In conclusion, while deadheading irises is not essential, it can promote reblooming, prevent self-seeding, and enhance the overall beauty of the plant. By following the proper timing and technique, you can enjoy a longer blooming period and a healthier iris plant.
When to deadhead irises
The best timing to deadhead irises is typically after they have finished blooming. Deadheading refers to the removal of spent flowers to encourage new growth and improve the overall appearance of the plant. Irises usually bloom in late spring or early summer, and the flowers last for a few weeks.
Once the flowers have faded and wilted, you can start deadheading. It’s important to wait until the flowers have fully finished blooming because the plant needs time to produce energy and nutrients for the next blooming cycle. This usually takes a few weeks.
By deadheading irises promptly after blooming, you encourage the plant to redirect its energy towards producing more blooms or strengthening its rhizomes for the next season. It also keeps the plant looking tidy and prevents the formation of seed pods, which can divert energy away from the plant’s growth.
How to deadhead irises
Deadheading irises is an important task to maintain the health and appearance of the plants. Here is a step-by-step guide on how to deadhead irises:
- Timing: The best time to deadhead irises is after they have finished blooming. Typically, this occurs in late spring or early summer, depending on the variety of iris.
- Tools: Gather the necessary tools before you begin. You will need a pair of sharp, clean pruning shears or scissors. It’s important to use clean tools to prevent the spread of diseases.
- Identify spent flowers: Look for the flowers that have finished blooming and are starting to wilt or fade. These are the ones you need to deadhead.
- Cut the stem: Locate the stem of the spent flower, which is usually above the first set of leaves. Using your pruning shears or scissors, make a clean cut just above the leaves. Be careful not to damage any new buds or emerging foliage.
- Remove the flower: Once you have cut the stem, carefully remove the spent flower from the plant. This helps prevent the formation of seed pods, which can divert energy away from the plant’s growth.
- Repeat the process: Continue deadheading all the spent flowers on the iris plant, working your way through the entire clump. Be sure to remove all the faded blooms to encourage new growth and prolong the blooming period.
- Dispose of the flowers: Collect all the removed flowers and dispose of them properly. You can add them to your compost pile if you have one, or discard them in the green waste bin.
- Clean up: After deadheading, take a moment to clean up any fallen petals or debris around the iris plant. This helps maintain a tidy appearance and reduces the risk of pests or diseases.
- Water and fertilize: After deadheading, give the irises a thorough watering to help them recover from the stress of flower removal. Additionally, you can apply a balanced fertilizer according to the package instructions to provide the plants with the necessary nutrients for healthy growth.
- Monitor for reblooming: Regularly check your irises for any new flower buds that may be forming. Deadheading encourages the plant to produce more blooms, so you may enjoy a second round of flowers later in the season.
By following these steps, you can keep your irises looking their best and promote their overall health and vitality.
Aftercare
After deadheading irises, it is important to follow a few care guidelines to ensure the health and vitality of the plants. Here are the detailed steps to follow:
- Timing: Deadhead irises immediately after the blooming period ends. This is usually in late spring or early summer, depending on the specific variety.
- Tools: Prepare a pair of clean and sharp pruning shears or scissors. Disinfecting the tools with rubbing alcohol before use helps prevent the spread of diseases.
- Removal: Locate the spent flower stalks and cut them off at the base, as close to the rhizome (the thick, fleshy root) as possible. Make sure to remove the entire stalk, including any seed pods or developing seed capsules.
- Disposal: Collect the removed flower stalks and dispose of them in a compost bin or trash. Do not leave them around the plants, as they can attract pests or diseases.
- Clean-up: Remove any fallen petals or debris around the irises to maintain a clean and tidy appearance. This also helps prevent potential disease or pest issues.
- Watering: After deadheading, water the irises thoroughly to provide moisture to the roots and promote new growth. Ensure the soil is evenly moist but not waterlogged.
- Fertilization: Apply a balanced slow-release fertilizer or a specially formulated iris fertilizer according to the manufacturer’s instructions. This will provide the necessary nutrients for healthy growth and future blooms.
- Mulching: Apply a layer of organic mulch, such as shredded bark or compost, around the base of the irises. This helps retain moisture, suppresses weed growth, and provides insulation to the roots.
- Division: If your irises have become overcrowded or have not been divided in several years, consider dividing them after deadheading. This is typically done every 3-4 years to maintain plant health and vigor. Dig up the clumps, separate the rhizomes, and replant them in well-prepared soil.
- Maintenance: Regularly monitor the irises for signs of pests, diseases, or nutrient deficiencies. Address any issues promptly to prevent further damage.
By following these care guidelines, you can help your irises thrive and ensure a beautiful display of blooms in the following seasons.