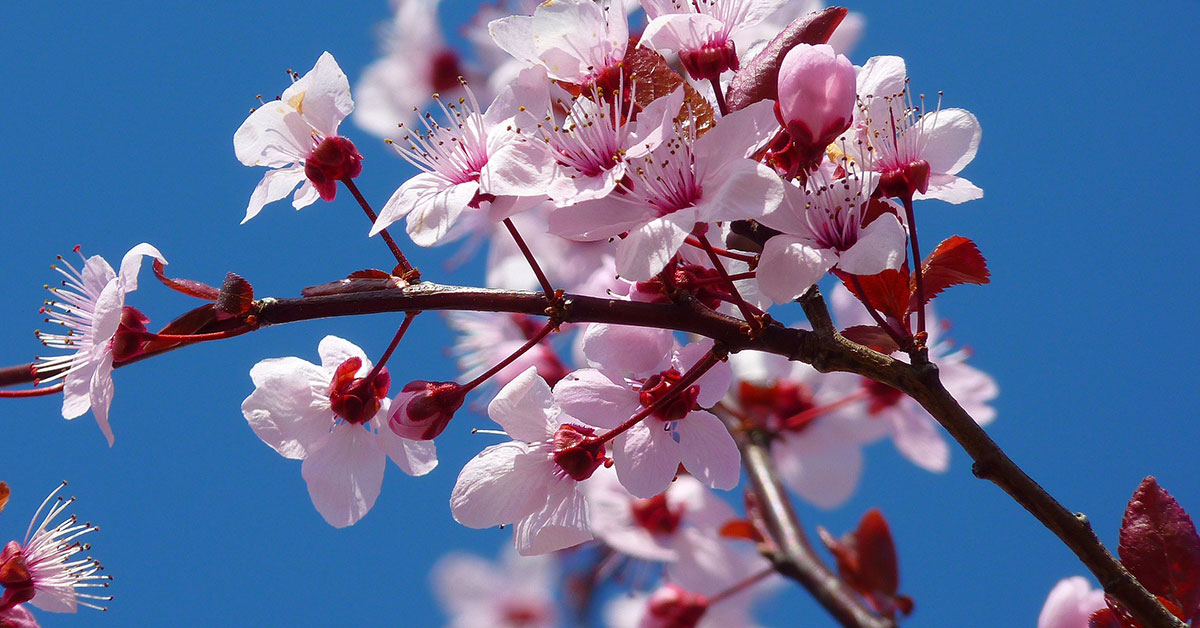
Welcome to the world of growing Van Cherry trees! If you’re a fan of sweet and juicy cherries, then the Van Cherry variety is an excellent choice for your garden. Known for its exceptional flavor and versatility, the Van Cherry tree is a popular favorite among home gardeners and orchard enthusiasts alike. With its beautiful blossoms in spring and abundant harvests in summer, growing Van Cherry trees can be a rewarding and fruitful experience.
In this article, we will delve into the specifics of cultivating Van Cherry trees, from selecting the right planting location to providing the necessary care and maintenance throughout the growing season. Whether you’re a seasoned gardener or a beginner, this guide will equip you with the knowledge and tips you need to successfully grow and enjoy your very own Van Cherry tree.
What is a Van Cherry?
Van Cherry is a popular variety of sweet cherry tree known for its excellent flavor and productivity. It is a self-fertile tree, meaning it does not require another cherry tree for pollination. Van Cherry trees are medium-sized, reaching a height of around 15-20 feet at maturity. They have a spreading growth habit and develop a dense canopy of dark green, glossy leaves.
The fruit of the Van Cherry is medium to large in size, with a deep red skin that is firm and glossy. The flesh is juicy, sweet, and slightly tart, making it perfect for fresh eating. The cherries ripen in mid to late summer, typically in late June or early July, depending on the climate. Van Cherry trees are relatively easy to grow and are adaptable to a wide range of climates.
They prefer full sun exposure and well-drained soil. Regular watering is essential, especially during dry periods, to ensure proper fruit development. Pruning is recommended to maintain the tree’s shape, remove dead or diseased branches, and improve air circulation. Overall, Van Cherry is a reliable and flavorful cherry variety that is well-suited for home gardeners and orchard growers alike.
What does a Van Cherry taste like?
Van Cherry is known for its exceptional flavor profile. It has a sweet and tangy taste that is balanced and highly enjoyable. The cherries are juicy and have a rich, aromatic flavor that is often described as intense and complex.
The sweetness of Van Cherries is well-balanced with a slight tartness, giving them a delightful zing. The flavor is often compared to a mix of sweet berries and cherries, with hints of vanilla and almond. Overall, Van Cherries offer a delectable taste experience that is highly sought after by cherry enthusiasts.
How to start Van Cherry from seed
Growing Van Cherry trees from seeds can be a challenging and time-consuming process. It is generally recommended to start cherry trees from graft stock or nursery-bought saplings to ensure consistent fruit quality and characteristics. However, if you still want to try growing Van Cherry from seeds, here is a guide to help you get started:
- Seed Selection: Obtain fresh Van Cherry seeds from a reputable source. It’s important to note that cherry seeds require a period of cold stratification to break their dormancy and promote germination. You can either collect seeds from ripe Van Cherries or purchase them from a reliable seed supplier.
- Cold Stratification: To break the seed’s dormancy, you need to simulate winter conditions by subjecting the seeds to cold stratification. Place the seeds in a moist paper towel or peat moss, seal them in a plastic bag, and refrigerate them for about 8-12 weeks. This process helps mimic the natural winter conditions that cherry seeds require for germination.
- Germination: After the cold stratification period, remove the seeds from the refrigerator and allow them to warm up to room temperature. Fill small pots or seed trays with a well-draining potting mix. Plant the seeds about 1 inch deep in the soil, and lightly cover them with the potting mix.
- Provide Optimal Growing Conditions: Place the pots or trays in a warm and well-lit area, such as a greenhouse or a sunny windowsill. Cherry seeds require consistent moisture and warmth to germinate successfully. Ensure the soil remains moist but not waterlogged. Use a spray bottle to mist the soil surface regularly to maintain moisture levels.
- Transplanting: Once the seedlings have developed a few sets of true leaves and are strong enough to handle, they can be transplanted into larger pots or containers. Use a well-draining potting mix that provides good aeration for the roots. Keep the seedlings in a sunny location and continue to water them regularly.
- Harden Off and Planting Outdoors: Before planting the Van Cherry seedlings outdoors, they need to be gradually acclimated to the outdoor conditions. This process is known as hardening off. Start by placing the seedlings outdoors in a sheltered location for a few hours each day, gradually increasing the time and exposure to direct sunlight over a week or two. Once the seedlings have adapted, they can be planted in a permanent location in the garden.
- Care and Maintenance: Van Cherry trees require full sun and well-drained soil. Ensure the trees receive adequate water, especially during dry periods. Mulching around the base of the tree helps retain moisture and suppress weeds. Prune the trees in late winter or early spring to maintain their shape and remove any dead or diseased branches.
It’s important to note that growing cherry trees from seeds may result in variations in fruit quality, size, and taste compared to the parent tree. For consistent and reliable results, it is recommended to obtain graft stock or nursery-bought saplings of Van Cherry from a reputable source.
When to plant Van Cherry outdoors
The ideal time to plant Van Cherry trees is during the late winter or early spring, before the tree starts to break dormancy. This typically falls between late February and early April, depending on your specific location and climate. Planting during this time allows the tree to establish its root system before the onset of hot summer temperatures.
Growing & care guide Van Cherry
Van cherry trees are a popular choice among gardeners for their delicious fruit and beautiful blossoms. To ensure the health and productivity of your Van cherry tree, it is important to follow some best practices for its care. Here are some guidelines to help you successfully grow and maintain your Van cherry tree:
- Planting: Choose a well-draining location that receives full sun for at least 6-8 hours a day. Van cherry trees prefer slightly acidic soil with a pH range of 6.0-6.8. Before planting, amend the soil with organic matter such as compost to improve its fertility and drainage.
- Watering: Proper watering is crucial for the healthy growth of Van cherry trees. Young trees require regular watering, especially during dry spells. Water deeply, ensuring the soil is moist but not waterlogged. Once established, cherry trees are moderately drought-tolerant but still benefit from regular watering during prolonged dry periods.
- Pruning: Pruning helps maintain the shape, health, and productivity of your Van cherry tree. Prune during the dormant season, preferably in late winter or early spring before new growth begins. Remove any dead, damaged, or diseased branches. Thin out crowded branches to improve air circulation and light penetration. Also, prune to maintain an open center, which allows sunlight to reach the inner branches.
- Fertilizing: Van cherry trees benefit from regular fertilization to promote healthy growth and fruit production. Apply a balanced fertilizer, such as a 10-10-10 or 14-14-14, in early spring before new growth emerges. Follow the package instructions for application rates. Avoid over-fertilizing, as excessive nitrogen can lead to excessive vegetative growth at the expense of fruit production.
- Pest and Disease Control: Van cherry trees are susceptible to various pests and diseases, including aphids, cherry fruit fly, brown rot, and powdery mildew. Monitor your tree regularly for signs of infestation or disease. Use organic pest control methods whenever possible, such as introducing beneficial insects or using insecticidal soaps. For diseases, ensure good air circulation, avoid overhead watering, and consider applying appropriate fungicides if necessary.
- Harvesting: Van cherries are typically ready for harvest in late spring or early summer, depending on your climate. Harvest the cherries when they are fully ripe, firm, and have developed their characteristic dark red color. Gently twist or cut the cherries from the stem to avoid damaging the tree.
Remember, growing Van cherry trees requires patience and consistent care. By following these best practices, you can enjoy a bountiful harvest of delicious cherries and a healthy, thriving tree in your garden.
Harvesting guide for Van Cherry
Van cherries are typically ready for harvest in late spring or early summer, depending on the specific climate and growing conditions. Here’s a step-by-step guide on when and how to harvest Van cherries:
- Observe the color: As the cherries ripen, they will change color from green to a bright red or dark red, depending on the variety. Van cherries are usually dark red when fully ripe.
- Check the firmness: Gently squeeze a few cherries to assess their firmness. Ripe Van cherries should be plump and firm but still slightly soft. Avoid picking cherries that are too hard or too soft.
- Taste test: If you’re unsure about the ripeness, taste a cherry or two. Ripe Van cherries should be sweet, juicy, and flavorful. If they are still tart or lack sweetness, give them a few more days to ripen.
- Harvesting: To harvest Van cherries, hold the cherry stem between your thumb and forefinger and give it a gentle twist. The cherries should detach easily from the tree. Avoid pulling or tugging on the cherries, as this can damage the branches or the fruit.
- Use a picking container: Place a picking container, such as a bucket or basket, beneath the branch you’re harvesting from to catch the cherries as they fall. This helps prevent bruising or damage to the cherries.
- Harvesting in stages: Van cherries tend to ripen at different times, so it’s best to harvest them in stages. Start with the cherries that are fully ripe and continue picking every few days as more cherries reach their peak ripeness.
- Handle with care: Cherries are delicate fruits, so handle them with care to avoid bruising or crushing. Place them gently into your picking container to preserve their quality.
- Storage: After harvesting, sort through the cherries and discard any damaged or overripe ones. Store the cherries in a cool place, such as the refrigerator, to extend their shelf life. They can be kept in a breathable container or a perforated plastic bag for up to a week.
Remember, Van cherries are best enjoyed fresh, so try to consume them as soon as possible after harvesting. If you have an excess amount, consider freezing or preserving them for later use in pies, jams, or sauces.
