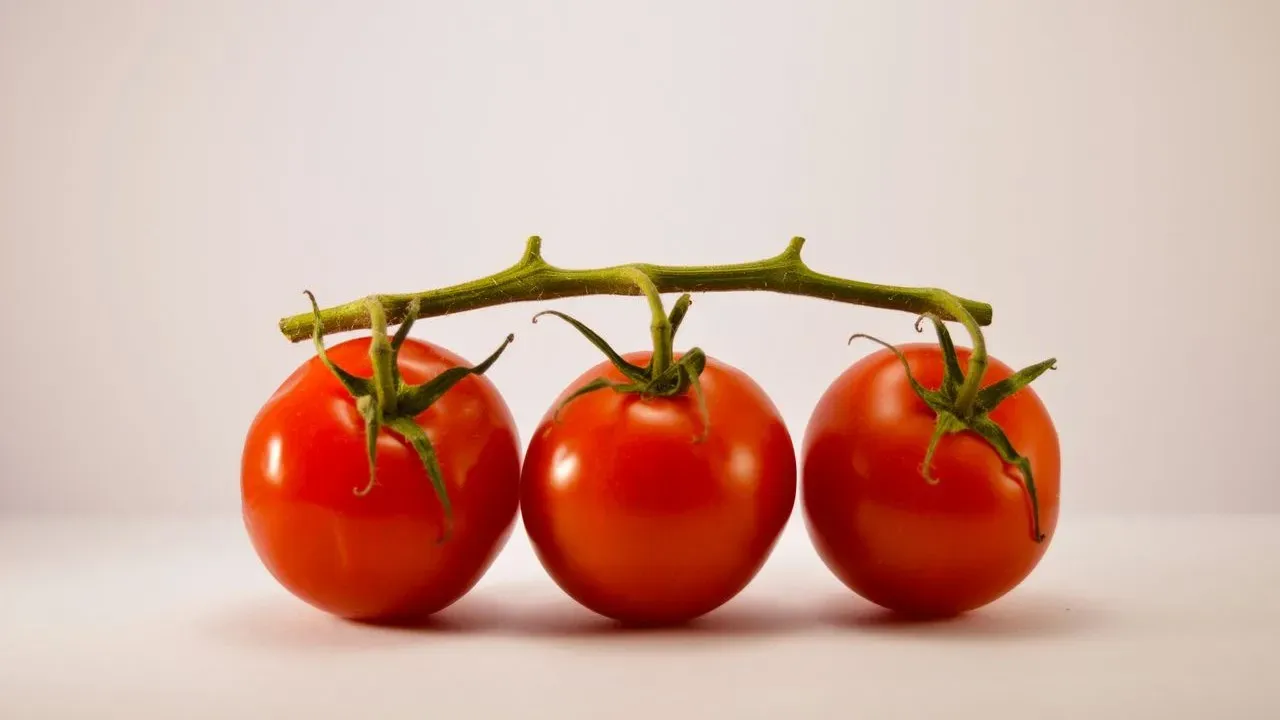

As home gardeners watch their tomato plants reach peak production in late summer, many overlook a straightforward step that can deliver free plants and preserved flavors the following season. Saving seeds from the best-performing varieties allows growers to maintain unique tastes and reduce reliance on commercial suppliers. The process requires only basic kitchen tools and a few days of attention, according to guidance from experienced seed savers. ([1])
Why Seed Saving Matters Now
Tomato season peaks in August, creating an ideal window for collecting seeds before the first frost arrives. Gardeners who save seeds from their strongest plants gain independence from seed catalogs and protect heirloom varieties that may otherwise disappear from the market. The practice also supports local food systems by keeping genetic diversity alive in home gardens rather than relying solely on large suppliers.
Commercial seeds often come from distant sources and may not perform as well in specific regional conditions. By contrast, saved seeds adapt over time to local soil, climate, and pests. This small effort compounds into reliable harvests year after year without additional purchases.
Choosing the Right Tomatoes
Begin with fully ripe fruit that matches the desired variety and shows strong growth traits. Large tomatoes should be sliced horizontally at the middle, while smaller cherry types can be squeezed by hand. The goal is to capture the pulp and seeds while discarding the outer skin, which can be set aside for sauce or another use.
Work over a clean glass jar to collect the gelatinous material that holds the seeds. Plastic containers are best avoided because they can introduce unwanted residues. Labeling the jar immediately with the variety name prevents confusion later, especially when multiple types are processed at once.
Fermenting the Seeds
The collected pulp undergoes a short fermentation that removes the gel coating around each seed. This step improves germination rates and reduces the risk of seed-borne diseases such as bacterial spot or speck. The jar sits at room temperature for two to three days, or longer in cooler conditions, until a layer of mold forms on the surface.
Stirring is optional and not required for success. In warm weather, check the jar daily to avoid premature sprouting inside the mixture. Once fermentation completes, viable seeds settle at the bottom while lighter debris rises.
Cleaning, Drying, and Storage
After fermentation, pour off the liquid and mold carefully, adding water as needed to rinse the seeds. Repeat until only clean seeds remain in the jar. Transfer them to a fine strainer, rinse once more, and spread them in a single layer on paper, cloth, or a screen to dry completely.
Once dry, store the seeds in labeled envelopes or jars in a cool, dark place. Properly saved seeds remain viable for several years and can be planted directly the following spring. This method turns one season’s harvest into the foundation for the next without ongoing expense.
Gardeners who adopt this routine gain both practical savings and a deeper connection to the plants they grow. The technique requires minimal equipment yet delivers consistent results across seasons.
AI Disclaimer: This article was created with the assistance of AI tools and reviewed by a human editor.