

There’s something truly magical about a garden full of roses. Their beauty, fragrance, and timeless elegance have captivated gardeners for centuries. But let’s be honest—growing perfect roses isn’t always easy. I know how discouraging it can be to pour your heart into your rose bushes, only to have them struggle with disease, pests, or poor blooms. But don’t lose hope! There are some tried-and-true secrets to growing roses that are healthy, vibrant, and absolutely stunning. I’m excited to share these tips with you because once you’ve mastered them, you’ll be on your way to having the rose garden of your dreams.
The truth is, roses aren’t as finicky as they might seem, but they do require a bit of care and attention to truly thrive. Whether you’re a seasoned gardener or a beginner looking to add some classic charm to your garden, these tips will help you cultivate roses that are not just good, but downright spectacular. So, let’s dive into the world of roses and uncover the secrets that will take your garden to the next level.
The Importance of Choosing the Right Variety

One of the most crucial steps in growing perfect roses is selecting the right variety for your garden. Not all roses are created equal, and some varieties are better suited to certain climates and conditions than others. For example, if you live in a region with hot, humid summers, you might want to consider disease-resistant varieties like Knock Out roses, which are known for their hardiness and low maintenance. On the other hand, if you’re in a cooler climate, English roses like David Austin varieties might be the way to go, offering a delightful blend of fragrance and beauty.
Roses have a rich history, with many varieties tracing their origins to Europe, Asia, and the Middle East. Understanding the native conditions of your chosen rose variety can give you a significant advantage in caring for them. Some roses, like the Rugosa rose, are incredibly hardy and can thrive even in poor soils, while others might need a bit more pampering. The key is to match the rose to your garden’s specific conditions, whether that’s full sun, partial shade, or something in between. When you start with the right variety, you’re already halfway to success!
Preparing the Soil: The Foundation of Success
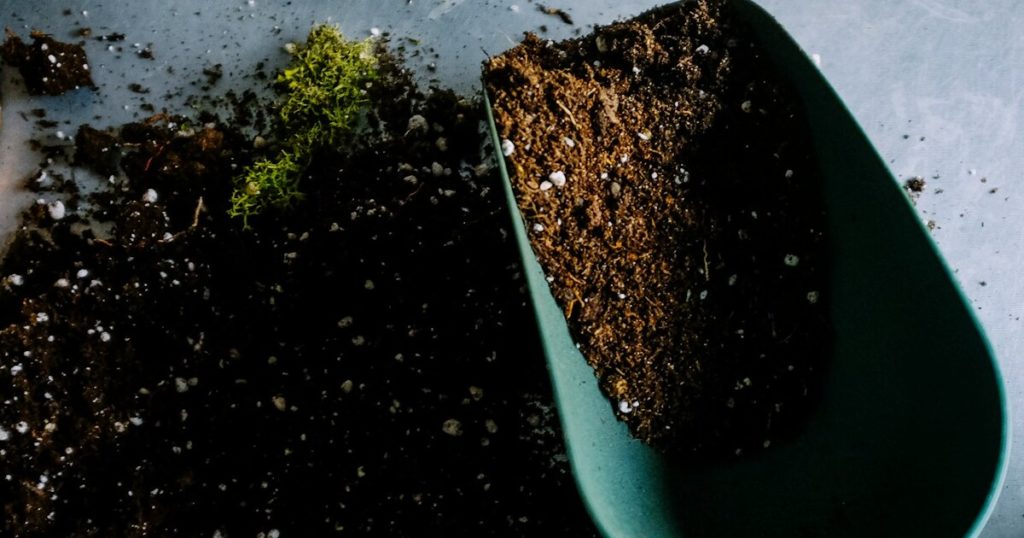
If there’s one thing roses need to thrive, it’s well-prepared soil. Roses are known for being heavy feeders, which means they require nutrient-rich soil to support their vigorous growth and abundant blooms. I can’t emphasize enough how important it is to take the time to properly prepare your soil before planting roses. Start by testing your soil’s pH level—roses prefer a slightly acidic to neutral pH, around 6.0 to 7.0. If your soil is too acidic or too alkaline, you can amend it with lime or sulfur to bring it into the ideal range.
In addition to pH, roses also benefit from soil that’s rich in organic matter. Incorporating compost, well-rotted manure, or leaf mold into the soil before planting will give your roses the nutrients they need to establish strong roots and produce those breathtaking blooms. Good drainage is also essential, as roses hate having their roots sit in waterlogged soil. If you’re dealing with heavy clay soil, consider planting your roses in raised beds or adding sand and organic matter to improve drainage. Trust me, a little extra effort in preparing the soil goes a long way in ensuring your roses will thrive!
Watering Wisely: The Key to Healthy Roses

Watering roses can be a bit of an art form. Too much water, and you risk drowning your plants and inviting diseases like black spot or root rot. Too little, and your roses will struggle to survive, let alone produce beautiful blooms. The secret to watering roses is consistency and moderation. Roses generally need about an inch of water per week, delivered in a deep, thorough soaking rather than a light sprinkling. This encourages the roots to grow deep into the soil, making your plants more resilient during dry spells.
One thing to keep in mind is that roses prefer to be watered at the base, not from overhead. Wet foliage can lead to fungal diseases, which can quickly take hold and spoil the appearance of your plants. If you’re like me and want to avoid the hassle of battling rose diseases, consider installing a soaker hose or drip irrigation system. These methods deliver water directly to the root zone, keeping the foliage dry and your roses happy. And remember, it’s better to water early in the morning so any moisture on the leaves has time to evaporate during the day.
Fertilizing for Fabulous Blooms
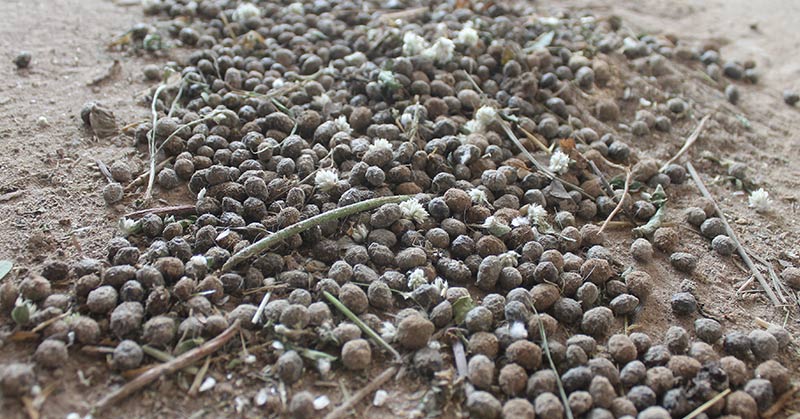
Roses are known for their heavy feeding habits, so providing them with the right nutrients is key to achieving those show-stopping blooms. I always recommend starting with a balanced fertilizer in early spring when your roses are just beginning to wake up from their winter dormancy. Look for a fertilizer that’s specifically formulated for roses, with a balanced ratio of nitrogen, phosphorus, and potassium—often labeled as N-P-K on the packaging. This will give your plants the energy they need to produce lush foliage, strong stems, and abundant flowers.
Throughout the growing season, you can boost your roses with additional feedings every 4 to 6 weeks. I like to alternate between a granular fertilizer and a liquid seaweed or fish emulsion, which provides a quick nutrient boost. Be careful not to over-fertilize, though! Too much nitrogen can lead to lots of leafy growth at the expense of flowers, while an excess of phosphorus or potassium can lead to nutrient imbalances. The goal is to feed your roses just enough to keep them healthy and vigorous, without going overboard. After all, a well-fed rose is a happy rose!
Pruning: The Secret to Strong, Healthy Roses

Pruning is one of those tasks that many gardeners approach with a bit of trepidation, but it’s absolutely essential for growing perfect roses. Proper pruning encourages healthy growth, improves air circulation, and stimulates the production of new blooms. It also helps prevent disease by removing dead or damaged wood, which can harbor pests and pathogens. I know it can be daunting to take those pruning shears to your beloved roses, but with a little practice, you’ll become a pro in no time!
The best time to prune roses is in late winter or early spring, just as the buds begin to swell but before they break dormancy. Start by removing any dead, damaged, or diseased wood, cutting back to healthy tissue. Then, focus on shaping the plant by removing any weak or crossing stems. I like to aim for an open, vase-like shape, which allows light and air to penetrate the center of the plant. This not only helps prevent disease but also encourages the production of larger, more beautiful blooms. And don’t forget to clean your pruning tools between cuts to avoid spreading any diseases!
Controlling Pests and Diseases

Even with the best care, roses can still fall victim to pests and diseases. It’s such a bummer when you’re excited about your roses blooming, only to find them covered in aphids, black spot, or powdery mildew. But don’t worry—there are ways to protect your roses without resorting to harsh chemicals. One of my favorite methods is companion planting. Plants like garlic, chives, and marigolds can help deter pests naturally, while also adding beauty and diversity to your garden.
Regular inspection is also key to keeping your roses healthy. I make it a habit to check my roses at least once a week, looking for any signs of trouble. If I spot pests, I usually start with a strong spray of water to knock them off the plants. For more persistent problems, I turn to organic solutions like neem oil or insecticidal soap. And if disease strikes, prompt removal of affected leaves and stems can help prevent it from spreading. It’s all about being proactive and catching problems early before they have a chance to take hold.
The Magic of Mulching

Mulching might seem like a simple task, but it’s one of the most effective ways to ensure your roses thrive. Mulch helps to conserve moisture, suppress weeds, and regulate soil temperature—all things that roses absolutely love. In my garden, I like to use organic mulch like composted manure, leaf mold, or shredded bark. These not only improve the soil structure as they break down but also add essential nutrients that your roses will eagerly soak up.
Applying mulch is easy. Simply spread a 2- to 3-inch layer around the base of your roses, being careful not to pile it up against the stems, which can lead to rot. Mulching in early spring, just after your roses have been pruned and before the hot summer weather sets in, is ideal. As a bonus, mulch also gives your garden a neat, finished look, which is always a plus in my book! And don’t forget to top up your mulch layer each year to keep your roses looking their best.
Choosing the Perfect Spot

Roses might be adaptable, but they do have their preferences when it comes to where they’re planted. One of the keys to growing perfect roses is choosing a location that meets their needs. Roses thrive in full sun, which means they need at least six hours of direct sunlight each day. This ensures they have enough energy to produce those gorgeous blooms we all love. I always try to plant my roses in a spot that gets morning sun, as this helps dry the dew off their leaves and reduces the risk of fungal diseases.
In addition to sunlight, good air circulation is crucial for roses. While they might look lovely planted close together, crowding can lead to poor air flow and an increased risk of disease. When planting, be sure to space your roses about 2 to 3 feet apart, depending on the variety. This gives them room to grow and allows for proper air movement. And don’t forget about the soil—roses prefer well-drained soil, so avoid low-lying areas where water tends to collect. By choosing the right spot, you’re setting the stage for your roses to flourish.