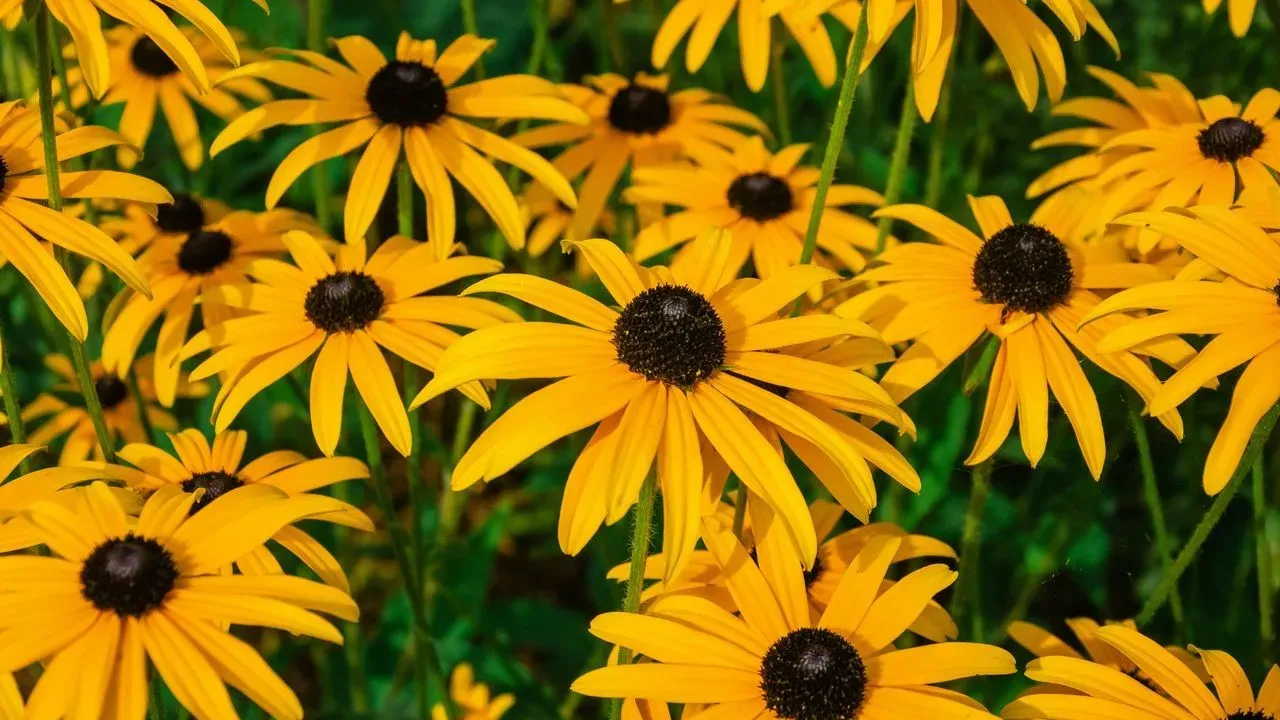

Black-eyed Susan stands out in many gardens for its extended bloom period, strong drought resistance, and adaptability across a range of climates and soil types. Gardeners often start with a single plant and quickly discover how readily it can be multiplied without additional purchases. The process relies on straightforward propagation techniques that reward patience with dozens of new specimens over time. ([1])
Why Gardeners Value This Perennial
Its cheerful yellow petals and dark centers bring reliable color from midsummer well into fall in many regions. Once established, the plant requires little supplemental water and tolerates both full sun and partial shade. These traits make it a practical choice for borders, meadows, and pollinator gardens where low maintenance matters. Many homeowners begin with one or two purchased plants and soon realize the potential to expand coverage at no extra cost. The plant’s natural vigor supports repeated division, allowing a modest start to fill larger spaces within a couple of seasons.
Division: The Fastest Route to Multiple Plants
Dividing established clumps remains the most direct method for increasing numbers quickly. In early spring or after flowering in fall, dig around the base of a healthy plant and lift the root ball. Shake off excess soil to reveal natural sections where stems and roots have formed distinct crowns. Separate these sections with a sharp knife or spade, ensuring each piece carries both roots and shoots. Replant the divisions at the same depth in prepared soil, water thoroughly, and keep them moist until new growth appears. A single mature clump can yield four to six new plants in one session, and the parent plant typically recovers without issue.
Starting From Seed for Larger Quantities
Seed propagation offers another reliable path when more plants are desired. Collect ripe seed heads in late summer or purchase fresh seed. Sow directly outdoors in fall or start indoors six to eight weeks before the last frost. Lightly cover the seeds with soil and maintain consistent moisture. Germination usually occurs within two to three weeks under suitable temperatures. Seedlings can be transplanted once they develop several true leaves. This approach produces many plants from a small initial investment and allows selection of desired flower forms.
Stem Cuttings as a Supplemental Option
For varieties that respond well, stem cuttings provide a third avenue. Take four- to six-inch cuttings from healthy, non-flowering stems in late spring. Remove lower leaves, dip the cut end in rooting hormone if desired, and place in a moist growing medium. Keep the cuttings in bright, indirect light and maintain humidity with a plastic cover until roots form, typically in three to four weeks. Once rooted, move the young plants to individual pots and harden them off before transplanting outdoors. This method works especially well for preserving specific cultivars.
Putting the New Plants to Work
New divisions or seedlings establish best in well-drained soil with moderate fertility. Space plants 12 to 18 inches apart to allow for mature size and good air circulation. Regular deadheading encourages continued blooming and reduces self-seeding where it is not wanted. Over a few seasons, the original plant can supply enough offspring to create drifts across a border or fill a new bed entirely. The resulting display rewards the initial effort with extended color and habitat value for bees and butterflies. Many gardeners find the process becomes a satisfying annual routine that keeps expanding the garden at minimal expense.
AI Disclaimer: This article was created with the assistance of AI tools and reviewed by a human editor.