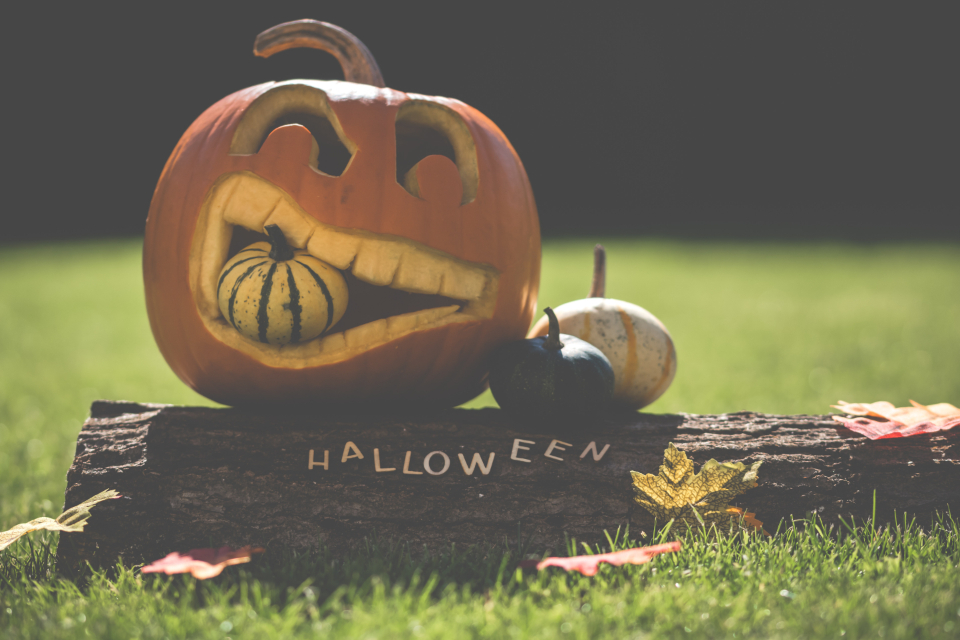

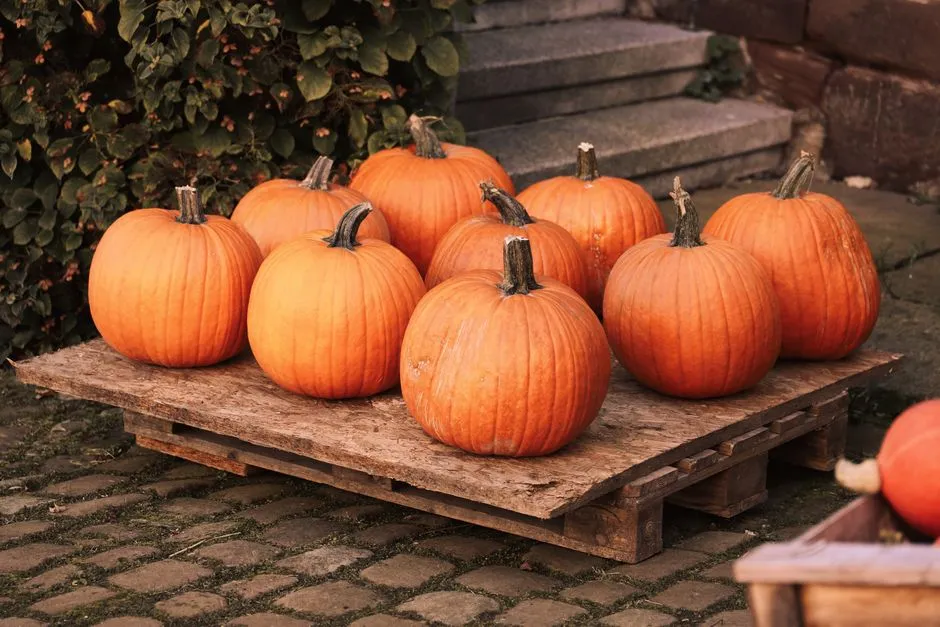
Every October, the same story plays out on front porches across the country. You carve a beautiful jack-o’-lantern a week or two before Halloween, and by the time the 31st rolls around, it’s a sunken, smelly mess. It’s a frustrating problem with a surprisingly straightforward set of solutions.
The good news is that science, a few household staples, and some timing smarts can keep your pumpkin looking crisp well past that final trick-or-treat knock on the door.
Why Pumpkins Rot So Fast After Carving
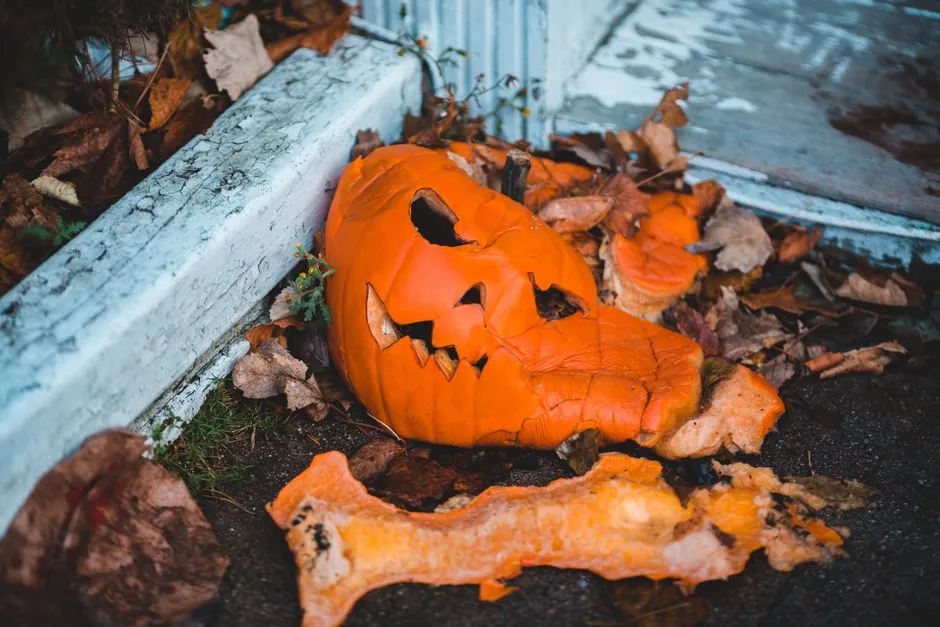
The moment you cut into a pumpkin, you’ve broken its natural defenses and exposed its insides to the elements and bacteria. That thick outer skin was doing a serious job. Think of a pumpkin’s thick skin like a suit of armor, a natural, waxy barrier designed to protect it from moisture, bacteria, and pests.
Pumpkins rot when exposed to air through the process of oxidation, and when they lose moisture, so these vegetables slowly begin to decay once cut from the stem. Warm weather and extremely low temperatures can make a rotting pumpkin worse, and this process is expedited if the pumpkin has been cut open and carved.
Once carved, pumpkins only last three to five days, less in warm weather. In hot weather, they can easily rot within two to four days. That’s a tight window if you’re hoping your creation survives a full October display.
Start With the Right Pumpkin
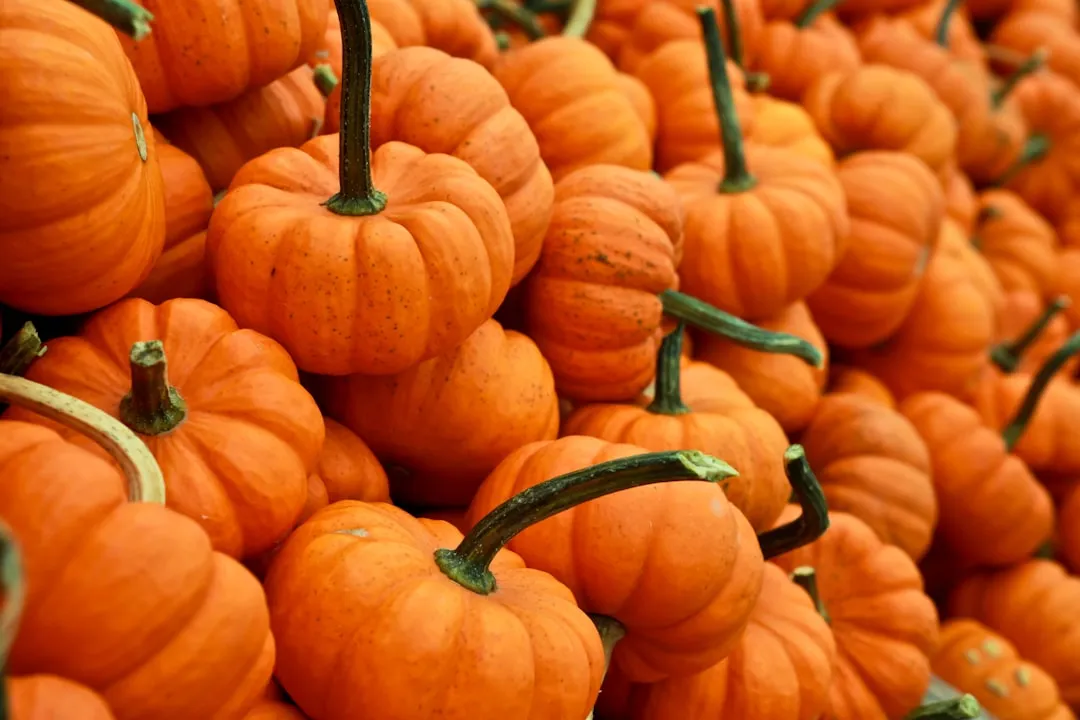
First, make sure that you start with a fresh and healthy pumpkin. Choose a firm pumpkin with no soft spots and its stem intact, because starting off with a firm pumpkin means that your carved pumpkin has a good chance of lasting longer.
A person should choose one with firm, blemish-free skin and an intact stem, as cuts, bruises, and soft spots are likely to rot early. A sturdy, greenish-brown stem indicates freshness, so avoid pumpkins with loose or broken stems.
The Bleach Soak: Most Effective Method
The bleach acts as a sanitizer, neutralizing fungi and bacteria on the surfaces of the pumpkin that will cause decomposition and rot. This is widely considered the most reliable method available to home carvers.
One bleach bath before carving and one bleach bath after carving is an effective way to keep pumpkins from rotting, as this destroys internal bacteria that increases the likelihood the pumpkin will start to mold. A dilute solution of plain household bleach is recommended, specifically about one tablespoon of bleach per gallon of water, which achieves roughly 200ppm sodium hypochlorite.
Leave the pumpkin in the bleach-treated water at least 30 minutes and up to 24 hours. Bleach-treating is the most effective way to preserve a carved pumpkin.
Vinegar: The Wildlife-Safe Alternative
For a more natural approach, you can use white vinegar to preserve your pumpkin. Like bleach, vinegar has antimicrobial properties but is safer for the environment. It’s a genuinely useful option, especially if your pumpkin sits outdoors near pets or wildlife.
Due to its highly acidic properties, vinegar can prevent the growth of mold and bacteria from developing on the pumpkin’s skin and inner flesh when carved. Fill a large bucket with ten parts water and one part vinegar, submerge your pumpkin in the solution, leave them for 20 to 30 minutes, then pull them out and let them air dry.
Since it’s a natural product, vinegar-treated pumpkins are more compostable or suitable for animal feed after Halloween. That’s a meaningful advantage if you compost or have a garden that attracts wildlife.
Seal the Cuts With Petroleum Jelly or Oil
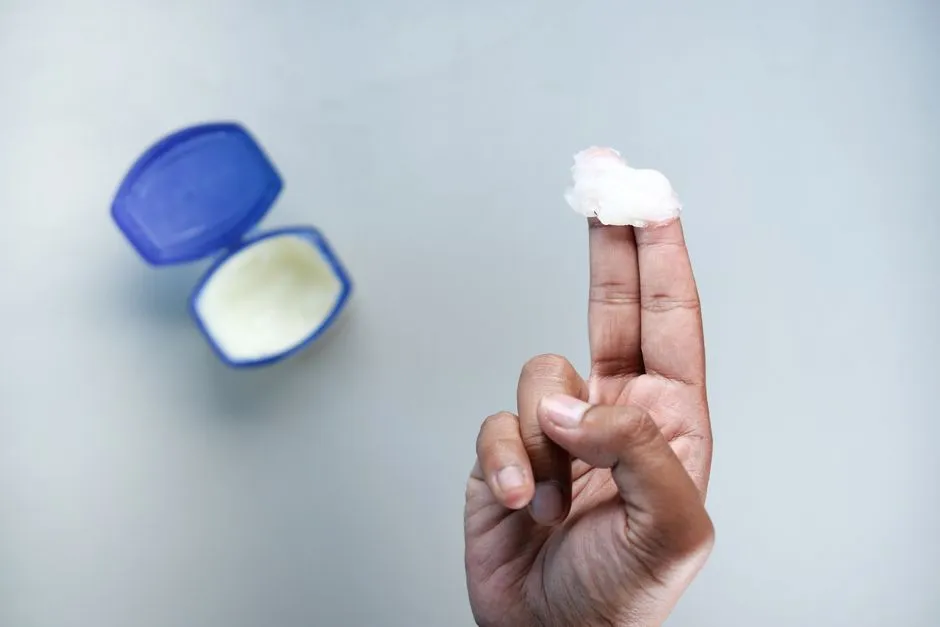
The simplest method to preserve a carved pumpkin is by applying petroleum jelly to all of the cut surfaces. This forms a protective barrier between the flesh and the air, reducing moisture loss and slowing down microbial growth. You can coat both the inside and outside edges of the carving to seal the pumpkin.
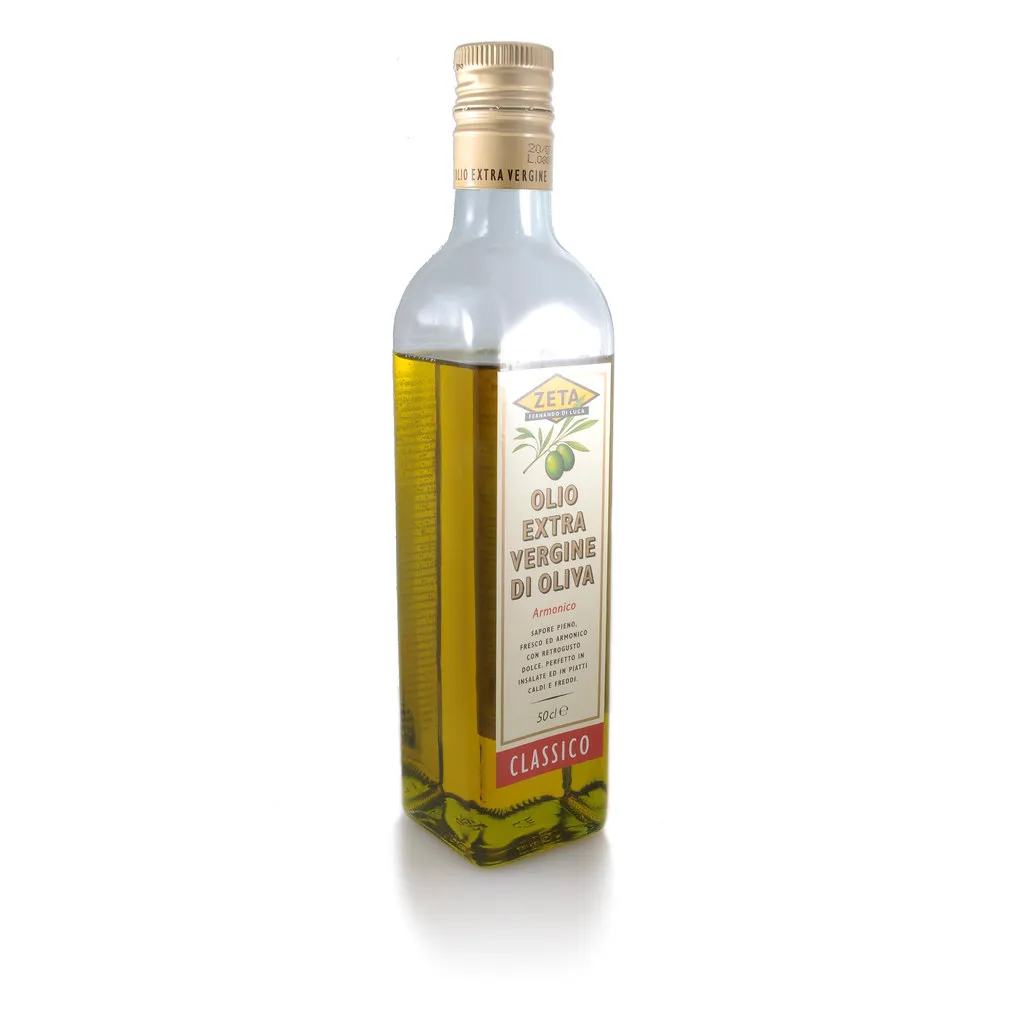
After spraying down your pumpkin with a vinegar or hydrogen peroxide mixture, you can rub a thin coat of either vegetable oil, olive oil, or coconut oil onto all the carved edges to lock in moisture. According to a reader’s test using coconut oil instead of bleach, coconut oil slowed rotting much faster, and it’s biodegradable and wildlife-friendly.
Timing Is Everything: Don’t Carve Too Early

Ideally, you should aim to carve your pumpkin around two days before Halloween, because carving too early will result in a mushy rotting jack-o’-lantern. It sounds obvious, but plenty of families carve early in the month and wonder why their creation collapses before the big night.
As soon as you carve your jack-o’-lantern, decay begins, so the closer you get to Halloween, the better your timing will be. It is typically recommended that you wait until closer to October 31st to make sure your carved creation lasts through the spooky festivities.
Refrigerate It Overnight
If it’s still warm in your area, consider placing your carved pumpkins in the fridge at night instead of leaving them on the porch. Spray your pumpkins with a soapy water mixture and wrap each one in a trash bag prior to placing in the fridge, as this process will rehydrate your pumpkins each night.
If temperatures are warm, place your pumpkin in a plastic bag in the fridge overnight to slow decay. This is a surprisingly effective move that most people skip. If possible, refrigerate your jack-o’-lantern when it’s not in use, and when you do put it out, place it in a spot that doesn’t get direct sunlight or rain.
Ditch the Real Candles
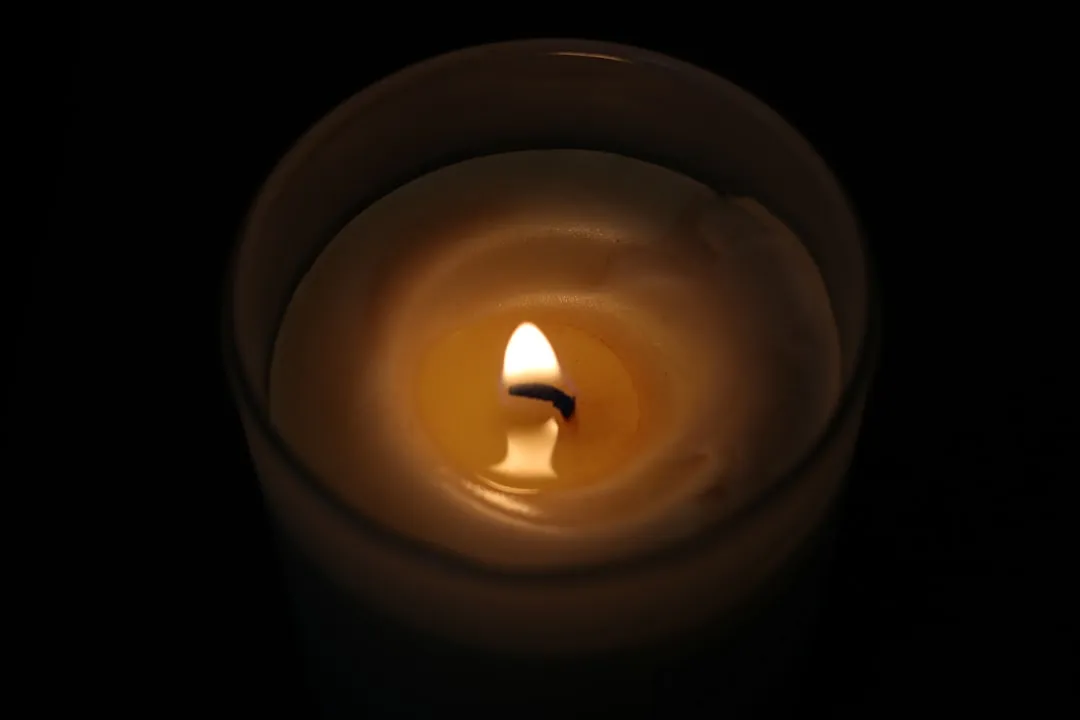
While it may feel wrong not to light your jack-o’-lanterns with real candles, even a small flame will expedite a rotting pumpkin. The heat cooks the pumpkin from the inside and causes it to wilt faster than it would if lit by an electric candle.
Real candles generate heat, which speeds up rotting, while battery-powered LED lights keep your pumpkin glowing longer. The visual effect of LED lights is virtually indistinguishable from candles, and the difference in pumpkin lifespan is real.
Rehydrate a Wilting Pumpkin
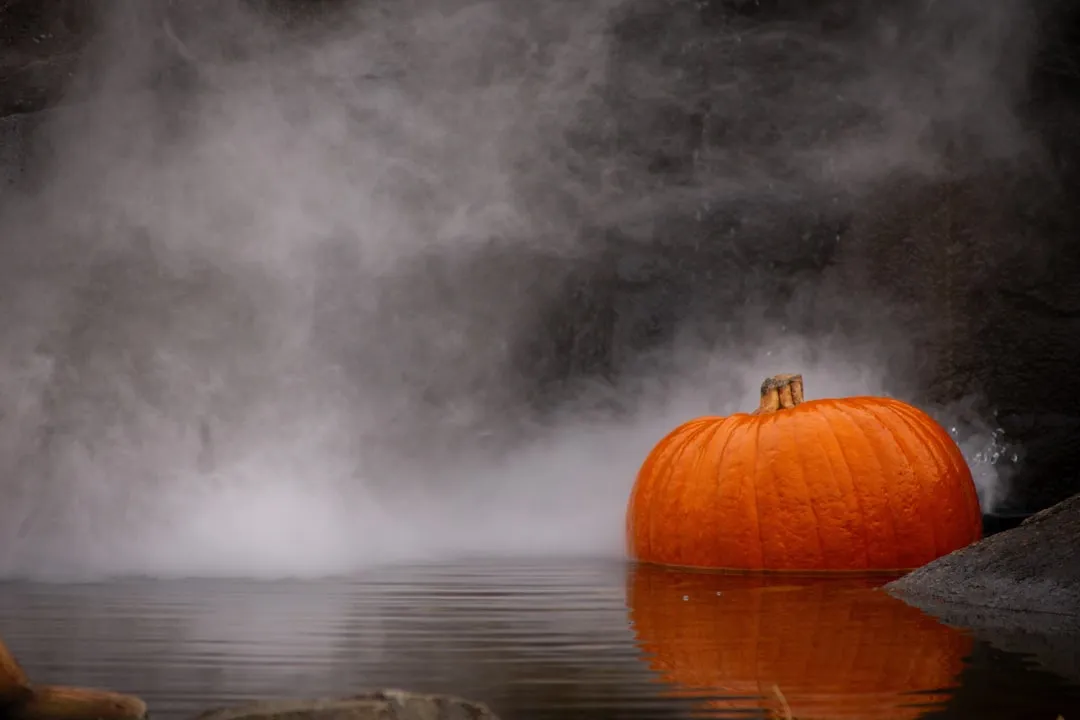
Another method for rehydrating your pumpkin and keeping it fresh is to soak it in water overnight. This is a great method to try if you notice that your pumpkin is starting to fade or wilt. Most people toss their pumpkin at this stage, not realizing it can be revived.
If your pumpkin shrivels, soak it in cold water for two to three hours to plump it back up. The best way to make a carved pumpkin last longer is to slow down the dehydration process, and when pumpkins shrivel up, it’s because they have lost moisture. A water soak addresses that directly.
Clean the Inside Thoroughly Before You Start
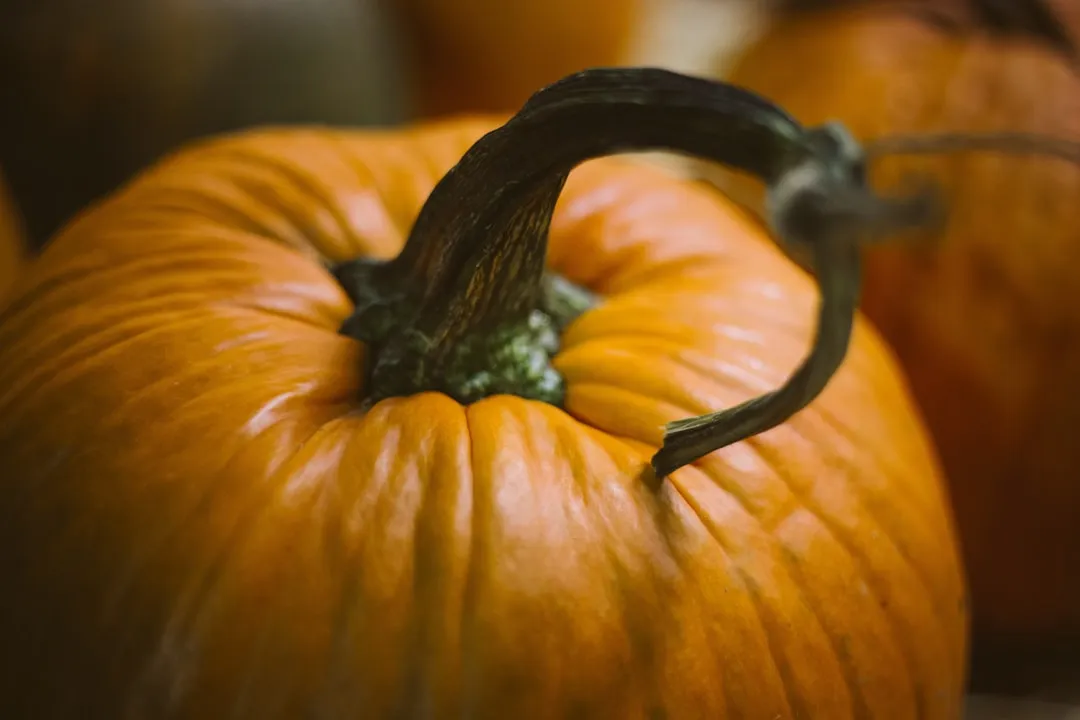
Once you open up the pumpkin to carve it, it’s important that you rid the cavity of the guts. You want to make sure that the inside of your pumpkin is as clean and dry as possible, and that can only happen if you ditch all the pumpkin guts and seeds.
When you carve, remove the seeds and pumpkin guts from the inside and give the interior a good scrape with a spoon to thoroughly clean the interior, as stray strands and goo are magnets for microbial growth. All those wet strings create a perfect home for bacteria and mold, so get as much out as you can.
The Takeaway
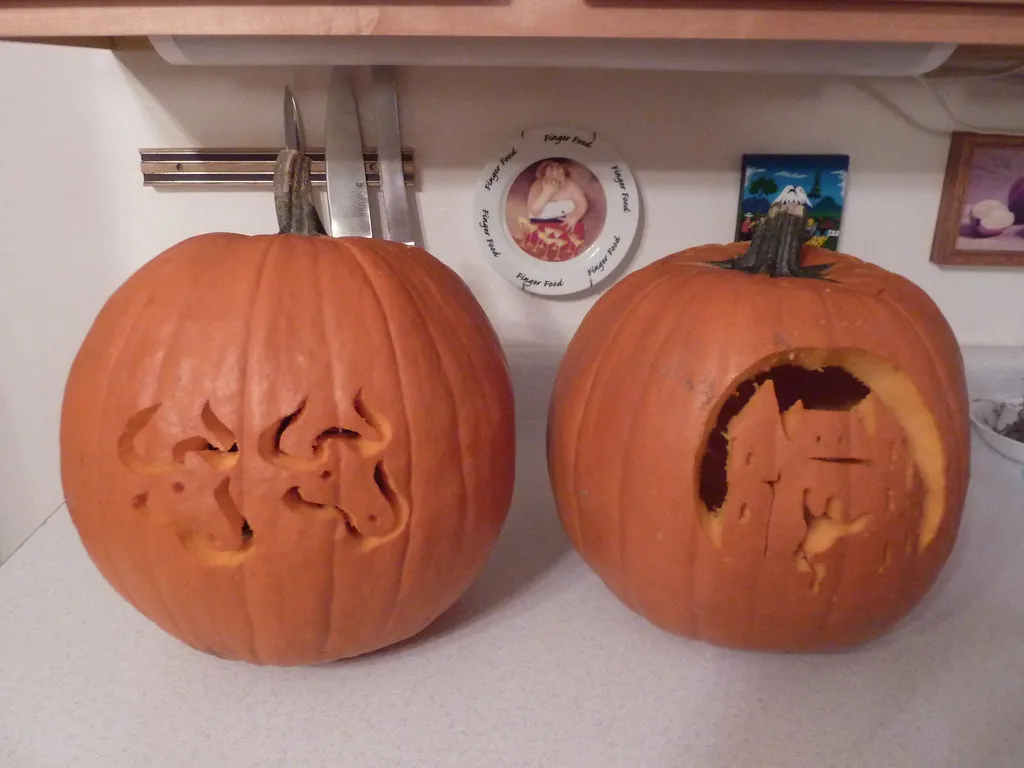
Keeping a Halloween pumpkin from collapsing before October 31st isn’t magic. It’s a matter of understanding what causes the decay and using the right combination of timing, treatment, and temperature to slow it down.
Whether you prefer the proven power of a bleach soak, the natural acidity of a vinegar rinse, or the simple barrier of a petroleum jelly coat, the tools are already sitting in most homes. A bleach soak plus petroleum jelly on cut edges is among the most effective combinations available.
The carved jack-o’-lantern is a tradition worth doing right. Carve a little later, keep it cool, seal the cuts, and skip the real candle. Your pumpkin will still be grinning when the kids come knocking.
AI Disclaimer: This article was created with the assistance of AI tools and reviewed by a human editor.