
The NSF Study That Named the Gasket a Top Offender
NSF International, a public health and safety organization, conducted a study where they asked people to guess where the most kitchen pathogens tend to concentrate. The answers, which included places like microwave keypads, were mostly wrong.
The NSF found mold, yeast, E. coli, and Salmonella on blender gaskets – the rubber rings that form a seal below the pitcher. The gasket ranked in the top three germiest kitchen items tested. That’s a striking result for something most households never specifically clean.
A full thirty-six percent of items tested positive for Salmonella, found in locations including blender gaskets. E. coli was also present on thirty-six percent of swabbed items, including the blender gasket. These are not rare or exotic pathogens. They’re the ones behind some of the most common foodborne illness cases each year.
Why the Gasket Is Such a Perfect Hiding Spot
Blender gaskets create a seal between the blades and the container to prevent leakage. Food particles can get trapped in the gasket, providing a favorable environment for bacterial growth. If not cleaned thoroughly, these bacteria can multiply and contaminate subsequent blends, potentially leading to foodborne illnesses.
The rubber or silicone gasket beneath the blender jar isn’t just a seal – it’s a moisture-trapped microclimate where mold spores, yeast colonies, and bacterial biofilm thrive unseen. The geometry of the groove matters here. Liquid and organic debris settle into a narrow channel that normal rinsing simply can’t reach.
Moisture is another easy check mark for allowing mold growth. Whatever’s going into the blender is usually accompanied by some form of moisture, like water or milk. This creates the perfect living situation for contaminants like mold and bacteria to move in. Add in all of the rubber gaskets and crevices that can trap moisture, and it’s a particle haven.
The Rinse-and-Go Habit That’s the Real Problem
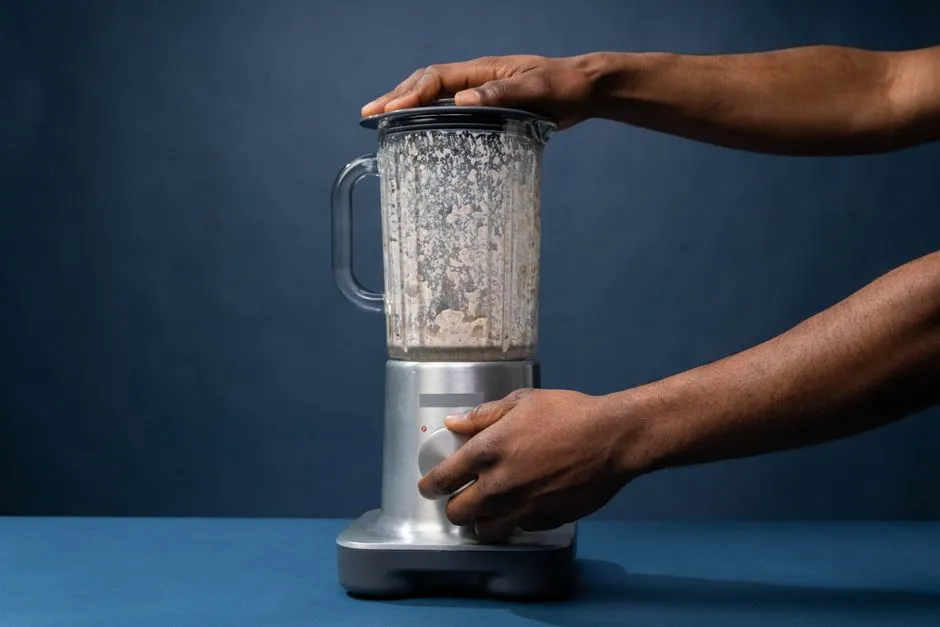
A common mistake is rinsing the blender out with hot water immediately after use and only cleaning it with soap every few uses. It looks clean after a rinse and hot water seems like it should remove any germs. That assumption is what keeps bacteria thriving in kitchens that are otherwise well maintained.
People don’t take the blender apart to wash it after every use. Even blenders with a clean function only wash the pitcher, not the base. So the gasket stays in place, slightly damp, full of invisible food residue, and ready to contaminate the next batch.
Once microorganisms are inside, every time you turn the machine on, you’re blasting all sorts of particles into what you’re making. That is not a recipe for making your body happy.
Cross-Contamination Is a Bigger Risk Than Most Realize
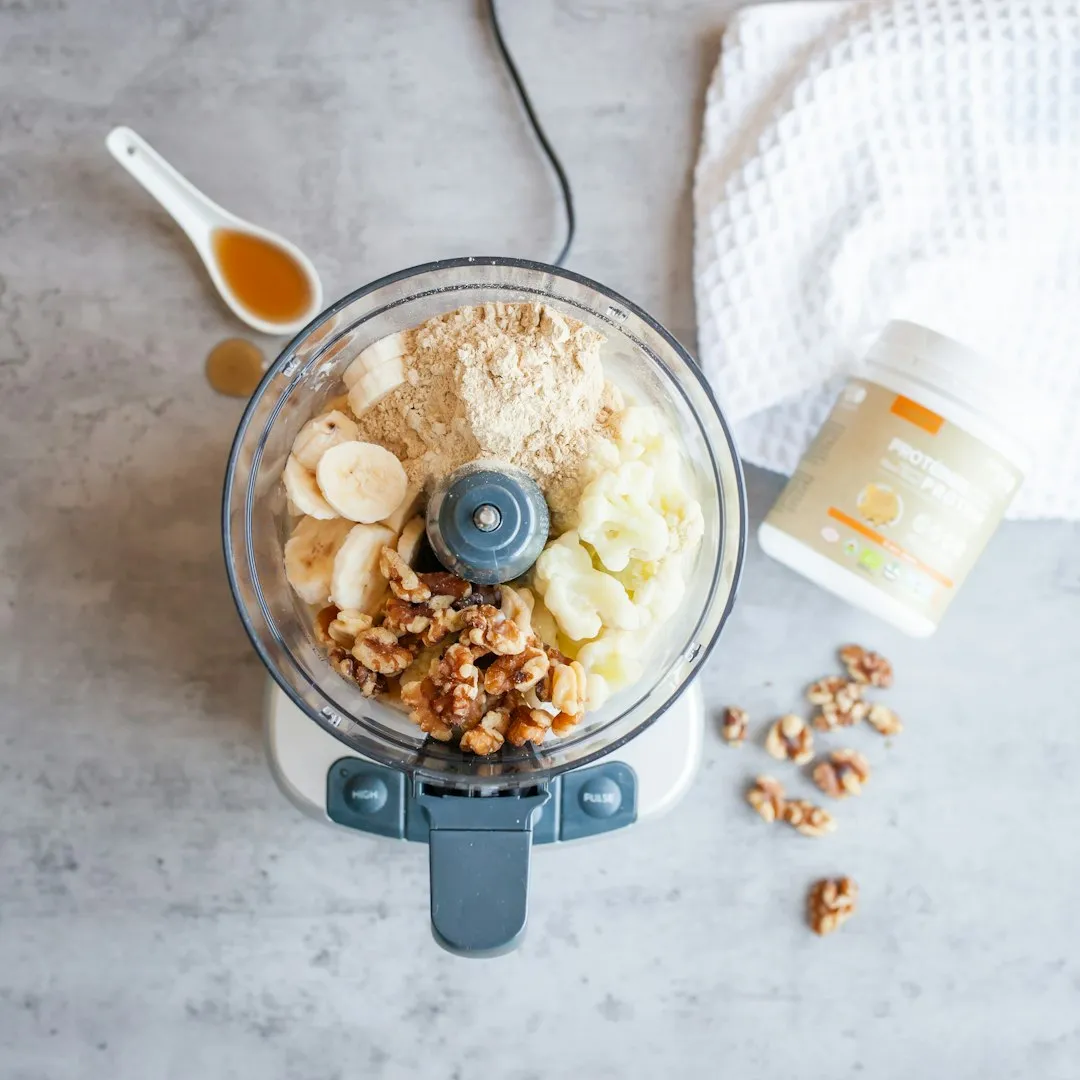
If the blender is used for both raw and cooked foods without proper cleaning, the blender gasket can become a source of cross-contamination. For example, if a blender is used to blend raw meat and is not properly cleaned, bacteria from the raw meat can remain on the gasket and transfer to other foods during subsequent blending, increasing the risk of foodborne illnesses.
Liquid food that remains inside a compromised seal decomposes and results in bacterial growth. During the blending of subsequent batches, the fresh batch can then become contaminated with the bacteria that previously formed. When the blender is turned off, contaminated liquid can drain out into the fresh food. This cross-contamination can cause offensive tastes and, more seriously, raise the potential for food poisoning.
Mold Moves In Faster Than You’d Think
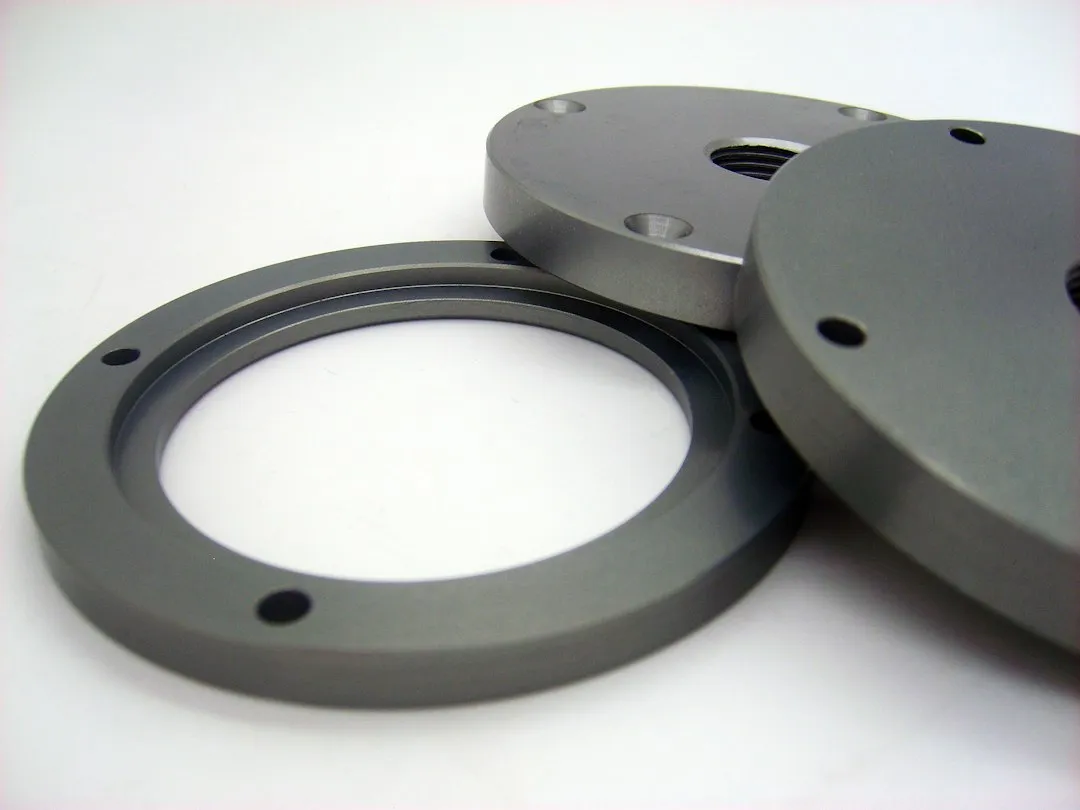
When moisture and food particles are left trapped in the blender gasket, it creates an ideal environment for mold and mildew to grow. Under the right conditions, certain mold species can begin establishing a colony within twenty-four to forty-eight hours of exposure to warmth, nutrients, and dampness – all of which the gasket groove provides consistently.
Salmonella, E. coli, yeast, and mold were all found on blender gaskets, which makes it all the more important to take the time to disassemble before cleaning. The disassembly step is the one most people skip, and it’s the one that matters most.
Gasket grime resists standard rinsing and often survives dishwasher cycles due to inadequate heat penetration and poor water circulation in the narrow groove. Putting the pitcher in the dishwasher and calling it done simply isn’t enough if the gasket is still seated and untouched.
Rubber Seals Are Reservoirs – Science Confirms It
Bacteria that colonize the extreme environment of household rubber seals were investigated using cultivation-dependent and metagenomic approaches. All thirty dishwashers investigated were colonized by various bacteria, resulting in 632 bacterial isolates in total, belonging to four phyla, eight classes, forty genera, and seventy-four species. While this specific study examined dishwasher door seals, the findings speak directly to how rubber surfaces behave in wet kitchen environments generally.
Metagenomic assessment confirmed the presence of pathogenic species such as Escherichia sp., Acinetobacter baumannii, Pseudomonas sp., Stenotrophomonas maltophilia, and Enterobacter sp. These organisms don’t need ideal conditions. They’re opportunistic and remarkably resilient in moist, food-rich environments.
The Dishwasher Doesn’t Always Save You
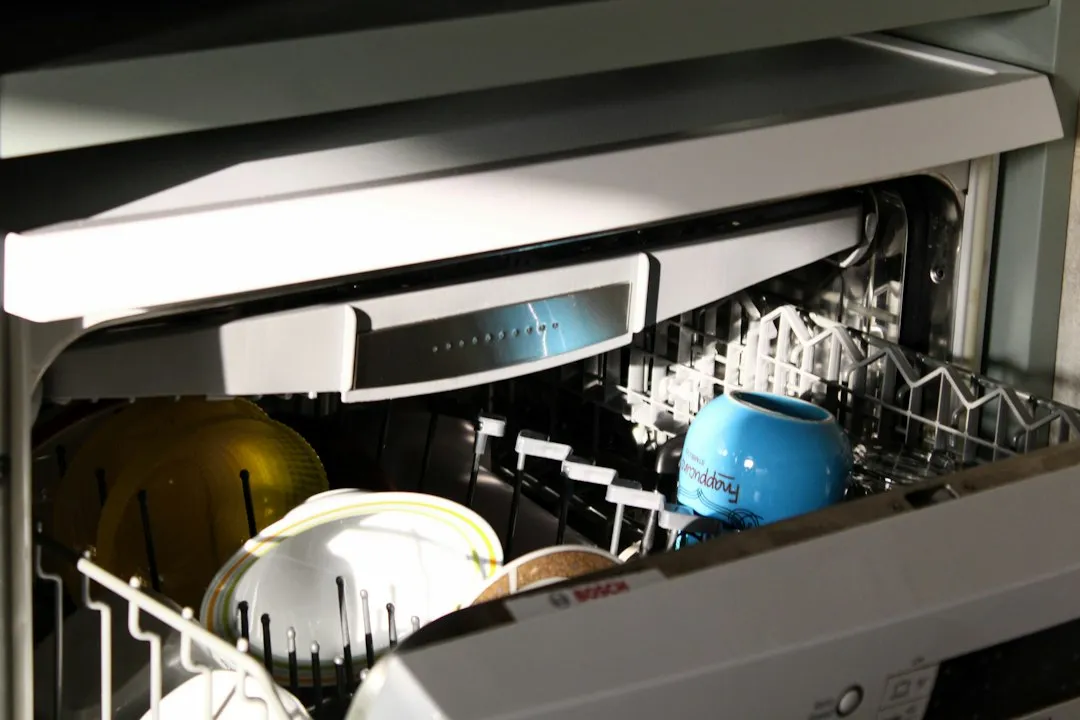
Some blender components are fine in the dishwasher, but others will get ruined or warped. Typically, glass jars can handle the heat, but plastic lids and rubber gaskets can degrade fast. Degraded rubber develops small surface cracks and texture irregularities that actually increase the surface area available for microbial colonization.
Avoid harsh chemicals such as strong solvents or bleach that can deteriorate the gasket material. Stick to mild detergents or cleaners recommended in the manual. Damaging the gasket while trying to clean it can ultimately make the contamination problem worse over time, not better.
Dishwasher safety depends on the blender model, jar material, and removable parts. Always check the manual first, especially before washing the blade assembly, gasket, or lid in a dishwasher.
What Proper Cleaning Actually Looks Like
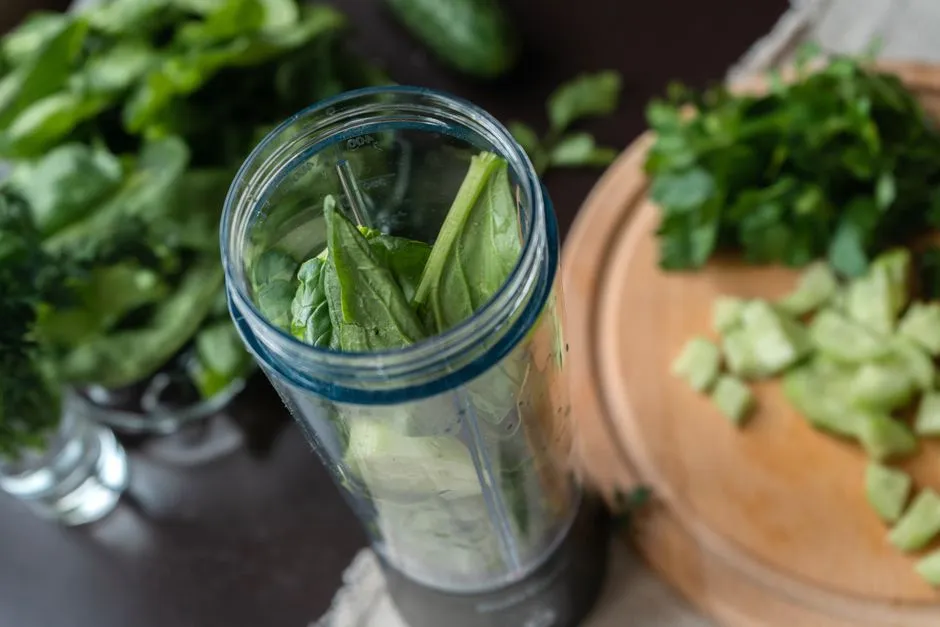
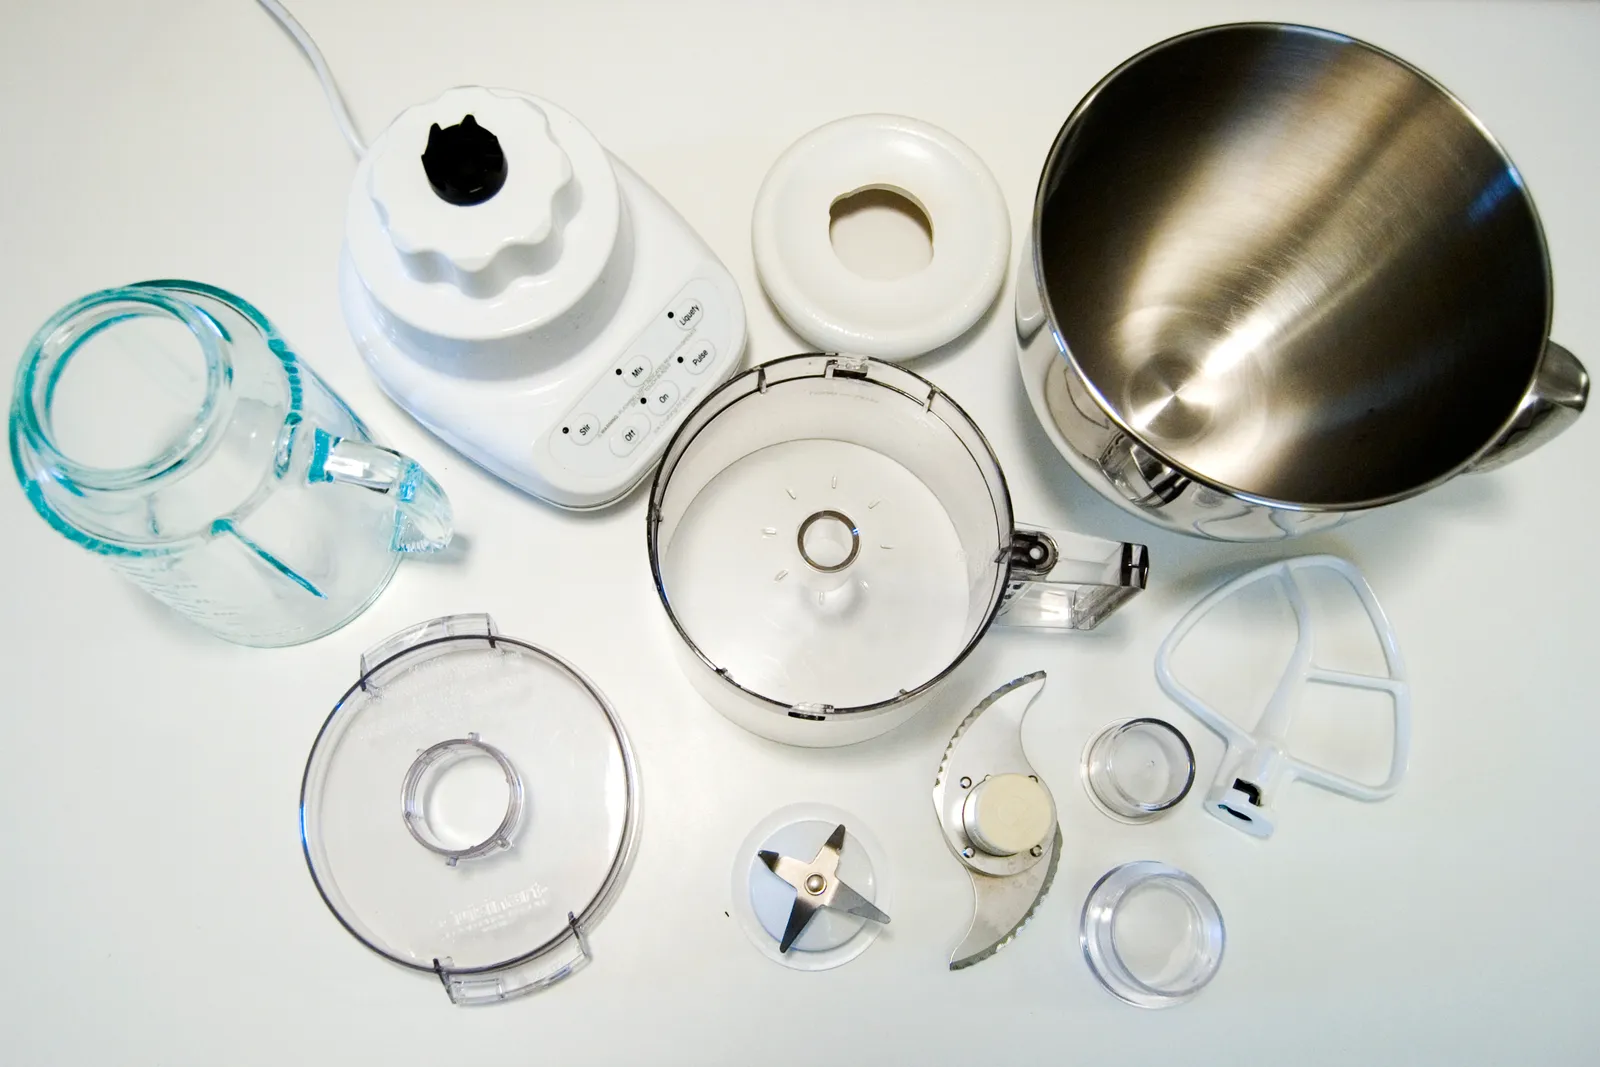
Food residue left on blender parts can create an environment where harmful bacteria may grow, potentially leading to foodborne illness. Start by separating the jar, lid, gasket, and blades from the base. Full disassembly is the non-negotiable first step that separates a superficial rinse from an actual clean.
Fill a bowl with warm water and add a drop of dish soap. Submerge the gasket fully and let it soak for five to ten minutes to loosen any residue. Use a soft sponge or cloth to gently scrub the gasket. Focus on the crevices where food particles might hide without applying too much pressure.
Ensure the gasket is completely dry before reassembling and using the blender to prevent mold growth. Drying thoroughly is just as important as washing. A damp gasket reassembled into the pitcher creates exactly the sealed, moist conditions that mold needs to get started again.
How Often Should You Actually Do This?

You should clean a blender jug, bottle, lid, and blades after every use. The quicker you clean these components, the less likely they are to develop buildup, ensuring that the blender remains hygienic. The gasket deserves the same frequency, not just occasional attention.
The regularity with which you clean the base and gasket can vary depending on the frequency of use and setting. For those working in a commercial kitchen, cleaning every part of the blender should be part of a regular routine. In a domestic kitchen, you may choose to clean the gasket and the base every few weeks or as necessary. The key word is “choose,” meaning it should actually happen on a schedule, not only when something smells off.
To prevent the potential hazards associated with blender gaskets, it is crucial to establish a regular cleaning and maintenance routine. Writing it into a weekly kitchen reset is far more reliable than relying on memory or smell.
When to Replace the Gasket Entirely

Blender gaskets help create a tight seal between the blade assembly and the blending container, preventing leaks and ensuring smooth blending. Over time, these gaskets can become dirty and worn out, potentially causing leaks and leading to a decrease in blending efficiency. To keep blender gaskets in optimal condition, it’s important to clean them regularly and replace them as necessary.
Inspect the gasket for signs of wear, cracks, or deformations before cleaning. Replace if any damage is present to ensure proper sealing. A cracked or deformed gasket is not just a leaking problem. It’s a structural invitation for bacteria to embed themselves in surfaces that can no longer be fully cleaned.
Over time, wear and tear degrade plastic and rubber components, increasing contamination risk. Most blender manufacturers sell replacement gaskets affordably and separately. Swapping one out every year or so is a small investment compared to the risk of a foodborne illness that could have been entirely avoided.
The Simple Habit Worth Building
AI Disclaimer: This article was created with the assistance of AI tools and reviewed by a human editor.