

Most gardeners replace their pruning shears too soon, or worse, keep using dull ones without realizing the damage they’re causing. A blade that’s lost its edge doesn’t just make your work harder – it actually harms the plants you’re trying to care for.
Sharp pruning tools not only make chores easier to complete, but they also make cleaner cuts, which allow plants to heal faster. Making clean cuts also exposes them to less damage from diseases, insects, fungi, and weather extremes. The good news is that restoring that edge doesn’t require professional tools or much time at all. Here’s everything you need to know.
Why Dull Blades Do More Harm Than You Think
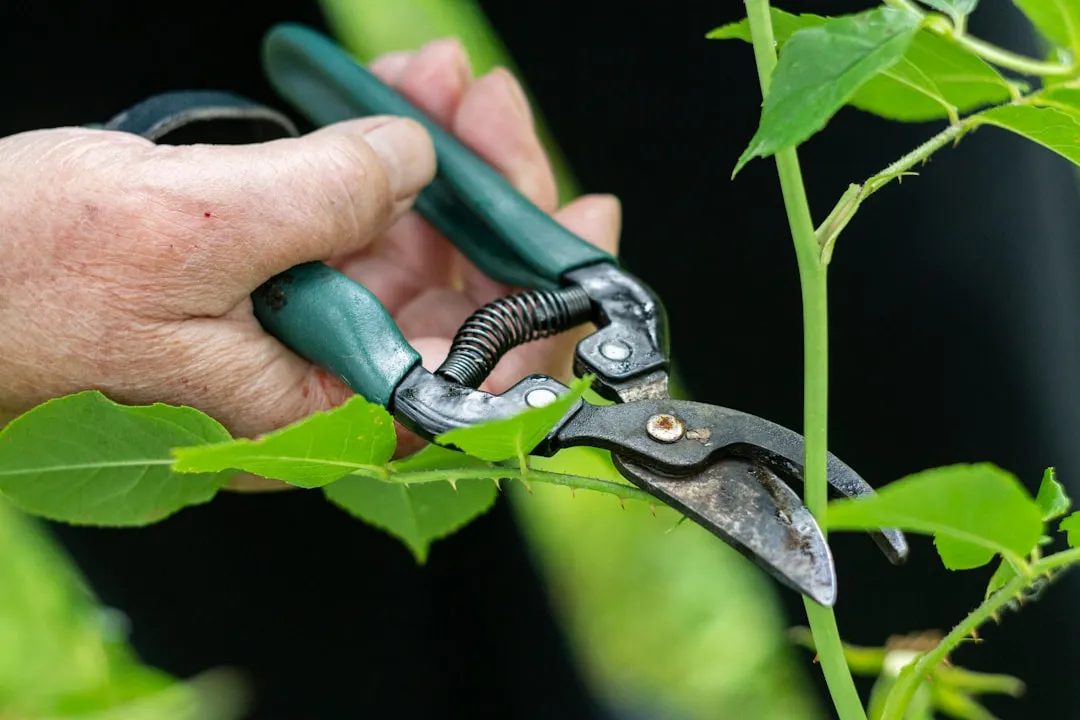
You can tell when the blade of your pruning shears has dulled because making a cut will be tougher, requiring more pressure and time. In the case of bypass pruners, the cut itself won’t be as clean either, potentially tearing the foliage and leaving it more open to disease.
Sharp pruning shears reduce strain on your hands and promote healthier plant growth, while dull blades crush instead of cut, leading to plant damage and unnecessary strain on your hands and wrists. That compression injury to plant tissue is one of the more overlooked causes of stem disease in home gardens.
Sharpening your pruning shears is more than just a chore; it’s an investment in the health of your garden and the longevity of your favorite tools. When you take the time to maintain a clean, beveled edge, you aren’t just making your work easier – you’re ensuring that every cut you make helps your plants heal faster and grow stronger.
Choosing the Right Sharpening Tool for the Job
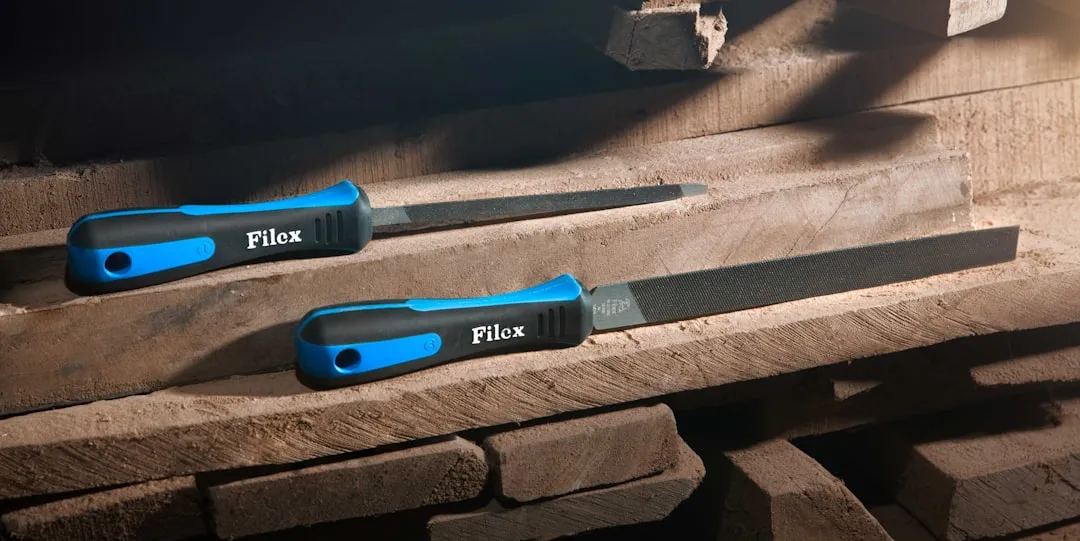
For most bypass pruning shears, a diamond file or a medium-grit whetstone is the gold standard. Diamond files are generally best for quick, dry sharpening of pruning shears while you are out in the garden.
Whetstones are better for deep restoration of pruning shears, though they usually require water or honing oil to work effectively. Carbide V-shape sharpeners are great for a quick fix, but they remove a lot of metal, so you should use them sparingly on high-quality pruning shears.
One certified approach is to use diamond files. They are easy to use, even for a novice. You’ll need three levels of coarseness: coarse, fine, and extrafine. The files are inexpensive and will last longer than your pruners. That’s a hard combination to beat for value.
Step 1: Clean the Blade Before You Do Anything Else
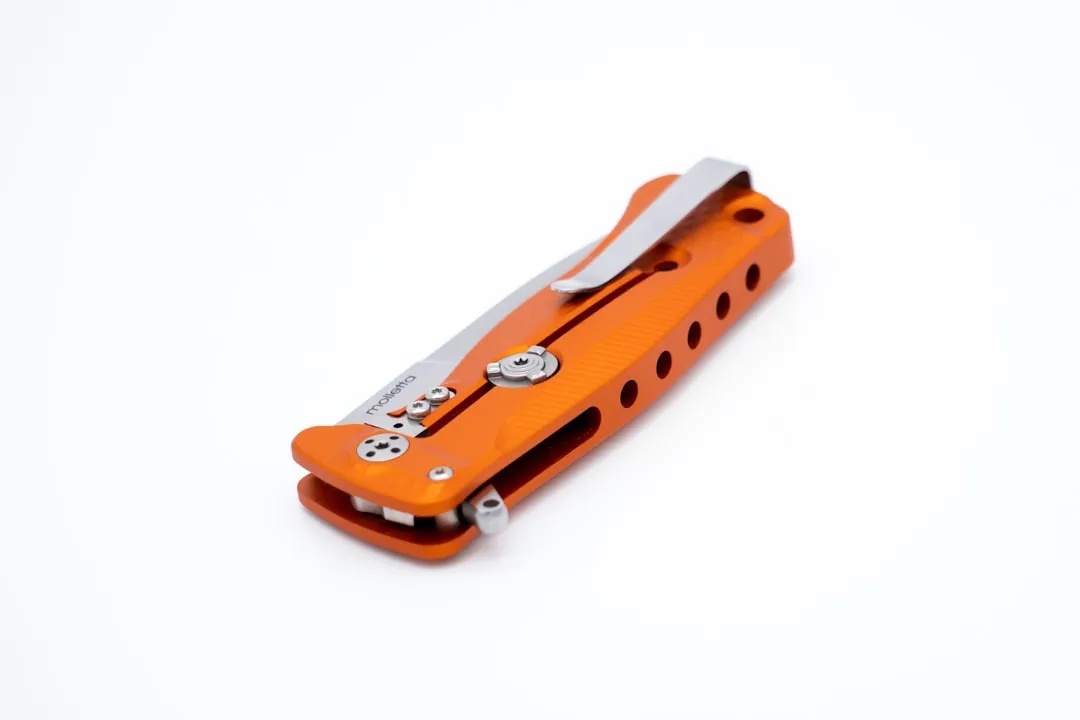
You cannot sharpen through sap. If your blades are sticky, your file will just slide off the metal. This is the step many people skip, and it’s the one that undermines everything that follows.
Start by using a stiff nylon brush or a bit of steel wool with soapy water to remove dried plant tissue. For stubborn resin, use a rag soaked in isopropyl alcohol or a specialized blade cleaner. Make sure to thoroughly dry the tool to prevent flash-rusting before you begin the actual sharpening process.
Disinfect the blades with alcohol to neutralize any fungal spores and bacteria before proceeding. This is especially important if you’ve been cutting diseased plant material, as contamination can transfer directly to healthy plants on your next use.
Step 2: Identify and Match the Bevel Angle
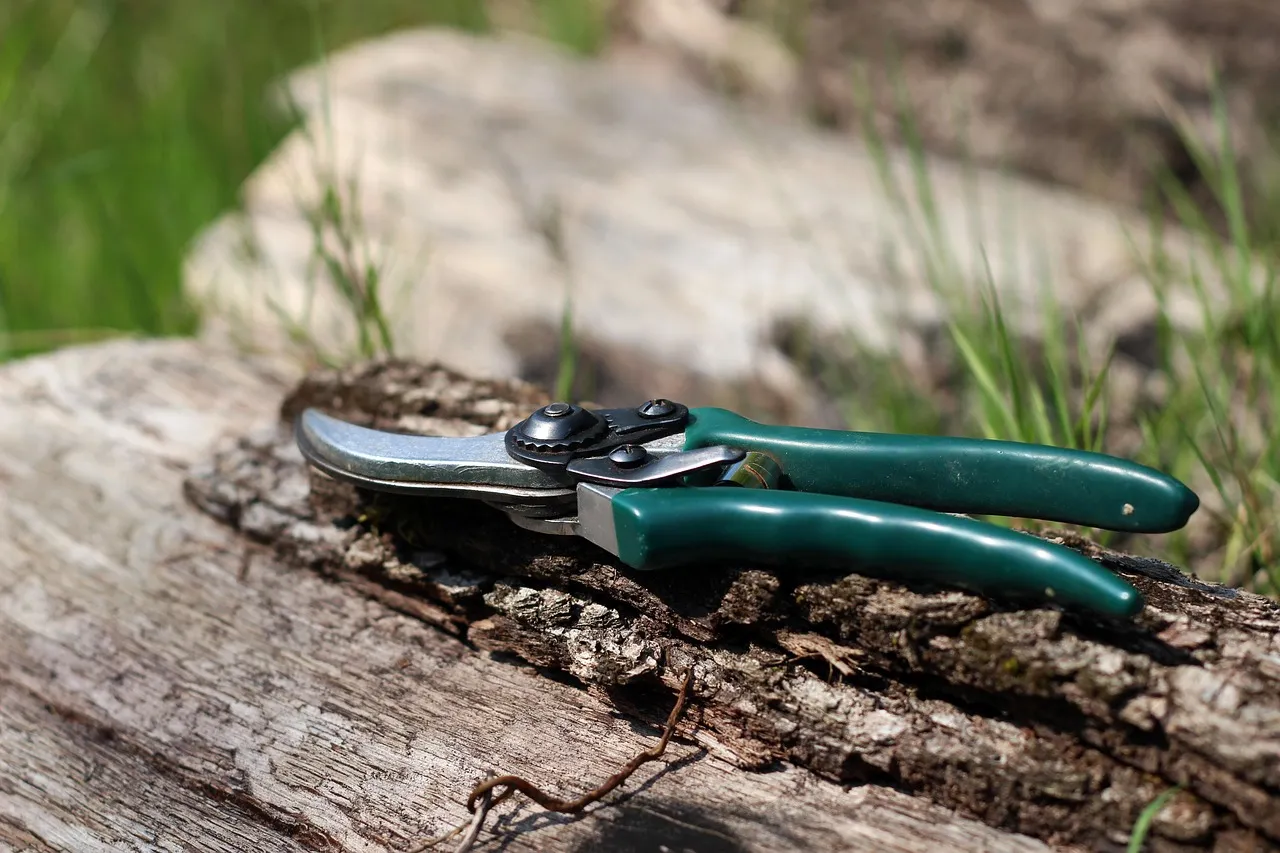
Most pruning shears are sharpened on only one side. If you look closely at the cutting blade, you will see a slanted edge called the bevel. Usually, this angle is between 20 and 25 degrees.
To get it right, lay your file flat against that slanted edge, then tilt it until it matches the factory slope. Always stroke the file away from your body, following the curve of the blade from the base to the tip. Do not saw back and forth; use smooth, single-direction strokes to ensure a uniform edge.
You must only sharpen the beveled side of the blade. Never sharpen the flat side. Doing so ruins the alignment necessary for a clean cut. It’s one of the most common beginner mistakes, and it’s also one of the hardest to undo.
Step 3: Work Through the Grits Progressively
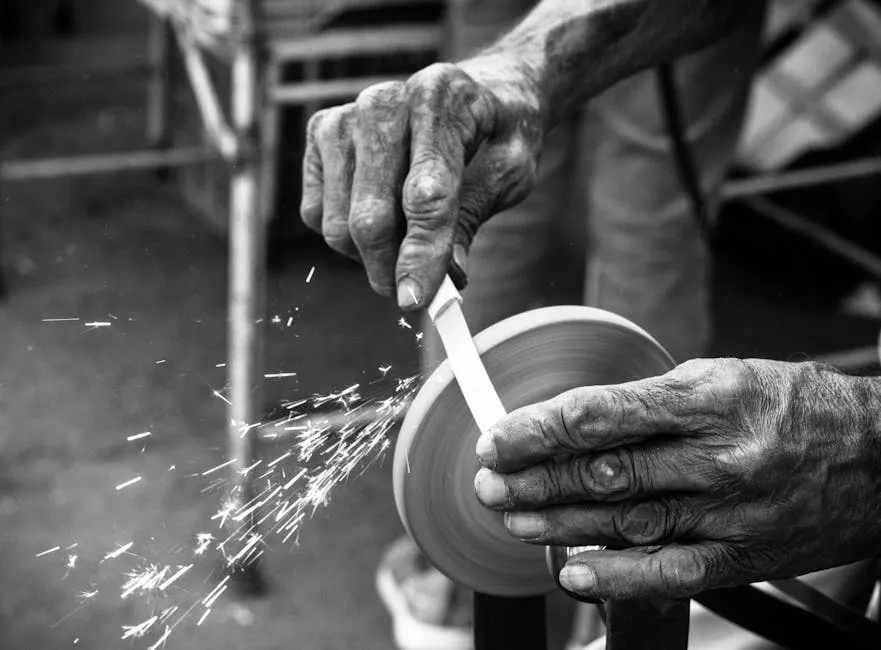
For well-maintained pruners, 10 to 20 draws with the diamond sharpener is usually sufficient, but poorly maintained pruners may need about 40 to 50 passes. The number of passes matters less than consistency of angle and pressure.
Switch to finer grits to further sharpen the beveled edge. Use the fine file first, followed by the extrafine, using the same number of passes with each as you used with the coarse file.
Each filing stroke must run parallel to the blade and run the full length of the blade. Apply even pressure from the tip to the base, and only on the forward stroke. As you file, the blade will become shiny. This is the bevel. If you are holding the file correctly, this shiny portion should be of even width along the whole blade.
Removing the Burr: The Detail That Separates Good from Great
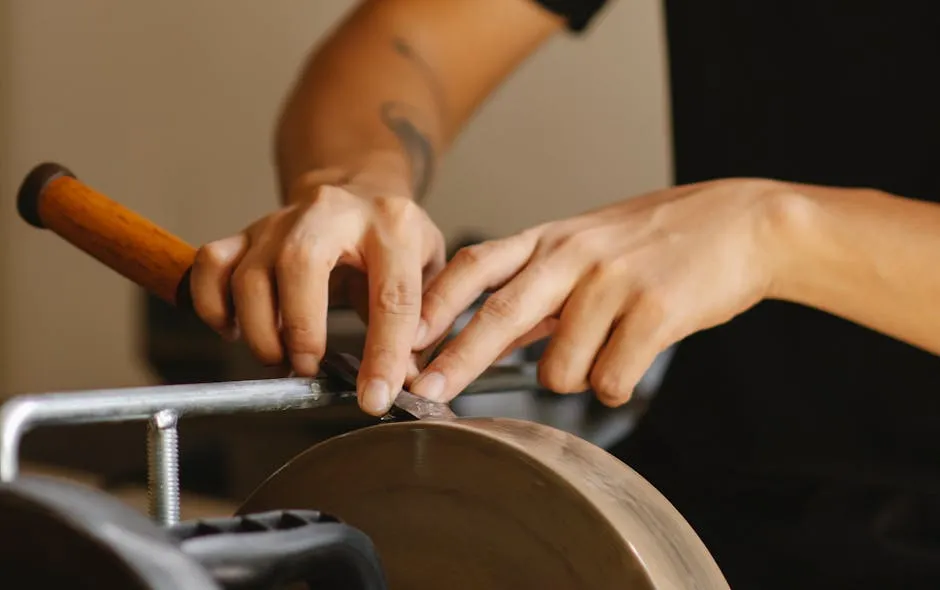
After a few passes on the beveled side, you will develop a burr, which is a tiny, microscopic lip of metal pushed over to the flat side of the blade. To fix this, flip the shears over and lay your file completely flat against the back, non-beveled side. Give it one or two light passes to shave off the burr.
During sharpening, a slight curl of metal, called a burr, will form on the back of the blade. This burr indicates that you have completely sharpened the edge. You have to take this burr off to have an immaculate, sharp cut.
This ensures the two blades can slide past each other with zero clearance. Skipping this final pass is what leaves many home-sharpened blades still cutting rough, even after a long session on the stone.
How to Test Whether Your Blade Is Actually Sharp
Telltale signs of a dull blade include nicks on its edges and tearing when you try to prune stems and branches. If you need to squeeze your shears harder than normal when trimming your plants, it’s sharpening time.
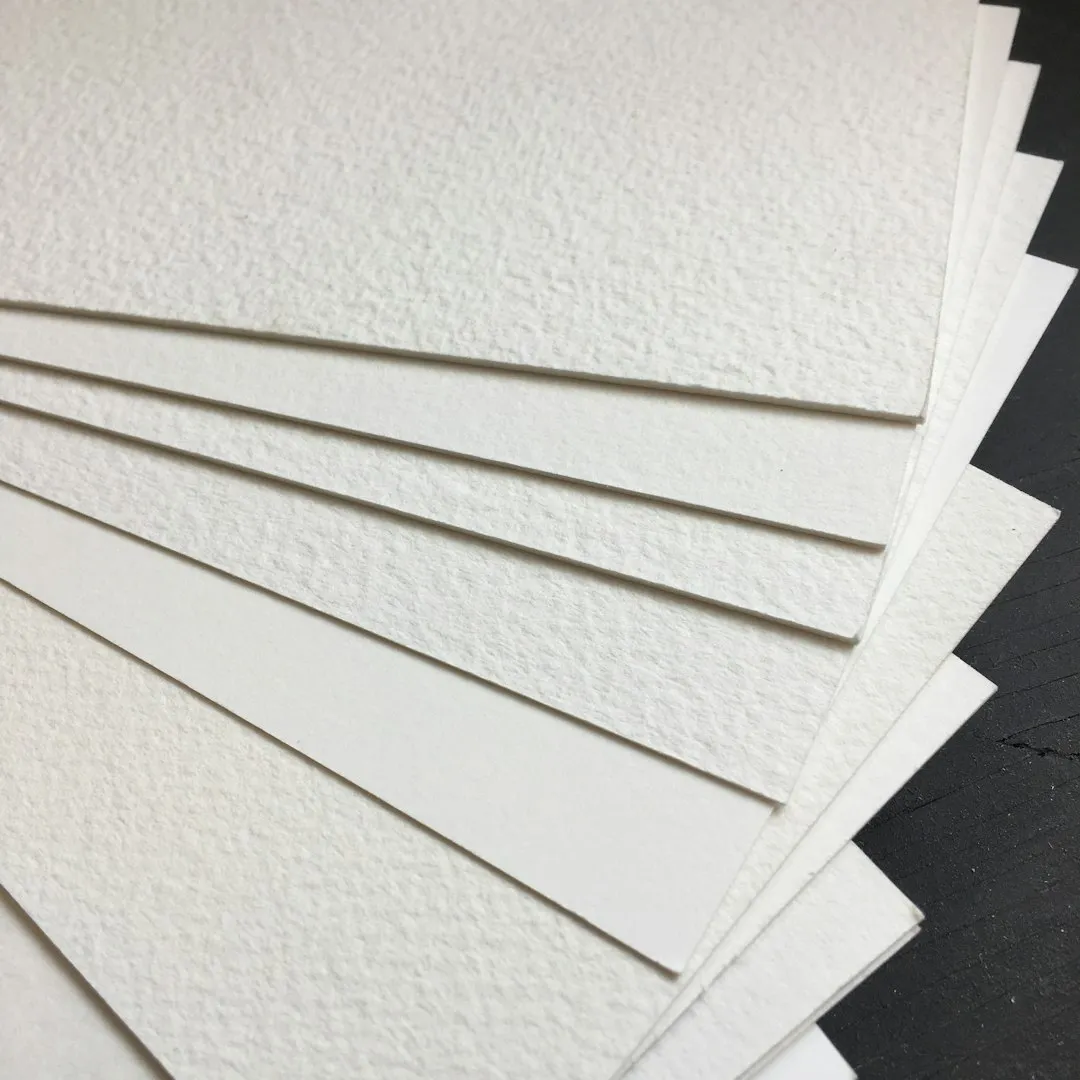
A simple paper test works well. Hold a sheet of printer paper upright and draw the blade cleanly through it in a single motion. A sharp edge slices cleanly; a dull one catches, folds, or tears the paper. If it tears at the base, check for a burr near the pivot. Once it passes the paper test, your pruning shears are officially garden-ready.
Lubricating After Sharpening: Don’t Skip This Part
After sharpening, wipe the blade clean to eliminate any metal dust and debris. Gently apply a light machine oil to the blades. It will also prevent rust.
One traditional approach is to use oil from the seeds of Camellia oleifera, which is the traditional Japanese choice for protecting tools from rust. This oil leaves a deep, non-oily, and odorless finish. Mineral oil or linseed oil are equally practical alternatives found at most hardware stores.
Additionally, grease the pivot point and the spring mechanism, as needed. This is to guarantee smooth operation. A well-lubricated pivot point is something most gardeners only notice when it’s neglected.
How Often Should You Actually Sharpen?
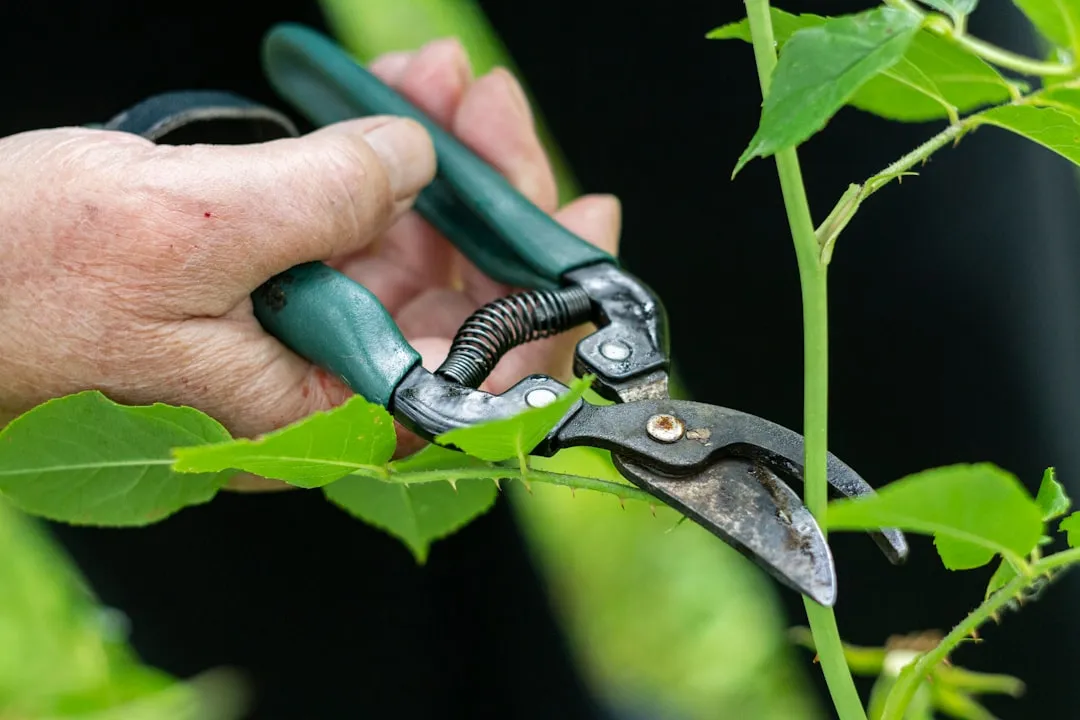
Well-used but well-maintained pruners should only need sharpening every six weeks. For gardeners who spend barely four hours a week pruning, one good sharpening a year may be adequate. It takes only about 10 minutes to sharpen hand pruners in relatively good condition.
For an average home gardener, a light touch-up every two to three uses is ideal. Professional landscapers often give their pruning shears a quick hone at the end of every workday to keep the edge tuned and ready for heavy use.
The frequency of sharpening depends on your usage and the types of plants you prune. If you frequently trim woody, dense branches, you may need to sharpen your shears every few weeks. Conversely, lighter tasks with soft-stemmed plants require less frequent sharpening, perhaps once every couple of months.
Bypass vs. Anvil Pruners: They’re Not Sharpened the Same Way
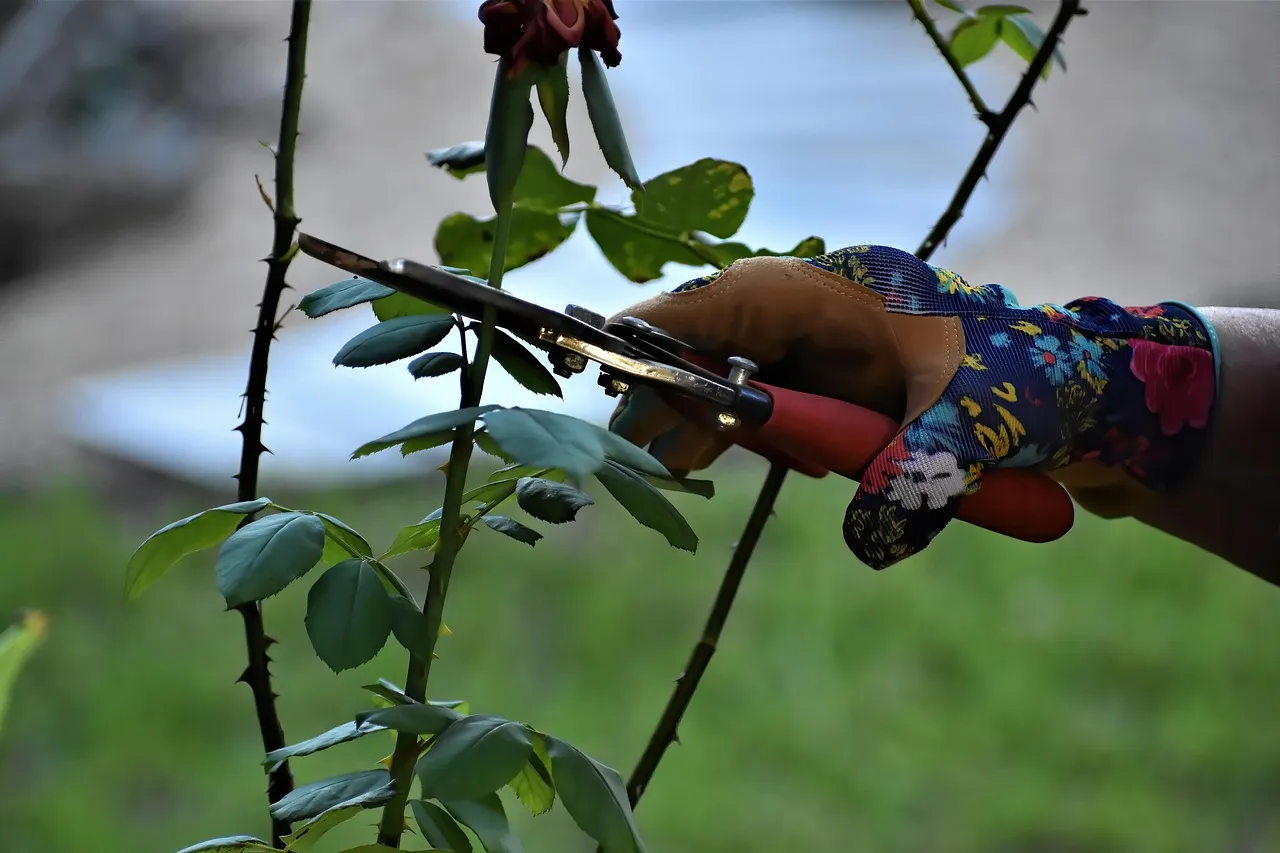
Bypass garden pruners make nice, clean cuts using two curved blades that bypass each other in the same manner as scissors. One blade is sharpened on the outside edge and slips by a thicker unsharpened blade.
Each of the blades of bypass pruners has to be sharpened from time to time to ensure smooth cutting. The bypass blade should be honed at the correct bevel angle, which typically ranges from 15° to 20°. A fine-grit oilstone works well here. If that is not done, it might be advisable to slightly grind down the top surface of the anvil utilizing a stone to eliminate any burrs which can interfere with the cutting process.
The anvil pruner’s blade should be sharpened with a whetstone or a diamond sharpening plate at the proper bevel angle. Sometimes, it is advisable to lightly hone the anvil surface to eliminate any burrs or irregularities that may hinder the cutting process. Understanding the type of pruner you’re working with makes the whole process faster and safer.
Keeping the Habit: Making Sharpening Part of Your Routine
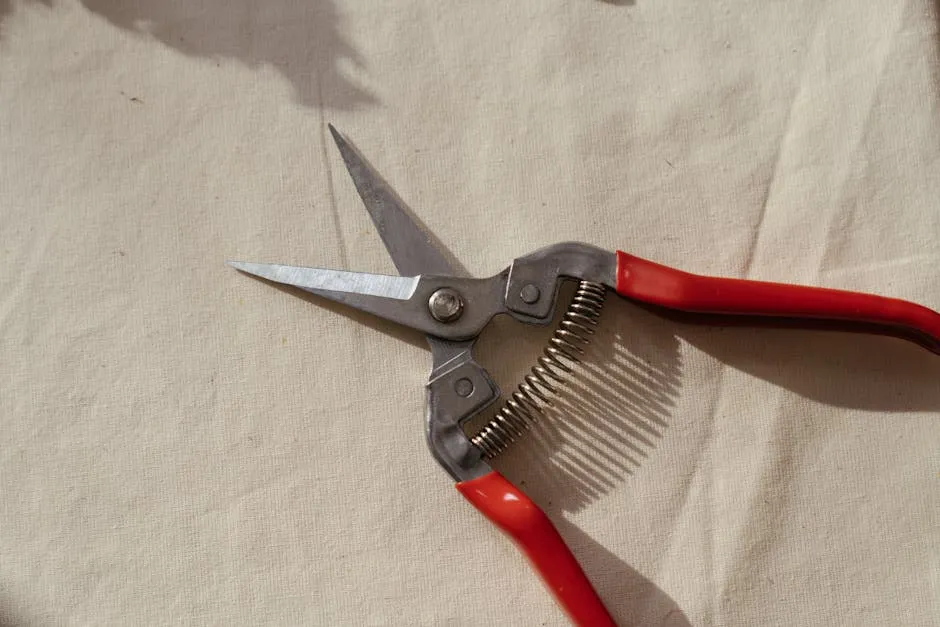
Ideally you should sharpen your tools little and often, but have an extra session two or three times a year in preparation for busy seasons. Almost as important as keeping your tools sharp is keeping them clean. Leaf sap quickly builds up on blades and clogs up the mechanism, reducing the efficiency of the cut.
Keep a pocket sharpener or carbide tool in your gardening kit for quick touch-ups in the field. It’s a small investment that pays off in faster, cleaner, and safer work.
There’s no reason why a good pair of secateurs shouldn’t last a lifetime – and regular sharpening is the single habit that makes that possible. A few minutes of maintenance now is far cheaper than a replacement pair later, and your plants will show the difference in how they heal.
AI Disclaimer: This article was created with the assistance of AI tools and reviewed by a human editor.