
Welcome to the world of Snow Queen Nectarines, where the delicate beauty of white blossoms meets the luscious sweetness of juicy fruits. If you are a gardening enthusiast looking to add a touch of elegance to your orchard or backyard, growing Snow Queen Nectarine trees is an excellent choice. Known for their exceptional flavor, vibrant appearance, and relatively easy cultivation, these nectarines are a favorite among both amateur and experienced fruit growers.
In this article, we will delve into the fascinating world of Snow Queen Nectarines, exploring their unique characteristics, ideal growing conditions, and essential care tips to ensure a bountiful harvest. So, grab your gardening tools and get ready to embark on a journey to cultivate these exquisite fruits right in your own backyard.
What is Snow Queen Nectarine?
Snow Queen Nectarine is a popular variety of nectarine tree known for its exceptional flavor and beautiful appearance. It is a deciduous fruit tree that produces medium to large-sized fruits with a smooth, firm skin that is predominantly yellow with a slight blush of red. The flesh of Snow Queen Nectarines is juicy, sweet, and aromatic, making it a delightful treat for fruit lovers.
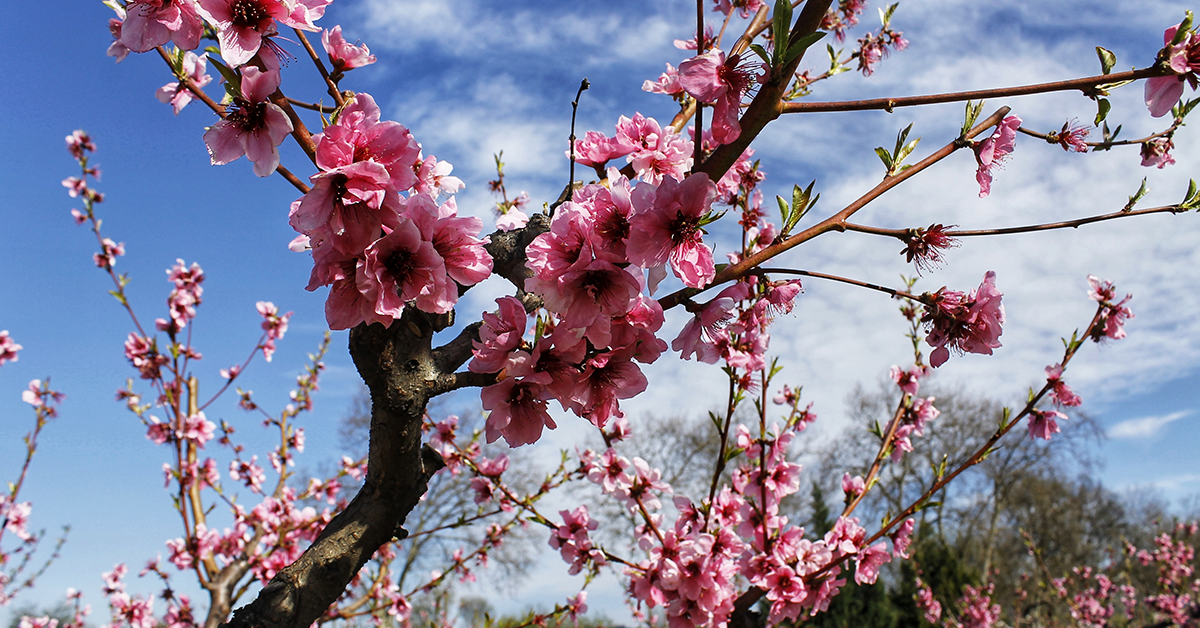
This nectarine variety typically ripens in mid to late summer, offering a bountiful harvest of delicious fruits. The tree itself has an upright growth habit and can reach a height of around 12 to 15 feet, making it suitable for both small and large gardens. Snow Queen Nectarine trees also feature attractive pink blossoms in spring, adding a touch of beauty to the landscape.
When it comes to cultivation, Snow Queen Nectarine trees require a sunny location with well-draining soil. They are relatively easy to grow and can adapt to various climatic conditions, although they thrive best in regions with mild winters and moderate summers. Regular watering, proper pruning, and adequate fertilization are essential for maintaining the health and productivity of these trees.
Overall, Snow Queen Nectarine is an excellent choice for home gardeners looking to enjoy the delectable taste of fresh nectarines straight from their own backyard.
What does Snow Queen Nectarine taste like?
Snow Queen Nectarine is known for its exceptional flavor profile, which is both sweet and tangy. The taste is often described as a perfect balance between sugary sweetness and a slight tartness, making it a delightful treat for the taste buds.
The sweetness of Snow Queen Nectarine is reminiscent of honey or ripe tropical fruits. It has a luscious, juicy texture that melts in your mouth, leaving a refreshing and satisfying sensation. The natural sugars in this nectarine variety are well-developed, providing a rich and intense sweetness that is highly enjoyable.
In addition to its sweetness, Snow Queen Nectarine also offers a tangy and slightly acidic note. This tartness adds a pleasant contrast to the overall flavor profile, enhancing the complexity and making it more interesting. The tanginess is not overpowering but rather provides a subtle zing that balances out the sweetness, creating a harmonious taste experience.
Overall, Snow Queen Nectarine is a delectable fruit with a flavor profile that combines the best of both sweet and tangy elements. Its unique blend of sweetness and tartness makes it a favorite among nectarine enthusiasts, offering a delightful and refreshing taste that is sure to please.
How to start Snow Queen Nectarine from seed
Starting Snow Queen Nectarine trees from seeds can be a bit challenging as they may not grow true to the parent tree and may take several years to bear fruit. However, if you still want to give it a try, here is a guide on starting Snow Queen Nectarine trees from seeds:
- Seed Selection: Obtain fresh Snow Queen Nectarine seeds from a reputable source. Make sure the fruit is fully ripe before extracting the seeds.
- Seed Preparation: Remove the seeds from the fruit and wash off any remaining pulp. Dry the seeds for a few days to remove excess moisture.
- Cold Stratification: Nectarine seeds require a period of cold stratification to break their dormancy. Place the seeds in a damp paper towel or a plastic bag with moist peat moss, and then store them in the refrigerator for about 8-12 weeks. This mimics the natural winter conditions that the seeds would experience in their native habitat.
- Germination: After the cold stratification period, take the seeds out of the refrigerator and plant them in seedling trays or small pots filled with well-draining potting mix. Plant the seeds about 1 inch deep and cover them with a thin layer of soil.
- Warmth and Moisture: Place the trays or pots in a warm location with temperatures around 70-80°F (21-27°C). Keep the soil consistently moist but not waterlogged. You can cover the containers with plastic wrap or use a propagator to create a humid environment.
- Seedling Care: Once the seeds germinate and seedlings emerge, provide them with bright, indirect sunlight. Gradually acclimate them to direct sunlight over a period of a few weeks. Keep the soil evenly moist and avoid overwatering, as excessive moisture can lead to root rot.
- Transplanting: When the seedlings have developed a few sets of true leaves and are about 6-8 inches tall, they can be transplanted into larger pots or containers. Use a well-draining potting mix and ensure the container has drainage holes.
- Hardening Off: Before planting the seedlings outdoors, gradually expose them to outdoor conditions over a period of 1-2 weeks. Start by placing them in a sheltered location for a few hours each day and gradually increase the time and exposure to direct sunlight.
- Planting Outdoors: Choose a sunny location in your garden with well-draining soil. Dig a hole slightly larger than the root ball of the seedling. Place the seedling in the hole, backfill with soil, and gently firm it around the roots. Water thoroughly after planting.
- Care and Maintenance: Provide regular watering, especially during dry periods, to keep the soil consistently moist but not waterlogged. Apply a balanced fertilizer in early spring and prune the tree in late winter or early spring to maintain its shape and remove any dead or damaged branches.
Remember, growing nectarine trees from seeds may result in variations in fruit quality and characteristics. For consistent and reliable results, it is recommended to obtain graft stock or young trees from a reputable nursery.
When to plant Snow Queen Nectarine outdoors
The ideal time to plant Snow Queen Nectarine trees is in late winter or early spring, before the tree starts to bud and leaf out. This is typically between February and April, depending on your specific climate and region. Planting during this time allows the tree to establish its root system before the onset of hot summer temperatures.
Growing & care guide
Snow Queen Nectarine trees are a delightful addition to any garden, producing delicious and juicy fruits. To ensure the health and productivity of your Snow Queen Nectarine tree, it is important to follow these best practices for caring for it:
- Location: Choose a sunny spot in your garden that receives at least 6-8 hours of direct sunlight daily. Snow Queen Nectarine trees thrive in warm climates, so ensure the location is well-drained and protected from strong winds.
- Soil Preparation: Prepare the soil before planting by ensuring it is well-drained and rich in organic matter. Nectarine trees prefer slightly acidic soil with a pH level between 6.0 and 6.5. If your soil is alkaline, consider amending it with sulfur or organic matter to lower the pH.
- Planting: Dig a hole that is wide and deep enough to accommodate the tree’s root system. Gently spread the roots out in the hole and backfill with the amended soil, ensuring the tree is planted at the same depth as it was in the nursery container. Water thoroughly after planting to settle the soil and eliminate any air pockets.
- Watering: Nectarine trees require regular watering, especially during the growing season. Water deeply, providing enough moisture to reach the root zone. Avoid overwatering, as it can lead to root rot. Mulching around the base of the tree helps retain soil moisture and prevents weed growth.
- Fertilization: Feed your Snow Queen Nectarine tree with a balanced fertilizer in early spring before new growth begins. Use a fertilizer specifically formulated for fruit trees, following the manufacturer’s instructions. Avoid excessive nitrogen fertilizers, as they can promote excessive vegetative growth at the expense of fruit production.
- Pruning: Prune your Snow Queen Nectarine tree during the dormant season, preferably in late winter or early spring before bud break. Remove any dead, damaged, or diseased branches. Thin out crowded branches to improve air circulation and sunlight penetration. Pruning also helps maintain the tree’s shape and size, making it easier to harvest the fruits.
- Pest and Disease Control: Regularly monitor your Snow Queen Nectarine tree for common pests such as aphids, scale insects, and peach leaf curl. Use organic or chemical insecticides as necessary, following the instructions carefully. Apply a fungicide in early spring to prevent peach leaf curl, a common fungal disease affecting nectarine trees.
- Harvesting: Snow Queen Nectarines are ready for harvest when they are fully ripe and easily detach from the tree with a gentle twist. The fruits should have a vibrant color, a sweet aroma, and a slight give when gently pressed. Harvesting at the right time ensures the best flavor and texture.
By following these best practices, you can ensure the health and productivity of your Snow Queen Nectarine tree, allowing you to enjoy a bountiful harvest of delicious nectarines for years to come.
Harvesting guide
Snow Queen nectarines are typically ready for harvest in late spring or early summer, depending on the specific climate and growing conditions. Here are some guidelines to help you determine when and how to harvest Snow Queen nectarines:
- Color: Look for a change in color from green to a creamy yellow or golden hue. Snow Queen nectarines should have a vibrant, uniform color across the fruit’s surface.
- Firmness: Gently squeeze the fruit to check for firmness. Snow Queen nectarines should be slightly soft but still have some resistance. Avoid harvesting them if they are too firm or too soft.
- Ease of separation: Nectarines that are ready for harvest should easily separate from the tree when gently twisted or lifted. If they require excessive force to detach, they may not be fully ripe.
- Taste test: One of the best ways to determine if a Snow Queen nectarine is ready for harvest is by tasting one. Pick a fruit that meets the color and firmness criteria mentioned above and sample it. The nectarine should be juicy, sweet, and have a good flavor. If it tastes underripe or lacks sweetness, give the remaining fruit more time to ripen.
When harvesting Snow Queen nectarines, follow these steps:
- Use clean, sharp pruning shears or scissors to cut the fruit from the tree. Make a clean cut close to the stem or branch to avoid damaging the fruit or tree.
- Handle the nectarines with care to prevent bruising or puncturing. Place them gently in a harvest basket or container.
- Avoid pulling or tugging on the fruit, as this can damage the tree or cause the fruit to ripen unevenly.
- Harvest nectarines in the morning when temperatures are cooler. This helps preserve the fruit’s quality and reduces the risk of sunburn.
- Once harvested, store Snow Queen nectarines at room temperature if they need further ripening. If they are fully ripe, you can refrigerate them to extend their shelf life for a few days.
Remember that the exact timing of harvest can vary depending on your specific growing conditions, so it’s essential to monitor the fruit’s color, firmness, and taste to determine the best time to harvest Snow Queen nectarines.