Welcome to the world of growing Silver Queen Corn, a delightful and versatile variety that will surely elevate your gardening experience. Whether you are a seasoned gardener or just starting out, this article will guide you through the step-by-step process of successfully cultivating Silver Queen Corn in your own backyard. Known for its exceptional taste and tender kernels, Silver Queen Corn is a popular choice among corn enthusiasts.
With its high sugar content and creamy texture, this variety is perfect for grilling, steaming, or enjoying fresh off the cob. So, grab your gardening tools and let’s dive into the fascinating journey of growing Silver Queen Corn, from selecting the right seeds to harvesting a bountiful crop.
What is Silver Queen Corn?
Silver Queen Corn is a popular variety of sweet corn known for its exceptional taste and attractive appearance. It is a hybrid variety that was first introduced in the 1950s and has since become a favorite among gardeners and corn enthusiasts. The plants of Silver Queen Corn are tall and sturdy, reaching a height of about 6 to 7 feet (1.8 to 2.1 meters).
They have dark green leaves and produce multiple ears per stalk. The ears are large, typically measuring around 8 to 9 inches (20 to 23 centimeters) in length, and are covered with tightly packed, milky-white kernels. One of the key features of Silver Queen Corn is its deliciously sweet flavor. The kernels are tender and juicy, providing a delightful burst of sweetness with every bite. This variety is often enjoyed fresh off the cob, but it can also be used for canning, freezing, or grilling.
Silver Queen Corn is a mid-season variety, usually taking around 85 to 92 days to reach maturity. It is known for its excellent yield, producing an abundance of ears per plant. The plants are also relatively disease-resistant, making them a reliable choice for gardeners.
What does Silver Queen Corn taste like?
Silver Queen Corn is a popular variety known for its exceptional flavor and sweetness. When it comes to the flavor profile of Silver Queen Corn, there are several key characteristics to consider.
First and foremost, Silver Queen Corn is renowned for its remarkable sweetness. The kernels are tender and succulent, bursting with a natural sweetness that is often described as candy-like. This sweetness is a result of the high sugar content in the corn, making it a delightful treat for the taste buds.
In addition to its sweetness, Silver Queen Corn also offers a subtle and delicate flavor. The taste is mild and slightly creamy, with a hint of nuttiness. This combination of flavors creates a well-balanced and enjoyable eating experience.
The texture of Silver Queen Corn is another aspect that contributes to its flavor profile. The kernels are plump and juicy, providing a satisfying crunch when bitten into. The tenderness of the corn adds to the overall enjoyment of eating it, as it practically melts in your mouth.
Furthermore, Silver Queen Corn has a fresh and clean taste. It captures the essence of summer, evoking images of sunny fields and warm breezes. The natural flavors of the corn shine through, making it a refreshing and delightful addition to any meal.
When cooked, Silver Queen Corn retains its sweetness and flavor remarkably well. Whether boiled, grilled, or roasted, it maintains its tender texture and delicious taste. The cooking process enhances the natural flavors of the corn, resulting in a rich and satisfying culinary experience.
Overall, the flavor profile of Silver Queen Corn can be described as exceptionally sweet, subtly creamy, slightly nutty, and refreshingly fresh. Its tender and juicy texture, combined with its natural sweetness, makes it a highly sought-after variety for corn lovers. Whether enjoyed on its own, incorporated into salads or salsas, or used in various culinary creations, Silver Queen Corn is sure to impress with its delectable taste.
How to start Silver Queen Corn from seed
Here is a comprehensive guide on starting Silver Queen Corn:
- Choosing the Right Time: Silver Queen Corn is a warm-season crop, so it’s important to plant it after the danger of frost has passed and the soil temperature has reached at least 60°F (15°C). In most regions, this is usually around late spring or early summer.
- Selecting a Location: Choose a sunny spot in your garden that receives at least 6-8 hours of direct sunlight per day. The soil should be well-draining and rich in organic matter. Corn is a heavy feeder, so it’s beneficial to amend the soil with compost or well-rotted manure before planting.
- Preparing the Soil: Remove any weeds or grass from the planting area and loosen the soil to a depth of 8-10 inches (20-25 cm). This will help the corn roots to establish easily and access nutrients.
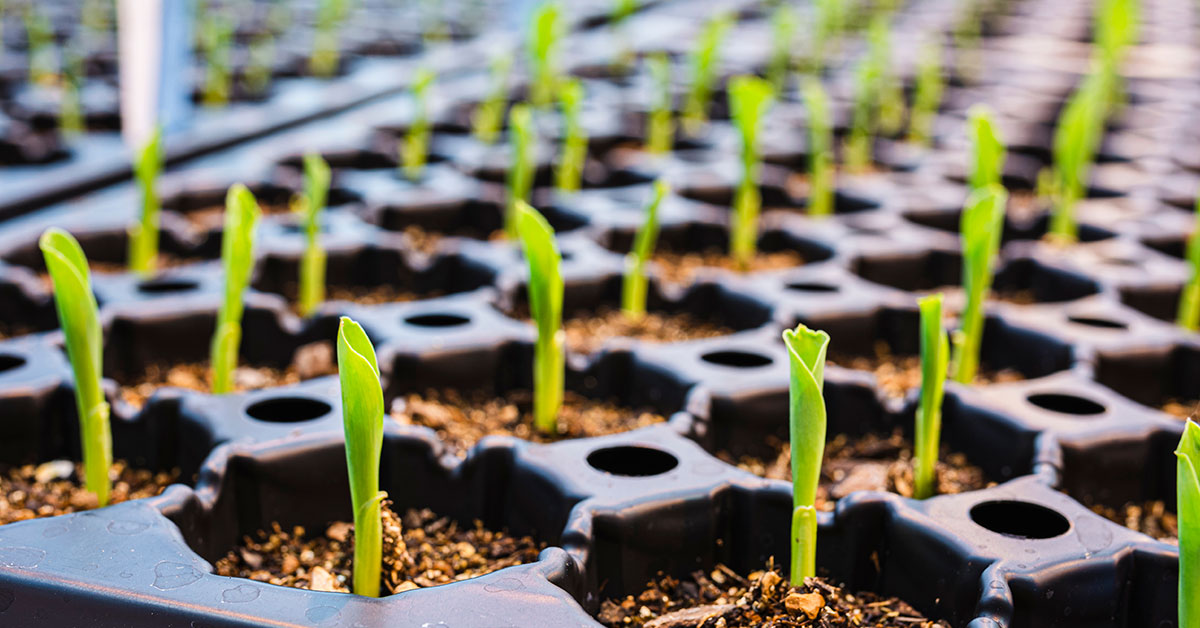
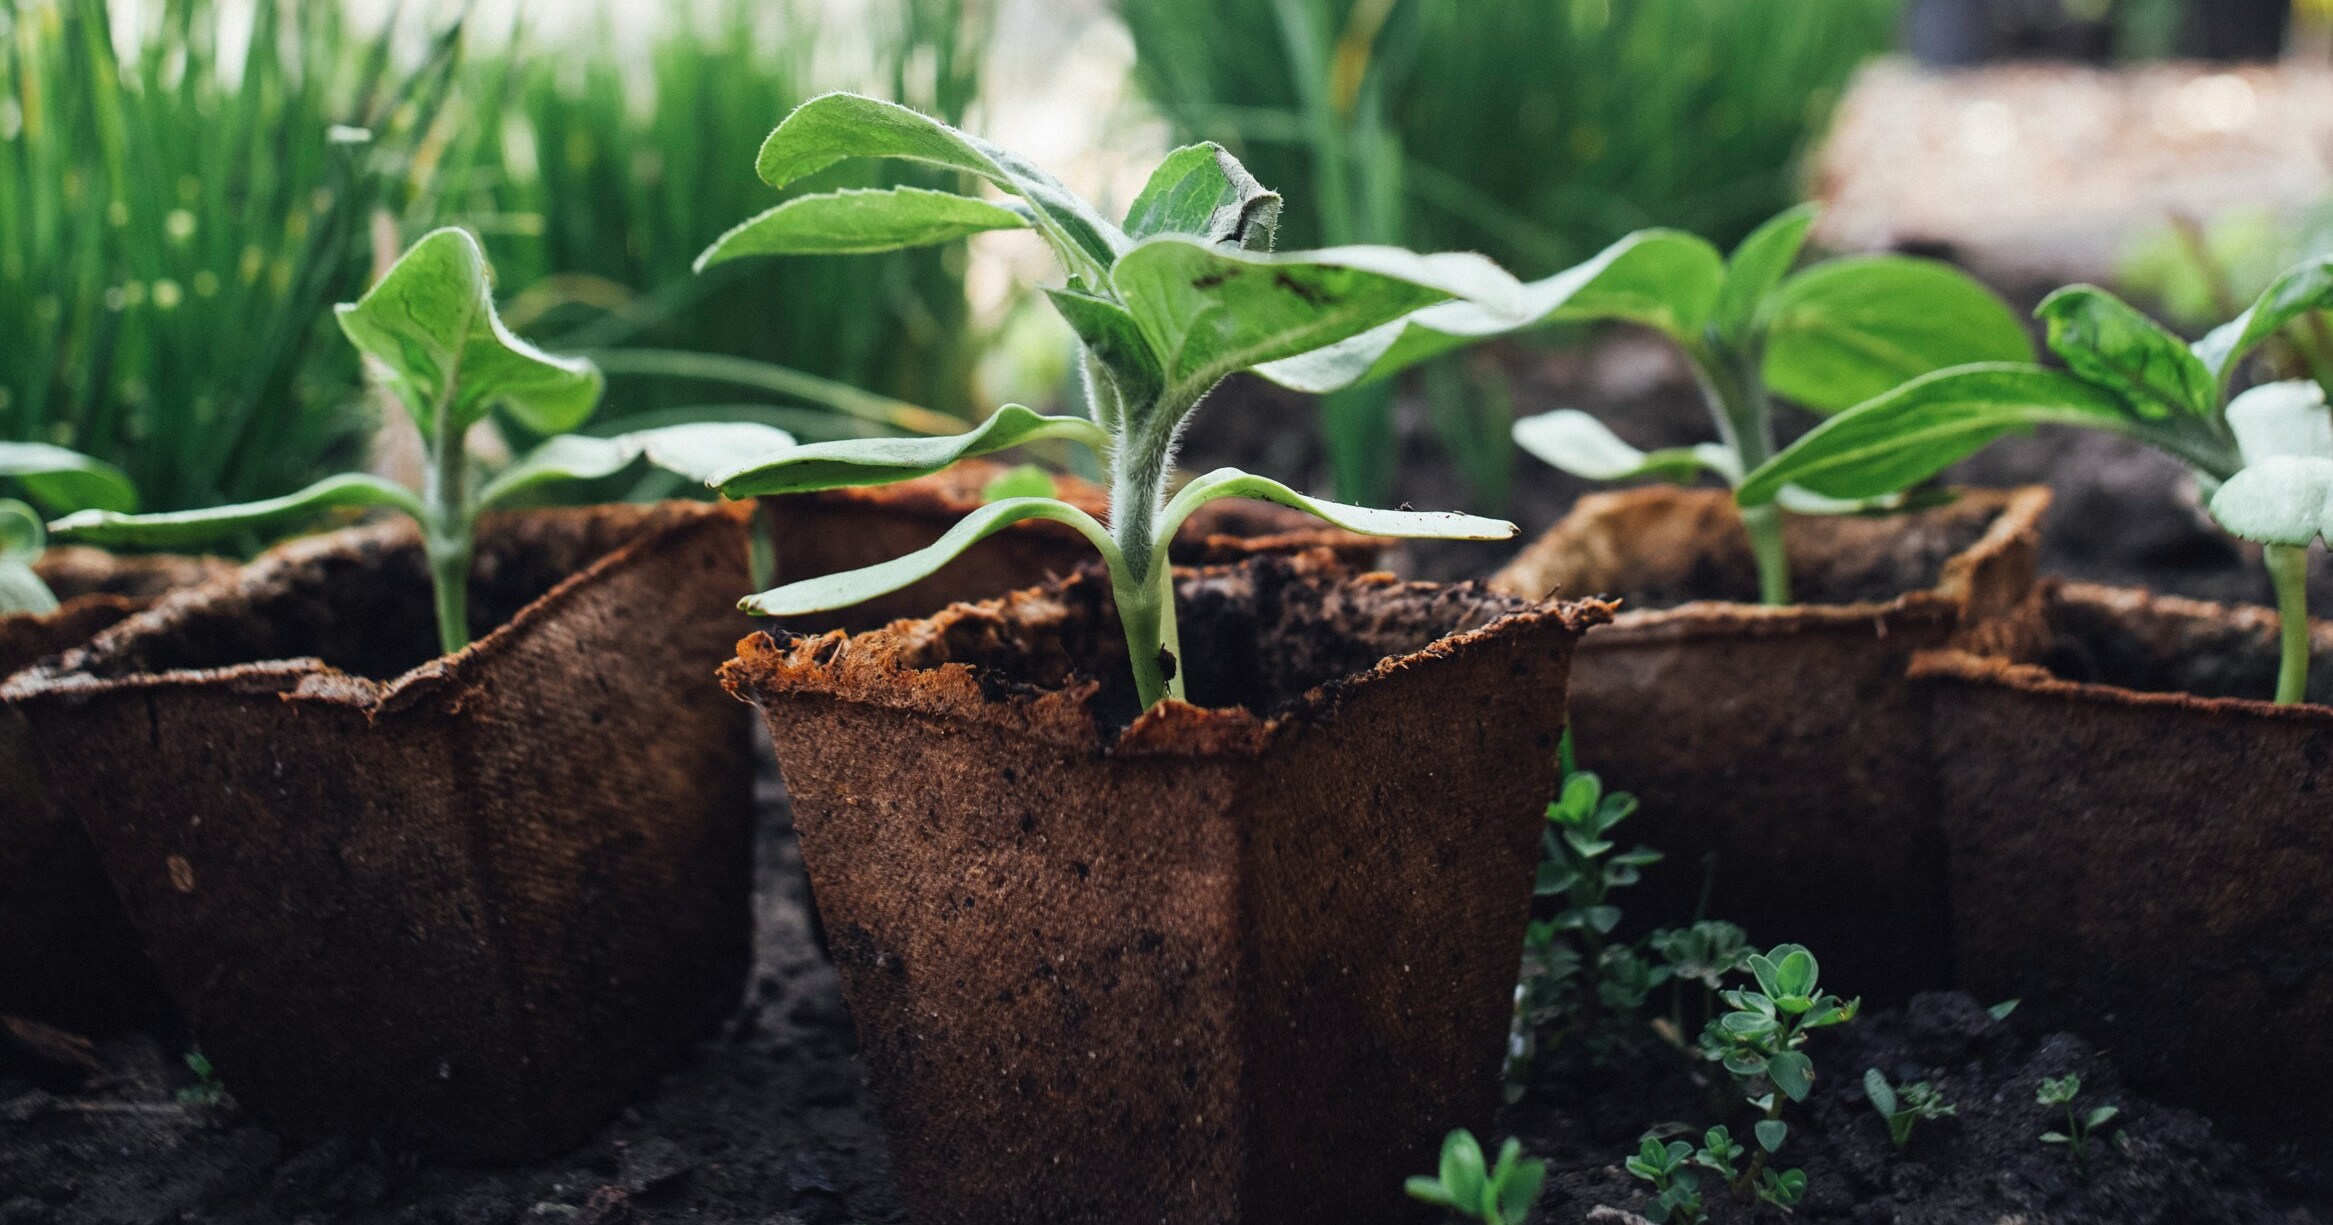
- Planting Seeds: Silver Queen Corn can be directly sown in the garden or started indoors and transplanted later. If starting indoors, sow the seeds in biodegradable pots about 2-3 weeks before the last expected frost date. Plant the seeds 1 inch (2.5 cm) deep and space them 6-8 inches (15-20 cm) apart. If planting directly in the garden, sow the seeds 1 inch (2.5 cm) deep and space them 8-12 inches (20-30 cm) apart in rows that are 30-36 inches (75-90 cm) apart.
- Watering: Keep the soil consistently moist but not waterlogged. Water deeply once or twice a week, providing about 1 inch (2.5 cm) of water each time. Avoid overhead watering, as it can lead to fungal diseases. Consider using a soaker hose or drip irrigation system to deliver water directly to the roots.
- Fertilizing: Corn is a heavy feeder and requires regular fertilization. Apply a balanced, slow-release fertilizer or compost at planting time. Side-dress the plants with nitrogen-rich fertilizer when they are about 12 inches (30 cm) tall and again when they start to tassel. Follow the package instructions for the appropriate amount to use.
- Mulching: Apply a layer of organic mulch around the base of the plants to help conserve moisture, suppress weed growth, and maintain a more even soil temperature.
- Providing Support: Silver Queen Corn plants can grow quite tall, reaching heights of 6-8 feet (1.8-2.4 meters). To prevent lodging (falling over) during strong winds or heavy rain, it’s recommended to provide support. This can be done by creating a simple trellis or using stakes and tying the plants gently to them.
- Monitoring for Pests and Diseases: Keep an eye out for common corn pests such as corn earworms, aphids, and armyworms. Regularly inspect the plants for any signs of disease, such as rust or fungal infections. If necessary, treat with organic pest control methods or consult a local gardening expert for specific recommendations.
- Harvesting: Silver Queen Corn is typically ready for harvest 75-90 days after planting. The ears are ready to be picked when the silks turn brown and dry, and the kernels are plump and milky when pierced. To harvest, hold the stalk firmly and twist the ear downward until it snaps off.
By following these steps, you’ll be well on your way to growing delicious Silver Queen Corn in your garden. Enjoy the process and the bountiful harvest!
When to plant Silver Queen Corn outdoors
The ideal time to plant Silver Queen Corn depends on your location and climate. Generally, Silver Queen Corn is a warm-season crop that requires soil temperatures of at least 60°F (15°C) for successful germination and growth.
If you are in a region with a short growing season, it is recommended to start seeds indoors 2-3 weeks before the last frost date. This will give the seedlings a head start and allow you to transplant them outdoors once the soil has warmed up.
In areas with a longer growing season and warmer climates, you can directly sow the Silver Queen Corn seeds into the garden soil after the last frost date. The soil temperature should be consistently above 60°F (15°C) for optimal germination.
To ensure a comprehensive planting, it is advisable to sow the seeds in rows with a spacing of about 12-18 inches (30-45 cm) between each plant. This will provide enough room for the corn plants to grow and develop properly.
Remember to provide adequate water, sunlight, and nutrients throughout the growing season to support the healthy growth of your plants.
Growing & Care Guide
Silver Queen corn is a popular variety known for its sweet and tender kernels. To ensure the best growth and yield, here are some comprehensive care guidelines for Silver Queen corn:
Planting: Choose a sunny location with well-drained soil. Corn requires at least 6-8 hours of direct sunlight daily. Prepare the soil by adding organic matter like compost or well-rotted manure to improve fertility and drainage. Plant corn seeds directly in the ground after the last frost date in your area. Soil temperature should be around 50-85°F (10-29°C). Sow the seeds 1-2 inches deep and 8-12 inches apart in rows spaced 24-36 inches apart. Plant in blocks rather than single rows to ensure proper pollination.
Watering: Corn requires consistent moisture, especially during the pollination period. Water deeply, providing 1-1.5 inches of water per week. Avoid overhead watering, as wet foliage can promote diseases. Instead, use soaker hoses or drip irrigation to water at the base of the plants.
Fertilization: Prior to planting, conduct a soil test to determine nutrient deficiencies. Corn requires a balanced fertilizer with higher nitrogen (N) content. Side-dress the plants with a nitrogen-rich fertilizer when they are about 12 inches tall and again when they are knee-high. Follow the package instructions for application rates.
Mulching and Weed Control: Apply a layer of organic mulch around the base of the plants to conserve moisture, suppress weeds, and regulate soil temperature. Regularly remove weeds around the corn plants, especially during the early stages when they are more susceptible to competition.
Support: Silver Queen corn can grow tall, reaching heights of 6-8 feet. To prevent lodging (falling over) during strong winds or heavy rain, provide support by gently tying the stalks together with twine or using stakes.
Pest and Disease Management: Monitor the plants regularly for common pests like corn earworms, armyworms, and corn borers. Handpick or use organic insecticides if necessary. Rotate crops each year to reduce the risk of soil-borne diseases like corn smut and fusarium wilt. Practice good garden hygiene by removing and destroying any infected plant material.
Harvesting: This corn is typically ready for harvest 80-90 days after planting. Check for maturity by gently pressing a kernel with your fingernail; if a milky substance is released, it’s ready to harvest. Harvest corn in the morning when the ears are cool. Hold the stalk firmly and twist the ear downward until it breaks off. Eat or process the corn immediately after harvest for the best flavor and sweetness.
By following these comprehensive care guidelines, you can ensure healthy growth and a bountiful harvest of delicious Silver Queen corn.
Harvesting guide
Silver Queen corn is a popular variety known for its sweet and tender kernels. Here’s a comprehensive guide on when and how to harvest Silver Queen corn:
- Timing: Silver Queen corn typically takes around 80-90 days to reach maturity after planting. However, it’s important to check the specific instructions on the seed packet or consult with your local agricultural extension office for the exact maturity timeline in your region.
- Visual cues: One of the best indicators that corn is ready for harvest is when the silks, which are the fine strands that emerge from the top of the ears, turn brown and dry out. Additionally, the husks should be green and tightly wrapped around the ears.
- Hand testing: Another way to determine if the corn is ready for harvest is by gently peeling back the top of the husk and puncturing a kernel with your fingernail. If the liquid inside the kernel is milky and opaque, it’s a sign that the corn is mature and ready to be harvested. If the liquid is clear, the corn needs more time to develop.
- Harvesting: To harvest, firmly hold the stalk with one hand and use your other hand to pull the ear of corn downward and away from the stalk. Give it a slight twist to detach it from the plant. Avoid yanking or pulling too hard, as it may damage the plant.
- Post-harvest care: Once harvested, it’s essential to consume or process the corn as soon as possible to retain its sweetness and flavor. If you’re not planning to use it immediately, store the ears in a cool place, such as a refrigerator, and consume within a few days for the best taste.
Remember, corn is at its peak flavor and sweetness immediately after harvest, so try to enjoy it as soon as possible to savor its deliciousness.
