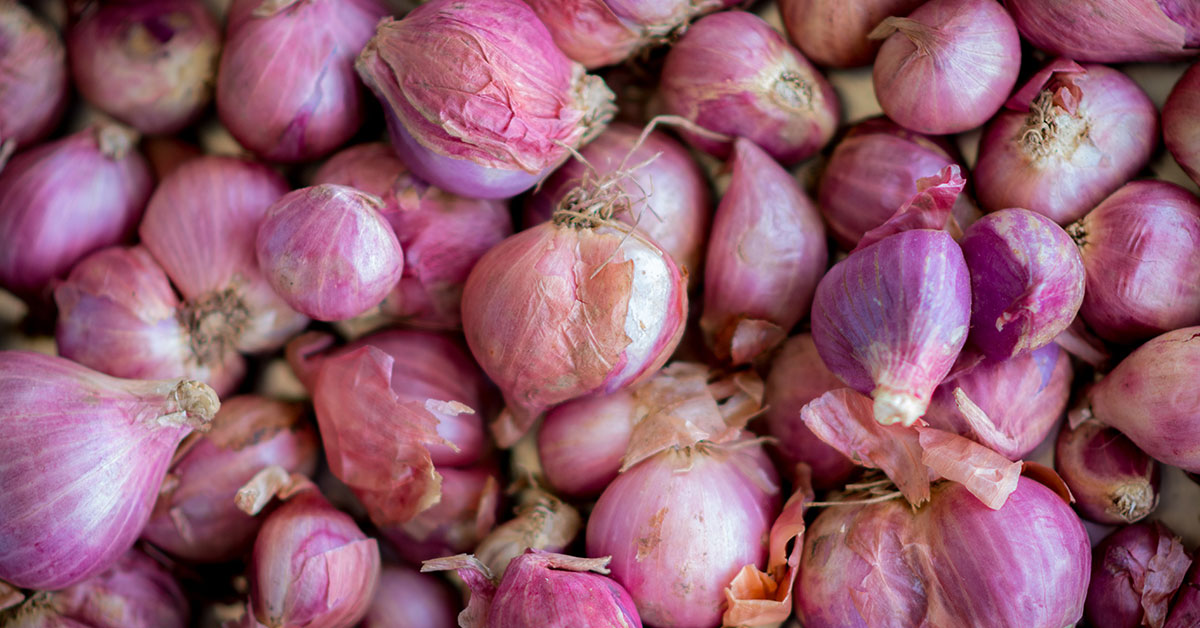

Shallots are an essential ingredient in many cuisines around the world. These small, flavorful bulbs are a member of the allium family, which also includes onions, garlic, and leeks.
Shallots have a delicate, sweet flavor with a hint of sharpness, making them a popular choice for adding depth and complexity to dishes.
They are also incredibly versatile and can be used in everything from soups and stews to sauces and dressings. In this blog, we’ll take a closer look at shallots, including their history, nutritional benefits, and how to use them in your cooking.
What are Shallots?
Shallots are a type of onion that has a mild and sweet flavor. They are commonly used in cooking to add flavor and texture to dishes.
Shallots are smaller than regular onions and have brown skin that can be easily peeled. They are a staple ingredient in French cuisine and are widely used in Asian, Middle Eastern, and Mediterranean cooking as well.
As well as being a member of the Allium family, which also includes garlic, onions, and chives. They are rich in vitamins and minerals, including vitamin C, vitamin A, potassium, and iron. They are also low in calories and high in dietary fiber, making them a healthy addition to any diet.
Cooking with them proves how versatile they are. As well as being used in a variety of dishes, including soups, stews, sauces, and salads. They are often used as a base for sauces and dressings, and they can be roasted, grilled, or sautéed to bring out their natural sweetness. They are also commonly used in marinades and rubs for meats and vegetables.
Shallots are a flavorful and healthy addition to any dish. They are easy to prepare and can be found in most grocery stores. If you haven’t tried cooking with shallots yet, give them a try and discover their delicious flavor for yourself!
What do Shallots taste like?
Shallots are a popular ingredient in many cuisines around the world. They are a member of the onion family and are known for their distinct, sweet, and mild flavor. Unlike regular onions, shallots have a slightly garlicky taste, making them a unique addition to any dish.
When cooked, shallots become tender and develop a caramelized flavor with a hint of sweetness. They are often used in recipes that require a milder flavor than onions, such as in sauces, dressings, and marinades. Shallots are also a great option for recipes that require a subtle onion flavor, such as in omelets or quiches.
Raw shallots have a slightly pungent taste, but when chopped finely and mixed with acidic ingredients, such as vinegar or lemon juice, they become milder. This makes them a great addition to salads or as a garnish for soups and stews.
Shallots have a versatile flavor that can be used in a wide variety of dishes. They add depth and complexity to any recipe and are a great alternative to regular onions when a milder taste is desired.
How to start Shallots from seeds
Are you interested in growing shallots in your garden? If so, one of the best ways to start is by planting shallot seeds. We’ll walk you through the steps of how to start shallots from seed.
Step 1: Choose your seeds
Before you can start planting shallots from seed, you’ll need to purchase some high-quality seeds from a reputable supplier. Look for seeds that are labeled as “shallot” or “French shallot” to ensure you’re getting the right variety.
Step 2: Prepare your soil
Shallots prefer well-draining soil that’s rich in organic matter. Start by adding some compost or well-rotted manure to your soil to improve its nutrient content. You can also add a slow-release fertilizer to help your shallots grow strong and healthy.
Step 3: Plant your seeds
Shallot seeds are small and delicate, so you’ll need to be careful when planting them. Sow your seeds about 1/2 inch deep and 1 inch apart, then cover them with a thin layer of soil. Water gently to ensure that the soil is moist but not waterlogged.
Step 4: Care for your seeds
Once your seeds are planted, it’s important to care for them properly to ensure they grow into healthy shallot plants. Water your seeds regularly, but be careful not to overwater them as this can cause the seeds to rot. You may also want to cover your seeds with a layer of mulch to help retain moisture and keep weeds at bay.
Step 5: Transplant your seedlings
After a few weeks, your shallot seeds should start to germinate and grow into seedlings. Once they’re big enough to handle, you can transplant them into your garden or a larger container. Make sure to plant them at least 4-6 inches apart to give them plenty of room to grow.
And there you have it – a step-by-step guide to starting shallots from seed! With a little patience and care, you’ll be able to grow your own delicious shallots in no time.
How to grow Shallots
Shallots are a versatile and flavorful addition to many dishes. Growing your own shallots is a rewarding experience that can yield a bountiful harvest. Here are some tips on how to grow shallots.
Choose the Right Variety: Shallots come in different varieties, and it’s important to choose the right one for your growing conditions. Some varieties are better suited for cooler climates, while others thrive in warmer ones. Consider the size of the shallots you want to grow and the length of your growing season when selecting a variety.
Prepare the Soil: Shallots prefer soil that is well-draining and rich in organic matter. Before planting, amend your soil with compost or well-rotted manure. You can also add a balanced fertilizer to ensure that your shallots have all the nutrients they need to grow strong and healthy.
Plant at the Right Time: These plants are typically planted in the fall or early spring. In areas with mild winters, fall planting is ideal as it gives them time to establish roots before the colder months. In colder climates, spring planting is recommended. Plant shallot bulbs about 6 inches apart, with the pointed end facing up, and about 1 inch deep.
Water Regularly: They require consistent moisture to grow properly. Water your shallots deeply once a week, or more frequently if the soil is dry or you’re experiencing a particularly hot spell. Avoid overwatering, as this can lead to rot or fungal diseases.
Mulch to Conserve Moisture: Mulching around your shallots can help conserve moisture in the soil and suppress weeds. Use a layer of organic material, such as straw, hay, or leaves, and apply it to a depth of about 2-3 inches. This will also help regulate soil temperature, keeping the shallots cool in the summer and warm in the winter.
When and how to harvest Shallots
Shallots are a versatile and delicious addition to any dish, and they are relatively easy to grow in your garden. However, knowing when and how to harvest them can be a bit tricky, especially if you are new to gardening.
When to Harvest
The best time to harvest shallots is when the leaves start to yellow and wilt. This usually occurs in late summer or early fall, depending on when you planted them. You can also check the bulbs by gently lifting them out of the soil to see if they are ready. The shallots should be about 1-2 inches in diameter and have a firm texture.
It is important to note that shallots can be harvested at different stages of maturity, depending on your preference. If you harvest them earlier, they will have a milder flavor and a smaller size, whereas if you wait longer, they will have a stronger flavor and a larger size.
How to Harvest
When harvesting, it is important to be gentle and careful not to damage the bulbs. To do this, use a garden fork or a spade to loosen the soil around the bulbs. Then, gently lift them out of the soil, being careful not to break the stems or damage the bulbs.
Once you have finished harvesting, it is important to cure them before storing them. To do this, lay them out in a warm, dry place for about a week or two until the skins have dried and the stems have withered. Once they are cured, trim the stems and roots and store them in a cool, dry place for up to six months.
Harvesting is a simple process that can be done with a bit of care and attention. By waiting until the leaves start to yellow and wilting and being gentle when lifting the bulbs out of the soil, you can enjoy a bountiful harvest of delicious and versatile shallots.