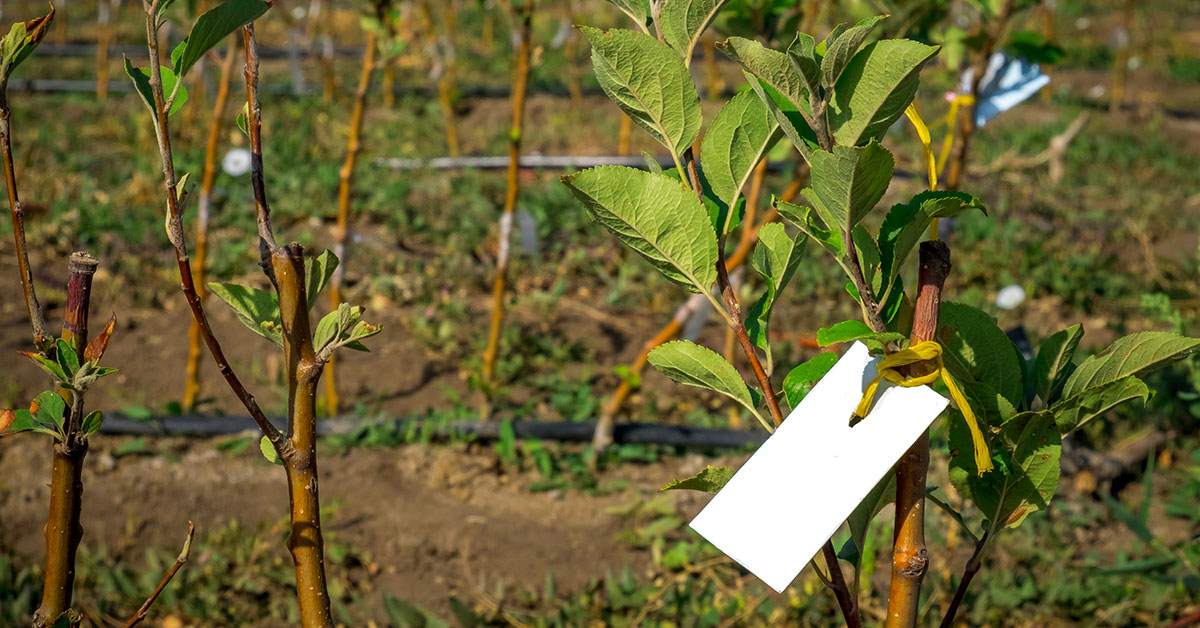

Welcome to the world of growing Rescue Pear trees! If you are a gardening enthusiast looking to add a touch of elegance and deliciousness to your orchard or backyard, then the Rescue Pear is an excellent choice. Known for its exceptional hardiness and disease resistance, the Rescue Pear tree is a remarkable variety that thrives in various climates and soil conditions.
In this article, we will delve into the specifics of growing Rescue Pear trees, including planting, care, maintenance, and harvesting tips. Whether you are a seasoned gardener or a beginner, this comprehensive guide will equip you with the knowledge and skills needed to successfully cultivate and enjoy the bountiful fruits of the Rescue Pear tree. So, let’s get started on this exciting journey of growing your very own Rescue Pear tree!
What are Rescue Pears?
Rescue Pear is a popular variety of pear tree known for its delicious and juicy fruit. It is a medium-sized tree that typically reaches a height of 15 to 20 feet, making it suitable for both small and large gardens. The tree has an upright and spreading growth habit, with dense foliage that provides ample shade in the summer months. Rescue Pear produces medium to large-sized fruits that have a round shape and a smooth, yellowish-green skin. The flesh is crisp, sweet, and aromatic, making it perfect for fresh eating, canning, or baking.
The pears ripen in late summer to early fall, and they have a good storage life, allowing you to enjoy them for an extended period. This variety is known for its vigorous growth and adaptability to various climates and soil conditions. It is generally disease-resistant, including resistance to fire blight, a common problem in pear trees. However, it is always advisable to monitor the tree for any signs of pests or diseases and take appropriate measures if necessary.
Rescue Pear trees are self-fertile, meaning they can produce fruit without the need for cross-pollination from another pear tree. However, planting another compatible pear variety nearby can increase the fruit yield and improve pollination. Overall, Rescue Pear is an excellent choice for home gardeners looking to grow a productive and flavorful pear tree that requires minimal maintenance.
What do Rescue Pears taste like?
Rescue pears are known for their unique flavor profile that combines both sweetness and tartness. The taste of Rescue pears can be described as crisp, juicy, and refreshing. They have a delicate sweetness with hints of citrus and floral notes, making them a delightful treat for the taste buds.
The sweetness of Rescue pears is balanced by a subtle tartness, which adds a pleasant tangy element to their flavor. This tartness gives the pears a slightly zesty and lively taste, making them a great choice for those who enjoy a more complex flavor profile.
When fully ripe, Rescue pears have a smooth and buttery texture that melts in your mouth. They are incredibly juicy, making each bite a burst of refreshing and thirst-quenching goodness. The combination of their crisp texture and succulent juiciness makes Rescue pears a delightful fruit to enjoy fresh.
Overall, Rescue pears offer a harmonious blend of sweetness, tartness, and juiciness, making them a versatile fruit that can be enjoyed on its own, used in various culinary creations, or paired with other ingredients to create delicious desserts or savory dishes.
How to start Rescue Pears from seeds
Growing pear trees from graft stock is indeed the preferred method as it ensures the desired characteristics of the variety. However, if graft stock is not available, you can still start a pear tree from a rescue pear, also known as a seedling or wild pear. Keep in mind that rescue pears may not produce the same quality or quantity of fruit as grafted varieties, and they may take longer to bear fruit.
Here is a step-by-step guide on starting a rescue pear tree:
- Collecting Seeds: Obtain ripe rescue pears from a local wild pear tree or a known source. Make sure the pears are fully mature and have fallen naturally from the tree. Collect the seeds by cutting open the pears and removing them. Rinse off any remaining fruit pulp.
- Cold Stratification: Pear seeds require a period of cold stratification to break their dormancy and stimulate germination. Place the cleaned seeds in a plastic bag with slightly moistened peat moss or vermiculite. Seal the bag and refrigerate it for 60-90 days. This mimics the natural winter conditions the seeds would experience in the ground.
- Preparing Containers: While the seeds are undergoing cold stratification, prepare your containers. Use small pots or seed trays with drainage holes. Fill them with a well-draining potting mix, preferably a mix specifically formulated for starting seeds.
- Sowing Seeds: After the cold stratification period, remove the seeds from the refrigerator and sow them in the prepared containers. Plant each seed about 1 inch deep, and space them at least 2 inches apart. Water the soil gently to ensure it is evenly moist.
- Providing Optimal Conditions: Place the containers in a location that receives bright, indirect sunlight. Maintain a temperature of around 70-75°F (21-24°C) during the day and slightly cooler at night. Keep the soil consistently moist but not waterlogged.
- Germination and Seedling Care: Pear seeds can take anywhere from a few weeks to a few months to germinate. Be patient and continue to provide the optimal conditions. Once the seedlings emerge, thin them out if necessary, keeping the strongest and healthiest ones.
- Transplanting: When the seedlings have grown to a height of 6-8 inches and have developed a few sets of true leaves, they can be transplanted into larger pots or directly into the ground. Choose a sunny location with well-draining soil for planting.
- Tree Care: As the rescue pear tree grows, provide regular watering, especially during dry periods. Mulch around the base of the tree to conserve moisture and suppress weeds. Prune the tree during its dormant season to shape it and remove any damaged or crossing branches.
Keep in mind that rescue pear trees may not produce true-to-type fruit, meaning the fruit characteristics may differ from the parent tree. If you desire specific qualities, such as taste or disease resistance, consider grafting onto the rescue pear tree once it has established and matured.
When to plant Rescue Pears outdoors
The ideal time to plant Rescue Pear trees is during the dormant season, which is typically in late winter or early spring. This allows the tree to establish its root system before the onset of hot summer temperatures. Planting during this time also minimizes the risk of frost damage to the young tree.
Growing & care guide Rescue Pears
Rescue Pear trees, also known as Pyrus calleryana ‘Rescue,’ are a popular choice for gardeners due to their beautiful white flowers in spring and vibrant red foliage in autumn. To ensure the health and productivity of your Rescue Pear tree, it is important to follow some best practices for caring for it. Here are some guidelines to help you maintain a thriving Rescue Pear tree:
- Planting: Choose a location that receives full sun exposure for at least six hours a day. The soil should be well-draining and fertile. Rescue Pear trees are adaptable to various soil types but prefer slightly acidic to neutral soil with a pH range of 6.0 to 7.5. When planting, dig a hole that is wider and deeper than the root ball. Place the tree in the hole, making sure the graft union is above the soil level, and backfill with soil, gently firming it around the roots.
- Watering: Adequate watering is crucial during the establishment period, typically the first two years after planting. Water deeply and regularly, ensuring the soil is moist but not waterlogged. Once established, Rescue Pear trees are moderately drought-tolerant but will benefit from regular watering during prolonged dry spells, especially in hot summer months.
- Pruning: Pruning is essential for maintaining the shape, health, and productivity of your Rescue Pear tree. It is best to prune during late winter or early spring when the tree is dormant. Remove any dead, damaged, or diseased branches. Thin out crowded branches to improve air circulation and sunlight penetration. Additionally, prune to maintain a balanced shape and remove any suckers or water sprouts that may emerge from the base or trunk.
- Fertilizing: Rescue Pear trees generally do not require excessive fertilization. However, applying a balanced slow-release fertilizer in early spring can provide the necessary nutrients for healthy growth. Follow the manufacturer’s instructions for the appropriate amount and frequency of application. Avoid over-fertilizing, as it can lead to excessive vegetative growth and reduced fruit production.
- Pest and Disease Control: Rescue Pear trees are generally resistant to many common pests and diseases. However, they can still be susceptible to fire blight, a bacterial disease that causes wilting and blackening of branches. To prevent fire blight, ensure good air circulation around the tree, avoid overhead watering, and promptly remove any infected branches. Regularly inspect your tree for signs of pests such as aphids, pear psylla, or codling moths. If necessary, use organic or chemical controls as recommended by local gardening experts.
- Harvesting: Rescue Pear trees typically produce fruit in late summer or early fall. The pears are ready for harvest when they have reached their mature size and have a slight yellowish color. Gently twist or lift the pears to detach them from the tree. If they do not come off easily, they may not be fully ripe. Allow harvested pears to ripen further indoors at room temperature.
By following these best practices, you can ensure the health and productivity of your Rescue Pear tree. Regular care, including proper watering, pruning, fertilizing, and pest control, will help your tree thrive and provide you with beautiful flowers and delicious pears for years to come.
Harvesting guide for Rescue Pears
Rescue Pear is a popular variety of pear tree known for its delicious fruit and hardy nature. Harvesting Rescue Pears at the right time is crucial to ensure optimal flavor and texture. Here’s a guide on when and how to harvest Rescue Pears:
- Timing: The timing of the harvest is essential to achieve the best flavor and ripeness. Rescue Pears are typically ready for harvest in late summer or early fall, depending on your specific climate and region. The exact timing can vary, so it’s important to observe the fruit closely.
- Color: One of the indicators of ripeness is the color of the fruit. Rescue Pears will change from green to a yellowish-green or golden-yellow color when they are ready to be harvested. However, the color alone is not the only factor to consider.
- Firmness: Gently press your thumb against the skin of the pear. If it yields slightly under pressure but still feels firm, it is likely ready to be harvested. Avoid picking pears that are too hard or too soft.
- Taste test: To ensure the best flavor, taste-test a few pears before harvesting the entire crop. Pick a pear and take a bite. If it is juicy, sweet, and has a pleasant flavor, it is a good indication that the rest of the pears are ready for harvest.
- Harvesting technique: To harvest Rescue Pears, use a gentle twisting motion while holding the fruit and give it a slight upward pull. This helps detach the pear from the tree without causing any damage. Avoid pulling or tugging forcefully, as it may harm the tree or cause the fruit to bruise.
- Storage: Once harvested, handle the pears with care to prevent bruising. Store them in a cool, dark place with good ventilation, such as a cellar or refrigerator. Pears can be stored for several weeks if kept in optimal conditions.
Remember, not all pears on the tree ripen at the same time. Harvest the pears individually as they reach the desired ripeness, rather than picking the entire crop at once. This allows you to enjoy the pears at their peak flavor and extends the harvest period.
By following these guidelines, you can ensure a successful harvest of Rescue Pears and enjoy their delicious taste in various culinary preparations or simply as a fresh snack.