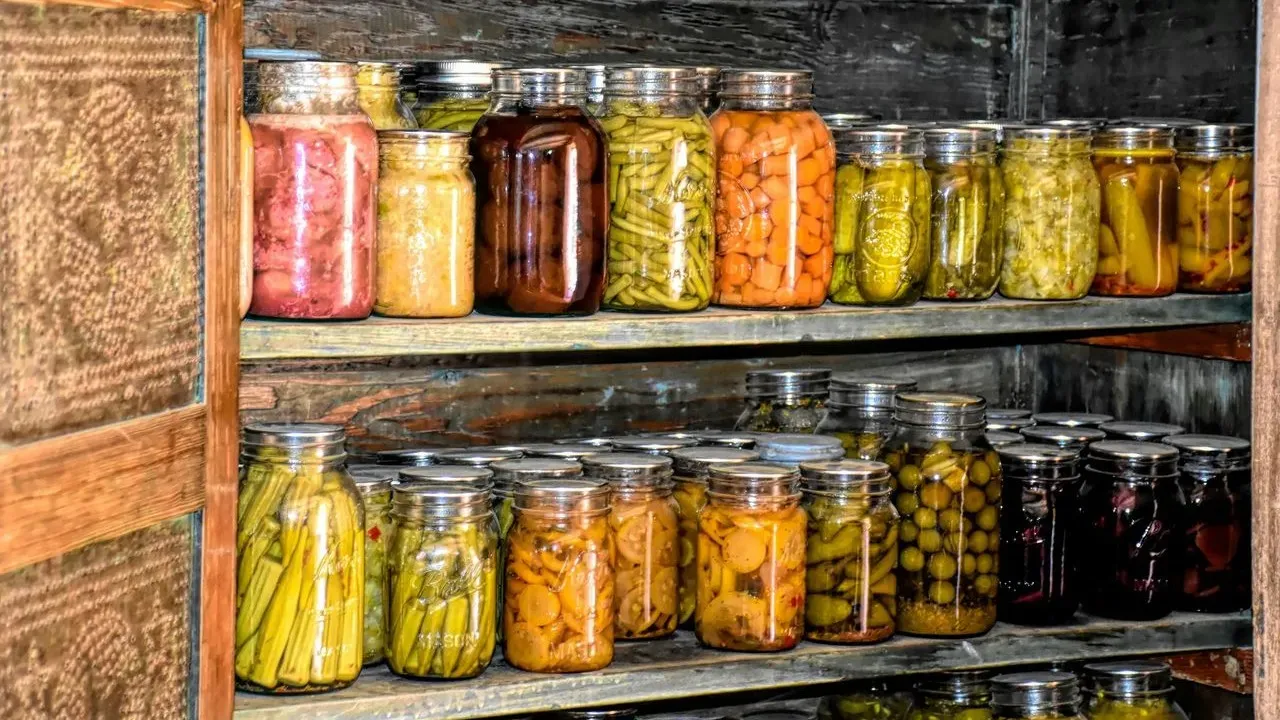

Many home cooks are rediscovering the value of stocking their pantries with preserved proteins, especially as interest in self-sufficiency and practical kitchen skills grows. Pressure canning raw chicken offers one straightforward path to ready-to-use meat that requires no thawing or last-minute cooking. The method draws on established food preservation guidelines and delivers jars of tender chicken that simplify weeknight meals.
Why Pressure Canning Matters for Low-Acid Foods
Chicken falls into the low-acid category, so it cannot be safely preserved through boiling-water methods alone. Pressure canning reaches the higher temperatures needed to eliminate risks associated with these foods. Home preservers who follow tested procedures gain reliable results without relying on commercial canning lines. The approach aligns well with seasonal rhythms, when bulk purchases or garden-adjacent self-reliance become priorities. Properly processed jars store for extended periods in cool, dark spaces, reducing dependence on freezer space or frequent grocery runs.
Choosing the Raw-Pack Approach
Two approved techniques exist for pressure canning chicken: hot pack and raw pack. The raw-pack method keeps preparation minimal because the meat goes straight into jars without pre-cooking. During processing the chicken releases its own juices, creating the necessary liquid inside each container. Some preservers add a small amount of water after packing to improve appearance and texture, though official guidelines note that added liquid is optional. The choice often comes down to personal preference for how the finished product looks and stores over time. Raw packing avoids extra steps while still producing usable results.
Essential Supplies and Preparation Steps
A dedicated electric pressure canner simplifies the process for many users, though stovetop models also work when operated correctly. Standard equipment includes pint or quart Mason jars, new lids, screw bands, a jar lifter, and an air-bubble remover. Fresh boneless chicken, trimmed of excess fat and cut into chunks, forms the main ingredient. Optional canning salt can be added for flavor. Jars are typically warmed in the canner before filling, and rims receive a vinegar wipe to ensure clean seals. Processing times follow established recommendations: 75 minutes for pints and 90 minutes for quarts when using boneless meat.
From Filling Jars to Finished Product
Once jars are filled and lids secured fingertip-tight, the canner handles venting, pressurization, and the timed processing phase. Cooling occurs naturally inside the unit, and rushing this step can compromise safety. After the cycle completes, jars rest undisturbed for 12 to 24 hours before seals are checked. A properly sealed lid feels slightly concave and stays firm when pressed. Labeled jars then move to pantry storage, where they maintain best quality for roughly one to two years. The resulting chicken shreds easily and works in salads, soups, tacos, casseroles, and dips. Many users report noticeable savings compared with store-bought canned options, along with the satisfaction of having ready protein on hand for busy days. The skill builds on broader food-preservation traditions that continue to appeal to gardeners and homesteaders alike.
AI Disclaimer: This article was created with the assistance of AI tools and reviewed by a human editor.