
September might seem like an unusual time to plant hops, but trust me, it’s the perfect window to get your hop plants established before winter. As the days start to cool and the hustle of summer winds down, your garden might be transitioning too, but planting hops now will set you up for a lush, abundant harvest next summer. I know how frustrating it can be to miss that ideal planting window or to struggle with crops that just don’t seem to take off, but planting hops in September can give you a head start that pays off big time when the warm weather returns.
Hops are not just for brewers—although that’s a huge perk! They’re also beautiful, vigorous climbers that can add vertical interest to your garden, attract beneficial insects, and even provide a bit of shade. If you’re new to growing hops, or if you’ve had mixed success in the past, September planting might be just what you need to turn your hop-growing efforts into a fruitful harvest. Let’s dig into the details and get you on the path to hop-growing success!
The Perfect Spot for Hops
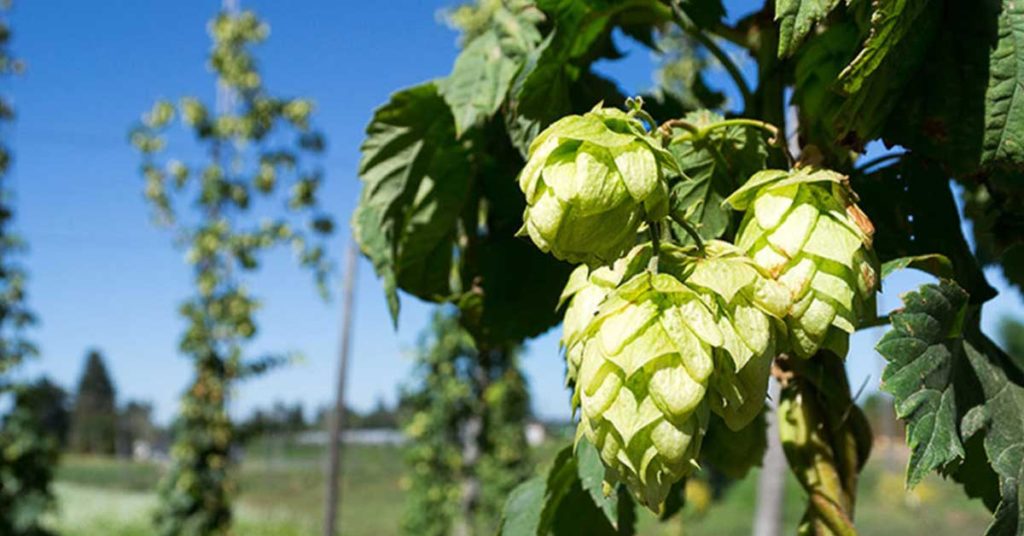
Choosing the right location for your hops is crucial. These plants are native to temperate regions of Europe, Asia, and North America, and they thrive in well-drained soil with plenty of sunlight. Hops are climbers, so you’ll need to plant them near a trellis, fence, or some other structure they can scramble up. I’ve found that a south-facing wall or fence works wonders, giving them the warmth and support they need to grow tall and strong. They can easily reach heights of 15 to 20 feet, so make sure you’ve got the space!
One of the best things about hops is their ability to attract beneficial insects like ladybugs and lacewings, which can help keep your garden free of pests. However, hops themselves can be quite vigorous, so it’s important to plant them in a spot where they won’t overwhelm your other plants. They’re not considered invasive, but their fast-growing nature means they can quickly take over if not kept in check. With the right placement, hops will thrive and reward you with a bountiful harvest next summer.
Preparing the Soil
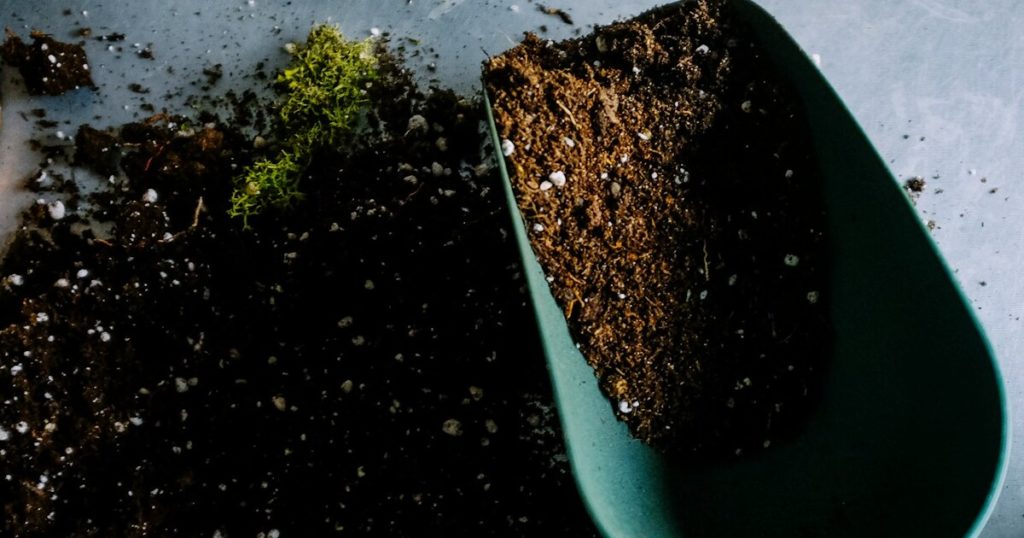
Good soil preparation is key to successful hop growth. Hops prefer rich, loamy soil with a pH between 6.0 and 7.5. Before planting, I recommend working in plenty of organic matter, like compost or well-rotted manure, to improve the soil’s structure and fertility. This not only provides the nutrients hops need to establish strong roots but also improves drainage, which is essential for preventing root rot. If your soil is heavy clay or too sandy, consider adding amendments to bring it closer to the ideal texture. Trust me, your hops will thank you!
Hops are heavy feeders, so it’s a good idea to incorporate a balanced, slow-release fertilizer into the soil at planting time. This gives the young plants a steady supply of nutrients as they establish themselves. As they grow, they’ll send out deep roots, so making sure the soil is well-prepared and nutrient-rich from the start will pay off in healthier, more productive plants. And don’t forget to mulch around your hops after planting—this helps retain moisture, suppress weeds, and regulate soil temperature as the seasons change.
Watering Your Hops
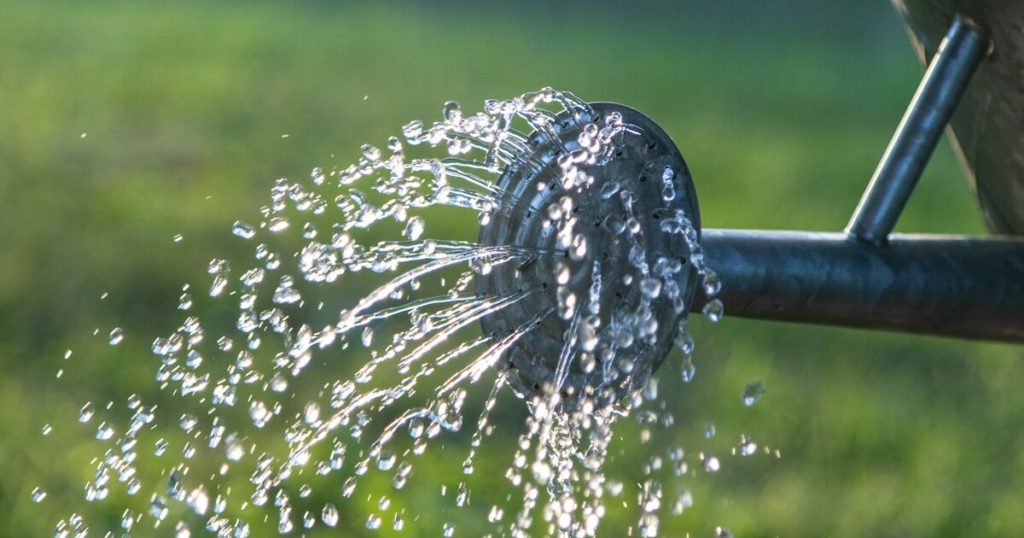
Consistent watering is crucial, especially in the early stages after planting. Hops need regular moisture to establish their root systems, but they don’t like to sit in waterlogged soil. It’s all about finding that balance—keeping the soil evenly moist without letting it get too wet or too dry. I know how tricky this can be, especially if you’re dealing with unpredictable fall weather, but a little extra attention to watering now will make a big difference in the long run.
Once your hops are established, they’re fairly drought-tolerant, but they’ll still need a deep watering during dry spells, particularly during the growing season. One of my favorite tricks is to water deeply less often, which encourages the roots to grow downwards and helps the plants become more resilient. As the hops grow, be sure to water at the base rather than overhead to minimize the risk of disease. With the right watering routine, your hops will grow strong and healthy, ready to take off in the spring!
Training Your Hops
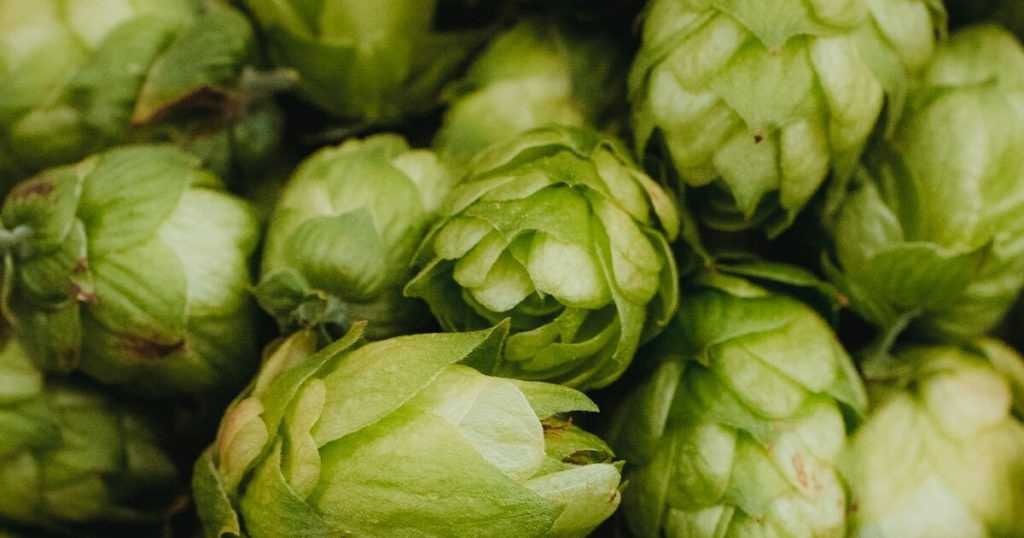
Training hops is a fun and essential part of the growing process. As soon as your hops start to send out shoots in the spring, you’ll need to guide them towards their support structure. Hops naturally twine in a clockwise direction, so gently winding the young shoots around your trellis or support will help them get a good grip. I find it’s best to select the strongest three or four shoots per plant and remove the rest—this encourages the plant to focus its energy on producing robust, productive vines.
As the hops grow, you’ll need to keep an eye on them to make sure they’re climbing where you want them to. It’s amazing how quickly they can grow during the peak season—sometimes several inches a day! Regularly checking and adjusting the vines will help prevent tangling and ensure they’re heading in the right direction. Training your hops properly not only makes harvesting easier but also maximizes sunlight exposure, leading to healthier plants and bigger yields. Plus, there’s something incredibly satisfying about watching those vines reach for the sky!
Managing Pests and Diseases

Like all plants, hops are susceptible to pests and diseases, but with a bit of vigilance, you can keep problems at bay. Aphids, spider mites, and downy mildew are the most common issues you might encounter. One of the first signs of trouble is yellowing or distorted leaves, so it’s important to inspect your plants regularly. I know how frustrating it is when pests try to ruin your hard work, but early detection and intervention are key.
Beneficial insects, like ladybugs, are great allies in the fight against pests. You can also use insecticidal soaps or neem oil for more persistent problems. For diseases like downy mildew, proper air circulation and avoiding overhead watering can make a big difference. If you notice any affected leaves, remove them promptly to prevent the spread. By staying on top of potential issues, you can ensure your hops remain healthy and vigorous, ready to produce a plentiful harvest come summer.
Harvesting Your Hops
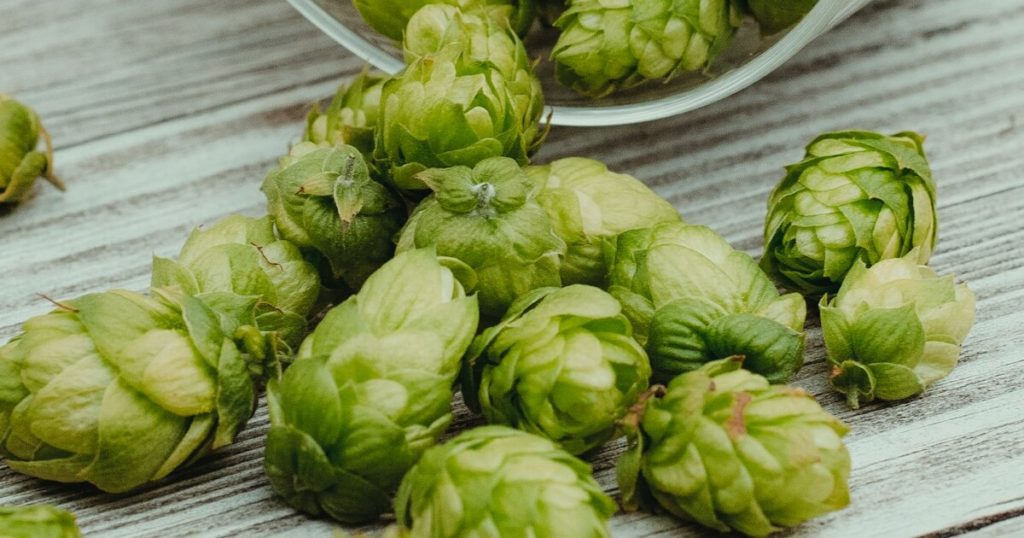
After all your hard work, harvesting hops is incredibly rewarding! Hops are typically ready to harvest in late summer, around August or September, depending on your climate and the variety. You’ll know they’re ready when the cones are light and dry to the touch, and they release a fragrant, sticky resin when gently squeezed. I love the smell of fresh hops—it’s like a preview of the delicious brews to come!
Harvesting hops is best done by hand, and it can be a bit labor-intensive, but it’s also a great way to connect with the fruits of your labor. Be sure to pick the cones early in the day, after the dew has dried but before the heat of the afternoon. Once harvested, hops need to be dried quickly to preserve their flavor and aroma, so plan to spread them out in a warm, well-ventilated area. After they’re dried, you can store them in an airtight container, preferably in the freezer, to keep them fresh until you’re ready to use them. Whether you’re brewing your own beer or sharing your hops with friends, the joy of a successful harvest is hard to beat!
Planting your hops in September might be a bit of a departure from the usual spring planting routine, but it’s a strategy that can lead to great results. By getting your hops in the ground now, you’re giving them a head start, setting the stage for a strong, healthy growing season and a bountiful summer harvest.