
Welcome to the world of growing Packham’s Triumph Pears! If you are a gardening enthusiast looking to add a touch of elegance and deliciousness to your backyard, you have come to the right place. Packham’s Triumph is a popular variety of pear tree known for its exceptional flavor, juicy texture, and attractive appearance. Whether you are a seasoned gardener or a beginner, this article will guide you through the process of successfully growing and caring for Packham’s Triumph Pear trees.
From selecting the right location to understanding the ideal soil conditions, from planting and nurturing to harvesting the fruits of your labor, we will cover all the essential aspects of cultivating these delightful trees. So, let’s dive in and embark on a fruitful journey of growing Packham’s Triumph Pears!
What are Packham’s Triumph Pears?
Packham’s Triumph Pear is a popular variety of pear tree known for its delicious and juicy fruits. It is a medium to large-sized pear with a classic pyramidal shape. The skin of the fruit is smooth and yellow-green, turning slightly golden as it ripens. The flesh is creamy-white, tender, and exceptionally sweet, making it a favorite for fresh eating. This variety is known for its excellent flavor and aromatic qualities. The fruits have a rich, buttery taste with a hint of citrus, making them a delightful treat for pear lovers.
Packham’s Triumph Pears are also versatile and can be used in various culinary applications, including baking, canning, and making preserves. In terms of growth, Packham’s Triumph Pear trees are vigorous and productive. They are self-fertile, meaning they do not require another pear tree for cross-pollination. The trees have a moderate growth rate and can reach a height of 15-20 feet at maturity. They prefer full sun exposure and well-drained soil.
Packham’s Triumph Pear trees are also known for their resistance to fire blight, a common disease that affects pear trees. With proper care and maintenance, including regular pruning and adequate watering, these trees can provide a bountiful harvest of delicious pears for many years.
What do Packham’s Triumph Pears taste like?
Packham’s Triumph Pear is known for its exceptional flavor profile. It has a sweet and juicy taste with a hint of tartness, making it a delightful treat for the taste buds. The flavor is often described as rich and buttery, with a smooth texture that melts in your mouth.
The sweetness of Packham’s Triumph Pear is well-balanced, not overpowering, and has a subtle floral undertone that adds to its overall appeal. The fruit has a refreshing quality, making it a perfect choice for enjoying fresh or incorporating into various culinary creations.
When fully ripe, Packham’s Triumph Pear develops a creamy texture and its flavor intensifies, becoming even sweeter and more aromatic. The pear’s flesh is tender and succulent, making it a pleasure to bite into.
Overall, Packham’s Triumph Pear offers a delectable combination of sweetness, juiciness, and a touch of tartness, making it a popular choice among pear enthusiasts and a versatile ingredient in both sweet and savory dishes.
How to start Packham’s Triumph Pears from seeds
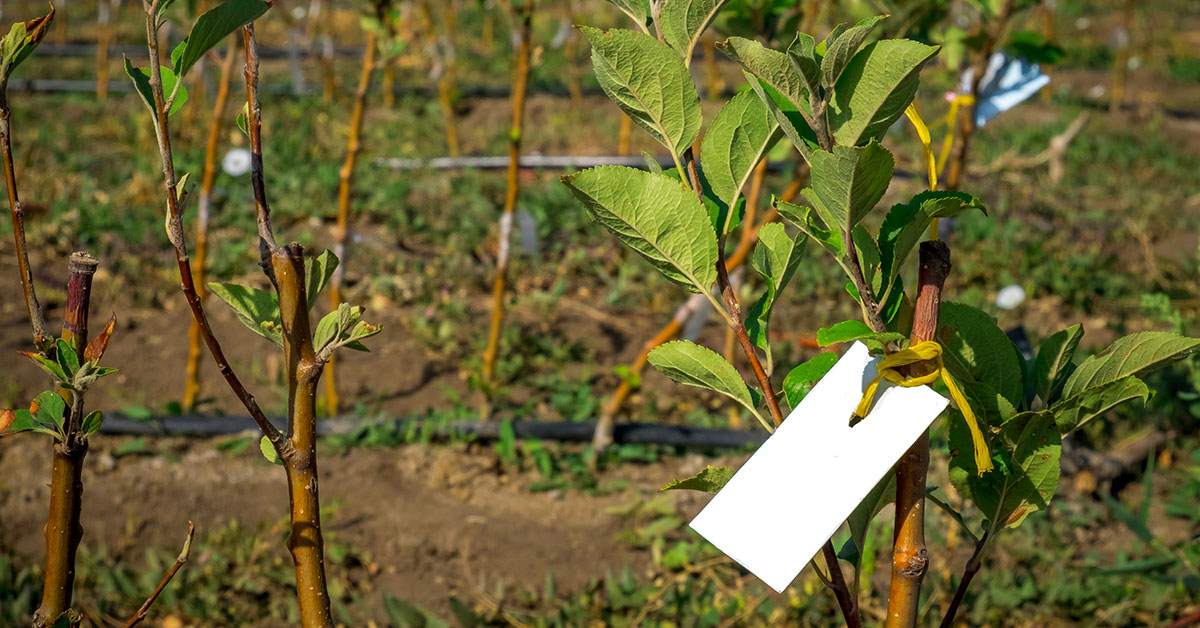
Starting Packham’s Triumph Pear trees can be done through grafting or by using rootstock. Grafting is the preferred method as it ensures the desired characteristics of the variety are maintained. However, if graft stock is not available, you can start Packham’s Triumph Pear trees from seeds or by using a rootstock.
Here is a step-by-step guide on starting Packham’s Triumph Pear trees:
- Selecting the Seeds: If you are starting from seeds, choose fully ripe Packham’s Triumph Pears. Collect the seeds and rinse them to remove any pulp or residue.
- Cold Stratification: Pear seeds require a period of cold stratification to break their dormancy. Place the seeds in a moist paper towel or peat moss, seal them in a plastic bag, and refrigerate them for about 60-90 days. This mimics the natural winter conditions that the seeds would experience.
- Preparing the Soil: While the seeds are undergoing cold stratification, prepare the soil for planting. Choose a well-draining location with full sun exposure. Loosen the soil and remove any weeds or debris. Amend the soil with organic matter, such as compost, to improve its fertility and drainage.
- Planting the Seeds: After the cold stratification period, remove the seeds from the refrigerator. Plant them about 1 inch deep in the prepared soil. Space the seeds at least 6-8 inches apart to allow room for growth.
- Watering and Care: Keep the soil consistently moist but not waterlogged. Water the seeds regularly, especially during dry periods. Avoid overwatering, as it can lead to root rot. Mulching around the seedlings can help retain moisture and suppress weed growth.
- Transplanting or Grafting: Once the seedlings have grown to a suitable size, usually around 12-18 inches tall, they can be transplanted to their permanent location or grafted onto a suitable rootstock. Transplanting is straightforward; dig a hole slightly larger than the root ball, place the seedling in the hole, and backfill with soil. Grafting, on the other hand, requires specific techniques and skills. It is recommended to seek guidance from a professional or experienced grafter if you choose this method.
- Pruning and Training: As the tree grows, it will require pruning and training to develop a strong framework. Remove any dead, diseased, or crossing branches. Encourage a central leader by selecting a strong, upright branch as the main trunk and removing competing leaders. Prune in late winter or early spring before new growth begins.
- Fertilization: Pear trees benefit from regular fertilization. Apply a balanced fertilizer, such as a 10-10-10 formulation, in early spring before new growth starts. Follow the manufacturer’s instructions for application rates.
- Pest and Disease Control: Monitor the tree regularly for signs of pests or diseases, such as aphids, pear psylla, fire blight, or pear rust. Use appropriate organic or chemical controls if necessary.
- Harvesting: Packham’s Triumph Pears are typically ready for harvest in late summer or early fall. Harvest the fruits when they are fully mature but still firm. They will continue to ripen off the tree.
Remember, growing pear trees requires patience and proper care. It may take several years for the tree to reach maturity and start producing fruits.
When to plant Packham’s Triumph Pears outdoors
The ideal time to plant Packham’s Triumph Pear trees is during the dormant season, which is typically in late winter or early spring. This allows the tree to establish its root system before the onset of summer heat or winter cold. Planting during this time also minimizes transplant shock and promotes healthy growth.
Growing & care guide Packham’s Triumph Pears
Packham’s Triumph Pear is a popular variety known for its delicious and juicy fruit. To ensure the health and productivity of your Packham’s Triumph Pear tree, it is important to follow some best practices for caring for it. Here are some guidelines to help you:
- Planting: Choose a location that receives full sun exposure for at least 6-8 hours a day. The soil should be well-draining, fertile, and slightly acidic with a pH level between 6.0 and 7.0. Dig a hole that is wide and deep enough to accommodate the tree’s root system, and ensure that the graft union (the swollen area where the tree was grafted onto the rootstock) is above the soil line.
- Watering: Pear trees require regular watering, especially during the first few years of growth. Provide deep and thorough watering, ensuring that the soil is moist but not waterlogged. Water the tree deeply once or twice a week, depending on the weather conditions. During hot and dry periods, increase the frequency of watering to prevent drought stress.
- Fertilizing: Apply a balanced fertilizer, such as a 10-10-10 or 14-14-14, in early spring before the tree starts to bud. Follow the package instructions for the appropriate amount to use based on the size and age of your tree. Avoid over-fertilizing, as excessive nitrogen can lead to excessive vegetative growth at the expense of fruit production.
- Pruning: Pruning is essential for maintaining the shape, size, and overall health of your Packham’s Triumph Pear tree. Prune during the dormant season, preferably in late winter or early spring before new growth begins. Remove any dead, damaged, or diseased branches. Thin out crowded areas to improve air circulation and sunlight penetration. Prune to create an open center or modified central leader shape, allowing for better fruit production and easier maintenance.
- Pest and Disease Control: Regularly inspect your tree for signs of pests and diseases, such as aphids, pear psylla, fire blight, and pear scab. Apply appropriate organic or chemical controls as needed, following the instructions on the product label. Maintaining good tree hygiene, such as removing fallen leaves and fruit, can help reduce the risk of disease.
- Harvesting: Packham’s Triumph Pears are typically ready for harvest in late summer or early fall. The fruit should be firm but not rock-hard when gently squeezed. Twist and lift the pears upwards to detach them from the tree. If the pears are still firm, allow them to ripen at room temperature for a few days before consuming or storing.
Remember that each tree is unique, and factors such as climate, soil conditions, and local pests may require slight adjustments to these general guidelines. Regular observation and care will help you develop a healthy and productive Packham’s Triumph Pear tree that will reward you with delicious fruit for years to come.
Harvesting guide for Packham’s Triumph Pears
Packham’s Triumph is a popular variety of pear tree known for its sweet and juicy fruit. Harvesting the pears at the right time is crucial to ensure optimal flavor and texture. Here’s a guide on when and how to harvest Packham’s Triumph pears:
- Timing: The best time to harvest Packham’s Triumph pears is when they are fully mature but still firm. This variety typically ripens in late summer or early fall, depending on your location. To determine if the pears are ready for harvest, perform the following tests:
- Color: Look for a change in color from green to yellow. The skin should have a slight blush or reddish tint.
- Firmness: Gently press your thumb near the stem end of the pear. If it yields slightly to pressure but still feels firm, it is ready to harvest.
- Taste: If you’re unsure about the ripeness, you can sample one pear to assess its flavor. However, avoid tasting too many as it may reduce the overall yield.
- Harvesting technique: To harvest Packham’s Triumph pears, follow these steps:
- Use a pair of pruning shears or sharp scissors to cut the stem about half an inch above the fruit. Avoid pulling or twisting the pears, as this can damage the tree and affect future fruit production.
- Hold the pear gently to prevent bruising while cutting the stem.
- Place the harvested pears in a shallow container or basket to avoid stacking them, which can lead to bruising.
- Post-harvest care: After harvesting, it’s essential to handle the pears with care to maintain their quality:
- Store the pears in a cool, dark, and well-ventilated area, such as a basement or refrigerator. The ideal temperature for storing Packham’s Triumph pears is around 30-35°F (-1 to 2°C).
- Keep the pears separate from other fruits, as they release ethylene gas, which can accelerate ripening and spoilage.
- Check the pears regularly and remove any that show signs of rot or decay to prevent the spread of spoilage to other fruits.
By following these guidelines, you can ensure that your Packham’s Triumph pears are harvested at the right time and stored properly, allowing you to enjoy their delicious flavor and texture for an extended period.