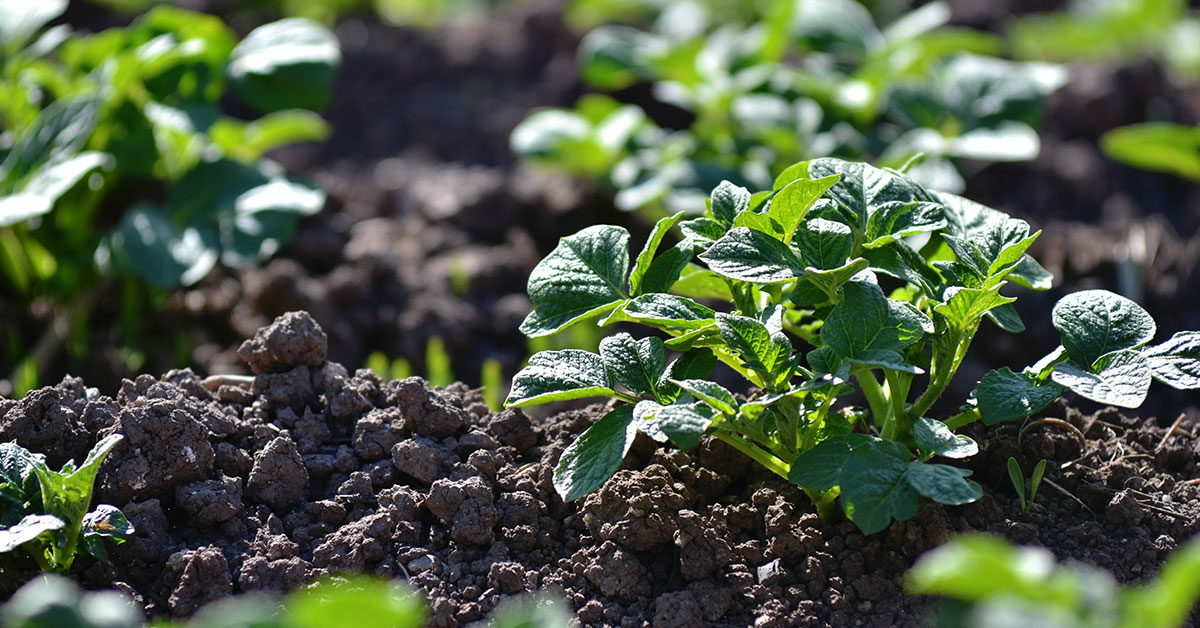

The Norland Potato is a beloved and versatile variety that has won the hearts of many home gardeners and commercial growers alike. From selecting the right seed potatoes to nurturing the plants throughout their growth cycle, we will equip you with the knowledge and tips required to cultivate these delectable spuds in your very own backyard.
What is a Norland Potato?
Norland Potato is a popular variety of potato that is highly regarded for its versatility and taste. It is a red-skinned potato with creamy white flesh, making it visually appealing and flavorful. Norland potatoes are known for their ability to maintain their shape when cooked, which makes them ideal for a variety of culinary uses.
This particular potato variety was first developed in Canada and has since gained popularity in many parts of the world. It is named after the Norland region in Alberta, Canada, where it was first cultivated. Norland potatoes are now grown in various regions with suitable growing conditions, including the United States, Europe, and other parts of North America.
One of the reasons why Norland potatoes are highly sought after is their excellent taste and texture. They have a rich, earthy flavor that is slightly sweet, making them a versatile choice for different recipes. Whether you want to boil, bake, roast, or mash them, Norland potatoes will not disappoint.
In terms of appearance, Norland potatoes have a smooth, thin red skin that is easy to peel. Their creamy white flesh has a firm and waxy texture, which allows them to hold their shape well during cooking. This makes Norland potatoes an excellent choice for dishes like potato salads, gratins, and casseroles.
Norland potatoes are also known for their nutritional benefits. They are a good source of vitamins, minerals, and dietary fiber, making them a healthy addition to your diet. They are particularly rich in vitamin C, potassium, and B vitamins, which are essential for maintaining overall health and well-being.
What does a Norland Potato taste like?
Norland Potatoes have a rich, earthy flavor that is often described as slightly sweet. This makes them perfect for a variety of dishes, from mashed potatoes to roasted potatoes. The taste of Norland Potatoes is also often compared to that of classic russet potatoes but with a bit more sweetness.
The texture of Norland Potatoes is another aspect that makes them stand out. They have a creamy, yet firm texture, which makes them ideal for boiling and mashing. The skins of Norland Potatoes are thin and tender, so you often don’t need to peel them before cooking, adding to their convenience.
When cooked, Norland Potatoes hold their shape well, making them great for recipes that call for diced or cubed potatoes. They also absorb flavors easily, which means they are excellent for absorbing the seasonings and spices you add to your dishes.
Whether you are making a hearty potato soup, crispy oven-baked fries, or a classic potato salad, Norland Potatoes will bring a delicious flavor and texture to your recipes. Their versatility in the kitchen makes them a favorite among home cooks and professional chefs alike.
So, if you are looking to add a touch of sweetness and creaminess to your potato dishes, give Norland Potatoes a try. Their distinctive taste and texture will elevate your meals and leave your taste buds satisfied.
How to start from seed
Growing your own Norland potatoes can be a rewarding experience, allowing you to enjoy fresh and delicious potatoes straight from your garden. Whether you are a seasoned gardener or a beginner, starting Norland potatoes from seed is a simple process that anyone can do.
- Selecting the Seeds:
To start growing Norland potatoes, you will need to purchase seed potatoes from a reputable source. Look for certified disease-free seed potatoes that are specifically labeled as Norland variety. It is important to choose healthy and firm seed potatoes to ensure a successful start. - Preparing the Seed Potatoes:
Before planting, it is recommended to prepare the seed potatoes for optimal growth. Start by cutting the larger seed potatoes into smaller pieces, each containing at least two or three eyes. This will help increase the number of plants you can grow. Make sure to let the cut pieces dry for a day or two before planting, as this will reduce the risk of rotting. - Preparing the Soil:
Norland potatoes thrive in well-drained, loose soil that is rich in organic matter. Begin by preparing the planting area by removing any weeds or debris. Loosen the soil using a garden fork or tiller, ensuring it is free from clumps. Incorporate compost or well-rotted manure into the soil to provide essential nutrients for growing potatoes. - Planting the Seeds:
When the soil temperature reaches around 50°F (10°C), it is time to plant the Norland potato seeds. Dig small trenches or holes, approximately 4-6 inches deep and 12-15 inches apart. Place the seed potatoes in the trenches, eyes facing up, and cover them with soil. Ensure that the soil is firmly packed around the seeds, but not compacted. - Caring for the Plants:
Once the seeds are planted, it is important to provide proper care to ensure healthy growth. Water the plants regularly, keeping the soil consistently moist but not overly saturated. As the plants grow, you may need to hill up the soil around the base of the plants to promote more tuber development. This will also help prevent the potatoes from being exposed to sunlight, which can turn them green and make them inedible. - Harvesting Norland Potatoes:
Norland potatoes typically take around 75-90 days to reach maturity. You will know they are ready to harvest when the foliage starts to turn yellow and die back. Gently dig around the base of the plants to unearth the potatoes. Be careful not to damage the tubers while harvesting. Allow the harvested potatoes to dry for a few hours before storing them in a cool, dark place.
How to grow this vegetable in your garden
Growing your own Norland potatoes can be a rewarding and enjoyable experience. These versatile and delicious potatoes are known for their vibrant red skin and creamy white flesh, making them a popular choice for many gardeners. In this section, we will provide you with a step-by-step guide on how to successfully grow Norland potatoes in your own backyard.
- Choose the Right Seed Potatoes:
The first step in growing Norland potatoes is to select the right seed potatoes. Look for certified disease-free seed potatoes from a reputable supplier. Norland potatoes are early maturing, so choose smaller seed potatoes to ensure faster growth and a higher yield. - Prepare the Soil:
Norland potatoes thrive in well-drained, fertile soil. Prepare your garden bed by removing any weeds, rocks, or debris. Loosen the soil to a depth of about 8-10 inches, and incorporate organic matter such as compost or well-rotted manure to improve soil fertility and drainage. - Planting:
Plant Norland potatoes in early spring, after the last frost date in your area. Dig shallow trenches about 4 inches deep and 12-15 inches apart. Place the seed potatoes in the trenches, with the sprout side facing up. Space the seed potatoes about 8-10 inches apart within the trench. Cover the potatoes with soil, leaving a small mound on top. - Watering and Mulching:
Water the newly planted potatoes thoroughly, ensuring that the soil remains consistently moist but not waterlogged. As the plants grow, apply a layer of organic mulch like straw or grass clippings to help retain moisture, suppress weeds, and regulate soil temperature. - Fertilizing:
Norland potatoes benefit from regular fertilization throughout the growing season. Incorporate a balanced organic fertilizer into the soil before planting, and then side-dress the plants with additional fertilizer when they reach about 6-8 inches in height. Follow the instructions on the fertilizer package for proper application rates. - Hilling:
To promote tuber development and prevent greening, it is important to hill your Norland potato plants. Once the plants reach a height of 6-8 inches, gently mound soil around the base of the plants, covering the lower stems. Repeat this process every few weeks as the plants grow taller, ensuring that only the top few leaves remain exposed. - Pests and Diseases:
Keep an eye out for common potato pests such as potato beetles, aphids, and wireworms. Regularly inspect the plants for any signs of pest damage and take appropriate measures to control them. Additionally, be aware of common potato diseases like late blight and early blight. Practice good crop rotation and remove any infected plants to prevent the spread of diseases. - Harvesting:
Norland potatoes are typically ready for harvest 70-90 days after planting, depending on your specific growing conditions. Wait until the plants have flowered and the foliage starts to yellow and die back. Gently dig up the potatoes using a garden fork, being careful not to damage them. Allow the harvested potatoes to cure in a cool, dark, and well-ventilated area for a week before storing.
By following these simple steps, you can successfully grow Norland potatoes in your own backyard and enjoy their fresh, homegrown flavor in your favorite potato dishes.