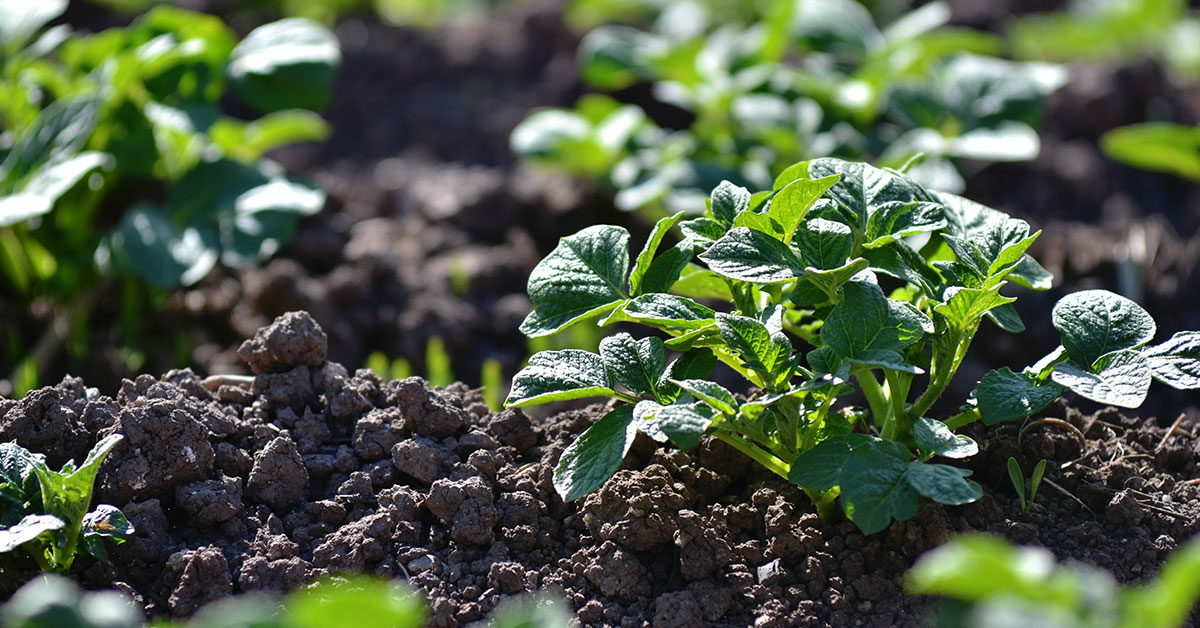

The Kennebec potato, known for its exceptional taste and versatility in the kitchen, is a popular choice among home gardeners and commercial growers alike. With its smooth skin and creamy white flesh, this variety is perfect for boiling, baking, or frying.
In this article, we will delve into the world of growing Kennebec potatoes, exploring the steps involved in cultivating these delicious tubers from planting to harvest.
What is a Kennebec Potato?
The Kennebec potato, scientifically known as Solanum tuberosum ‘Kennebec,’ was first developed in the late 1940s by the United States Department of Agriculture (USDA) and the Maine Agricultural Experiment Station. Named after the Kennebec River in Maine, where it was first grown, this potato variety quickly gained popularity due to its exceptional qualities.
The Kennebec potato is widely recognized for its unique appearance and texture. It boasts an oval shape with smooth, light brown skin that is relatively thin and easy to peel. The flesh of the Kennebec potato is creamy white and has a slightly waxy texture, making it ideal for a variety of cooking methods.
The versatile nature of the Kennebec potato makes it a favorite among both home cooks and professional chefs. Its high starch content and low moisture make it perfect for frying, whether you’re craving crispy French fries or golden-brown potato chips. Additionally, the Kennebec potato’s smooth texture lends itself well to mashing, making fluffy and creamy mashed potatoes that are a crowd-pleaser at any gathering.
Another notable culinary use of the Kennebec potato is in baking. Its relatively low moisture content makes it an excellent choice for creating the perfect baked potato, with a light and fluffy interior and crispy skin. Furthermore, the Kennebec potato’s ability to hold its shape when cooked makes it well-suited for use in various potato salads and casseroles.
Besides its culinary versatility, the Kennebec potato also offers several nutritional benefits. It is a good source of vitamin C, potassium, and dietary fiber. Additionally, it contains antioxidants that help protect the body against free radicals and support overall health.
What does a Kennebec Potato taste like?
One of the most beloved potato varieties, the Kennebec potato, is known for its exceptional taste and texture. With its creamy and buttery flavor, this potato is a favorite among chefs and home cooks alike.
When cooked, Kennebec potatoes have a smooth and fluffy texture, making them perfect for mashing or roasting. They have a slightly sweet and nutty flavor that complements a wide range of dishes. Whether you’re making mashed potatoes, French fries, or potato salad, the Kennebec potato is sure to enhance the flavor of your dish.
The Kennebec potato is also versatile in its ability to absorb flavors from other ingredients. It acts as a blank canvas, allowing it to take on the flavors of herbs, spices, and seasonings used in various recipes. This makes it an excellent choice for experimenting with different flavors and cuisines.
Furthermore, the Kennebec potato has a high starch content, which contributes to its exceptional taste and texture. The starch gives the potato a light and fluffy consistency when cooked, making it a popular choice for making crispy French fries or fluffy mashed potatoes.
In terms of appearance, the Kennebec potato has a light tan or yellowish skin with a smooth texture. The flesh of the potato is a pale yellow color, which adds to its visual appeal when cooked.
How to start from seed
Starting Kennebec potatoes from seed is a rewarding and relatively easy way to grow this versatile and delicious potato variety in your own garden. By following a few simple steps, you can ensure a successful harvest of these tasty spuds.
Selecting the right seed potatoes: Choose certified disease-free Kennebec seed potatoes from a reputable supplier or garden center. Look for firm, healthy tubers with no signs of rot or damage. Select seed potatoes that are approximately 2-2.5 inches in diameter, as smaller ones may not produce as well.
Preparing the seed potatoes: Prior to planting, set the seed potatoes in a cool, dry, and well-ventilated area for a couple of weeks. This process, known as “greening,” allows the potato eyes to develop and promotes better sprouting. Avoid exposing the seed potatoes to direct sunlight, as this can cause them to turn green and become toxic.
Chitting the seed potatoes: Chitting is the process of encouraging the seed potatoes to sprout before planting. Place the seed potatoes in an egg carton or on a tray with the end that has the most eyes facing upward. Keep the seed potatoes in a cool, well-lit area (60-70°F) for about 4-6 weeks. During this time, the eyes will sprout, and short, sturdy sprouts will develop.
Preparing the planting area: Choose a sunny location in your garden with well-draining soil. Remove any weeds or debris from the area and loosen the soil to a depth of about 8-10 inches. Incorporate organic matter, such as compost or well-rotted manure, to improve soil fertility and drainage.
Planting the seed potatoes: Once the soil has warmed up and the danger of frost has passed, it’s time to plant the chitted seed potatoes. Dig shallow trenches or individual holes spaced about 12-15 inches apart and 4-6 inches deep. Place each sprouted seed potato, with the sprouts facing up, into the hole or trench. Cover the seed potatoes with soil, leaving about 1-2 inches of soil above the sprouts.
Caring for the plants: Water the newly planted seed potatoes thoroughly to ensure good soil contact. As the plants grow, keep the soil consistently moist but not waterlogged. Mulch the soil around the plants to conserve moisture and suppress weed growth. Regularly monitor for pests and diseases, and take appropriate measures if necessary. As the plants grow taller, consider hilling up the soil around the stems to promote better tuber formation and protect the developing potatoes from sunlight.
How to grow this vegetable in your garden
Kennebec potatoes are a popular choice for gardeners due to their versatility, delicious taste, and high yield. Whether you’re a seasoned gardener or a novice, growing Kennebec potatoes can be a rewarding experience. In this guide, we will walk you through the process, from choosing the right seed potatoes to harvesting and storing your bounty.
- Choosing the Right Seed Potatoes:
Selecting high-quality seed potatoes is crucial for a successful Kennebec potato harvest. Look for certified disease-free seed potatoes from a reputable supplier or nursery. Choose tubers that are firm, healthy, and of medium size (approximately 2-3 inches in diameter). - Preparing the Soil:
Kennebec potatoes thrive in well-drained, sandy loam soil with a pH between 5.5 and 6.5. Begin by clearing the area of any weeds or unwanted vegetation. Loosen the soil to a depth of 8-10 inches using a garden fork or tiller, breaking up any clumps and removing rocks or debris. Incorporate plenty of organic matter, such as compost or aged manure, into the soil to improve fertility and drainage. - Planting Kennebec Potatoes:
The best time to plant Kennebec potatoes is when the soil temperature reaches approximately 50°F (10°C). Follow these steps for successful planting:
a. Cut larger seed potatoes into pieces, ensuring that each piece has at least two to three “eyes” or buds. Allow the cut surfaces to heal for a day or two before planting.
b. Dig 3-4 inch deep trenches, spaced about 2-3 feet apart. Space each seed potato piece 10-12 inches apart within the trenches.
c. Place the seed potatoes in the trenches with the eyes facing upwards.
d. Cover the seed potatoes with 2-3 inches of soil initially, and then gradually build up the soil as the plants grow. - Caring for Kennebec Potatoes:
To ensure healthy growth and a bountiful harvest, provide the following care for your Kennebec potatoes:
a. Watering: Keep the soil evenly moist but not waterlogged throughout the growing season. Avoid overwatering, as it may lead to diseases such as rot.
b. Mulching: Apply a layer of organic mulch, such as straw or wood chips, around the plants to conserve moisture, suppress weed growth, and maintain an even soil temperature.
c. Fertilizing: Kennebec potatoes benefit from regular feeding. Apply a balanced fertilizer or compost at planting time and side-dress with additional fertilizer or organic matter during the growing season.
d. Pest and Disease Management: Monitor your plants regularly for signs of pests or diseases, such as aphids, potato beetles, or late blight. Take appropriate measures, such as using insecticidal soap or organic pest control methods, to mitigate any problems. - Harvesting and Storing:
Kennebec potatoes typically take 90-110 days to mature. Harvest your potatoes when the foliage turns yellow and dies back. Use a garden fork or shovel to carefully dig up the tubers, avoiding damaging them. Allow the potatoes to dry in a cool, dark place for a few hours before cleaning and storing them in a well-ventilated area. Store your Kennebec potatoes in a cool, dark, and humid-free environment to prevent sprouting and spoilage.