
Welcome to the world of Josephine Pears, a delightful and versatile fruit tree that is sure to captivate any gardener. Known for their exceptional flavor and stunning appearance, Josephine Pears are a popular choice among fruit enthusiasts and home gardeners alike. With their rich history and unique characteristics, these pear trees offer a rewarding and fulfilling experience for those looking to grow their own fruit.
In this article, we will explore the various aspects of cultivating Josephine Pears, from selecting the right location and preparing the soil, to proper planting techniques and ongoing care. Whether you are a seasoned gardener or a beginner, join us on this journey as we delve into the secrets of successfully growing Josephine Pears and enjoy the bountiful harvest they bring.
What are Josephine Pears?
Josephine Pear is a variety of European pear tree known for its exceptional flavor and attractive appearance. It is a medium-sized tree that typically reaches a height of 15-20 feet with a spread of 10-15 feet. The tree has an upright, pyramidal shape and glossy, dark green leaves that turn vibrant shades of red and orange in the fall. Josephine Pear produces medium to large-sized fruits that have a distinctive bell shape.
The skin is smooth and thin, with a yellow-green color that develops a slight blush of red when fully ripe. The flesh is juicy, sweet, and aromatic, with a smooth, buttery texture. The flavor is often described as rich and complex, with hints of vanilla and honey. This pear variety is known for its excellent storage capabilities, allowing the fruits to be enjoyed fresh for an extended period. It is also a good choice for cooking and canning due to its firm texture that holds up well during the cooking process.
Josephine Pear trees are generally easy to grow and are adaptable to a wide range of climates. They prefer full sun and well-drained soil but can tolerate some shade and various soil types. Regular pruning is recommended to maintain the tree’s shape and promote optimal fruit production. Overall, Josephine Pear is a popular choice among pear enthusiasts for its delicious flavor, attractive appearance, and versatility in the kitchen.
What do Josephine Pears taste like?
Josephine pears are known for their exceptional flavor profile. They have a sweet and juicy taste with a hint of tartness, making them a perfect balance of flavors. The flesh of Josephine pears is smooth and buttery, melting in your mouth with each bite. The sweetness is reminiscent of honey or caramel, providing a delightful and indulgent experience for your taste buds.
The flavor of Josephine pears is often described as rich and aromatic, with subtle floral notes that add a touch of elegance. The sweetness is not overpowering, allowing the natural flavors of the pear to shine through. This makes Josephine pears a versatile fruit that can be enjoyed on its own, in salads, or used in various culinary creations.
When fully ripe, Josephine pears have a soft texture that is incredibly satisfying to eat. They are often enjoyed fresh, but can also be used in baking, poaching, or making preserves. Their flavor profile makes them a popular choice for desserts, as they add a natural sweetness and depth of flavor to pies, tarts, and cakes.
Overall, Josephine pears offer a delightful combination of sweetness, juiciness, and subtle tartness, making them a favorite among pear enthusiasts. Their unique flavor profile makes them a standout choice for both culinary and snacking purposes.
How to start Josephine Pears from seeds
Growing Josephine Pear trees can be a rewarding experience for any gardener. Here is a guide to help you get started:
- Climate and Location:
Josephine Pear trees thrive in USDA hardiness zones 5-8. They require a minimum of 600 chilling hours below 45°F (7°C) during the dormant season. Choose a location that receives full sun exposure (at least 6-8 hours of direct sunlight per day) and has well-draining soil. - Soil Preparation:
Prepare the soil by removing any weeds, rocks, or debris. Josephine Pears prefer slightly acidic to neutral soil with a pH range of 6.0-7.0. If your soil is too acidic, add lime to raise the pH. If it’s too alkaline, add sulfur to lower the pH. Incorporate organic matter like compost or well-rotted manure to improve soil fertility and drainage. - Planting:
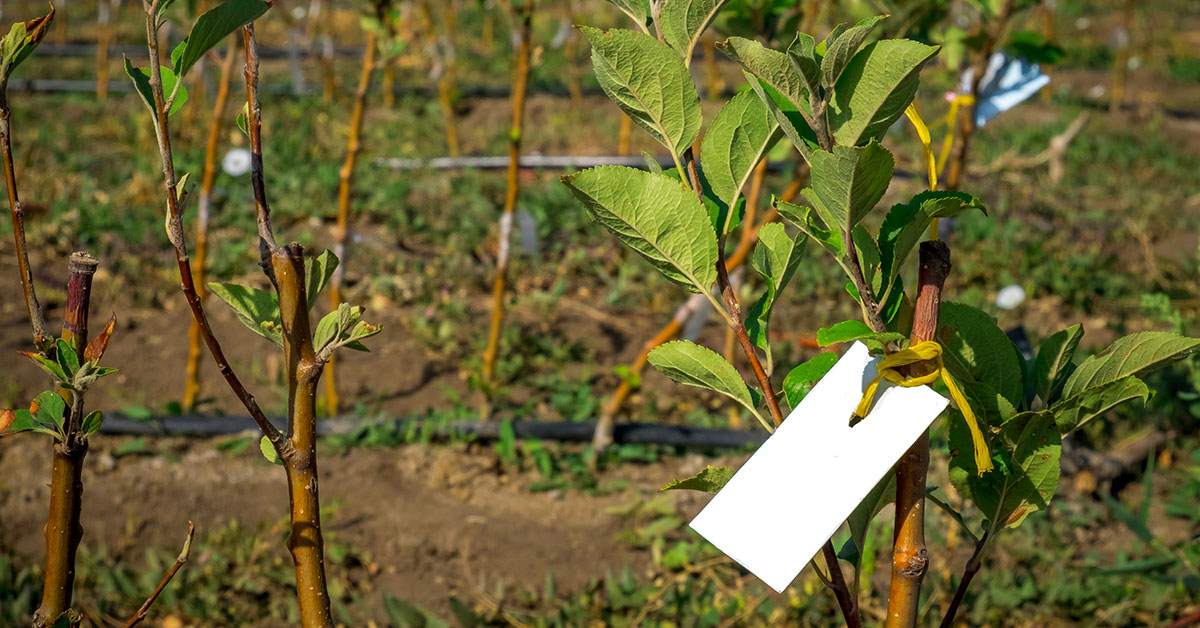
Josephine Pear trees are usually grafted onto a rootstock. Purchase a grafted tree from a reputable nursery or garden center. Dig a hole that is wide and deep enough to accommodate the tree’s root system. Place the tree in the hole, making sure the graft union (the swollen area where the scion is attached to the rootstock) is above the soil line. Backfill the hole with soil, gently firming it around the roots. Water thoroughly to settle the soil. - Watering:
Water newly planted Josephine Pear trees deeply and regularly, especially during the first year. Provide enough water to keep the soil consistently moist but not waterlogged. Once established, they are moderately drought-tolerant but still require regular watering during dry spells. - Pruning and Training:
Prune Josephine Pear trees during the dormant season (late winter to early spring) to shape the tree, remove dead or diseased branches, and improve airflow. Use sharp, clean pruning tools to make clean cuts. Train the tree to a central leader system, which involves selecting a strong, upright central stem and removing competing branches. Regularly prune to maintain an open canopy and remove any suckers or water sprouts. - Fertilizing:
Apply a balanced fertilizer, such as a 10-10-10 or 14-14-14, in early spring before new growth begins. Follow the manufacturer’s instructions for application rates. Avoid over-fertilizing, as it can lead to excessive vegetative growth at the expense of fruit production. - Pest and Disease Control:
Monitor your Josephine Pear tree regularly for signs of pests and diseases. Common pests include aphids, pear psylla, and codling moth. Use organic insecticides or integrated pest management techniques to control pests. Diseases like fire blight, pear scab, and powdery mildew can affect pear trees. Apply appropriate fungicides or consult with a local extension office for guidance on disease management. - Harvesting:
Josephine Pears are typically ready for harvest in late summer or early fall, depending on your location and climate. Harvest the pears when they are firm but not hard, and the skin color has turned from green to yellow. Pears can be stored in a cool, dark place for a few weeks to ripen fully.
Remember to regularly monitor your Josephine Pear tree’s health, provide adequate care, and enjoy the delicious fruits it produces. Happy gardening!
When to plant Josephine Pears outdoors
The ideal time to plant Josephine Pear trees is in late winter or early spring, before the tree starts to actively grow. This is typically between February and April, depending on your specific location and climate. Planting during this time allows the tree to establish its roots before the onset of summer heat.
Growing & care guide Josephine Pears
Josephine Pear trees are a popular choice among gardeners due to their delicious fruit and attractive appearance. To ensure the health and productivity of your Josephine Pear tree, it is important to follow some best practices for caring for them. Here are some guidelines to help you:
- Planting: Choose a sunny location with well-draining soil for your Josephine Pear tree. The soil should be slightly acidic to neutral (pH 6.0-7.0). Dig a hole that is wide and deep enough to accommodate the tree’s root system. Place the tree in the hole, making sure the bud union (the swollen area where the tree was grafted onto the rootstock) is above the soil level. Backfill the hole with soil, gently firming it around the roots.
- Watering: Adequate watering is crucial, especially during the first few years of growth. Water your Josephine Pear tree deeply and regularly, especially during dry spells. Aim to provide about 1 inch of water per week, either through rainfall or irrigation. Avoid overwatering, as it can lead to root rot.
- Fertilizing: Pear trees, including Josephine Pear, benefit from regular fertilization. Apply a balanced, slow-release fertilizer in early spring, just as new growth begins. Follow the manufacturer’s instructions for the appropriate amount to use. Avoid fertilizing after mid-summer, as it can encourage late-season growth that may not have time to harden off before winter.
- Pruning: Pruning helps maintain the shape, structure, and health of your Josephine Pear tree. Prune during the dormant season, typically in late winter or early spring before new growth starts. Remove any dead, damaged, or diseased branches. Thin out crowded areas to improve air circulation and sunlight penetration. Also, prune to maintain an open center or modified central leader shape, which helps with fruit production and reduces the risk of disease.
- Pest and Disease Control: Josephine Pear trees are susceptible to various pests and diseases, including pear psylla, codling moth, fire blight, and pear scab. Regularly inspect your tree for signs of infestation or disease, such as distorted leaves, oozing cankers, or damaged fruit. Use organic or chemical controls as necessary, following the instructions carefully. Applying dormant oil in late winter can help control overwintering pests.
- Harvesting: Josephine Pears are typically ready for harvest in late summer or early fall. The fruit should be firm but not hard when gently squeezed. Twist the pear gently to detach it from the tree, or use pruning shears if necessary. Store the harvested pears in a cool, dark place with good ventilation to allow them to ripen fully.
By following these best practices, you can ensure the health and productivity of your Josephine Pear tree. Remember to monitor your tree regularly, provide proper care, and address any issues promptly to enjoy a bountiful harvest of delicious pears.
Harvesting guide for Josephine Pears
Josephine pears are typically ready for harvest in late summer or early fall, depending on your location and climate. To determine if the pears are ready for picking, there are a few indicators to look for:
- Color: Josephine pears should have a golden-yellow hue when they are fully ripe. Check the color of the pears and ensure they have reached the desired shade.
- Firmness: Gently press your thumb near the stem end of the pear. If it yields slightly to pressure but still feels firm, it is likely ready to be harvested. Avoid picking pears that are too soft, as they may be overripe or prone to bruising.
- Taste: If you have access to a few Josephine pears, you can sample one to determine its sweetness and flavor. Pears should have a balanced sweetness and a pleasant taste. If they are still tart or lack flavor, it may be best to wait a bit longer before harvesting.
When it comes to harvesting Josephine pears, follow these steps:
- Use pruning shears or a sharp knife to cut the stem of the pear, leaving a small portion attached to the fruit. Avoid pulling or twisting the pear off the tree, as this can damage the branch or cause the fruit to bruise.
- Hold the pear gently in your hand to prevent any unnecessary pressure or bruising while harvesting.
- Place the harvested pears in a shallow container or basket lined with a soft material, such as a towel or newspaper, to prevent them from rolling around and getting damaged.
- Handle the pears with care to avoid bruising or dropping them. Even minor damage can lead to spoilage during storage.
- Once you have harvested all the ripe Josephine pears, store them in a cool, dry place such as a cellar or refrigerator. Pears can continue to ripen off the tree, so if they are not fully ripe when harvested, you can leave them at room temperature for a few days until they reach the desired ripeness.
Remember, it’s important to monitor your pear tree regularly during the ripening period to ensure you harvest the fruits at their peak flavor and quality.