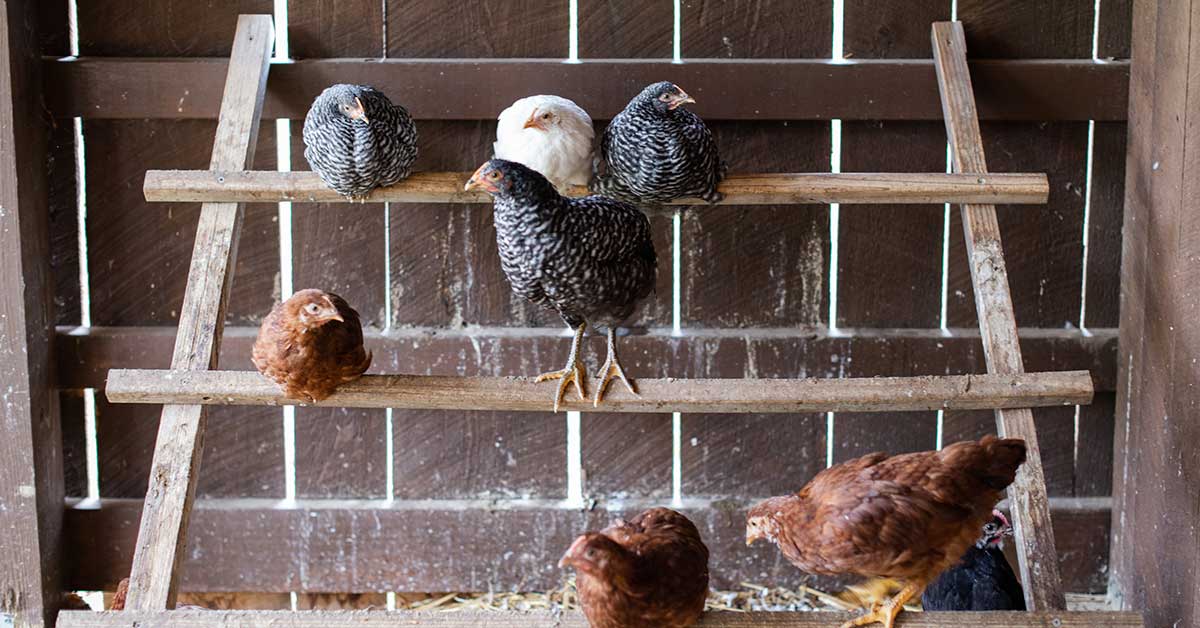

Hatching eggs in an incubator at home is one of the most addictive parts of the backyard farming hobby and it’s hands down the most cost-effective way to start or grow your flock of chickens. There are few things more satisfying than watching new life spring forth from the eggs you’ve been carefully incubating for weeks. And in fairness, there are few things more disappointing than a hatch not going well. In this article, we’ll talk about the fundamentals of incubating and hatching chicken eggs and how to troubleshoot hatches that didn’t go well.
Incubating Chicken Eggs – The Basics
If you want to have good success with incubating your chicken eggs, you must have the basics down before anything else. You can’t wing it when it comes to incubation – you must make sure that each and every factor is accounted for. So let’s talk about the basics of incubating chicken eggs:
- Incubation time: 21 days
- Incubator temperature: 37.5°C (99.5°F)
- Incubator humidity: 40-50%
- Egg turning: 4 times a day
- Candling eggs: Day 7
- Lockdown Date: Day 17
- Lockdown temperature: 37.2°C (99°F)
- Lockdown humidity: 65%
Incubating chicken eggs is an exercise in patience. Chickens will hatch after about 21 days. Sometimes they can pop out earlier, sometimes later. It just depends on the egg! You’ll find that some clutches of eggs will hatch at about the same time and others will hatch days apart.
Your eggs will need to be consistently incubated at 37.5°C (99.5°F) up until 4 days before hatching. During the final 4 days of incubation, the humidity is increased and temperature is decreased.
Candling your eggs on the 7th day of incubation is an important part of the process. It will help you determine whether or not your eggs are viable and allows you to discard non-viable eggs before they become a health risk. More on candling chicken eggs later in this article.
Keep reading: Common causes of poor hatch rates
How to hatch chicken eggs
I’ve hatched dozens of batches of eggs in my life. There is some advice online that is spot on and some that is not. Be cautious of reading forums where people discuss egg-hatching tips. It really boils down to making sure your fundamentals are rock solid and being patient – allowing nature to take its course. In this section of the article, we’ll go over everything (and I mean everything!) that you need to know about incubating chicken eggs successfully.
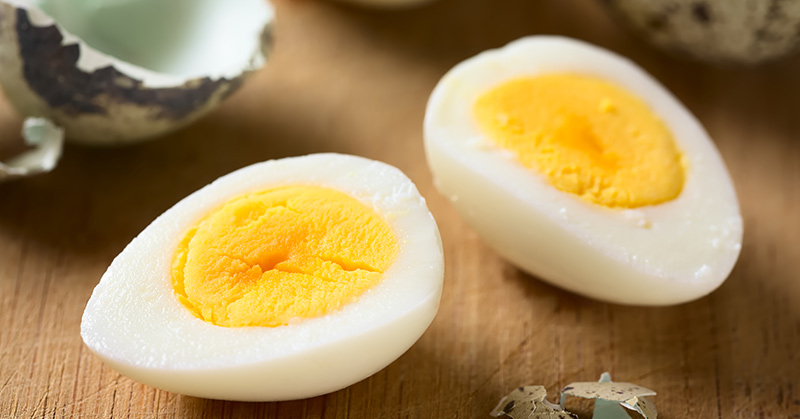
The anatomy of a chicken egg
Nature knows how to hatch an egg. By providing the basic needs of an egg, heat and humidity, it will likely eventually hatch. But knowing the anatomy of a chicken egg is important for getting a good hatch rate. The three parts of the egg that you should be very familiar with are the shell, the yolk, and the air sac. Below is an image of the anatomy of an egg:
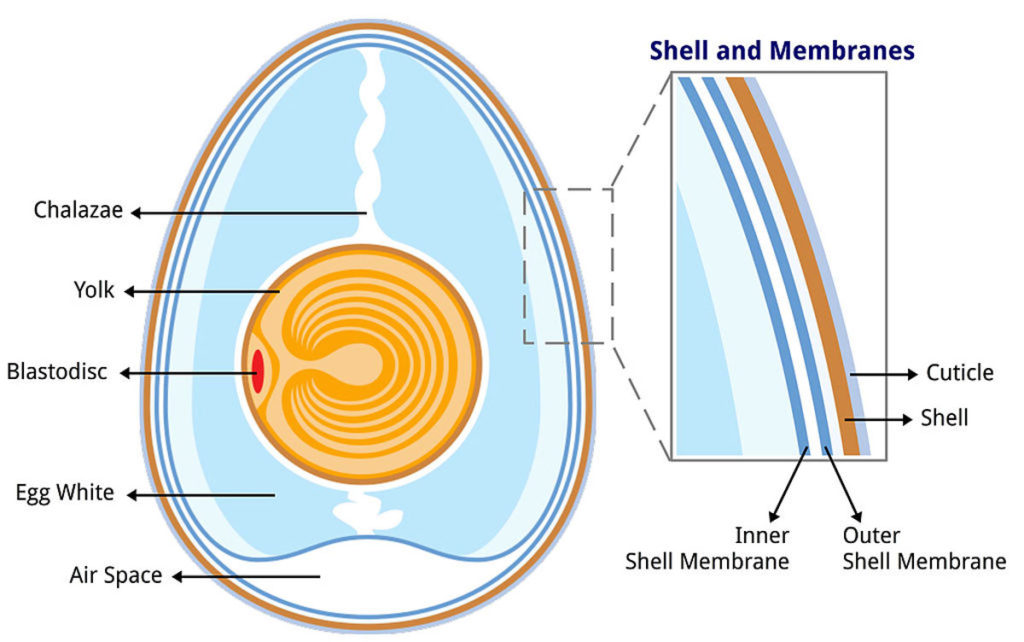
You will need to pay special attention to the quality of the shell, the air space at the fat end of the egg, and the yolk suspended inside of the egg. Candle the eggs before setting to ensure that the air cell is tightly formed at the bottom of the egg and the yolk seems to be in one, solid piece.
Selecting quality chicken eggs to hatch
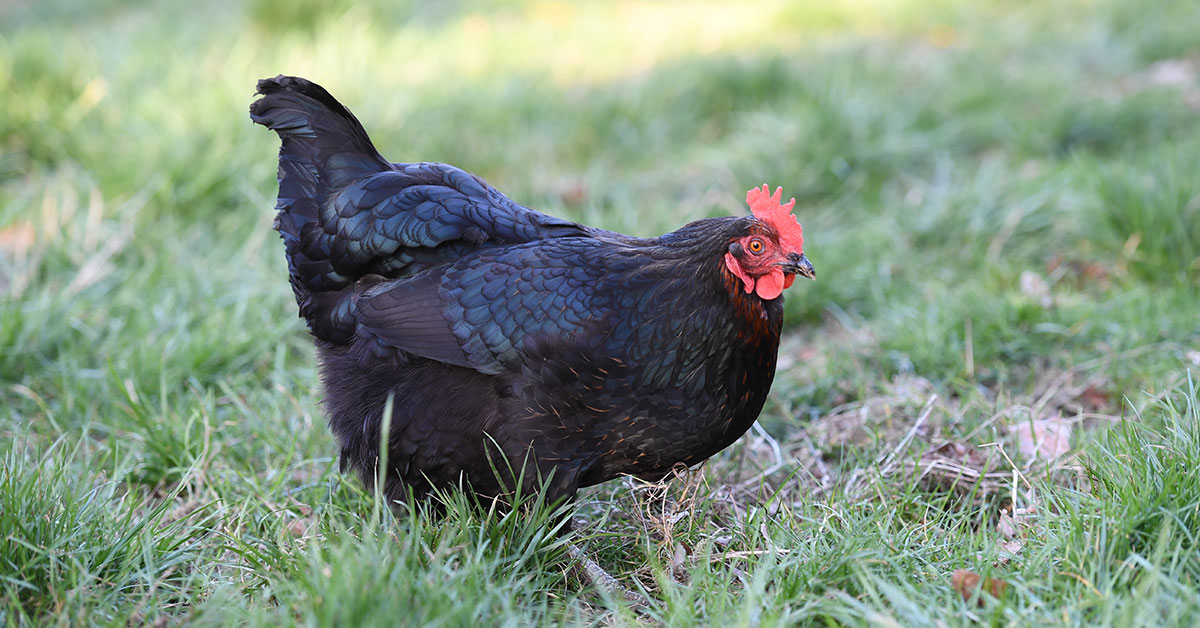
How do you select a quality chicken egg to hatch? Where do you get fertile chicken eggs? Picking the right eggs to hatch is the first and probably most important step in incubating eggs. Chicken eggs sold in the supermarket probably won’t hatch because rarely will commercial chicken operations keep roosters. Instead, look for a local, trusted seller of fertilized eggs. Find a farm that will allow you to see the flock of chickens being bred for eggs. This will ensure that you’re getting what you’re paying for and that the birds are treated well.
You may also purchase fertilized chicken eggs from the internet. Many hatcheries will gladly ship eggs to you, but it comes at a price. Shipped eggs are expensive, can arrive damaged, and have a reduced hatch rate built in due to trauma sustained during shipping.
When you have your eggs in hand, carefully examine each egg. Be sure to wash your hands before and after handling the eggs every single time. You may darken a room and candle your eggs by shining a flashlight into the egg. This will reveal any cracks or imperfections inside the egg.
Never try to incubate an egg that’s cracked, dirty, too large, too small, misshapen, double-yolked, or unusual in any way. Also, be aware that eggs with a defective air cell should not be incubated. These eggs are likely not viable and will probably not hatch.
Be aware of the rough age of the eggs as well. 7 days after a chicken egg is laid, it begins to rapidly lose fertility. Getting your eggs set in the incubator within a week of being laid is vital. After 2-3 weeks, most of your eggs won’t be viable anymore.
Letting your eggs settle
Once you’ve picked up your eggs, whether it’s from your local post office or from a local farm, you’re going to want to allow your eggs a minimum of 12 hours, though ideally more like 24 hours, to settle. Place them in the carton with the fat side of the egg pointed upward. This will allow the air cell at the fat end of the egg to settle into place before incubating.
Your eggs should be given plenty of time to reach room temperature. Putting colder eggs in an incubator can breed bacteria as the egg heats up. Always start incubating an egg at room temperature.
How to clean an incubator
An incubator that has been contaminated by some kind of pathogen can put a swift end to any developing embryos in the eggs you set. You have to properly clean and sanitize your incubator before setting eggs, even if it’s a new incubator. This is my incubator cleaning protocol – so far it hasn’t failed me.
- If you have used your incubator before, be sure that any pieces of shell or any other material left over from past hatches has been removed from the incubator. These small bits of egg matter can house and grow bacteria.
- Remove all of the removable components, like water pans and egg trays, and clean them with soap, water, and a sponge. After cleaning, you can further disinfect these components by soaking in warm water with a mild bleach mix. Don’t use chemical cleaners.
- Wipe down each of the components and allow them to dry.
- Now, clean the bottom of the incubator by soaking it in a 25% bleach and warm water solution. Wipe it down with a soft cloth, particularly if you use a
- Gently clean the heating unit, but avoid getting it wet. A slightly damp cloth or a brush is the ideal way to clean the heating unit.
Once it’s been cleaned, allow it to sit in a protected spot for 12-24 hours. The incubator should be dry and should smell clean before you set eggs. If it has a funky odor, clean it again using the above protocol.
Setting up your incubator
Once your incubator has been disinfected, it’s time to get it set up. Never start your incubator and immediately set eggs. It’s not like cooking a frozen pizza in an oven that hasn’t been preheated yet! You want to make sure each of the fundamentals of incubating a chicken egg is spot on. Don’t cut corners here – doing so can result in dead embryos. If your temperature is over a few degrees, your eggs will die and you’ll be in for a sad time. If it’s too low, it can impact development negatively. If the humidity is wrong, again, you can have chicks that don’t develop or hatch properly.
48 hours before you begin incubating your chicken eggs, set up the incubator and get all of its vital measurements stabilized. You’ll want to see that the temperature and humidity are stable for at least 12 hours before setting eggs. As a reminder, you will want these two readings to be perfect:
- Incubator temperature: 37.5°C (99.5°F)
- Incubator humidity: 50%
During the first few hours, you might find that the internal temperature and humidity fluctuates a bit. This is normal. If you see an incorrect reading consistently for more than an hour, adjust your incubator so it provides the correct reading. Once you are certain that your incubator is stable and ready for eggs, go ahead and set them.
Turning your eggs
In the wild, a mother bird sitting on her eggs is always busy rotating and turning her eggs. When incubating chicken eggs, or any other type of poultry egg, this action must be simulated by manually turning the eggs or using an automatic egg turner. Automatic egg turners are especially nice because you don’t run the risk of contaminating the inside of the incubator or the eggs themselves by touching them and you don’t run the risk of throwing off the internal temperature and humidity.
If you don’t have an automatic egg turner, it’s not the end of the world. You can turn your eggs by hand. Always wash your hands before touching your eggs! The oils and dirt on your hands can clog the pores in the shell or contaminate the eggs with bacteria. Either scenario can kill an embryo.
If turning manually by hand, before you set them, take a soft pencil and place an X on one side of the egg and an O on the opposite side of the egg. This will help you make sure each egg has been fully turned. You will continue your daily turning of the eggs until 4 days before hatching.
Candling chicken eggs
Candling the eggs you’ve been incubating is hands down my favorite part of the process. To candle an egg, you darken a room and then shine a flashlight into the large end of the egg. You can cut a hole in a cardboard box to help focus the light, or buy an egg candling light. My phone’s flashlight also works great for this.
If you were to candle your eggs daily, which I do not recommend, you would see a red disk appear on the yolk, followed by veins slowly branching outward. On the 7th day of incubation, you will see a network of veins around the yolk of the egg and a small, red point at the center of it all. You may be able to make out a very dark spot, which is the chick’s developing eye. You may see some movement. If the egg appears alive, congratulations! Go ahead and set it back in the incubator. Below is an image of what a live egg should look like:
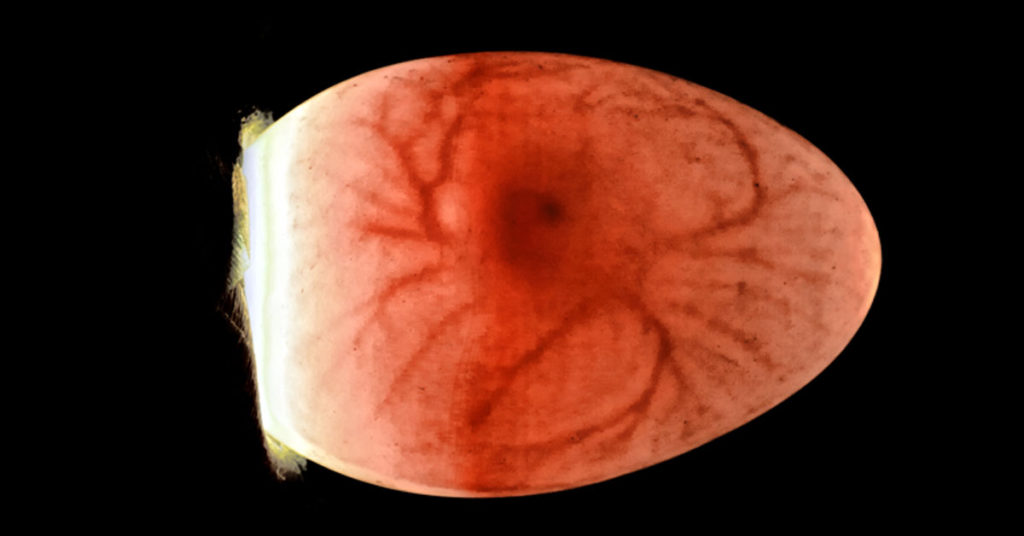
You can clearly see the network of veins, the embryo in the center, and even its eye. At this stage, you might see the embryo rocking back and forth. But there are signs that your egg is not viable:
- Clear, no development at all
- Some early development, but veins have decayed, and no new development
- A large red ring with no veins or embryo apparent
- Cloudy, discolored eggs
Any eggs that appear to have died should be discarded immediately. If you are not sure, mark the egg with a question mark and set it for a few more days. Candle again on day 10, but only that egg.
Avoid over-candling. It’s so neat seeing the babies develop, but the more you handle the eggs, the higher the chance that you’ll drop it or infect it with some kind of deadly pathogen.
Monitoring water loss during incubation
Shortly before lockdown, the last 4 days of incubation, I candle the eggs again to look for problems. Any embryos that appear to have died should be removed. I also look at water loss during incubation. Your chicken eggs will lose about 14% of the fluid inside the egg as it develops. The air cell at the fat end of the egg should grow some during the incubation process. If it still appears small, your humidity could be too high. If it is very large, it may be too low. Check your hygrometer for an updated humidity reading.
Incubator lockdown
We’ve touched on lockdown a few times in this article. Lockdown is the term given to the last 4 days of incubation. During lockdown, you remove the eggs from the egg turner and lay them on their side, slightly reduce the temperature of the incubator, increase relative humidity, and leave your eggs alone. During this time, the embryo growing inside will get itself into a hatching position and pop out. Fast facts about lockdown:
- Lockdown Date: Day 17
- Lockdown temperature: 37.2°C (99°F)
- Lockdown humidity: 65%
The lockdown temperature is reduced slightly to 37.2°C (99°F) and humidity is increased to around 65%. Once your lockdown is initiated, all there is to do is wait.
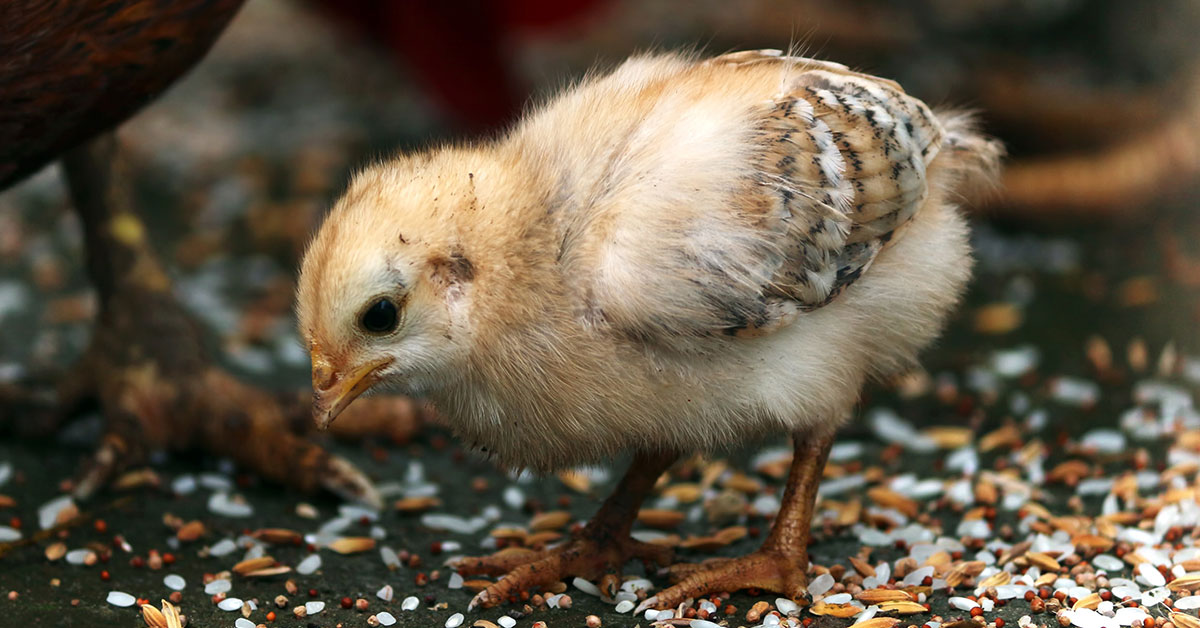
During these final days of incubation, your chicks will internally pip. This is the process where your chick will penetrate the air cell of the egg and begins breathing. Typically within 24 hours of internally pipping, the declining oxygen in the air cell with trigger an automatic reaction in the chick, compelling it to make a small hole in its shell and breathe outside air. This is called the external pip. The external pip typically occurs 24-48 hours before they finally hatch.
Up until the hours or minutes before the chick hatches, it will begin absorbing the remaining yolk inside of the egg into their bodies. Chicks are able to survive on this yolk for a day or two after they hatch, at which point they begin to eat and drink.
The general rule of thumb is once you see a pip in the shell, which may appear like a crack or a bump, your chick should hatch within a day or two. As it prepares to hatch from the egg, it will slowly rotate, breaking the eggshell in a process called unzipping. This is the final stage of hatching. Once they have begun to unzip themselves, hatching is imminent. This part can be difficult for excited chick hatchers. It can be slow but don’t interfere.
Note: If you get impatient and try to help a chick hatch, you may accidentally kill it. If the yolk isn’t fully absorbed and you pull the chick from the shell, this radically increases the odds that they will not survive.
The period of time from pip to zip can vary pretty widely. In my experience, once you see an external pip, the chick will fully hatch within 24-48 hours. The eggs may not all hatch at once. Or they might. It really depends on a number of factors that are nearly impossible to account for. I’ve had hatches where every single egg hatches at the exact same time and some where chicks hatch a few days late.
The important thing is to be patient and not mess with the eggs. Hatching eggs can be taxing if you’re emotionally invested. Some eggs won’t pip and hatch. Some will internally pip but not externally pip. Some will externally pip but never unzip. Some will unzip but won’t be able to push out of their shell. Some will fully hatch and then die.
If you think a chick is struggling to hatch, don’t intervene. It sounds callous, but if a chick can’t hatch on its own, it means it wasn’t strong enough to do so. Some chicks are also slow hatchers. Intervening too early can kill them. Let nature take its course.
If you help a chick that can’t hatch on its own, any offspring they have may also be predisposed to having difficulty hatching.
Incubating chicken eggs naturally
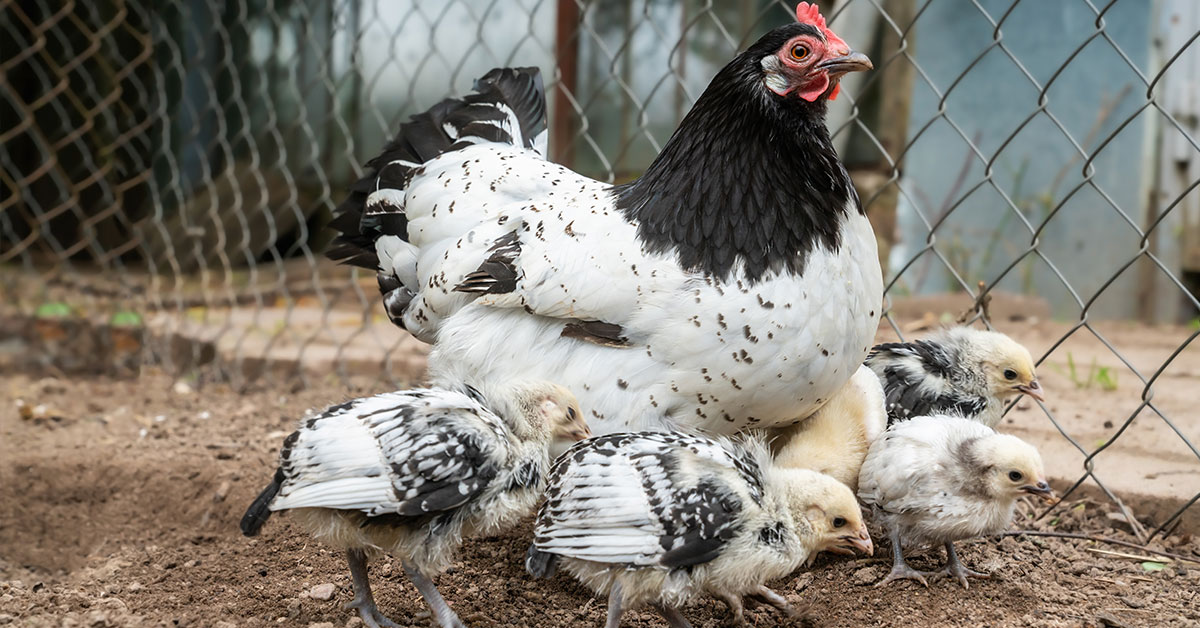
Incubating chicken eggs naturally is also a viable option for you if you have a hen that’s ready to sit. Domesticated poultry in general can be hit or miss when it comes to natural incubation, but chickens are generally pretty reliable egg sitters, so if you have a hen ready to do it and you want chicks, let her do it! Your hen will spend sometimes over a week gathering a collection of as many as 12 eggs to sit on.
She won’t begin sitting on the eggs until she has laid her full clutch, so take care to keep these eggs safe. Once she has begun to sit on the eggs, the chicks will hatch after about 21 days. You don’t need to do anything to help, though it may be a kindness to offer a food and water source close to where the hen has nested.
Common incubation problems
If you’ve gone through the process of incubating chicken eggs and didn’t get many – or any – chicks, I understand that can be a difficult thing to experience. You’ve been incubating your eggs for likely about a month and have little to show for it. Now we troubleshoot. What are the more common problems with incubation?
- Setting old eggs
- Eggs with low fertility
- Improper turning
- Improper handling
- Uneven incubator temperature
- Uneven incubator humidity
- Nutritional deficiencies with the breeding stock (remember when I suggested meeting the birds?)
- Contaminated incubator
We hope this guide for incubating chicken eggs helps you have a successful hatch!
Other incubation guides:
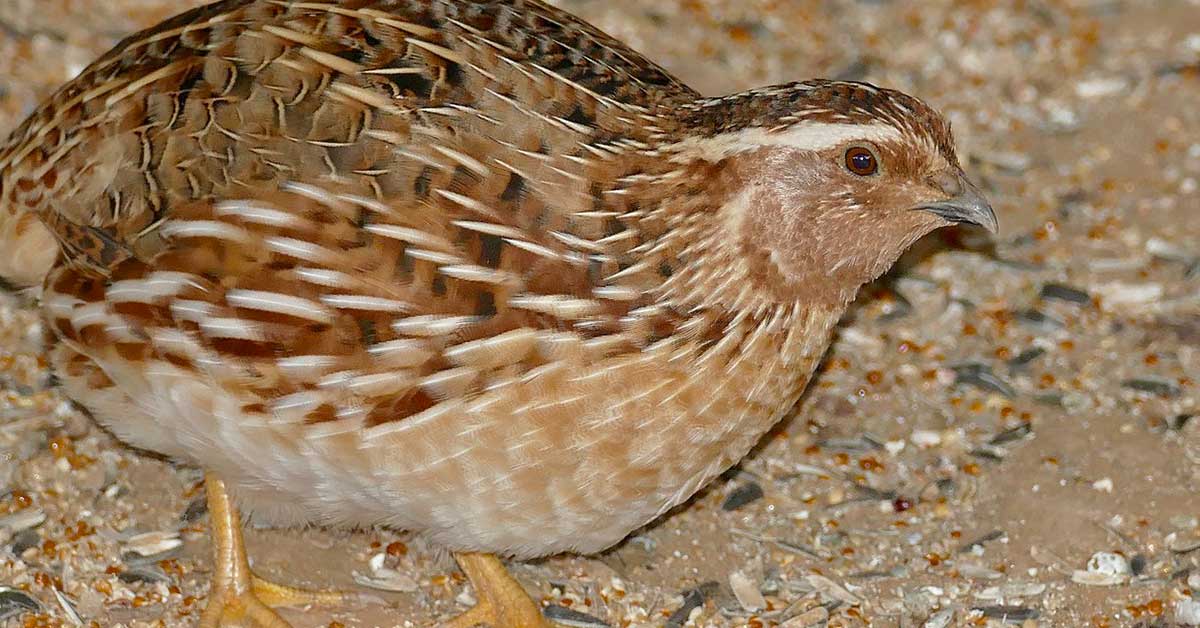
- How To Incubate Coturnix Quail Eggs
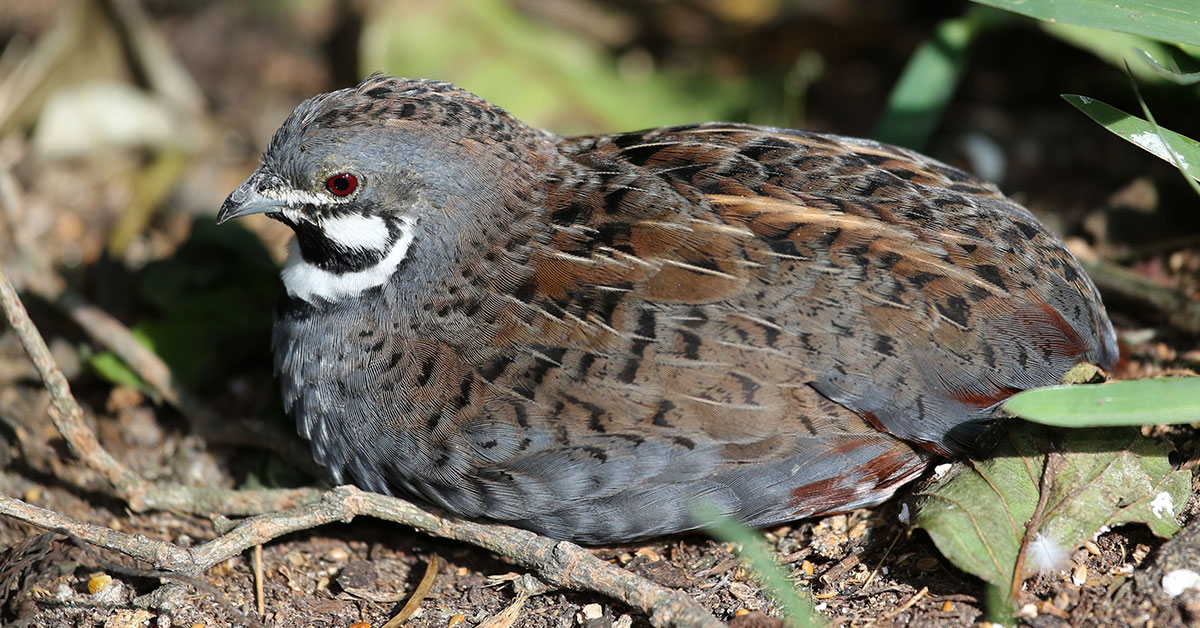
- How To Incubate Bobwhite Quail Eggs
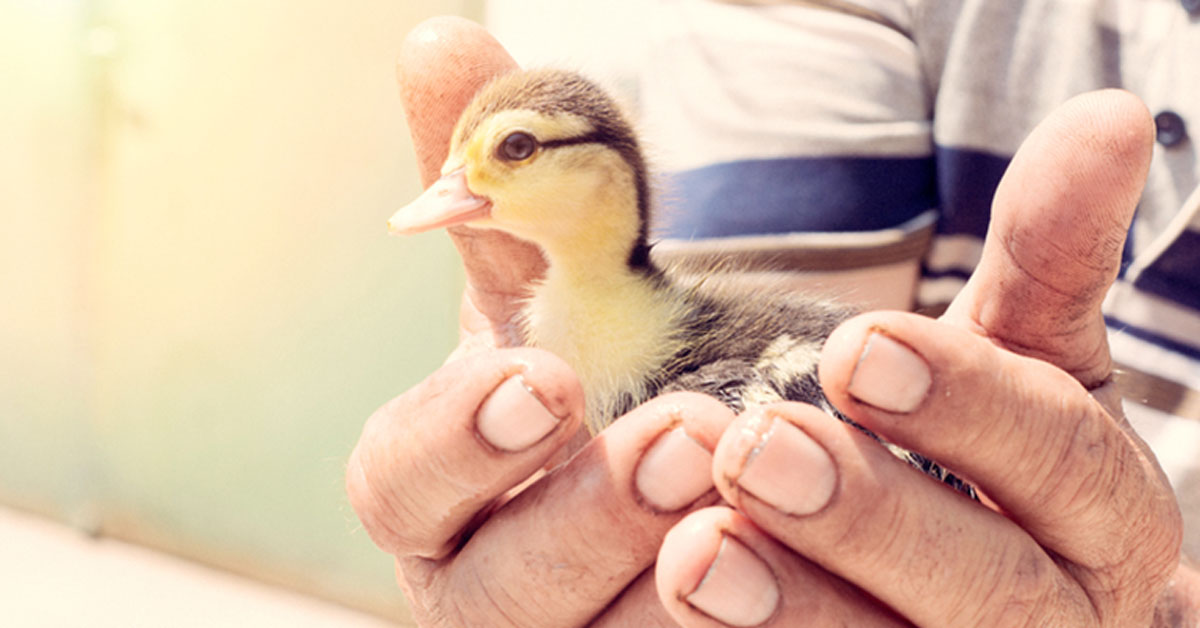
- How To Incubate Duck Eggs
- How To Incubate Turkey Eggs
- How To Incubate Goose Eggs
- How To Incubate Peafowl Eggs