

Creating a home greenhouse doesn’t have to drain your wallet! With a dash of ingenuity and a willingness to repurpose, you can build a cozy growing space that extends your season and nurtures everything from delicate seedlings to tender perennials. Whether you’re working with reclaimed windows or plastic sheeting, this guide will walk you through ten essential steps—complete with tips for inviting beneficial insects (like solitary bees nesting in soil pockets or predatory mites hiding in mulch) to help keep pests at bay.
I know how overwhelming it can feel when you see turnkey greenhouse kits costing hundreds or even thousands of dollars. As someone who’s cobbled together structures from old doors, pallets, and plastic tubs, let me assure you that a functional, plant-friendly greenhouse is within your reach. Let’s dive into practical, wallet-friendly strategies to get your greenhouse up and running before your next planting season!
Scout the Perfect Location

Before you hammer in a single nail, spend a few days observing sun patterns in your yard. Aim for six to eight hours of direct sunlight—especially morning light—to warm your space quickly. Avoid deep shade from mature trees unless you plan supplemental lighting!
Good drainage is also key: a slight slope or raised foundation prevents puddling under your frame. Those drier edges become ideal nesting sites for ground-nesting bees, which will dart through open vents to pollinate seedlings and keep your greenhouse buzzing with activity.
Repurpose Windows and Doors

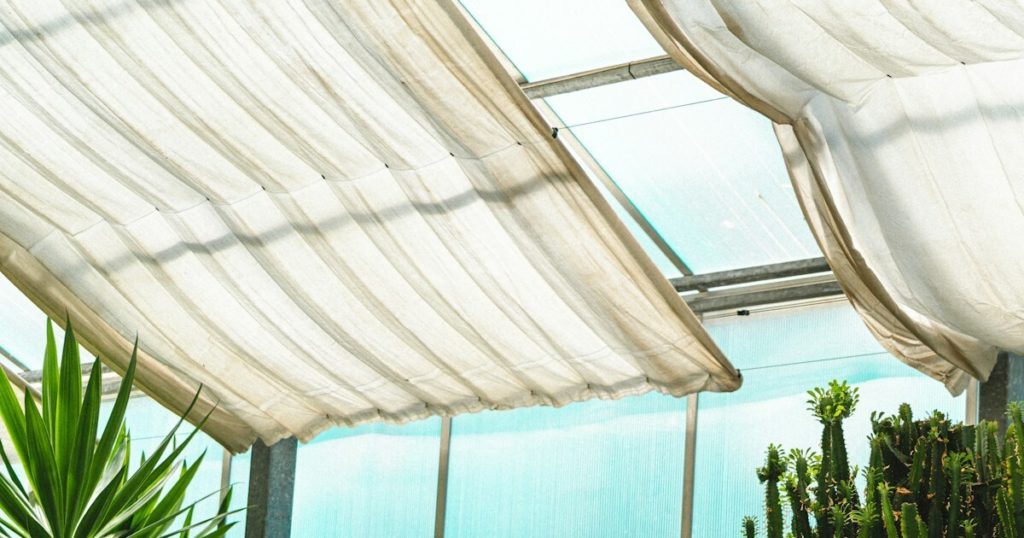
Scour salvage yards, classifieds, or neighborhood giveaways for old windows and doors. Tempered glass panes from renovations often come free or cheap, and when hinged together they form sturdy walls and a sloping roof that sheds rain and snow with ease.
Mount this makeshift frame on pallets or a simple wood base. Small gaps can be screened to welcome hoverflies and lacewings—beneficial predators that nest in nooks and feast on aphids within your greenhouse, helping you reduce chemical sprays!
Build Recycled Shelving and Benches

Free pallets, cinder blocks, or salvaged lumber create solid, tiered shelving for pots and trays. Lay repurposed planks across blocks or stack pallets on their sides for multi-level benches. Seal wood against moisture for durability.
Underneath these shelves, leave a thin mulch layer to attract springtails and predatory mites. These tiny soil dwellers break down organic debris and patrol your seedlings for fungus gnats, promoting a healthier rooting environment!
DIY Ventilation with PVC and Mesh
Proper airflow prevents overheating and fungal growth. Use inexpensive PVC pipe and connectors to fashion adjustable vents or louvres in the roof and sides. Cover openings with fine mesh to block pests while letting air circulate freely.
Position these vents to create cross-ventilation, inviting predatory wasps and spiders to nest in undisturbed corners. Their presence curbs caterpillar and aphid outbreaks, offering natural pest control that pairs beautifully with your frugal ventilation system!
Collect Rainwater for Irrigation

Set up a simple gutter or tarp funneling rain into food-grade barrels or drums. Free, soft rainwater prevents mineral buildup in your soil and cushions your budget. Keep barrels covered to deter mosquitoes and debris.
Run a soaker hose or DIY drip system from the barrels to your pots. Moist soil around these lines becomes a haven for earthworms, whose tunneling aerates roots and improves drainage—another ecological benefit of your rainwater setup!
Insulate with Recycled Materials

Bubble wrap or clear plastic from discarded packaging can line interior walls, trapping air and reducing heat loss overnight. Attach with waterproof tape for a snug fit. In winter, bale straw against the north wall for extra warmth.
Those straw bales also host ground beetles and ladybugs in winter hibernation. When spring arrives, these beneficial insects emerge to patrol your greenhouse for soft-bodied pests—nature’s own spring-cleaning crew!
Start with Easy, Non-Invasive Plants
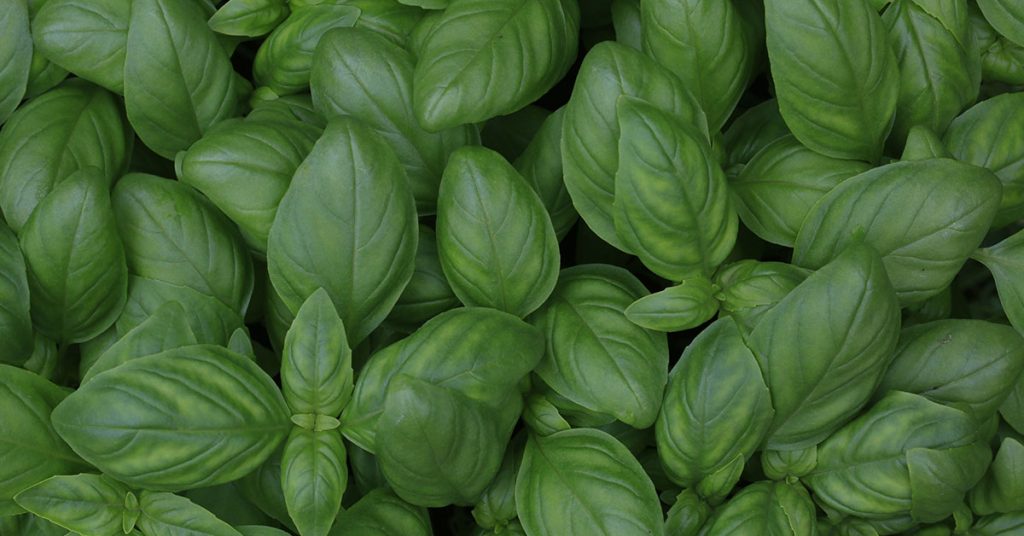
Kick off your greenhouse success with beginner-friendly veggies like lettuce (Mediterranean origin) and cherry tomatoes, plus herbs such as basil (tropical Asia) and parsley (Mediterranean). These species tolerate moderate conditions and won’t starve your space of light.
Rotate them each season to ward off soil diseases. Interplanting a few marigolds or alyssum draws hoverflies and parasitic wasps that nest in groundcover, keeping aphid populations down in both your greenhouse and adjacent garden beds!
Add Beneficial Insect Habitats
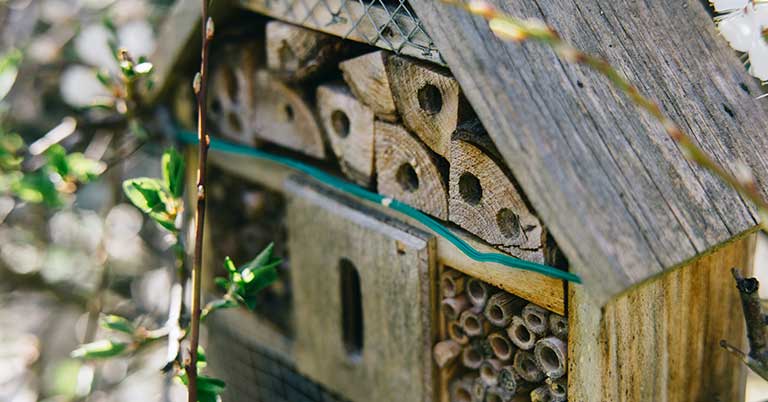
Craft a simple insect hotel from bamboo tubes, reed stems, and drilled wood blocks. Hang it near vents or on a greenhouse wall. Solitary bees will nest inside, emerging in spring to pollinate your seedlings.
On the ground, pile small branches or leaf litter in a shaded corner. Ground-nesting wasps and predatory spiders take shelter here, ready to hunt slugs and caterpillars that might otherwise feast on your tender transplants!
Opt for Budget-Friendly Covering
If windows aren’t available, UV-stabilized greenhouse plastic or repurposed polycarbonate panels (from old greenhouses or display cases) work wonders. These materials diffuse light evenly, reducing hotspots that scorch seedlings.
Clear panels also let you spot beneficial insects—like lacewing larvae on undersides of leaves—so you know when your natural pest control is at work. Keep an eye out, and resist the urge to clear away these silent guardians!
Incorporate Low-Cost Thermometers and Timers

A basic digital thermometer with probe costs under $20 and helps monitor conditions. Pair it with plug-in timers to automate small fans or heat mats, keeping your greenhouse within ideal temperature ranges without constant fuss.
Consistent climate control nurtures vigorous growth and reduces stress on plants—meaning fewer pest outbreaks. Plus, seeing your dashboard of temperature readings feels like running your own micro–research station, all on a shoestring budget!