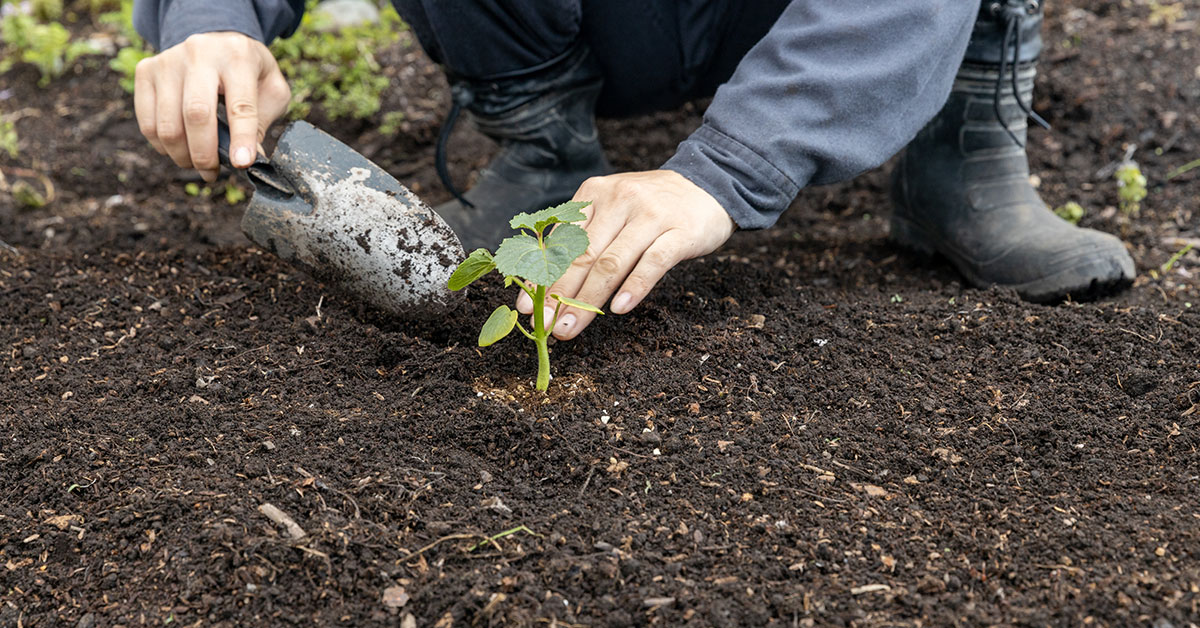

Fall is a fantastic time for gardening, but those cooler temperatures can sometimes feel like they’re putting a pause on all the fun! That’s where a cold frame comes in handy — it’s one of my favorite tools for extending the growing season and giving those tender plants a little extra protection as the weather changes. Cold frames are like mini greenhouses, trapping heat and providing a warm, cozy environment for your plants to thrive well into the fall and even winter.
I know it can be frustrating to see your plants start to wilt when the nights get chilly, or to worry about that first frost ending your harvest early. But don’t worry — with a cold frame, you can keep your garden growing longer, whether you’re nurturing leafy greens, root vegetables, or even starting new seedlings. Let’s dig into the details of how to set up a cold frame and make the most of this versatile garden tool!
Choose the Right Location

The first step in setting up a cold frame is choosing the perfect location. Ideally, you want a spot that gets plenty of sunlight, especially in the morning. South-facing areas are usually the best, as they capture the most sun throughout the day, which is critical for keeping your cold frame warm. It’s also helpful to place your cold frame in a sheltered area that’s protected from strong winds. A spot near a wall or fence can be ideal, providing extra insulation and stability.
I remember the first time I set up my cold frame — I placed it in a shady corner and couldn’t figure out why it wasn’t working! Lesson learned: sunlight is key. You also want to make sure the ground is level to prevent water from pooling, which can lead to soggy soil and unhappy plants. A little planning goes a long way in choosing the right location to maximize your cold frame’s effectiveness.
Build or Buy Your Cold Frame
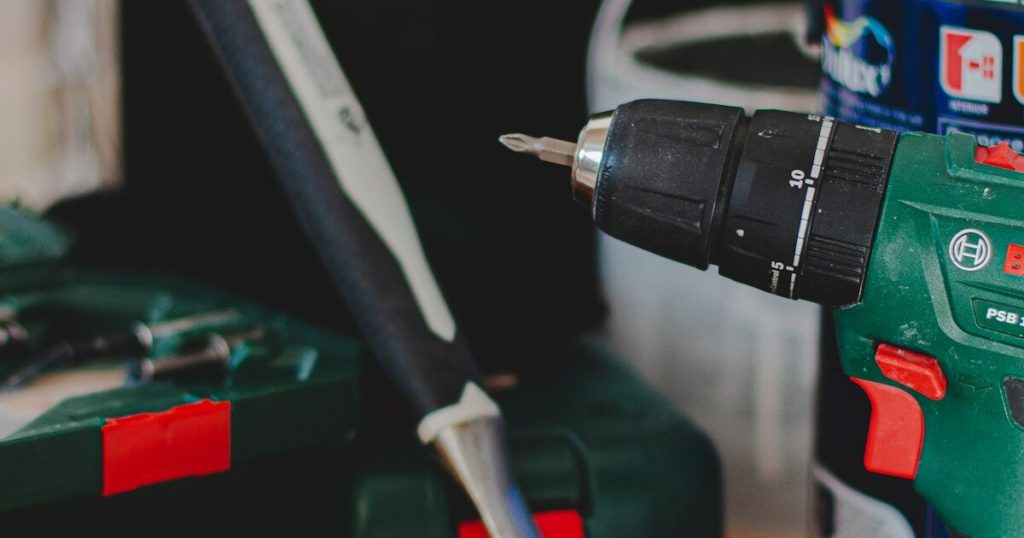
Once you’ve found the perfect spot, it’s time to decide whether to build your own cold frame or buy one. Building a cold frame can be a fun and rewarding DIY project! All you need are some basic materials like wood, old windows, or clear plastic, and a little bit of elbow grease. I’ve built a few over the years using recycled materials, and it’s always a great feeling to create something useful with my own hands. Plus, you can customize the size to fit your specific space.
If DIY isn’t your thing, don’t worry! There are plenty of ready-made cold frames available at garden centers or online. They come in a variety of sizes and materials, from sturdy wood to lightweight plastic. Whatever route you choose, make sure the frame is durable and can withstand your local weather conditions. Whether you build or buy, a cold frame is a fantastic investment in your fall gardening success.
Prepare the Soil
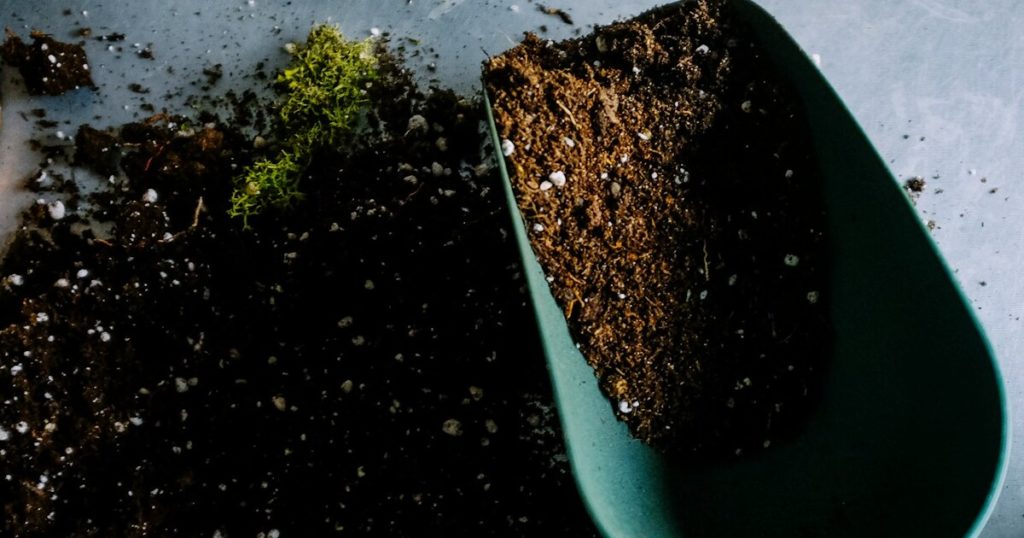
Before you place your cold frame, take some time to prepare the soil. The goal is to create a rich, well-draining environment where your plants can thrive. Start by loosening the soil and mixing in plenty of organic matter, like compost or well-rotted manure, to improve fertility and drainage. I’ve found that a little preparation goes a long way in ensuring my plants stay happy and healthy under the cold frame.
Adding organic matter also helps attract beneficial insects like earthworms, which aerate the soil and improve its structure. And don’t forget to clear out any weeds or debris that could compete with your plants for nutrients and water. Think of it as giving your garden a fresh start before tucking it in for the cooler months. Your plants will thank you with better growth and fewer problems!
Plant the Right Crops
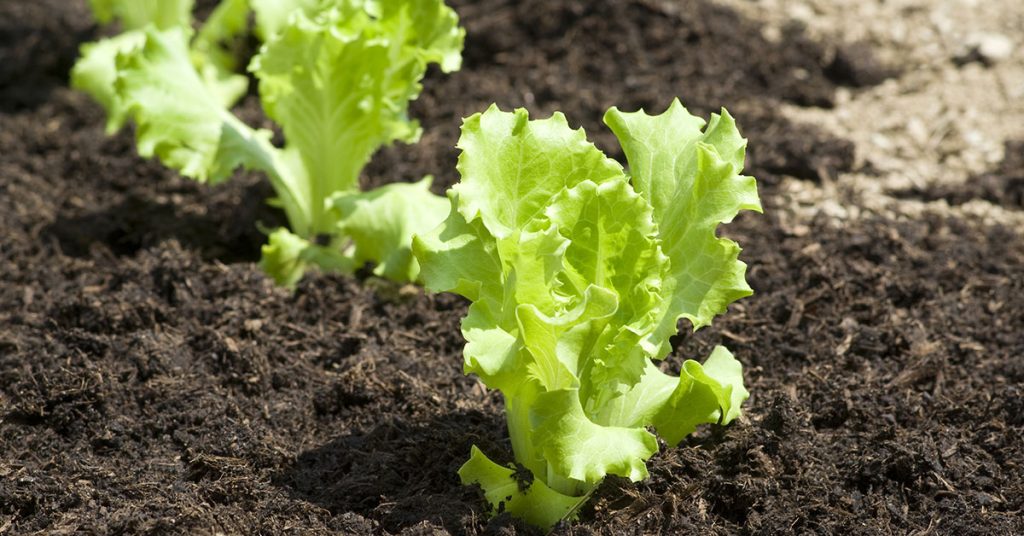
Now comes the fun part — choosing what to grow in your cold frame! Cold frames are ideal for extending the season of cool-weather crops like lettuce, spinach, radishes, and carrots. These plants thrive in cooler temperatures and can tolerate a bit of frost, making them perfect candidates for a fall or even winter harvest. I love growing leafy greens in my cold frame; there’s nothing like harvesting fresh lettuce or kale in the middle of winter!
If you’re feeling adventurous, you can also use your cold frame to start seedlings for early spring planting. Just make sure to choose plants that are suited to your climate and that will benefit from the extra protection a cold frame offers. Avoid invasive species or those that might outgrow the frame quickly — stick to compact varieties that will thrive in a controlled environment.
Monitor Temperature and Ventilation

One of the most important aspects of using a cold frame is monitoring the temperature and ventilation. While cold frames help trap heat, they can also become too hot, especially on sunny days. It’s essential to check the temperature inside the frame regularly and open it up for ventilation if things start to get too warm. I’ve learned the hard way that it’s easy to cook your plants if you’re not careful!
You can use a simple thermometer to keep an eye on the temperature. On particularly warm days, prop open the lid to allow air circulation, which helps prevent overheating and the buildup of moisture that can lead to mold or mildew. I always like to say that a cold frame needs a bit of babysitting, but it’s so worth it when you see how much longer you can keep your garden going!
Water Wisely

Watering your plants in a cold frame requires a bit of extra care. Because the frame traps heat, the soil can dry out more quickly than you might expect, especially on sunny days. However, overwatering can lead to waterlogged soil and root rot, so it’s important to find a balance. I always check the soil moisture regularly by sticking my finger into the soil to see if it feels dry or damp.
It’s also best to water in the morning, giving the plants plenty of time to absorb the moisture before the temperatures drop at night. I’ve found that using a watering can or a gentle hose setting works well to avoid disturbing the soil or splashing water onto the leaves. Proper watering helps ensure your plants stay healthy and productive throughout the fall!
Protect Against Pests

Cold frames are great for extending the growing season, but they can also attract pests looking for a cozy home. Common culprits include slugs, aphids, and even mice that might seek shelter from the cold. It’s important to inspect your cold frame regularly for signs of pests and take action as needed. I’ve battled my fair share of slugs over the years, and I’ve learned that a bit of vigilance goes a long way!
There are many natural pest control methods you can try, such as hand-picking slugs, using neem oil for aphids, or placing traps for rodents. Creating a healthy environment with good air circulation and proper plant spacing can also help deter pests. And remember, a clean cold frame is less likely to attract unwanted guests, so keep it tidy and free of plant debris.
Maximize Sunlight Exposure

To get the most out of your cold frame, it’s important to maximize its exposure to sunlight. Positioning it in a south-facing direction will allow it to capture the maximum amount of sunlight during the day. You might also consider angling the cold frame slightly to make sure it’s catching those rays as efficiently as possible. I love watching my plants soak up that extra sunlight, especially when the days start getting shorter!
If you live in a particularly cloudy or shaded area, you could also use reflective materials like aluminum foil or white-painted boards around the cold frame to help bounce additional light into it. It might sound like a small thing, but every bit of sunlight counts when you’re trying to keep your garden growing into the fall and beyond!
Adjust for Changing Weather

Fall weather can be unpredictable, so be prepared to adjust your cold frame as needed. On warm days, you may need to open the frame for extra ventilation, while on particularly cold nights, you might want to cover it with an extra layer of insulation, like a blanket or bubble wrap, to help retain heat. I’ve learned to keep a close eye on the weather forecast during this time of year!
Being flexible and responsive to changing conditions is key to making the most of your cold frame. Remember, it’s all about creating the best possible environment for your plants, so don’t be afraid to experiment a little to see what works best for your specific garden. The more you use your cold frame, the more you’ll learn about how to fine-tune it for optimal results.