tomato seedlings

How To Save Tomato Seeds To Grow Next Spring

There’s something truly satisfying about growing your tomatoes from seeds you’ve saved yourself. Not only does it allow you to preserve your favorite varieties, but it also connects you more deeply to the gardening process. If you’ve enjoyed a particularly delicious or productive tomato variety this season, why not save the seeds and grow them again next year? Saving tomato seeds is a simple yet rewarding practice that ensures you’ll have a bountiful harvest in the future—plus, it’s a great way to share your garden’s bounty with friends and family.

In this article, we’ll walk you through the steps of saving tomato seeds, from selecting the best tomatoes to storing the seeds properly for next spring. Whether you’re a seasoned gardener or just starting out, these tips will help you preserve your tomato varieties and ensure a thriving garden next year. Let’s dive in and learn how to save your tomato seeds like a pro!

Choose the Right Tomatoes

Mountain Fresh Plus tomato
Credit: Shutterstock

The first step in saving tomato seeds is selecting the right tomatoes. Not all tomatoes are ideal for seed saving, so it’s important to start with the best fruit possible. Heirloom or open-pollinated varieties are the best choices, as they produce seeds that will grow true to type. Hybrid tomatoes, on the other hand, may not produce plants that are identical to the parent, as they are bred from two different varieties. If you’ve grown an heirloom tomato that you loved, saving its seeds will allow you to grow the same variety next year.

When selecting tomatoes for seed saving, choose fully ripe fruits that are free from disease or damage. The best seeds come from the healthiest and most vigorous plants, so consider saving seeds from the tomatoes that produced the best fruit in your garden. Look for tomatoes that are uniform in size and shape, with rich color and flavor. This ensures that the seeds you save will have the best chance of producing strong, healthy plants next year.

Ferment the Seeds

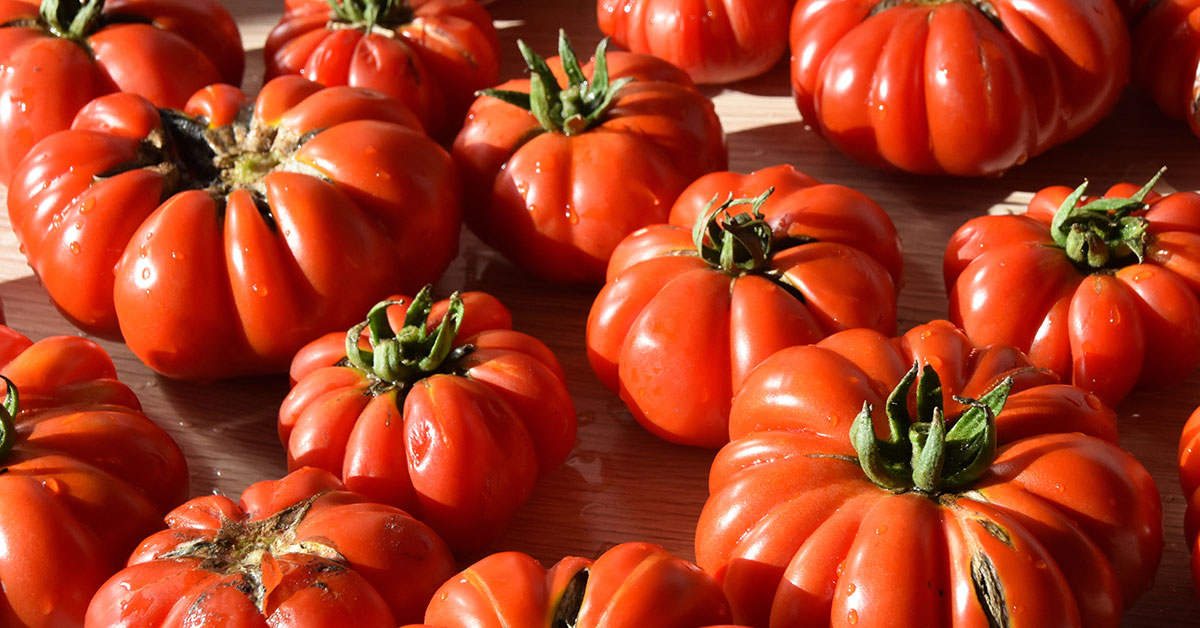
beefsteak tomatoes
Credit: Shutterstock

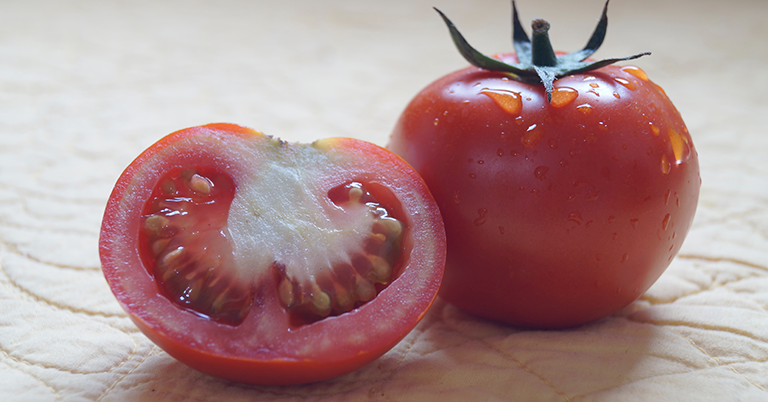
Once you’ve selected your tomatoes, the next step is to extract and ferment the seeds. Fermentation is an important process because it removes the gelatinous coating around the seeds, which can inhibit germination if left intact. To start, cut the tomato in half and scoop out the seeds and pulp into a clean container, such as a glass jar or plastic cup. Add a small amount of water to the container, just enough to cover the seeds.

Place the container in a warm, out-of-the-way spot and let it sit for about three to five days. During this time, the mixture will begin to ferment, and you may notice a layer of mold forming on the surface. This is a normal part of the process, so don’t be alarmed! Stir the mixture once a day to help break down the pulp and encourage fermentation. After a few days, the seeds will settle to the bottom of the container, indicating that they’re ready for the next step.

Clean and Rinse the Seeds

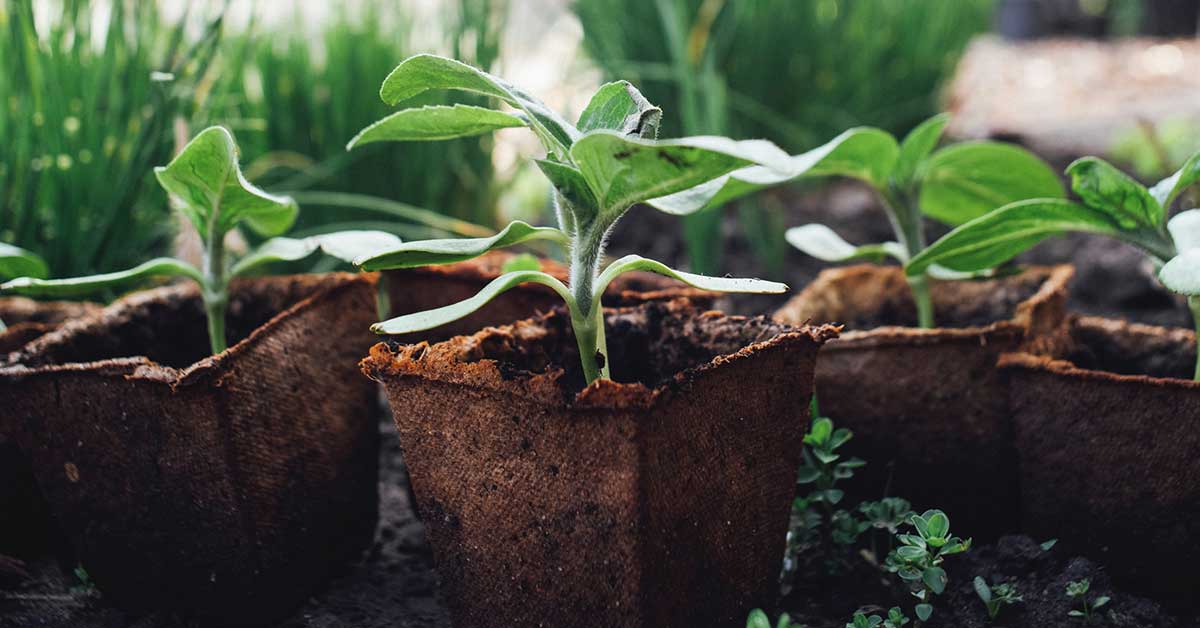
tomato seedlings
Credit: Unsplash

After the fermentation process is complete, it’s time to clean and rinse the seeds. Carefully pour off the liquid and any floating debris, leaving the seeds at the bottom of the container. Fill the container with fresh water, stir the seeds, and pour off the water again. Repeat this process several times until the seeds are clean and free of pulp. The seeds should be firm and plump, without any remaining gel or mold.

Once the seeds are clean, spread them out in a single layer on a paper towel, coffee filter, or fine mesh screen to dry. Make sure the seeds are in a well-ventilated area out of direct sunlight, as too much heat can damage them. Stir the seeds occasionally to ensure they dry evenly and prevent clumping. Depending on the humidity, it may take several days for the seeds to dry completely. Proper drying is essential to prevent mold and ensure the seeds store well.

Dry the Seeds Thoroughly

cherry tomatoes
Credit: Shutterstock

Drying the seeds thoroughly is a crucial step in the seed-saving process. If the seeds are not completely dry, they can develop mold or rot during storage, which will ruin them for future planting. To ensure the seeds are fully dry, spread them out in a single layer on a clean surface like a paper towel, parchment paper, or a mesh screen. Keep the seeds in a warm, dry place with good air circulation, but out of direct sunlight, as too much heat can reduce their viability.

The drying process can take anywhere from a few days to a week, depending on the humidity in your area. To test if the seeds are dry, try bending one—it should snap rather than bend. Once the seeds are completely dry, they’re ready to be stored. Proper drying is key to preserving the seeds’ viability, so don’t rush this step!

Store the Seeds Properly

credit: unsplash

Storing your tomato seeds correctly is just as important as the drying process. Proper storage ensures that your seeds remain viable until you’re ready to plant them next spring. Once the seeds are completely dry, transfer them to a labeled envelope, paper packet, or small glass jar. Be sure to include the variety name and the date you harvested the seeds, as this will help you keep track of your seed collection.

Store the seeds in a cool, dry, and dark place, such as a pantry, basement, or even a refrigerator. Consistent temperature and low humidity are key to preserving the seeds’ viability. Avoid storing seeds in places that experience temperature fluctuations, such as garages or attics. If stored properly, tomato seeds can remain viable for several years, giving you plenty of opportunities to grow your favorite varieties again and again.

Test Seed Viability

tomato sprouts
Credit: Shutterstock

Before planting your saved seeds next spring, it’s a good idea to test their viability to ensure they’ll germinate successfully. To do this, place a small number of seeds on a damp paper towel, fold it over the seeds, and place the towel in a plastic bag or covered container. Keep the container in a warm place, like on top of a refrigerator or near a sunny window, and check the seeds after about a week.

If most of the seeds have sprouted, they’re good to go for planting! If only a few have germinated, it might be worth saving more seeds or purchasing fresh ones to ensure a successful crop. Testing seed viability is a simple step that can save you time and effort in the spring, ensuring that you have strong, healthy seedlings to start your garden.

Saving Tomato Seeds

amana orange tomato
credit: unsplash

Saving tomato seeds is a rewarding and practical way to preserve your favorite varieties and ensure a bountiful harvest for years to come. By following these steps—selecting the right tomatoes, fermenting the seeds, drying them thoroughly, and storing them properly—you’ll have a collection of viable seeds ready to plant next spring. Not only does this save money, but it also allows you to grow tomatoes that are well-suited to your specific garden conditions.

As a gardener, there’s something truly special about nurturing plants from seeds you’ve saved yourself. It deepens your connection to the garden and gives you a greater appreciation for the natural cycles of growth and renewal. So go ahead and start saving those tomato seeds—you’ll be glad you did when you’re harvesting your delicious, homegrown tomatoes next year!

Cody Medina
Small Scale Farmer
Hi there! I'm Cody, a staff writer here at The Garden Magazine and a small-scale farmer living in Oregon. I've been gardening most of my life and now live on a quarter-acre farmstead with chickens, ducks, and a big garden.