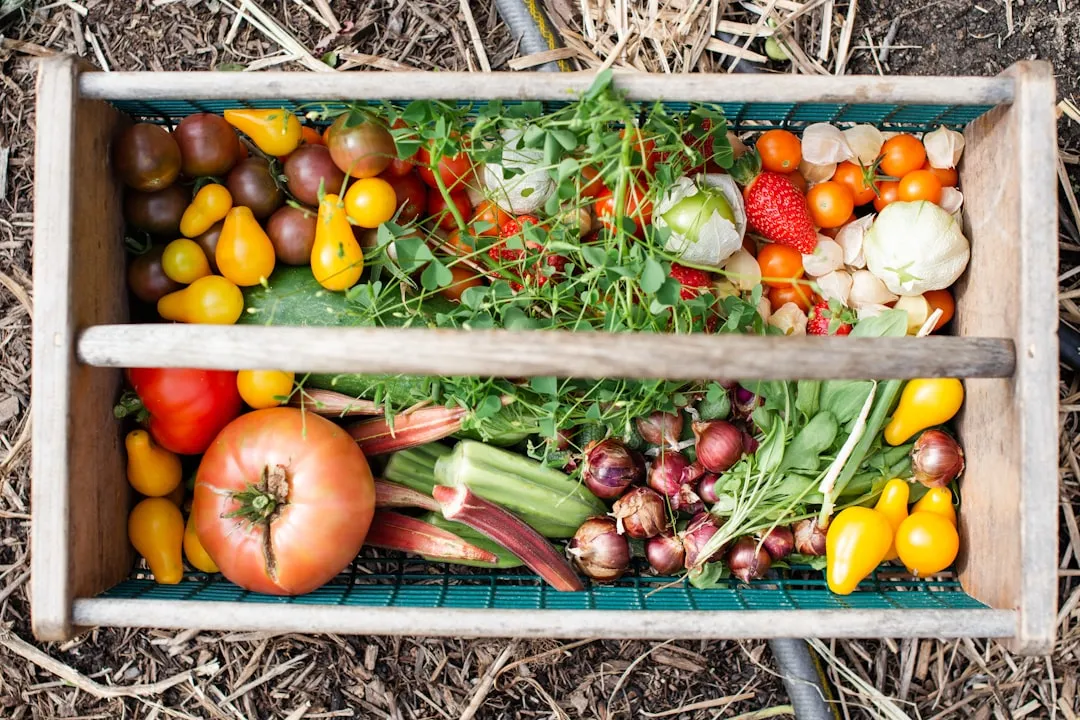


Most of us throw away parts of vegetables without a second thought. The root end of a green onion, the base of a celery bunch, the sprouting potato in the back of the pantry – these things tend to go straight into the bin. Yet many of them are genuinely capable of producing more food with almost no effort.
Regrowing vegetables and herbs from kitchen scraps is a sustainable and rewarding way to maximize your produce and reduce waste. It doesn’t require a garden, a greenhouse, or any special skill. All you need is a sunny windowsill, a shallow dish or jar, and a few minutes of care each day.
The Real Scale of Vegetable Waste – Why This Actually Matters
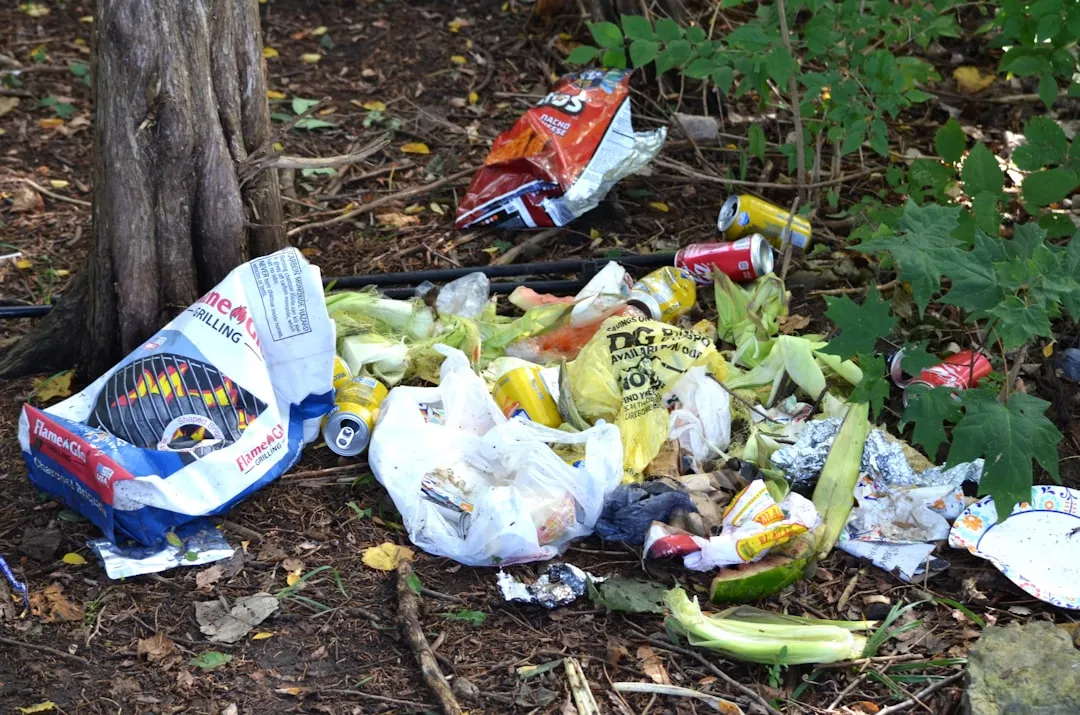
Before getting into the how-to, it’s worth understanding what’s at stake. Roughly forty percent of food wasted by households is fruits and vegetables. That’s the single largest category of household food waste by a significant margin.
Every year, approximately twenty-five to thirty percent of all food produced worldwide, some 1.6 billion tons, is wasted – amounting to one billion meals a day, according to the UN. A portion of that waste begins right in the home kitchen.
In the United States alone, the average household of four throws away about $1,500 worth of food each year. Regrowing even a handful of vegetables from what would otherwise be scraps is a small but real way to chip away at that number.
Green Onions – The Best Place to Start
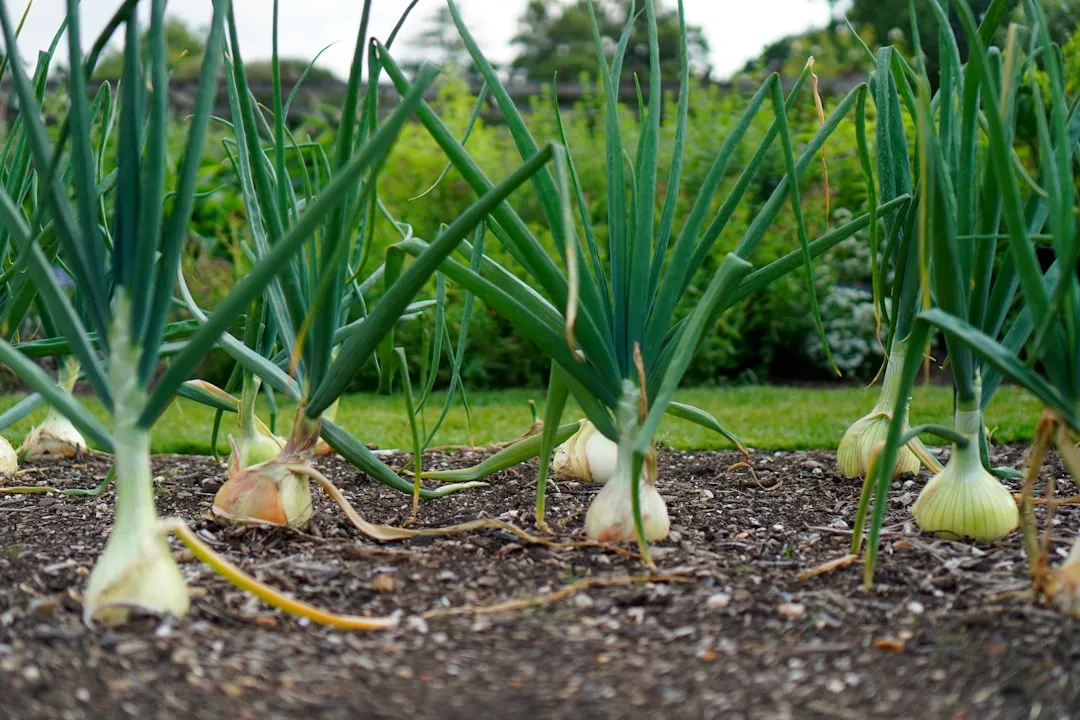
Green onions are one of the easiest vegetables to propagate. They can be grown by chopping off the root ends, leaving one to two inches of the stem, then sticking the roots in a glass jar on a windowsill. You should see growth within a few days.
Placing the white stalks of green onions in a cup of water in a sunny place can yield new green onions within five days. It’s probably the fastest visible result of any vegetable you can regrow, which makes it a satisfying entry point for anyone new to this practice.
Green onions can grow well in water, but they grow larger and for longer periods of time in soil. They are perennials that keep coming back year after year, which means you can have an endless supply of fresh scallions grown from free kitchen scraps.
Celery – New Growth From the Base
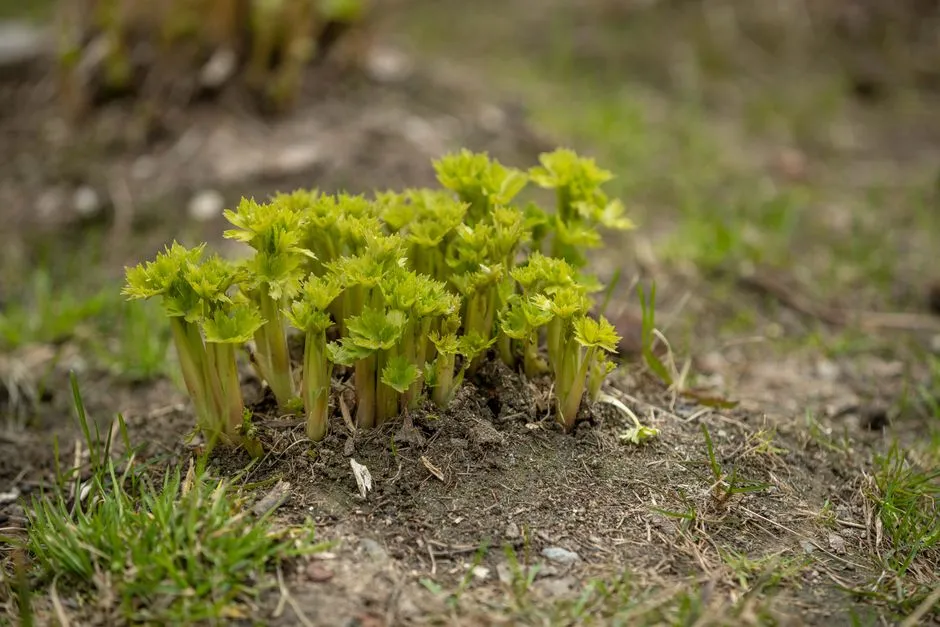
Cut stalks off about two inches from the bottom of the celery bunch and place that white base in a shallow bowl of water. Do not submerge. After several days, roots will begin growing from the base and leaves will grow from the top. After about a week, you can plant it in soil with only the leaves above the surface.
After changing the water every other day, you should start to see new growth around day five. Celery leaves will regenerate from the base, as well as a few small stalks.
Keep in mind that celery is a cool weather crop, so plant outside in early spring rather than waiting until the hot summer months. If you’re growing it indoors year-round, a consistently cool spot near a window works well.
Romaine Lettuce – Leaves From the Heart

Growing romaine lettuce from scraps is similar to growing green onions and celery. Cut off the lettuce you plan to eat and leave a couple of inches at the base. Place this romaine heart in water and new leaves will start to grow from the center.
Fresh leaves emerge from the center within a week. Once roots are developed, transplant to soil for longer-term growth.
That said, be realistic about what you’ll get. Lettuce plants can regrow leaves from their base, but these leaves are often bitter and won’t form another full head. Think of it as a bonus supply of baby greens rather than a full replacement for the original purchase.
Potatoes – The Most Productive Scrap of All
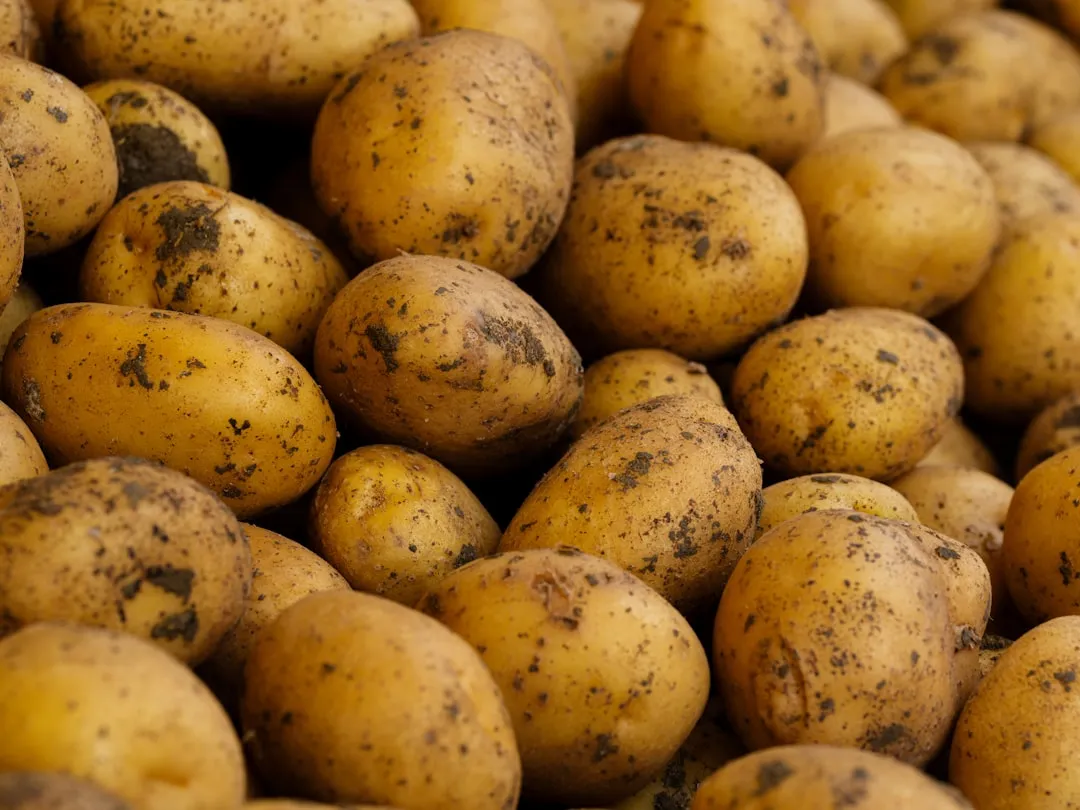
If a potato has sprouted in your pantry, don’t throw it out. Unlike true root vegetables like carrots and beets, tubers actually regrow from pieces of themselves. Those sprouts are already doing the work for you.
Small potatoes can be planted whole. For large potatoes like bakers, cut into pieces making sure there are a couple of eyes on each piece. Allowing the pieces to dry out for a day or two may help prevent rotting. Plant the pieces in your garden or a container filled with well-drained potting mix and wait for them to sprout.
Every single one of the eyes is capable of creating a new plant that will grow about five to eight more potatoes. That’s a genuinely impressive return on what was heading toward the compost bin.
Sweet Potatoes – Growing Slips From a Single Root
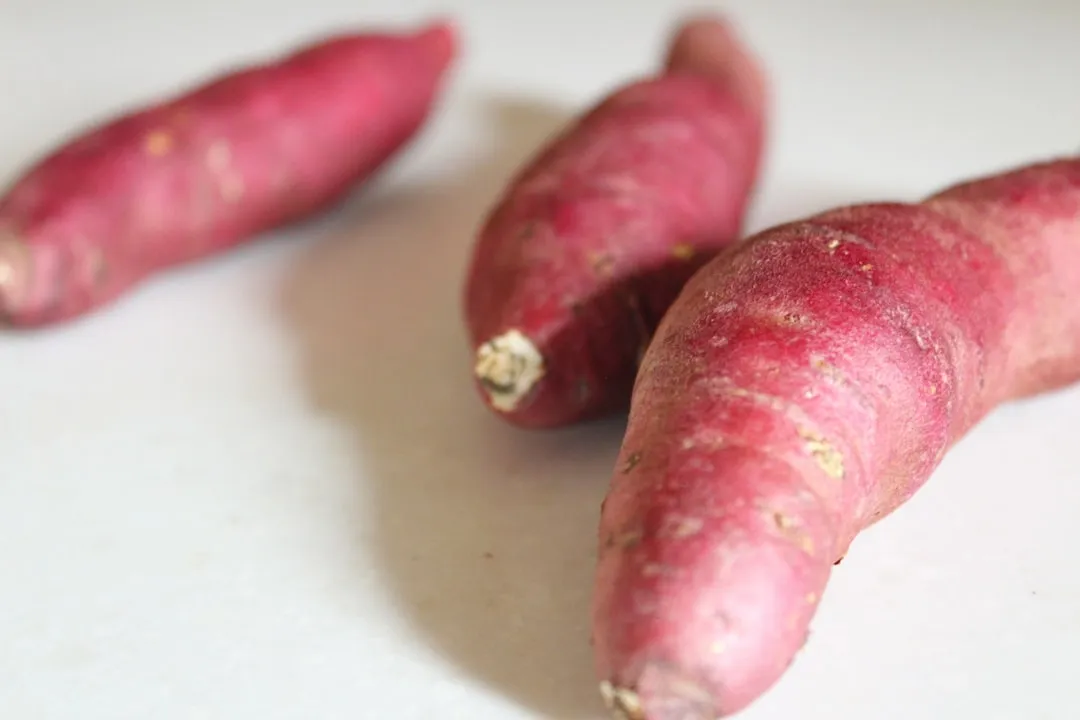
The easiest method is to plant the entire sweet potato. To produce more than one plant, however, cut a sweet potato in half and suspend it using toothpicks in a shallow container of water. Roots and sprouts will begin to grow in a few days. Once the sprouts are about four inches or so in length, just twist them off and place them in a container of water.
If placed in water, sweet potatoes will form new sprouts, called slips, that you can plant in your garden. Each slip becomes its own independent plant once it develops roots of about an inch in length.
Some scraps, like green onions and lettuce, show new growth in just three to five days. Others, like sweet potatoes, take several weeks but reward you with fuller, long-term regrowth. Patience is the main ingredient here.
Garlic – Cloves to Full Bulbs

A garlic bulb is made up of individual garlic cloves. Hold one clove back from that pesto you’re making and plant it in your garden in the fall, root side down, with the tapered end of the clove pointing up. The next spring or summer you can harvest a full bulb of garlic. It’s ready when the tops begin to turn yellow and fall over.
In about six to nine months, that little clove will have turned into an entire new bulb of garlic. That’s a long wait, but the yield – a full head of garlic from a single leftover clove – makes it worthwhile.
Regrowing garlic is slightly different because while you can’t grow garlic bulbs in water like scallions, what you will get are slender green stalks. These sprouts are great on baked potatoes, in salads and dips, or as a garnish.
Ginger Root – A Long-Term Indoor Grower
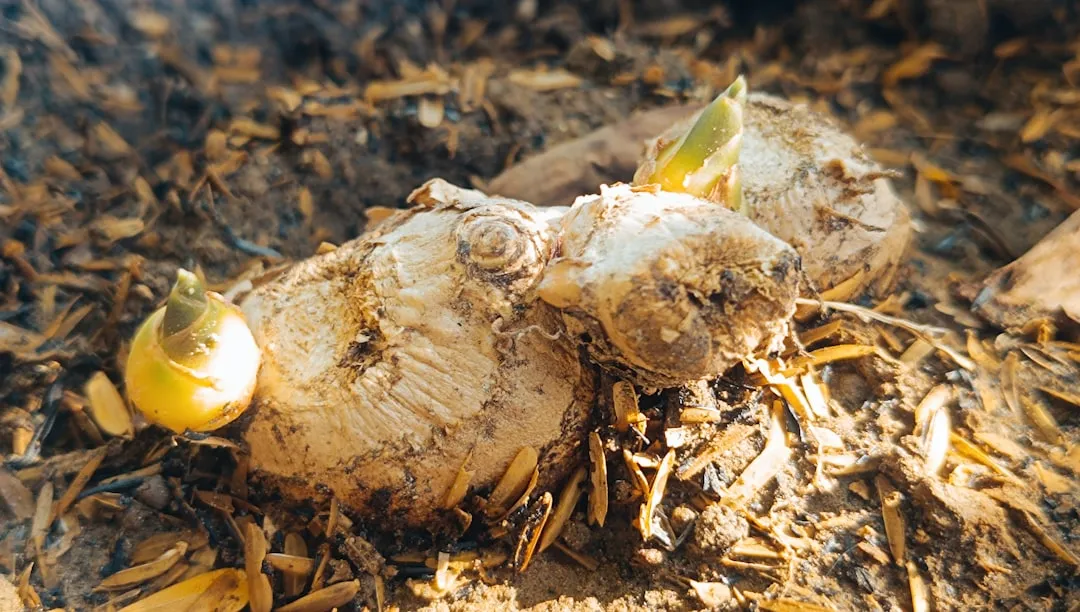
If you’ve got more ginger root than a recipe calls for, you can plant it to grow more. Put the root in moist potting soil with the newest buds facing up. Ginger is a tropical plant, so you’ll probably want to keep this one indoors. Green shoots will come up out of the soil and the roots will spread out.
If your scrap still has a fresh, wet cut, let it dry at room temperature overnight, then plant the root scrap one inch deep in soil. This small step reduces the risk of rot before the root has a chance to establish itself.
Ginger is a tropical plant that can bear unusual, striking blooms. Plant it in a container, and it can live for years indoors. When you want ginger in the kitchen, gently pull up a root and leave the rest for another time.
Basil and Fresh Herbs – Stem Cuttings That Root Quickly
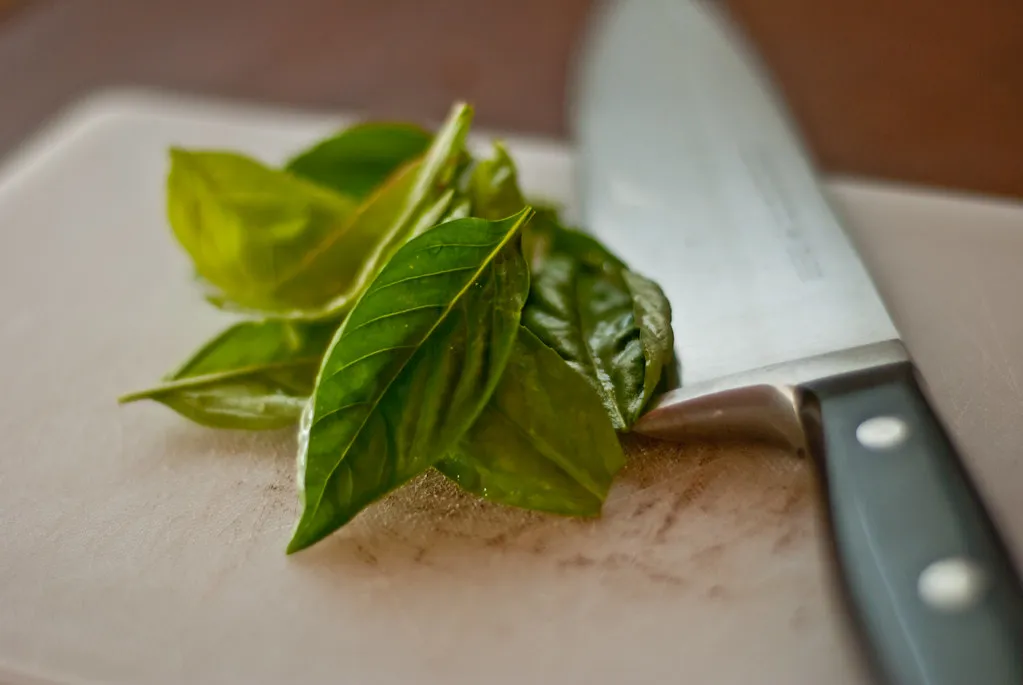
Basil is super easy to regrow from a couple of stems left over after dinner. In this case, you’re doing something called propagating – encouraging the stems to grow roots and become entirely new plants.
Cut a stem at a bit of an angle so that it’s about four inches long. Remove the lower leaves from the cutting. Place the stem in a glass of fresh water, ensuring no leaves are submerged. Set the glass somewhere that gets bright but indirect light. Refresh the water every couple of days. After ten to fourteen days, the cutting should have new roots forming at the bottom.
Many fresh herbs can regrow roots by simply placing cut, bare stems into water, making sure the remaining leaves don’t fall into the water as they will become slimy. Keep the cuttings in an area where they get natural sunlight, and in a short time they will grow roots and can then be transferred into a pot of soil or out into the garden.
Carrot and Beet Tops – Greens, Not Roots
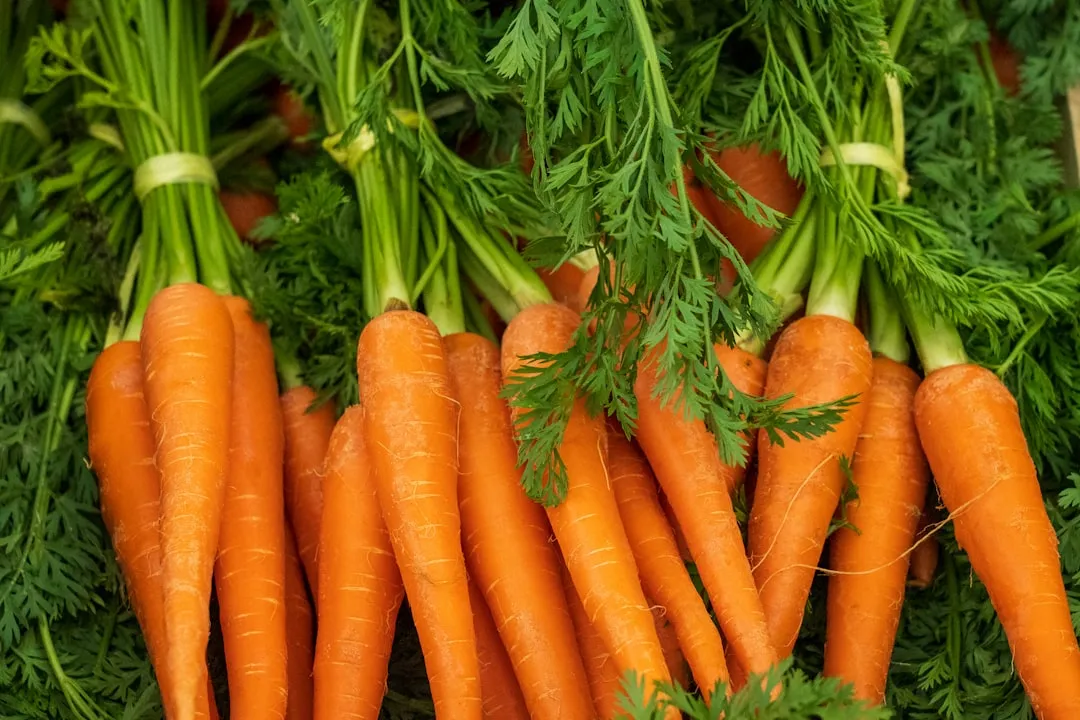
Root crops like carrots and beets are not worth regrowing unless you’re after the leafy tops, flowers, or seeds. This is one of the most common misconceptions in kitchen scrap gardening – the viral videos showing whole carrots regrowing from stubs are misleading.
Regrowing carrot, beet, and turnip scraps will provide you with more green, leafy tops, as opposed to the root vegetables themselves. Carrot tops can be blended into tasty pesto and sauces, while beet and turnip greens are a great source of vitamins and minerals and are delicious sautéed.
When chopping off the top of the vegetables, leave about half to one inch, and place them in a shallow tray or bowl of water in a sunny spot. You should see some new leafy greens coming through within a few days. It’s a genuinely useful harvest – just not the root you started with.
What Works, What Doesn’t, and a Few Key Tips
You’ll get better results if you start with organic produce from the store or farmers’ market. Non-organic produce has usually been treated with chemicals to prevent sprouting. That’s particularly relevant for potatoes and garlic, where sprouting is the whole point.
Most scraps only need about one inch of water to regrow their roots. Change the water every couple of days so that your scraps stay fresh. Set your scraps somewhere they receive bright but indirect sunshine. These three steps apply to almost every vegetable in this list.
People often ask whether you can regrow everything from kitchen scraps – the answer is no. For example, you cannot regrow cauliflower or broccoli from scraps because they are basically flower heads which would not send out roots. Most of the vegetables and herbs that regrow easily have some roots at the base, or they are healthy stem cuttings that tend to root easily.
There’s something quietly satisfying about this practice that goes beyond saving money or reducing waste. It slows down the usual relationship with food – from purchase to plate to bin – and replaces it with something more circular. The scrap that would have been discarded becomes the starting point of the next meal. That’s not a small thing.AI Disclaimer: This article was created with the assistance of AI tools and reviewed by a human editor.