
Water bills creep higher every summer, and once watering restrictions hit, even a well-tended garden can turn brown fast. That tension between keeping your outdoor space healthy and not wasting a municipal resource is what makes rain barrels so appealing right now. They’re practical, low-cost, and increasingly common across neighborhoods where drought conditions and conservation awareness have both gone up noticeably in recent years.
The average roof collects around 600 gallons of water for every inch of rain, which is a striking amount of potential most homeowners simply let drain away. Setting up a rain barrel system doesn’t require a contractor or a big weekend project. With the right information, most people can get a basic system running in an afternoon.
Understanding What a Rain Barrel System Actually Does
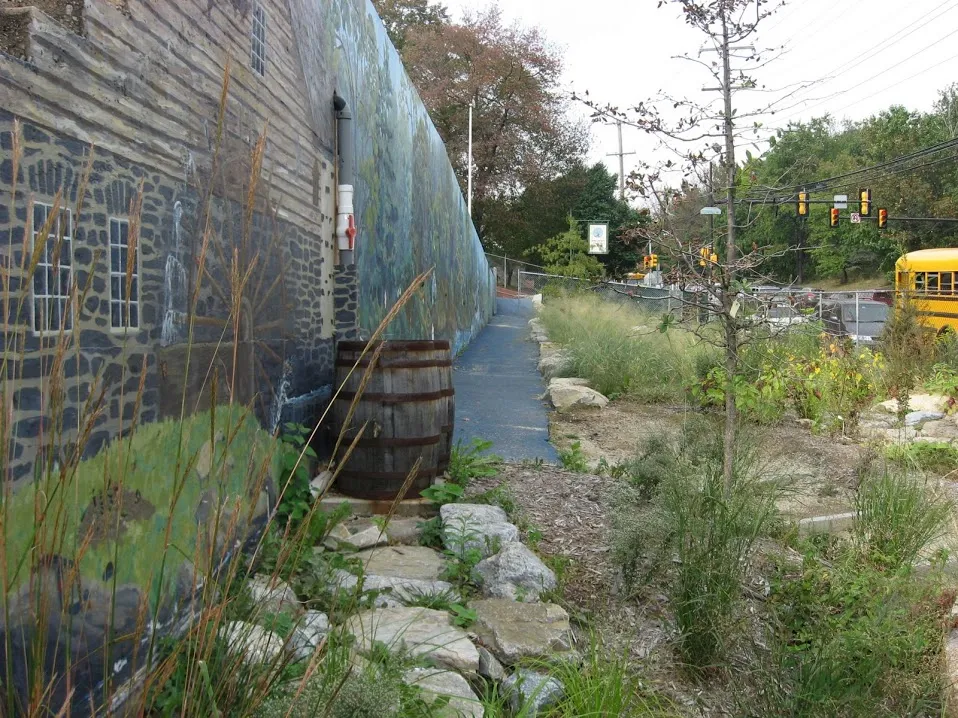
Rainwater harvesting is when a device such as a barrel or cistern is used to catch natural precipitation, and these containers are often positioned at the edge of a building drainage system, above or below the ground, as examples of micro-scale stormwater management techniques.
This setup allows the capture and reuse of rainwater to promote water conservation, reduce runoff volumes, and decrease the discharge of pollutants downstream. Using stored rainwater can decrease municipal water usage and provide a source of water that is free from chlorine, fluoride, and other treatment chemicals.
In the summer months, outdoor tasks such as watering lawns and gardens typically make up about 40% of household water use. That’s a significant chunk of your bill that a rain barrel can help offset, especially during a dry stretch.
Checking Local Regulations Before You Start
Federal laws in the U.S. don’t restrict rainwater collection, but state laws may impose restrictions on the practice. The majority of states have no restrictions on rain-collection systems, though some do. In most of those states, the laws still allow for rain-barrel setups collecting water from rooftops used for non-potable applications.
It’s worth spending five minutes checking your city or county website before buying anything. Some municipalities actually offer incentive programs that make it even cheaper to get started.
Many cities and towns distribute rain barrels to residents through annual sales, so there’s a real chance you could pick one up at a discount or even for free through a local conservation program.
Choosing the Right Rain Barrel Size and Type
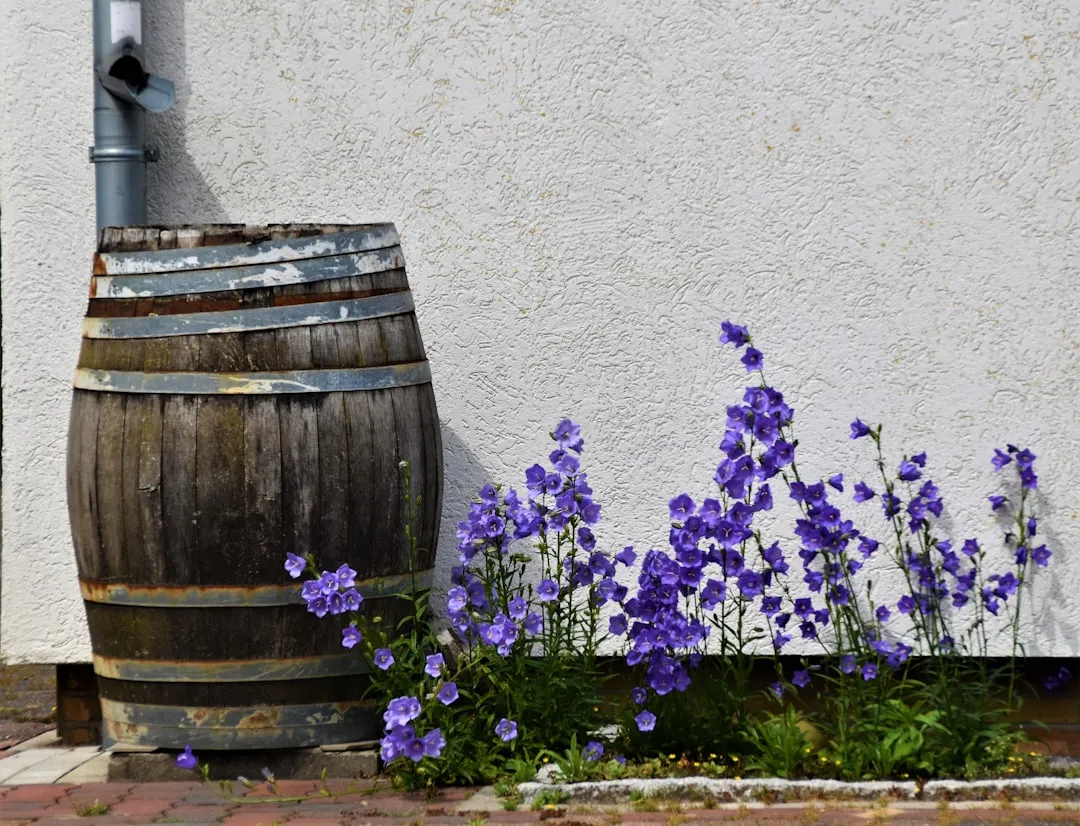
A single rain barrel costs between $120 and $160, but most homeowners spend an average of $140 for a 40- to 60-gallon barrel. That’s a reasonable entry point, and the cost pays off over a single season of regular garden watering.
Rain barrels are generally 50- to 100-gallon containers and are traditionally used to collect and temporarily store rainwater from rooftops using the gutter and downspout system. Larger barrels are worth the extra cost if you have a big yard or go through water quickly during dry spells.
Rain barrels come in a variety of shapes and sizes to suit your needs. The most common types are pre-made manufactured rain barrels and DIY rain barrels. Countless options are available for purchase online or at your local home and garden center.
Calculating How Much Water Your Roof Can Collect
To calculate your collection potential, multiply the square footage of the roof area by the rainfall amount in inches, then multiply by 0.623. A typical 1,200 square foot roof could yield approximately 750 gallons of water from a one-inch rain.
When determining what size to install, keep in mind a downspout usually collects from 500 to 1,000 square feet of roof. For each one inch of rainfall, that equals 300 to 600 gallons, or roughly six to twelve rain barrels.
Most standard single-barrel setups fill up quickly during a decent rain event. If you have a larger garden, planning for multiple linked barrels from the start saves you from retrofitting later.
Picking the Best Location for Your Barrel
A key thing to consider is where you will place your rain barrel. You will most likely want to place it near or directly underneath a downspout, but you should also consider proximity to the plants you’ll be watering.
Identify where you will be placing your rain barrel and think about how you will use your rainwater. Consider whether you need to raise the barrel to get a watering can or bucket under the nozzle to empty it. The site should be clean of debris and level.
Placing the barrel on the shaded side of your home also slows algae growth inside the barrel, which is a small but worthwhile consideration that a lot of first-time users overlook.
Installing the Barrel Step by Step

Rain barrels are containers used to collect rainwater from the roof of a building via the gutter and downspout. The downspout is cut to a height that permits the rainwater to flow into a barrel placed beneath it. The barrel should have a spigot to which a hose may be attached, and an overflow hose to direct rainwater away from the foundation if rain continues after the barrel is full.
You will probably want to raise your rain barrel using blocks or wood so you can drain as much of the water as possible or fit a watering can under the spigot. Install the screen to catch any debris such as seeds, leaves, and sticks. Also install the overflow, which will prevent your rain barrel from overflowing. An overflow can be directed into a garden bed, the base of a tree, or other areas away from buildings.
If you want a barrel that is attached to a hose or spigot, you can lift your barrel up to let gravity create pressure. Approximately 2 feet of height equals 1 pound of water pressure, and getting even 4 to 6 inches of lift can help.
Setting Up Gravity-Fed or Pump-Assisted Distribution
A gravity-fed system is exactly what it sounds like: water flows downhill naturally without any mechanical help. This works well if your rain barrel is elevated at least 2 to 3 feet using cinder blocks or a wooden stand, located close to the lawn, and connected to a soaker hose or drip irrigation system, which requires low pressure.
The stored water can be distributed using gravity if the system is set up correctly. When it comes to water usage, drip irrigation is the most effective method and is also the most energy-efficient when gravity is used for distribution.
A limitation of rain barrels is low water pressure. Water flow and pressure from a rain barrel will be much less than from an outdoor spigot, generally making sprinklers ineffective. Soaker hoses that require very low pressure may work well and some are sold specifically for use with rain barrels.
Using Rain Barrel Water Safely on Plants and Vegetables
Natural rainwater has proven more beneficial for plantings and gardens than tap water because it doesn’t contain chlorine, and its slightly acidic pH assists nutrient availability in most lawns and gardens.
The University of Florida and other institutions agree that rainwater harvested off a roof structure should not be used to irrigate edible plants without treating or purifying the water first. Since this water has run off your roof, it may be best to stick to using it to water non-edible plants.
It is best to minimize risk with rain barrel water by using it only on non-edible, ornamental plants like flowers, shrubs, and indoor plants. If you can apply rain barrel water in a way that ensures it does not touch the edible portion of the plant, you could use it to water tall berry bushes, trellised plants like tomatoes, melons and cucumbers, and on fruit trees.
Preventing Mosquitoes and Keeping Water Clean

A study from the University of Illinois found that over half of the residential rain barrels surveyed had mosquito larvae inside. That’s not just a nuisance but a public health concern.
Cover all openings, including the inlet and outflow, with mosquito-proof screen using 1/16th inch mesh, sometimes called “no-see-em screen.” This will prevent adult mosquitoes from entering the barrel to lay their eggs. Using the water quickly will also help keep mosquitoes from finding it. Adding a bacterial larvicide in liquid, dunk, or granule form monthly according to the label will kill mosquito larvae while remaining safe for people, plants, and animals.
Rainwater becomes contaminated after a week or so, but you can keep it clean by preventing it from coming into contact with insects and livestock. You should also discard your water if it has algae, even if you are planning to use it on plants.
Winterizing Your System and Year-Round Maintenance
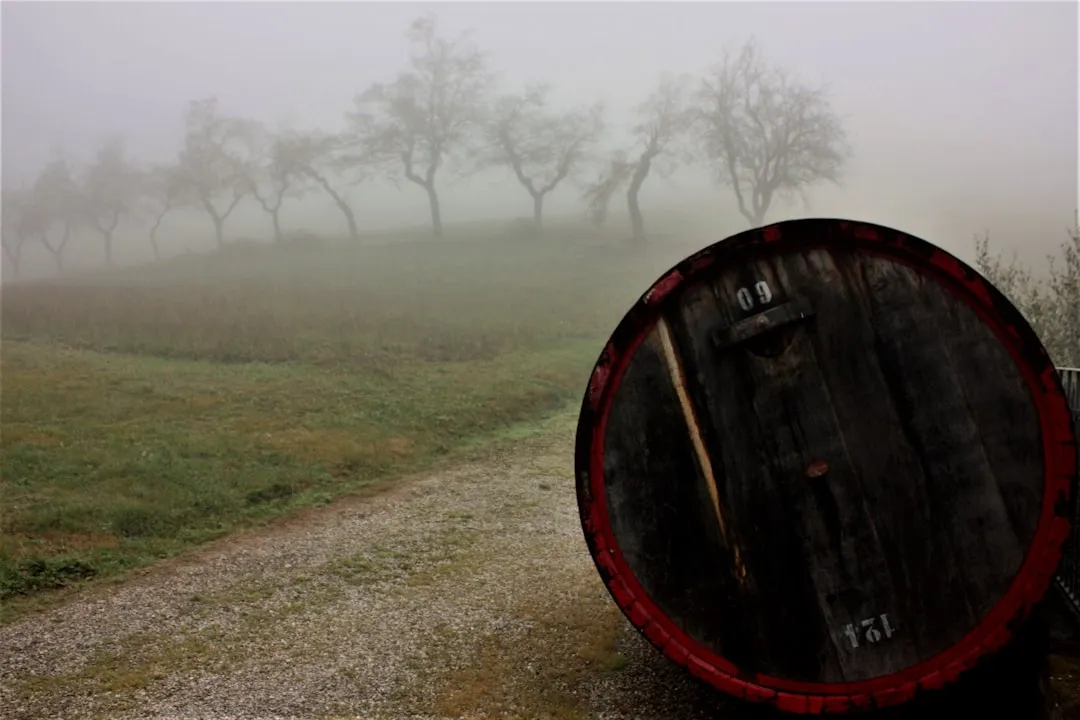
Rain barrels are typically used between March and October in temperate climates, though in warmer parts of the U.S. they can be used year-round. However, freezing temperatures can cause permanent damage to your system, particularly the diverter and spigot.
During winter, disconnect the downspout from the rain barrel to protect components from freezing water and to avoid water backing up into downspouts or overflowing around building foundations. Store the barrel in a shed or garage if possible, or upside down if stored outdoors. Reattach downspouts to the gutter system with screws so precipitation during winter does not seep into the building or damage the foundation.
Fall is a good time to clean your rain barrel. Use a long-handled brush to scrub the inside of the barrel with water and detergent, then rinse with clean water. Store your rain barrel upside down or covered over the winter, as any water left in the barrel may freeze, expand, and crack it.
Final Thoughts
A rain barrel system isn’t a magic solution to water scarcity, but it’s one of the most accessible and practical tools a homeowner can add to their property. Research shows that roughly 30% of daily water needs are used for lawn care and gardens, which means even a modest setup can make a real dent in that figure over a full season.
The setup cost is low, the installation is manageable for most homeowners on a weekend, and the environmental payoff extends well beyond your property line. Once it’s in place and running well, you’ll likely wonder why you waited this long to put rainwater to work.
AI Disclaimer: This article was created with the assistance of AI tools and reviewed by a human editor.