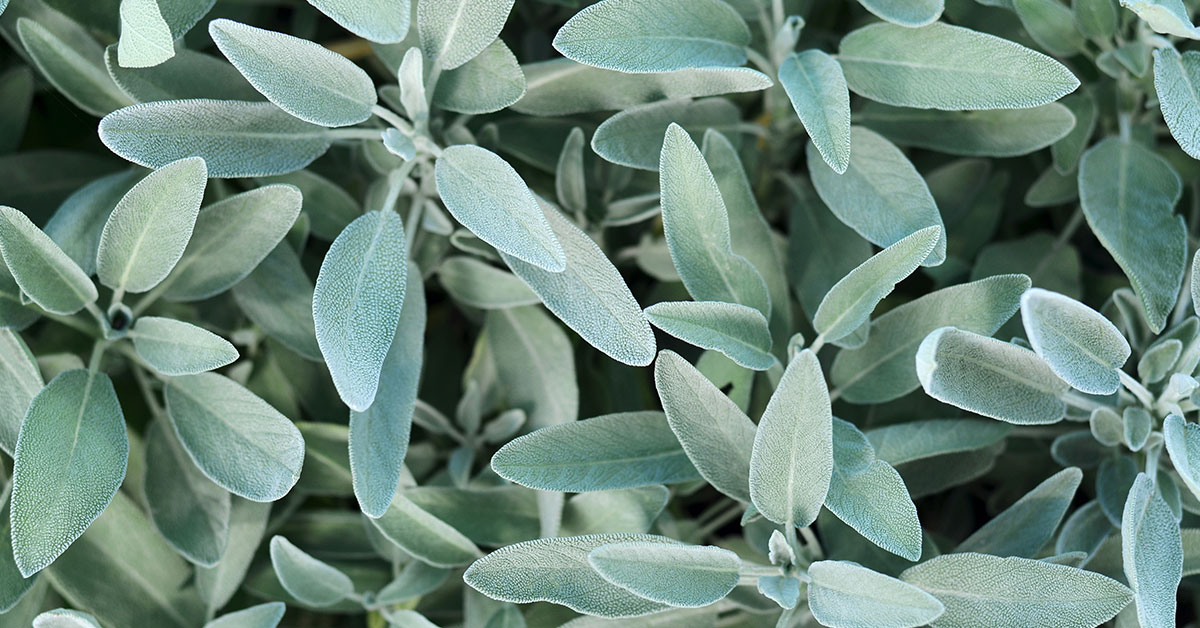
Sage (Salvia officinalis) is a hardy perennial herb that is not only prized for its culinary uses, but also for its medicinal properties and attractive, grey-green leaves. The ability to propagate sage allows gardeners to maintain an ongoing supply of this flavorful herb, while also having the option to share with friends and family. This article will walk you through the step-by-step process of propagating sage.
Understanding Sage
Sage is a member of the mint family and is native to the Mediterranean. It thrives in well-draining soil and full sunlight. Sage plants are often grown for their leaves, but they also produce beautiful spikes of purple or blue flowers that can attract pollinators to your garden.
Propagate Sage by Cuttings
Propagating sage by cuttings is one of the most common methods and allows you to reproduce a clone of the parent plant. The ideal time to take cuttings is in late spring or early summer when the plant is in its active growth phase. Here is a simple step-by-step guide to this process.
1. Taking the Cuttings
- Choose a healthy sage plant that has new growth. The stems should be green and flexible.
- With a sharp, clean pair of scissors or pruning shears, cut a 3-4 inch piece from the tip of the stem. Make your cut just below a node (where a leaf joins the stem).
- Remove the leaves from the bottom half of the cutting to prevent them from rotting when planted.
2. Rooting the Cuttings
- Dip the cut end of the stem in rooting hormone. This isn’t strictly necessary, but it can increase the chances of successful rooting.
- Insert the cut end of your sage cutting into a pot filled with a soilless potting mix such as a peat-perlite or sand-vermiculite mixture.
- Water the cutting well and cover the pot with a plastic bag or place it inside a mini greenhouse to maintain humidity around the cutting.
3. Caring for the Cuttings
- Place the pot in a warm, well-lit area but out of direct sunlight, which could scorch the tender cutting.
- Keep the potting mix moist, but not waterlogged.
- After 2-4 weeks, gently tug on the cuttings. If you feel resistance, it means the cuttings have started to root.
- Once roots have developed, the new sage plants can be transplanted into individual pots or a suitable spot in your garden.
Propagation by Division
Propagating sage by division is another popular method, especially for mature plants that are at least three years old. The best time for division is in early spring or late fall when the plant is not in active growth. This method involves dividing the parent plant into two or more smaller plants.
1. Digging up the Plant
- Carefully dig around the base of your sage plant to free it from the soil. Try to keep as much of the root system intact as possible.
- Gently lift the plant out of the ground and shake off excess soil to expose the roots.
2. Dividing the Plant
- Using a sharp knife or a pair of pruning shears, divide the plant into smaller sections. Each section should have a good amount of roots and foliage.
3. Replanting the Divisions
- Plant the divided sections immediately into a well-draining soil mix, either in a pot or directly in your garden. Ensure the plants are spaced adequately to allow for growth.
- Water the newly planted divisions thoroughly.
Propagating sage plants can be an enjoyable and rewarding gardening project. Whether you choose to propagate by cuttings or division, you’ll be able to expand your herb garden, share plants with friends, or just have more sage for your culinary adventures. Always remember to use sharp, clean tools when taking cuttings or dividing plants to reduce the risk of disease transmission, and take care of your new plants as they establish. With time and patience, you’ll have a thriving sage plant that can offer you its aromatic leaves for years to come.
