
Pitcher plants are interesting carnivorous plants that come in a variety of shapes and sizes. While they are not the easiest plants to care for, they are surprisingly easy to propagate. With the right equipment and knowledge, propagating pitcher plants can be an enjoyable and rewarding experience. In this article, we will discuss the various methods for propagating pitcher plants, including stem cuttings, rhizome division, and seed propagation. We will also provide tips on how to propagate pitcher plant and continue to care for it.
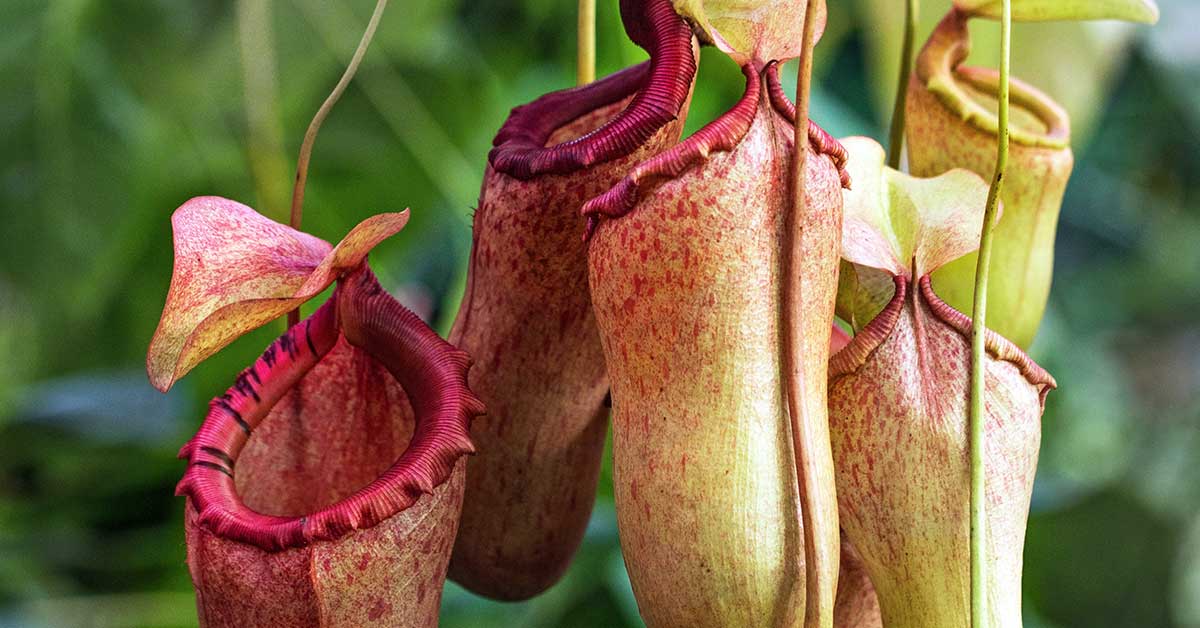
The most common type of pitcher plant is the Nepenthes species, which is native to Southeast Asia. This species has a wide range of pitcher shapes and colors, from slender and elegant to large and colorful. Other varieties of pitcher plants include the Sarracenia species from North America, which has pitchers with distinctive veins and patterns, and the Cephalotus species from Australia, which has pitchers that are shaped like a jug. All of these pitcher plants have adapted to their environment by trapping and digesting insects in their pitchers.
Propagating Pitcher Plants With Stem Cuttings
Pitcher plants are an interesting addition to any garden and can be propagated from stem cuttings. To propagate from stem cuttings, prepare a pot with a light, well-draining soil mixture. Take a stem cutting from the mother plant, making sure to leave at least two leaves. Dip the end of the stem in rooting hormone and insert the stem into the soil. Water the soil and place the pot in a warm, bright spot, but out of direct sunlight. Keep the soil moist, and in 6-8 weeks, the cutting should have taken root. Once rooted, the plant can be repotted or placed in its permanent home.
Propagating With Rhizome Division
Pitcher plants are quite easy to propagate from rhizome division. First, the parent plant should be carefully removed from the pot. Once the plant is out, the soil should be washed away, and the rhizome should be divided into sections. Be sure that each section has a few leaves and some roots attached. The sections can then be planted in their own pots filled with a peat-based soil mix, making sure to keep the rhizome level with the surface of the pot. The pots should be kept in a humid environment and watered regularly. After a few weeks, new growth should appear and the plants should be ready to move to a sunny spot outdoors. With proper care, the pitcher plants should be well on their way to a healthy and vibrant life.
How To Propagate Pitcher Plant From Seed
To propagate pitcher plants from seed, you will need to start with fresh seeds, a sterile growing medium, a humidity dome, and a tray. Start by placing the seeds in a shallow container and lightly covering them with the sterile growing medium. Place the container in a tray and add 2-3 inches of water to the tray. Next, set the humidity dome over the container and keep the dome moist but not soaked. Then, set the tray in a warm and sunny spot and keep the soil moist. The seeds should germinate within a few weeks. Once seedlings appear, remove the humidity dome and water the soil directly. When the seedlings are a few inches tall, you can transplant them into individual containers. Make sure to place the plants in well-draining soil, and provide plenty of sunlight and water.
Pitcher Plant Care And Maintenance
With proper care, these plants can thrive and provide you with years of enjoyment. Make sure to provide adequate light and humidity, choose a well-draining soil mix, and water regularly. Give your propagated pitcher plants plenty of time to acclimate to their new environment before making any drastic changes. With a little bit of patience and care, your pitcher plants will grow strong and stay healthy for years to come.