
That narrow strip of ground running the length of your fence has probably been doing nothing for years. No shade, no interest, maybe a few weeds pushing through the mulch. It turns out that same strip, replanted with intention, could become one of the most productive ecological features in your entire yard.
A “pollinator ribbon” is exactly what it sounds like: a continuous, layered planting along a fence line designed to support bees, butterflies, moths, and other beneficial insects from early spring through late autumn. It works with your existing structure, asks for relatively little space, and delivers a lot. Here’s how to build one that actually performs.
Why Your Fence Line Matters More Than You Think
The urgency behind this project is real. U.S. beekeepers lost 55.6% of managed colonies during the 2024 to 2025 season, the highest annual loss rate since the national survey began in 2010. That number represents a genuine crisis unfolding in backyards and agricultural fields simultaneously.
Bee and butterfly populations are in decline in major regions of North America due to ongoing environmental change, with these declines linked to various factors including climate change, habitat loss, and invasive species. Every small patch of habitat helps fill in the gaps.
Fence lines, riparian buffers, unfarmed marginal lands, pastures, and roadsides are considered semi-natural areas because they often contain mixes of native and non-native vegetation, yet they are known to provide valuable pollinator resources. Your fence line is already part of that network, even if you haven’t planted it yet.
Choosing the Right Fence Line Location
The fence line on the south or east side of your property makes an ideal pollinator strip location, as these spots typically receive six to eight hours of sunlight daily, which most flowering plants need to thrive. That sun exposure is the single biggest factor in how productive your ribbon will be.
Taking photos at different times of the day for at least one season helps you understand how many hours of sunlight each part of your yard actually receives. Pollinators forage in areas with six to eight hours of full sunlight a day. Confirming this before you buy a single plant saves real money.
Most successful pollinator gardens need at least three to four feet of width to support diverse plantings and create habitat corridors for insects to travel safely. A narrow, one-foot-wide strip won’t cut it. Wider is almost always better.
Preparing the Soil Without Destroying It
Soil prep is the step most people skip or rush, and it shows within the first growing season. This is one of the most important steps towards a successful pollinator planting, and especially when converting turf, careful preparation can mean the difference between thriving native plants and overgrown weeds.
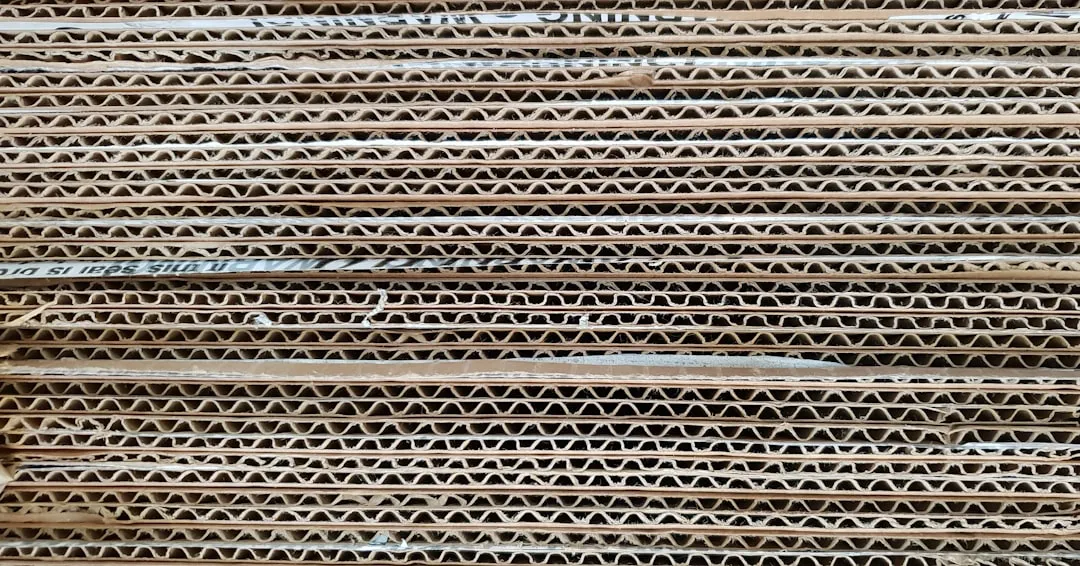
Mow the grass short, then lay down a single layer of non-glossy cardboard with all tape removed. Overlap the edges so no grass can sneak through, cover the cardboard with three to four inches of undyed wood chips, weigh it down with rocks or bricks, and water occasionally to aid decomposition. This no-dig method is both gentle on soil biology and genuinely effective.
If you lay cardboard in spring, the site will be ready for planting in fall. If you prepare the site in fall, it will be ready to plant in spring. Plan ahead and let the process work on its own timeline. Thickly layered wood chips retain moisture, regulate soil temperature, and provide weed control, while also attracting earthworms, which create vermicompost and eliminate the need for additional fertilizers.
Designing the Planting Layout Along the Fence
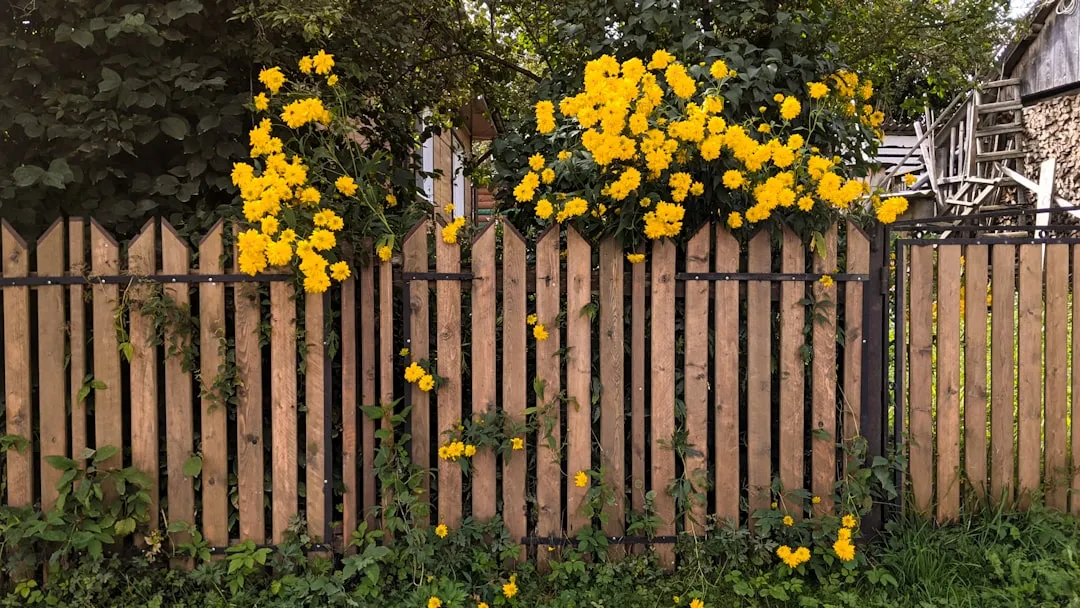
The visual logic of a pollinator ribbon runs from tall at the back to short at the front. When choosing how to arrange your plants, consider their height, flower color, and bloom time. For a border next to a fence, place the tall plants at the back and the short ones in front. This layering also mimics how plants grow in nature, which is exactly what pollinators prefer.
Use a wide variety of plants that bloom from early spring into late fall, and help pollinators find and use them by planting in clumps rather than single plants. Isolated individual plants are far less effective than clustered groupings of the same species.
Group plants in clusters of at least three of the same species; this makes it easier for pollinators to find and feed efficiently while creating visual impact in your garden design. The Xerces Society and university extension programs consistently reinforce this clustering principle as foundational to effective pollinator habitat.
Selecting Native Plants for Your Region
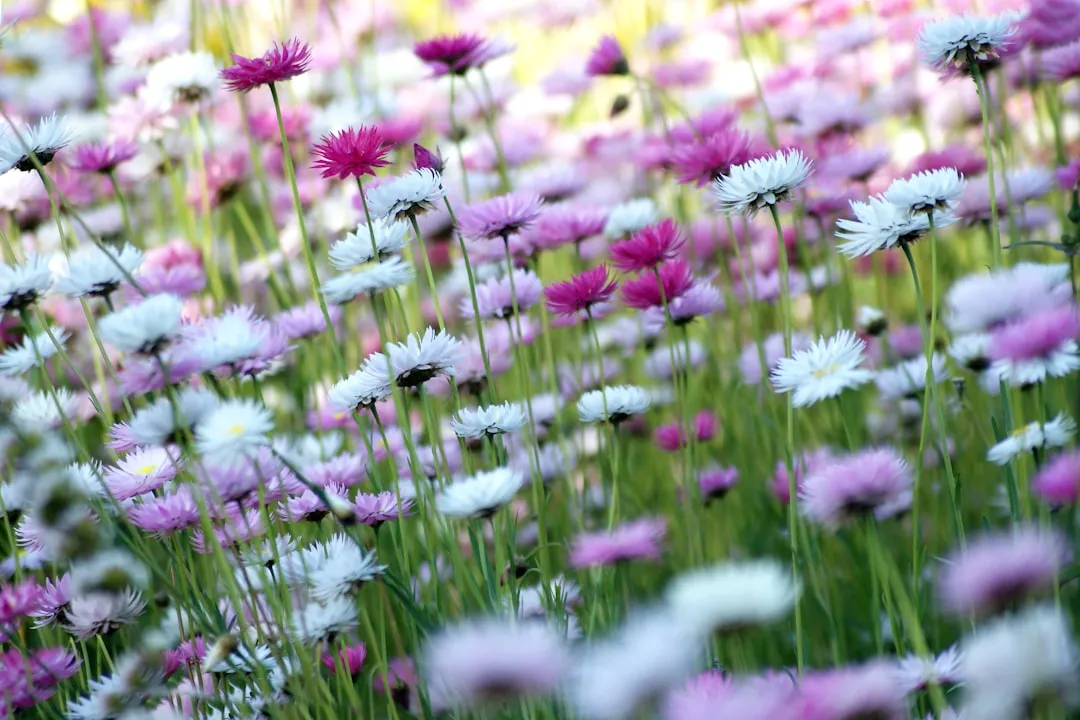
Native plants are the backbone of any serious pollinator ribbon. When it comes to pollinator gardens, native plants are a pollinator’s best source of habitat, and since wildlife and native plants have evolved together for so long, many pollinators have preferred plants for food and shelter. Non-native ornamentals can fill space but rarely do the same ecological work.
Many native bee species rely on seasonal blooms that emerge in waves, from early-spring woodland wildflowers to sun-loving summer composites and hardy fall asters. Understanding this bloom succession and selecting species that flower across the full season is key to supporting pollinators year-round.
Favorite native plants include Echinacea (coneflowers), Rudbeckia (Black-Eyed Susans), Bee Balm, Milkweed, Lupines, Asters, and many more. The Xerces Society also publishes region-specific native plant lists, which are free to access and organized by state, making it straightforward to match your selections to your actual local ecosystem.
Building a Bloom Succession from Spring Through Fall
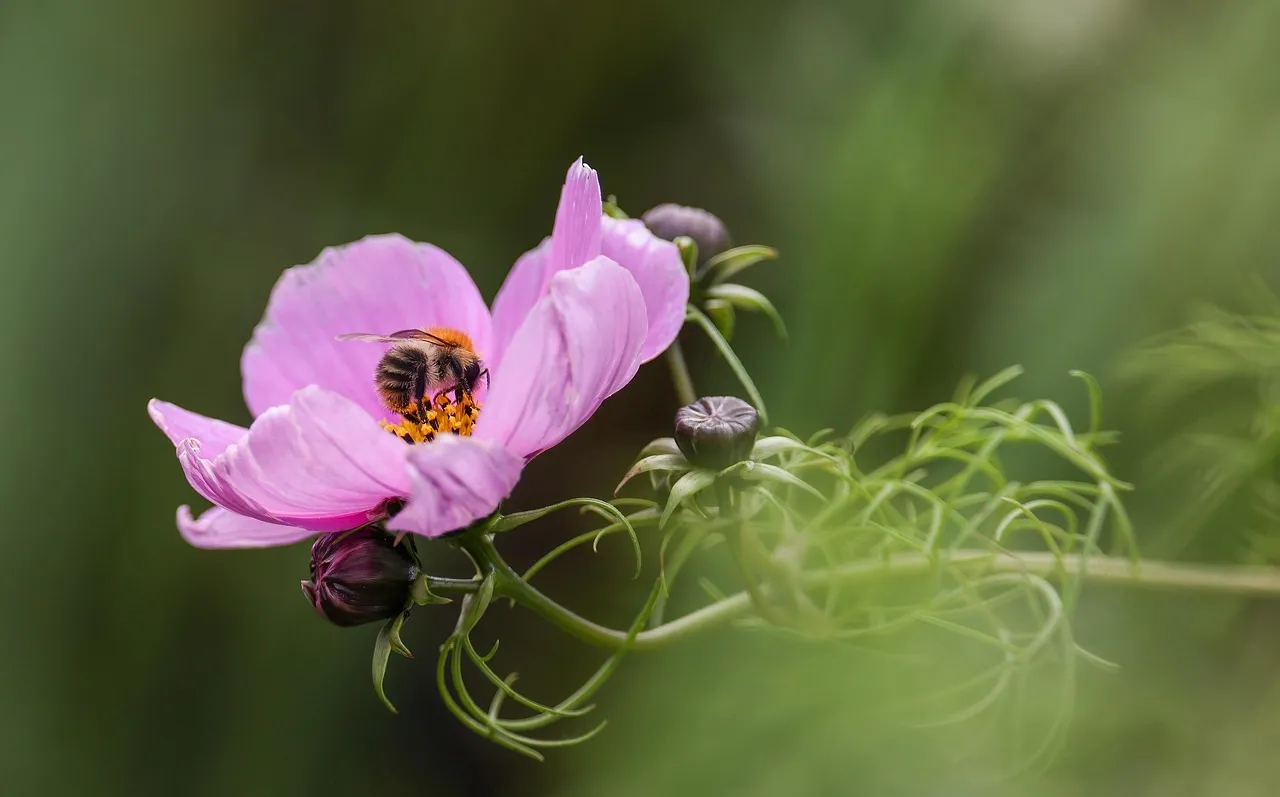
The goal of a pollinator ribbon is continuity. A garden that blooms brilliantly for six weeks and then goes dark is of limited value. Planting a diverse mix of flowering plants that provides a sequence of blooms from early spring to late fall will have the most impact, as even a small patch of the right flowers can help by adding to the larger landscape mosaic in which the pollinators live and search for food.
In spring, early bloomers such as Virginia bluebells, Golden Alexander, and Wild Columbine offer essential nectar for awakening pollinators, while vibrant summer natives like purple coneflower, bee balm, Black-Eyed Susans, and wild bergamot provide abundant nectar and pollen.
In fall, goldenrod, New England aster, and blue-stemmed goldenrod support pollinators preparing for migration or winter dormancy, while long-blooming natives like Joe Pye Weed bloom from July through September and offer seed heads that dry and provide food and color during winter. Getting this three-season arc right is what separates a functional ribbon from a one-season show.
Dense Planting to Keep Weeds Out
One of the most persistent problems with new pollinator plantings is weed pressure during the first year or two. The answer isn’t herbicide. In nature, plants grow close together, and dense planting in your pollinator garden helps shade out weeds, keeps soil moist, and builds a resilient plant community.
Dense planting helps shade out weeds, keeps soil moist, and builds a resilient plant community. When plants are installed close enough that their canopies touch within a growing season or two, they essentially become their own weed barrier. A spacing of ten to twelve inches is recommended for many plants, with the aim being to cover the ground with plants rather than mulch, so they grow together and become a great weed barrier.
In the first year, plants should put their energy into growing roots, so adding a one to two inch layer of mulch after planting and watering regularly for the first two weeks if there isn’t regular rainfall helps support their growth and reduce weed competition. Patience during year one pays off significantly in year two and three.
Avoiding Pesticides Along Your Ribbon
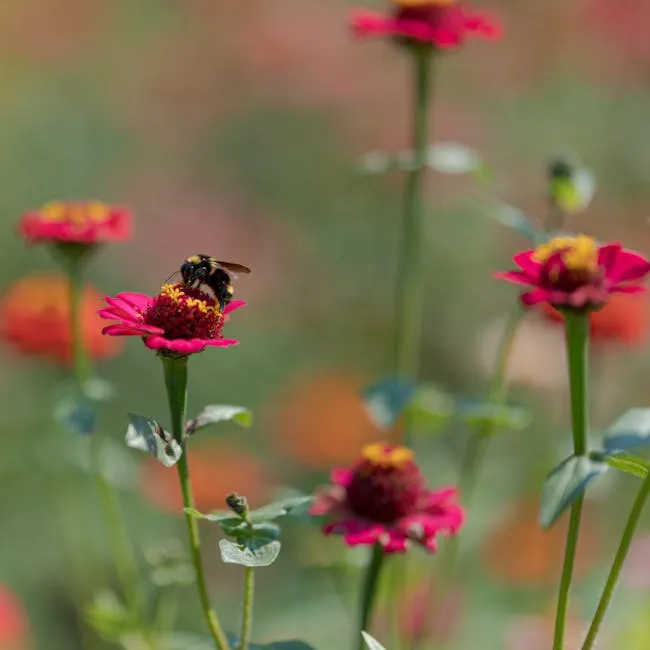
This is non-negotiable. Pesticides, including herbicides, insecticides, fungicides, and rodenticides, harm pollinators, and that includes mosquito sprays, which can kill pollinators along with mosquitoes. Applying any of these along a strip you’ve intentionally planted for pollinators defeats the purpose entirely.
Chemicals like neonicotinoids are sometimes applied to nursery stock and can linger in plant tissues for years, harming pollinators long after being applied. When sourcing your plants, ask the nursery directly whether neonicotinoids have been used. Many native plant specialists and local native plant societies sell stock that is grown without these chemicals.
Native plants don’t need sprays, and as your garden matures, it will attract birds and predatory insects that keep pests in check naturally. A well-established ribbon essentially manages its own pest pressure over time. That’s the payoff for patience.
Providing Nesting Habitat and Winter Structure
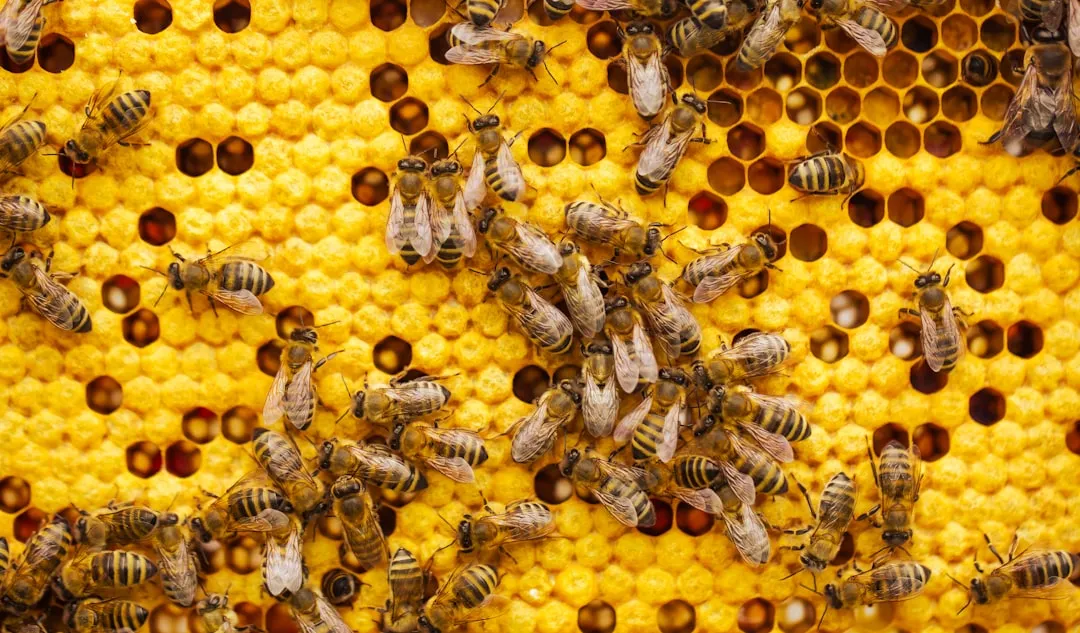
Food alone isn’t enough. Pollinators need more than pollen and nectar; they also need safe places to nest and overwinter, and many bees, butterflies, and moths make their homes in the soil, inside hollow stems, or under fallen leaves. Your fence line planting can provide all of these if you manage it with that in mind.
Skip the fall and even spring cleanup, leave stems standing, let the leaves lie, and resist the urge to tidy every corner of your garden. Those standing dried stalks of coneflower and Joe Pye Weed aren’t mess. They’re habitat. Hollow stems are nesting sites for native cavity-nesting bees that do far more pollination work than most people realize.
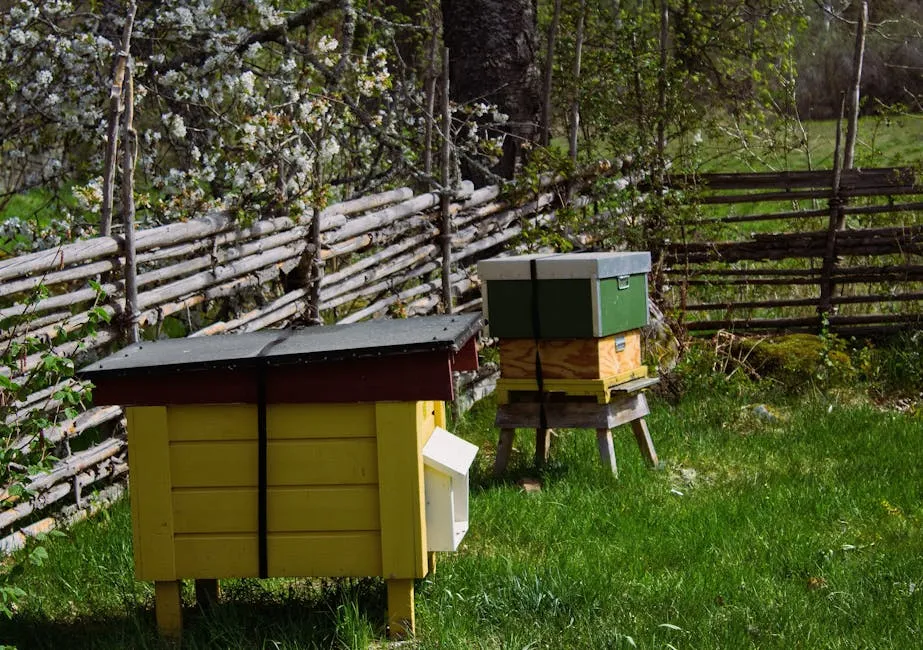
By leaving dead trees, or at least an occasional dead limb, you provide essential nesting sites for native bees. If there’s an old fence post or dead branch near your ribbon, consider leaving it in place. The addition of a simple bee box along the fence is another low-effort enhancement worth exploring.
Patience, Signage, and the Three-Year Payoff
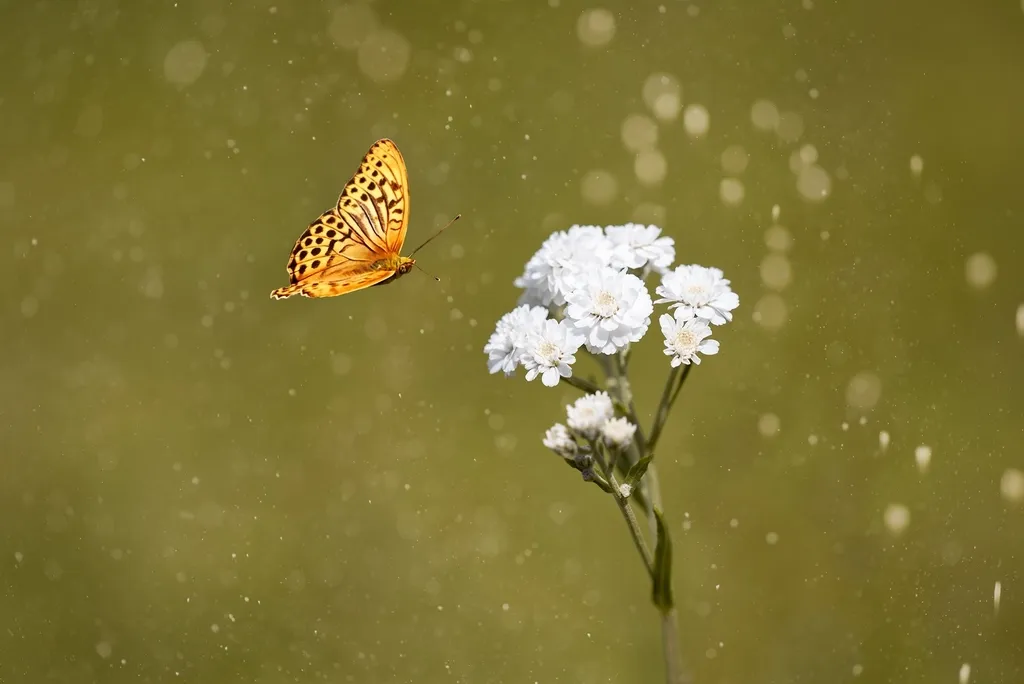
A native plant ribbon does not look its best in year one. That’s a fact, not a failure. Don’t expect instant results, as it usually takes about three years for native plant gardens to fully mature and fill in. In the meantime, enjoy watching your garden evolve, with each season bringing new growth and new pollinator visitors.
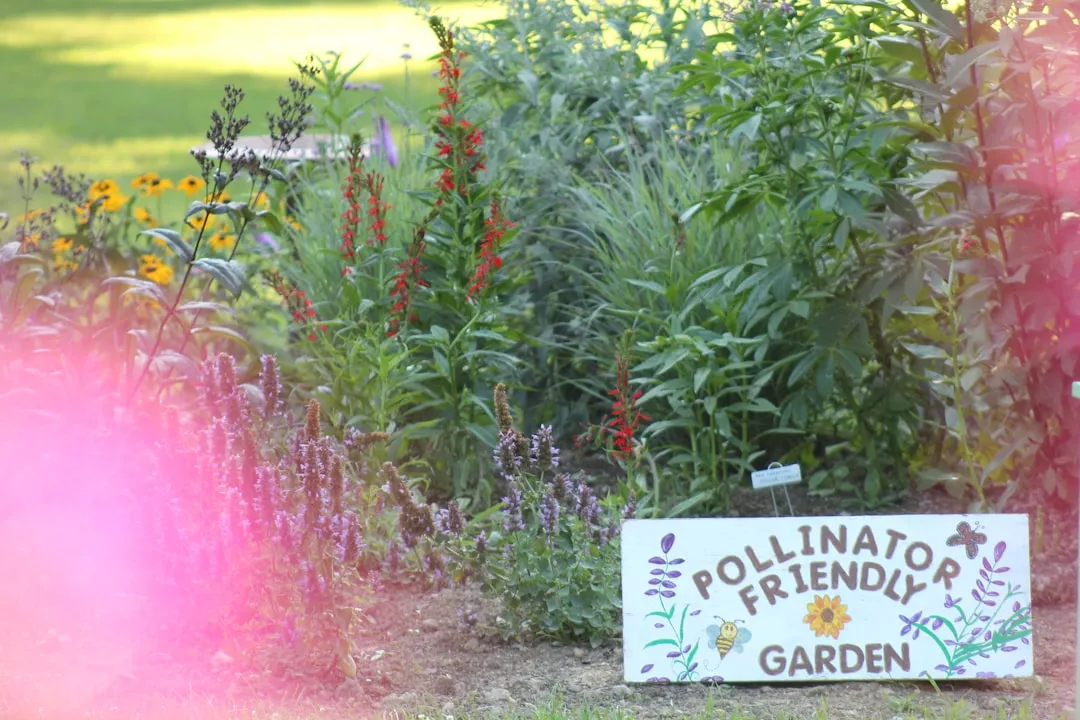
Even a small “Pollinator Habitat” sign signals that your planting is intentional and not neglected, which can help prevent misunderstandings with neighbors. A simple printed sign near the fence is a small gesture that makes a surprisingly big social difference, especially while the plants are still finding their footing.
Planning in stages, even when converting large portions of a lawn to a pollinator habitat, keeps the project affordable and manageable, and starting with a small area allows you to confirm which species establish well and the weed control methods that work well before scaling up. Start with twenty or thirty feet, see what thrives, and expand from there. The fence isn’t going anywhere.
Conclusion: A Fence Line Transformed
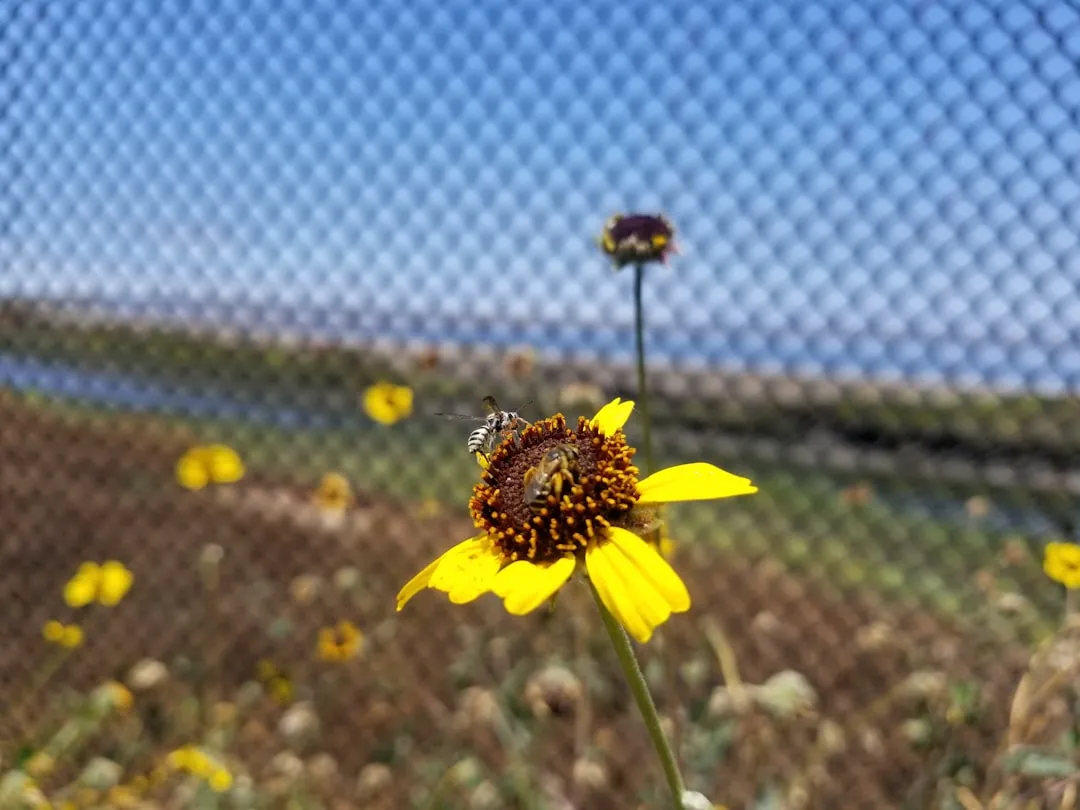
The most remarkable thing about a pollinator ribbon is how little the starting conditions have to change. The fence is already there. The strip of ground alongside it already exists. What changes is intention, plant selection, and a willingness to let the space be a little wilder than before.
Pollinator populations are declining worldwide and over 87% of flowering plant species and 87 of the leading global food crops rely on pollinators for seed production. The scale of that problem can feel paralyzing, but a fence-line ribbon is one of the most direct and measurable things a homeowner can do in response to it.
A few native plants, a season of cardboard and wood chips, and some patience are all it really takes. By year three, that forgotten strip of ground will hum with life in a way that feels almost disproportionate to the effort it took to get there. That’s the quiet reward of working with ecology instead of against it.
AI Disclaimer: This article was created with the assistance of AI tools and reviewed by a human editor.