
Rain and camping go together more often than most people want to admit. Whether you’re in the Pacific Northwest, the Scottish Highlands, or anywhere with unpredictable weather, a downpour doesn’t have to ruin your night. The difference between waking up soaked and waking up comfortable almost always comes down to preparation and technique, not luck.
Most tent failures in heavy rain aren’t the result of bad gear. They’re the result of small mistakes: a footprint tucked the wrong way, a rainfly with too much sag, or a site that looked flat but sat in a low-lying drainage zone. Get these details right before the storm rolls in, and you’ll sleep just fine.
Choose the Right Tent Before You Even Leave Home
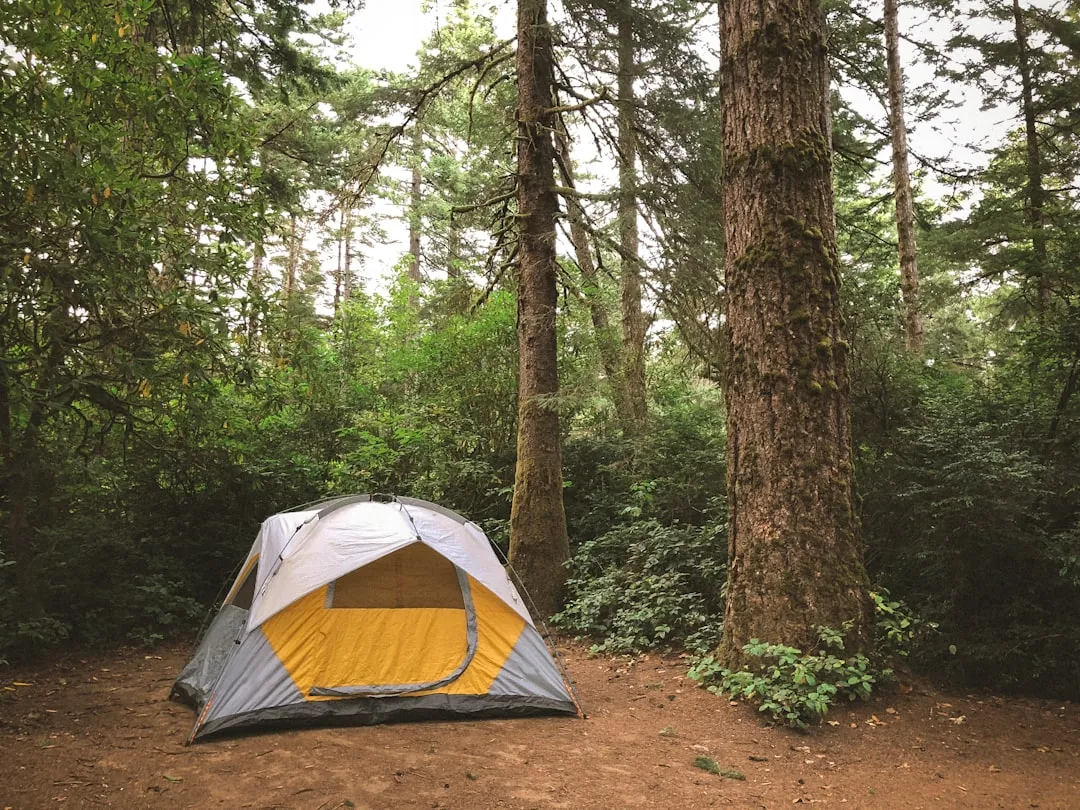
Your tent is your first line of defense, and not all tents handle weather the same way. A good tent for heavy rain should have a full rainfly that extends to the ground, not just a partial cover. Taped seams along every stitch point are equally important, since untaped seams are the most common source of leaks.
Hydrostatic Head (HH) is the standard measure of how waterproof a fabric is. In testing, a column of water is placed on top of the fabric and slowly increased in height, and the measurement in millimeters indicates how tall the water column can get before the fabric leaks. For a typical camper looking for a tent that handles three-season use in a wide variety of conditions, a hydrostatic head rating of 1,200 to 1,800mm for the fly and 2,000 to 3,000mm for the floor will get the job done.
Kneeling on wet ground can easily exceed 3,000mm of pressure, which is why groundsheets typically start at 5,000mm to prevent seep-through. While the waterproof rating is a useful indicator, other factors such as seam sealing, tent design, and the quality of zippers and closures also play a significant role in preventing leaks.
Pick Your Campsite with Drainage in Mind
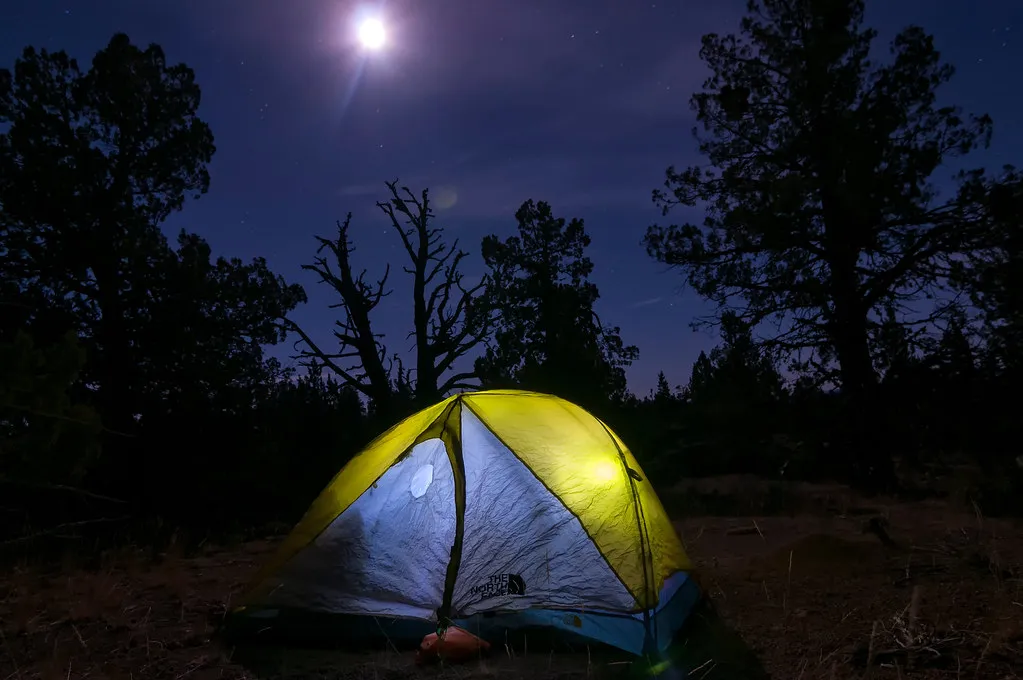
Water flows downhill, and even a gentle slope can channel runoff right under your tent. Stay away from low spots and depressions where puddles form quickly during heavy rain. Pitch your tent in a flat or rounded spot, not in a divot or concave area, or you could wake up in a puddle.
To avoid waking up in a small pond of rainwater, make sure your campsite is situated away from river banks, depressions in the terrain, narrow canyons or gulches, dry washes, or river basins. Choose a spot that’s slightly elevated in the terrain as an added precaution.
Camping in rainy weather may tempt you to pitch your tent under trees for protection, but if one of those trees is a “widowmaker,” it could prove to be a dangerous decision. Widowmakers are trees that typically have a rotten branch that stormy weather might cause to break off and tumble onto your tent. They may also attract lightning during electrical storms, posing a separate safety risk.
Set Up a Tarp Overhead First
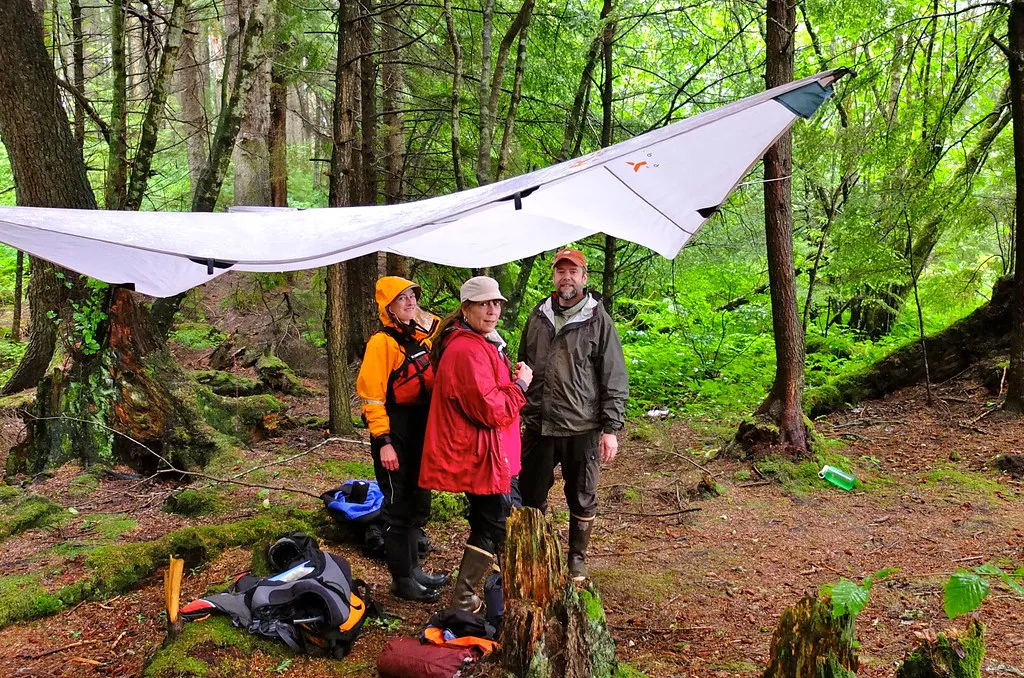
Tie a rope between two trees to make a ridgeline, then drape a tarp over it and tie out the corners. Suddenly, you’ve got a rain-free area that can be used for pitching your tent without getting it wet in the rain. Lightweight tarps suspended above tents create additional rain protection, especially valuable for older tents or extreme weather. Position tarps allowing air circulation to prevent condensation while still blocking rain.
If it’s raining very hard, a tent’s rainfly can be overwhelmed and you can start to have water drip inside. If you pitch a tarp like an extra rainfly over your tent, not only can you stay dry, but if the tarp is large enough you can create a kind of porch for your tent where you can take off your shoes and remove wet gear before proceeding inside.
Use the Fly-First Pitching Method
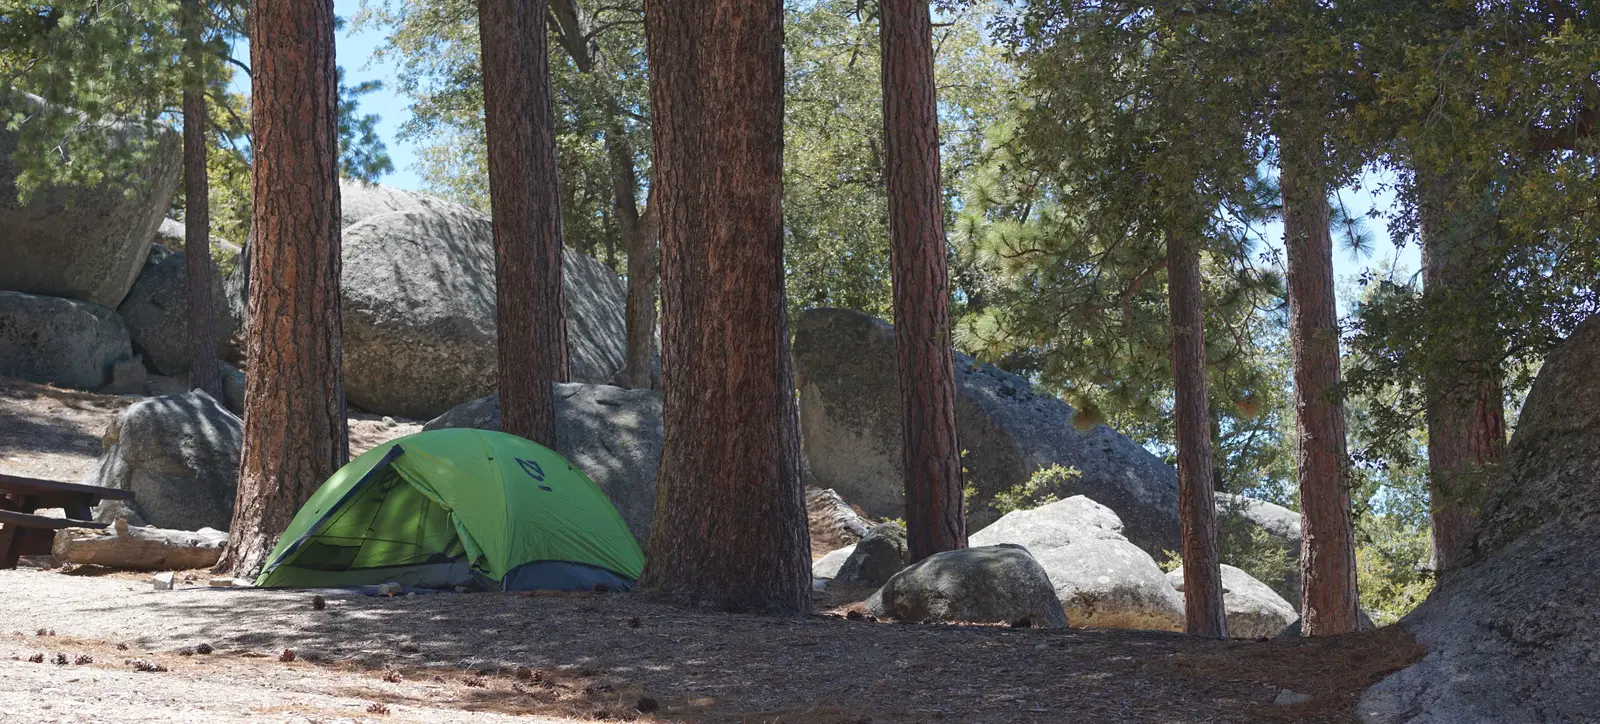
The “fly first” method means you pitch the tent fly first and then set up the inner tent, allowing the inner tent to stay dry. With most double wall tents, you need to set up the inner mesh tent first and then the rainfly, which creates a problem because the inner tent lies flat, collecting rainwater. The fly-first approach sidesteps this entirely.
Instead of rolling all parts of the tent together in the stuff sack, keep the poles, inner tent, and fly separate. This way you can get out the poles first, while keeping the other items covered or somewhere dry, and set them up. Two people dramatically simplify the pitch: one holds the tent body taut while the other inserts poles. Assigning one person to manage the fly exclusively while the other handles poles and stakes cuts setup time roughly in half.
Place and Tuck Your Ground Cloth Correctly
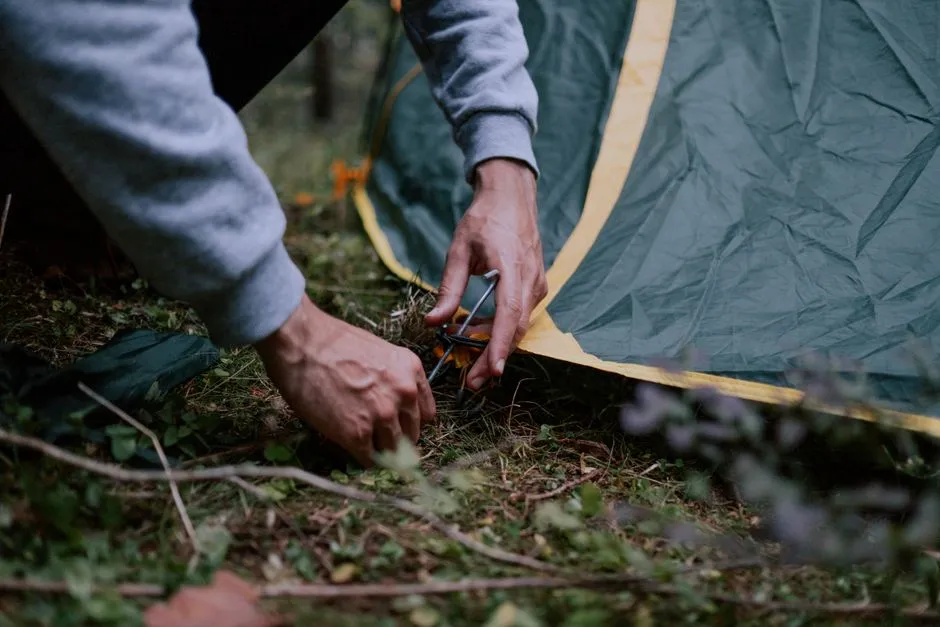
Placing a tarp or heavy-duty garbage bag under your tent not only reduces wear and tear on the tent floor but also offers an additional layer of insulation and increased defense against potential groundwater infiltration. Tuck every edge under the tent floor and never let them fold outward. A footprint edge that extends beyond the tent floor acts as a rain gutter, channeling water directly underneath your sleeping area.
Campers consistently report waking to a wet floor after heavy rain because of this single mistake, according to discussion threads across outdoor forums including r/CampingandHiking. If you don’t have a purpose-built footprint, a polycro ground sheet or heavy-duty painter’s tarp cut two inches smaller than your tent floor on each side works well.
Stake Everything Down Tight and Guy Out the Rainfly
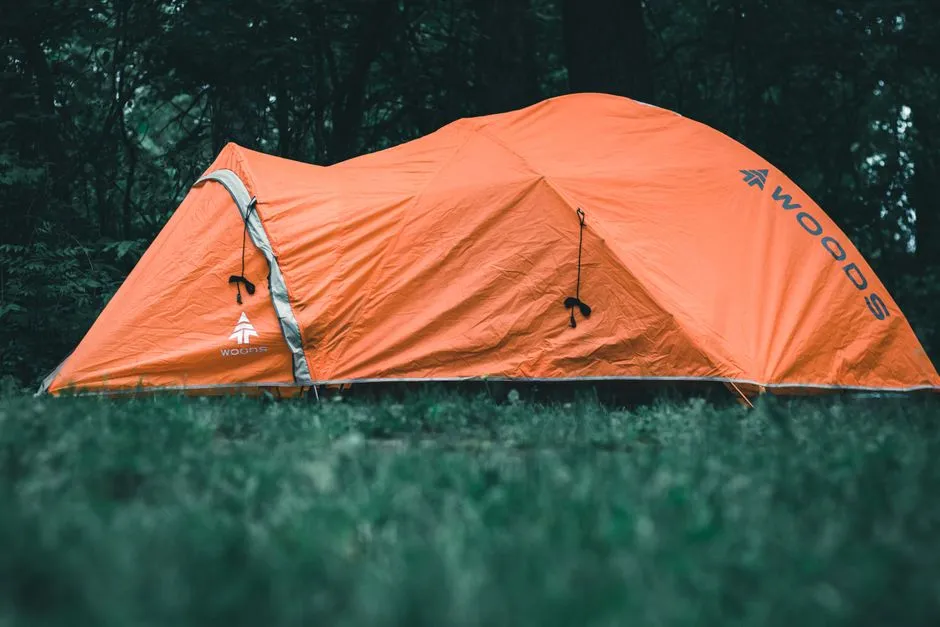
Stake everything down tight, because a taut rainfly sheds water efficiently, while a saggy one pools water on top and eventually leaks through. Tent guy lines are not only for wind resistance; they also optimize water drainage by maintaining the tent’s geometry. A loosely tensioned outer fly can cause water to pool on it, pulling the fabric down with its weight and increasing pressure on the seams, preparing the ground for leakage.
Four practices maintain a dry interior in heavy rain: ensure the rainfly has complete coverage with no gaps at the base; keep guylines tensioned so the fly doesn’t contact the inner tent walls; tuck the footprint fully under the tent floor; and open at least one vent to allow moisture-laden air to escape rather than condense. Nylon can sag when it gets wet, requiring you to re-tension your guylines after a storm begins.
Manage Condensation So You Don’t Mistake It for a Leak
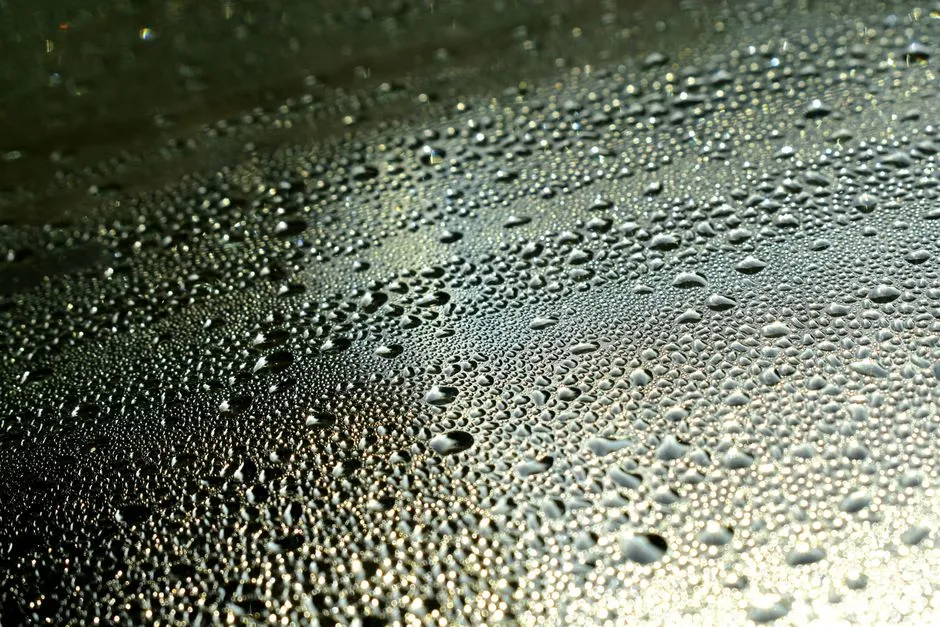
Many campers think their tent is leaking when they see the inner walls wet upon waking up in the morning. However, this is often not rain from outside but condensation caused by breath and sweat inside. In rainy weather, outside humidity approaches one hundred percent, intensifying condensation.
Leave at least one vent open, ideally on the leeward side away from wind, even in heavy rain. The airflow carries moisture out before it condenses. If your tent has two vents, open both slightly, as the cross-draft effect is significantly more effective than a single vent. Store wet rain gear in the tent vestibule, the covered outer porch area, and never inside the sleeping compartment. Wet boots, jackets, and packs all contribute to interior humidity.
If the wetness is spread across all walls and is independent of the seams, it is condensation; if it drips from a specific point, it is leakage. Knowing the difference saves you from applying the wrong fix in the middle of the night.
Seal Your Seams Before the Trip, Not During
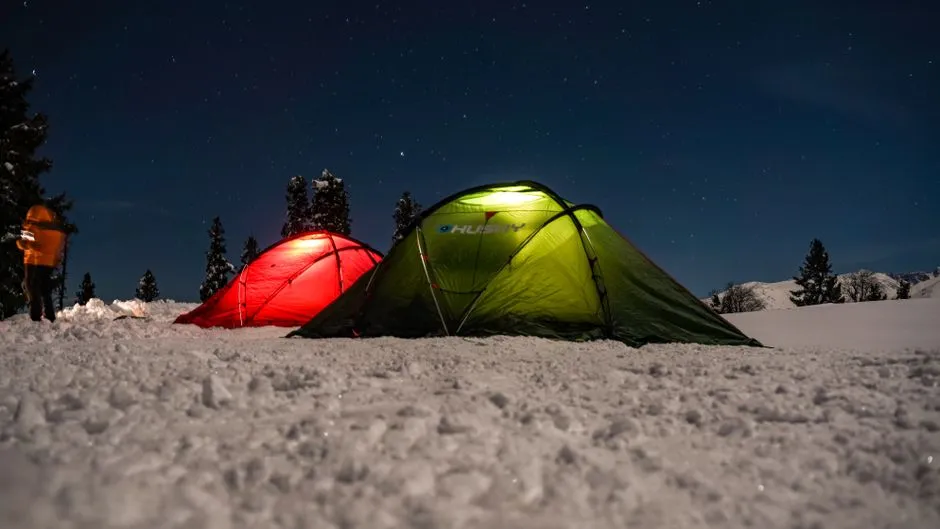
Every stitched seam in a tent contains hundreds of micro needle holes that bypass waterproof coatings entirely, and even a “waterproof” tent is only as dry as its seams allow. Tent seam sealing is the repair that closes those holes for good. Seams where fabric panels join create potential leak points since needle holes penetrate waterproof coatings. Seam tape or liquid sealants cover these vulnerabilities, but factory sealing often deteriorates over time, requiring user maintenance for quality tents.
A durable water repellent (DWR) coating helps your rainfly shed water. Many tents come with seams that are sealed, but the sealant can wear out over time, letting water leak through. Most failed DIY sealing jobs trace back to one mistake: using the wrong sealant for the fabric. Silicone-treated tents need a silicone-compatible sealer, while polyurethane-coated fabrics require a different product entirely.
Keep Dry Gear Dry From the Moment You Arrive

Designate one side of the tent for dry gear only. Keep sleeping bags, pillows, and clean clothes away from the tent door. A camp cot or thick sleeping pad gets you off the ground and away from any moisture that sneaks through the floor.
Synthetic sleeping bags and puffy jackets are smart choices for rainy conditions, since cotton and down are toasty when dry but useless when wet. Cotton holds moisture and takes forever to dry, which drops your body temperature fast. Stick to synthetic or wool base layers that wick moisture and retain warmth when damp.
Keep a small microfiber towel inside to wipe condensation from the inner wall each morning; this also reveals whether you have a genuine seam leak versus normal condensation, an important distinction for gear maintenance.
Pack Up Smart When the Rain Keeps Falling
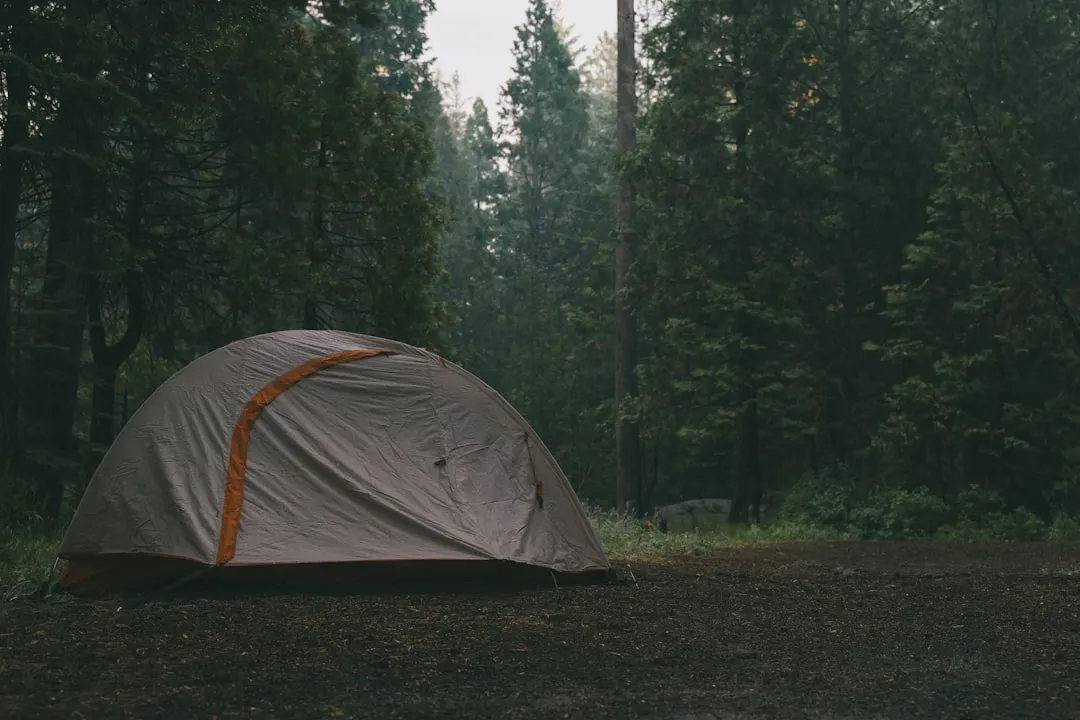
Load most of your stuff into your pack inside the tent; then step outside, shield your pack from rain as well as possible under a rain cover or even a tree; and dismantle the tent with the rainfly protecting the interior tent, then stuff the latter inside your pack and the wet rainfly into an exterior stuff pocket.
Never put a tent away wet. This leads to mold and mildew, which will eat through the waterproof coatings. If you have to pack up in the rain, set the tent up to dry as soon as you get home. If you notice that water is no longer beading up on the rainfly, it’s time to re-apply a DWR spray, and this easy DIY project can extend the life of your tent by years.
The Takeaway
Staying dry in heavy rain is less about having the most expensive tent and more about making a series of small, deliberate decisions. Site selection, fly tension, seam integrity, ventilation management, and gear separation all work together as a system. Miss one link and the whole thing can unravel at two in the morning.
The campers who genuinely enjoy wet-weather trips aren’t made of tougher stuff. They just did the preparation. Sealed seams, a properly placed footprint, and a taut rainfly transform a miserable night into a satisfying one, with the rain drumming steadily overhead while you stay completely dry inside.
AI Disclaimer: This article was created with the assistance of AI tools and reviewed by a human editor.