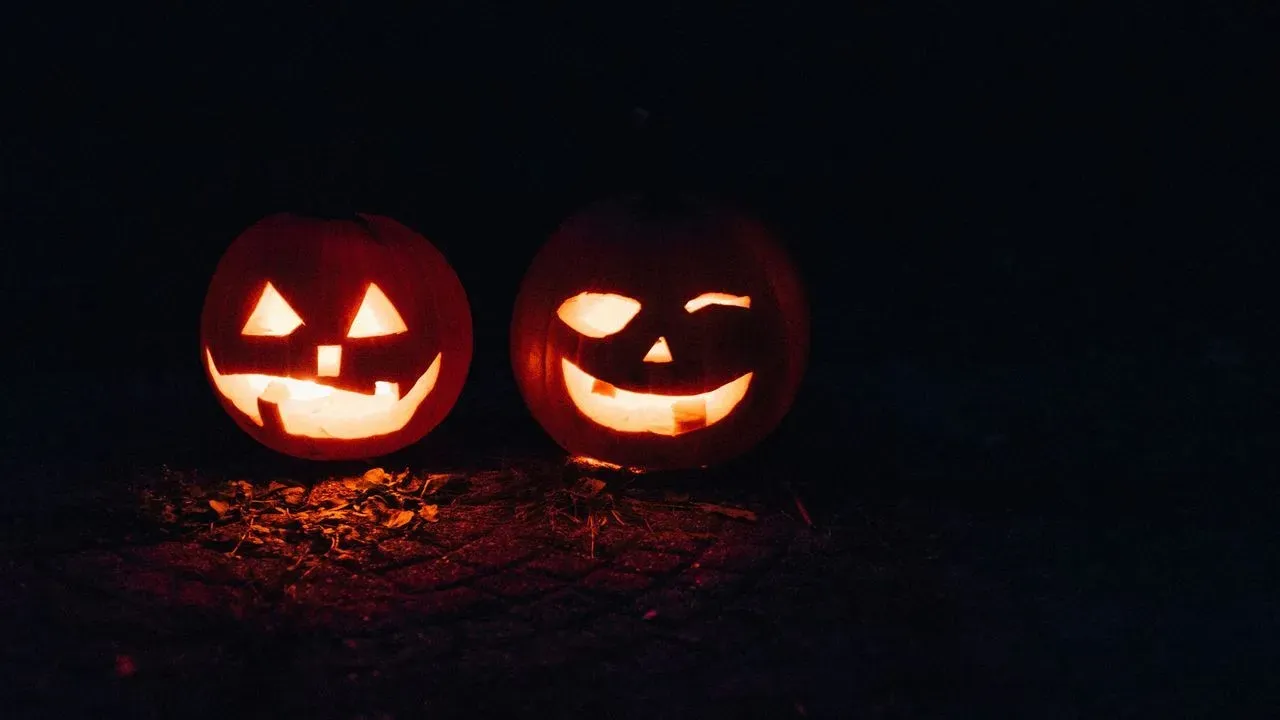

Many homeowners invest time carving intricate designs into pumpkins only to watch them soften, sink, and develop mold within days. The frustration is common each October, yet straightforward care steps can slow the decay process and help the jack-o’-lantern remain presentable until the holiday arrives. University extension guidance and practical testing point to timing, cleaning, and temperature control as the most effective factors. ([1])
Carve Close to the Big Night
The single most reliable step is to delay carving until just before the event. Pumpkins begin to lose moisture and invite mold as soon as the surface is cut, so the longer the carving sits exposed, the faster it deteriorates. Extension services recommend completing the work no more than eight to ten days ahead of Halloween at most. This approach reduces the window during which bacteria and fungi can take hold. Choosing a firm pumpkin with a green stem attached also gives the project a stronger start. Soft spots or a shriveled stem signal that the fruit is already past its prime and unlikely to hold up even with extra care. Selecting the right specimen before any cutting begins prevents disappointment later.
Scoop Thoroughly and Dry the Interior
Complete removal of the seeds and stringy pulp is essential. Any remaining organic material provides food for mold spores that travel through the air. After scooping, drying the inside surfaces with paper towels removes excess moisture that would otherwise encourage rot. Some carvers cut the opening from the bottom or back rather than the top to limit additional exposed edges. Sterilizing tools before use further reduces the chance of introducing contaminants. These preparation steps take only a few extra minutes yet create a cleaner environment inside the pumpkin where decay is slower to begin.
Apply Protective Treatments
A diluted bleach solution can help limit surface microorganisms. A common recommendation is a ten-percent mixture – roughly nine parts water to one part chlorine bleach – used to wash or spray the pumpkin before and after carving. The solution should be allowed to dry completely, and daily light applications may extend freshness. Vinegar offers a milder alternative when the pumpkin will later be composted or fed to wildlife. Petroleum jelly applied in a thin layer to cut edges and carved openings helps seal in moisture. This barrier slows drying and cracking. The jelly must never be used with an open flame, however, because it is flammable; battery-operated lights or glow sticks are the safer choice in that case.
Maintain Cool, Shaded Conditions
Temperature plays a decisive role in how quickly a carved pumpkin declines. Ideal storage falls between 50 and 60 degrees Fahrenheit. Warmer air accelerates pathogen growth, while freezing temperatures damage tissue. Placing the pumpkin in a shaded porch or garage during the day and bringing it indoors on warm evenings keeps it within the preferred range. Direct sunlight, rain, and frost should be avoided. The heat from a traditional candle can also cook the interior and speed spoilage, so electric lights are preferable when possible. A cool, protected spot combined with the earlier steps gives the carving its best chance of remaining intact through trick-or-treat night.
Monitor and Dispose Promptly
Regular checks allow early detection of problems. Fuzzy or slimy spots indicate that mold has taken hold and the pumpkin has reached the end of its useful life. At the first sign of these changes, removal prevents spores from spreading to other decorations or surfaces. These measures do not guarantee a pumpkin will survive indefinitely, yet they address the main causes of rapid breakdown. With attention to timing, cleanliness, and environment, a carved pumpkin can stay presentable for the holiday rather than collapsing days ahead of schedule.
AI Disclaimer: This article was created with the assistance of AI tools and reviewed by a human editor.