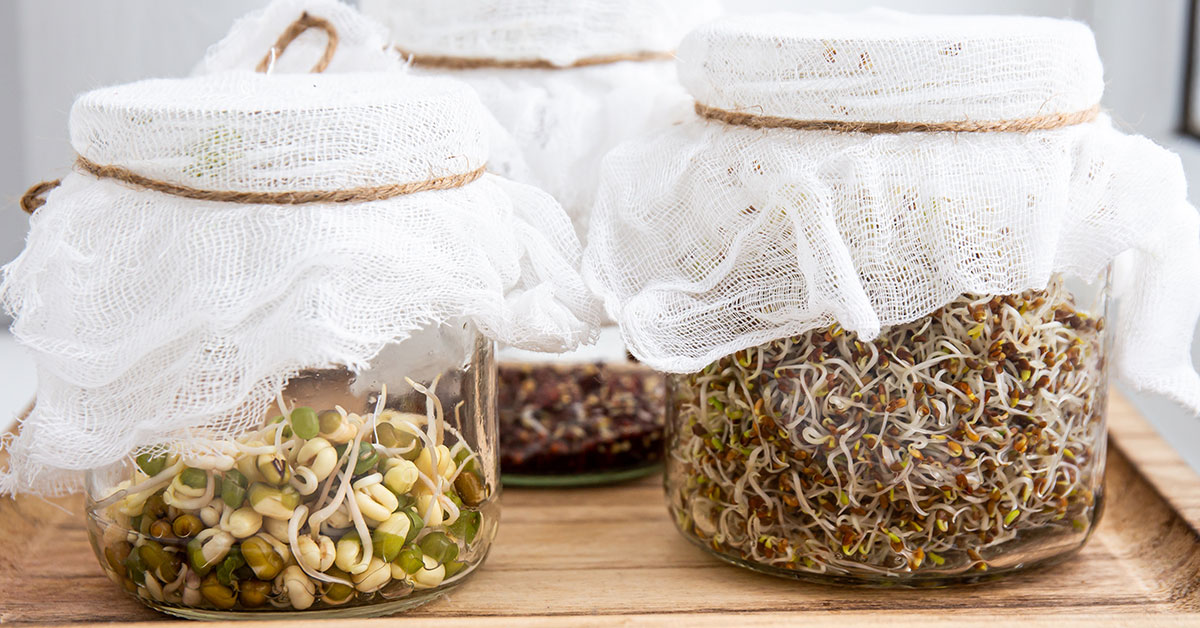

Growing sprouts in a jar is a simple and convenient way to enjoy fresh and healthy sprouts at home. Sprouts are packed with vitamins, minerals, and enzymes that provide numerous health benefits, making them a popular addition to salads, sandwiches, and other dishes.
Growing sprouts in a jar requires minimal equipment and can be done indoors year-round, making it an ideal option for those with limited outdoor space or who want to grow their own produce at home.
In this instructional article, we will provide step-by-step instructions on how to grow sprouts in a jar, along with tips and tricks for achieving the best results.
Why grow sprouts?
Growing sprouts in a jar has several advantages over other methods of growing sprouts. Here are some of the main benefits:
- Easy and Inexpensive: Growing sprouts in a jar requires minimal equipment and can be done at home without the need for a garden or outdoor space. The cost of seeds and jars is relatively low, making it an affordable way to enjoy fresh sprouts.
- Fast and Convenient: Sprouts can be grown in a jar in just a few days, which means you can enjoy fresh sprouts quickly and conveniently. This makes it a great option for people who want to add a healthy boost to their meals without spending a lot of time or effort.
- Nutritious and Delicious: Sprouts are packed with vitamins, minerals, and antioxidants, making them a nutritious addition to salads, sandwiches, and other dishes. Homegrown sprouts are also fresher and more flavorful than store-bought varieties.
- Sustainable and Eco-Friendly: Growing sprouts in a jar is a sustainable and eco-friendly way to enjoy fresh produce. You can use recycled jars and organic seeds to minimize waste and reduce your carbon footprint.
- Safe and Hygienic: When you grow sprouts in a jar, you have control over the growing conditions and can ensure that they are free from harmful chemicals and bacteria. This makes them a safe and hygienic option for anyone concerned about food safety.
Growing sprouts in a jar is a simple and rewarding way to enjoy fresh and nutritious sprouts at home. Whether you are a seasoned gardener or a beginner, this method of growing sprouts is easy to learn and can be done with minimal equipment and time.
How to grow sprouts in a jar
Growing sprouts in a jar is a quick and easy way to enjoy fresh and nutritious sprouts at home. Sprouts are a rich source of vitamins, minerals, and enzymes, making them a healthy addition to salads, sandwiches, and other dishes. In this article, we will provide you with a step-by-step guide on how to grow sprouts in a jar.
Step 1: Choose the right jar: You will need a wide-mouthed glass jar with a mesh lid or cheesecloth. Mason jars or recycled jars work well for this purpose. Make sure the jar is clean and has no residue or odors from previous use.
Step 2: Choose the right seeds: You can use a variety of seeds to grow sprouts, such as alfalfa, broccoli, mung bean, or radish seeds. Purchase seeds that are specifically labeled for sprouting, as they are free of any harmful chemicals or additives.
Step 3: Soak the seeds: Add 1-2 tablespoons of seeds to the jar and cover them with water. Let the seeds soak for 8-12 hours, or overnight. This will activate the sprouting process.
Step 4: Drain the water: After soaking, drain the water from the jar. Use the mesh lid or cheesecloth to strain the water and prevent the seeds from falling out.
Step 5: Rinse and drain the seeds: Rinse the seeds with fresh water and drain the water out of the jar. Repeat this step 2-3 times a day, making sure to rinse and drain thoroughly each time. This will keep the seeds moist and prevent them from rotting.
Step 6: Wait for the sprouts to grow: Depending on the type of seeds you are using, sprouts can take anywhere from 2-7 days to grow. Keep the jar in a warm and dark place, such as a kitchen cabinet or pantry, to encourage sprouting. After a few days, you will start to see tiny sprouts emerging from the seeds.
Step 7: Harvest the sprouts: Once the sprouts have reached the desired length, typically 1-3 inches, it’s time to harvest them. Rinse the sprouts one last time and use a fork or spoon to gently remove them from the jar. Discard any seeds that have not sprouted.
Step 8: Store and enjoy the sprouts: Store the sprouts in an airtight container in the refrigerator for up to a week. Use them in salads, sandwiches, or as a topping for soups and stews. Enjoy the fresh and nutritious taste of homegrown sprouts!
Growing sprouts in a jar is a simple and rewarding process that can add a healthy boost to your meals. By following these steps, you can enjoy fresh and flavorful sprouts at home, all year round.