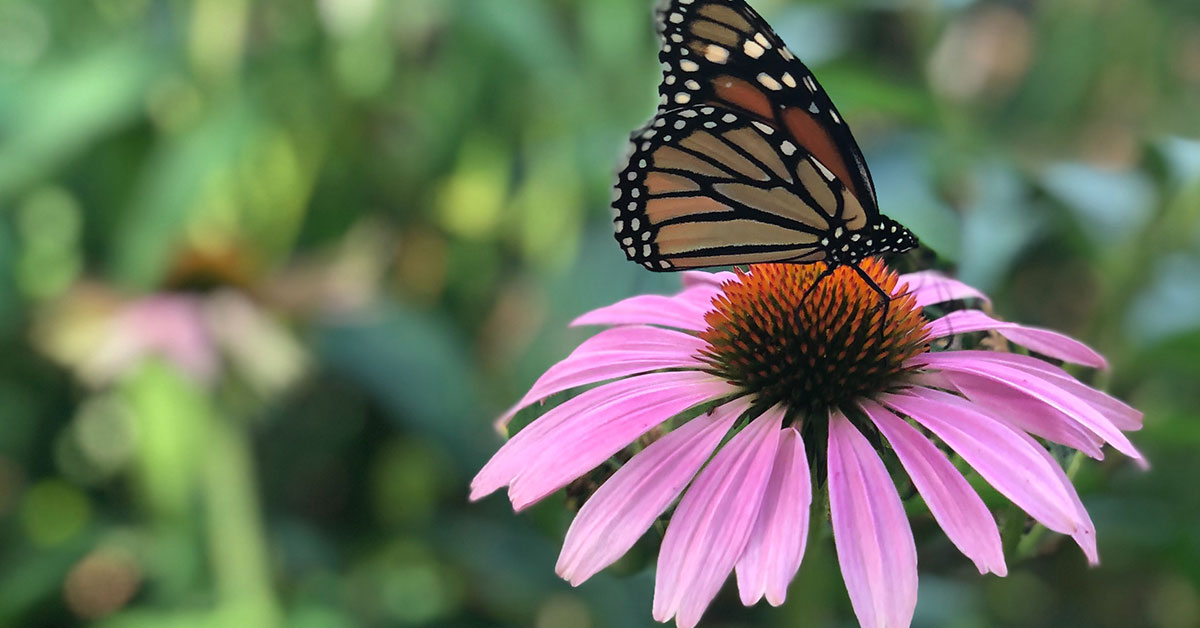
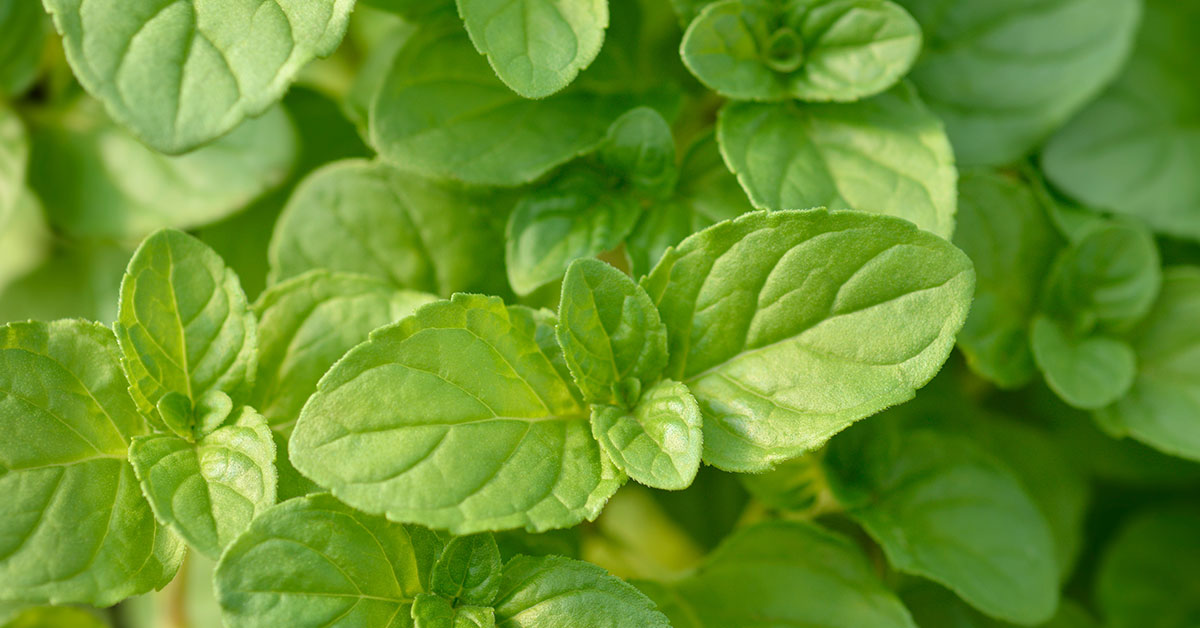
Mint is a wonderful and versatile plant with many uses. It’s one of those herbs I will always have in my garden, no matter where I live or what I’m growing. You can use it to make essential oils, teas, and cookies, and even use a leaf or two in a refreshing cocktail. The flowers are also well-loved by local pollinators. But like most plants, you need to spend a few dollars to acquire a specimen. Or do you? If you’re a cheapskate gardener (like me), mint is the plant for you. All you need is a branch and some time! This article is all about how to grow mint from cuttings. You’ll never buy a mint plant again!
How to grow mint from cuttings
I’ll be honest with you: mint spreads like crazy. It doesn’t take some elaborate master gardener class to figure out how to make mint grow. It’s one of the best plants for beginner herb gardeners. That’s why I always recommend keeping mint in a soil-tight container. If you plant it in the ground, you will soon have a mint field that’s completely out of control. Mint is a good candidate for bucket gardening. One of the ways mint can spread is through the branches of the plant itself. You’ll find if a branch comes in contact with the soil, it will eventually start to put down roots. Thus, the plant spreads.
Once while on a walk, I strolled by some spearmint growing in the median of a road. I simply yanked a branch off, walked it home, stuck it in some soil in a pot, watered it, and a month later, it had already begun to grow and spread. It really can be that easy. Granted, this was a low-effort propagation on my part. I didn’t really care that much if it grew or not. Growing mint from cuttings really can be a zero-effort game. But if you’re interested in more guaranteed results, there’s a better way to do it.
Growing mint in water
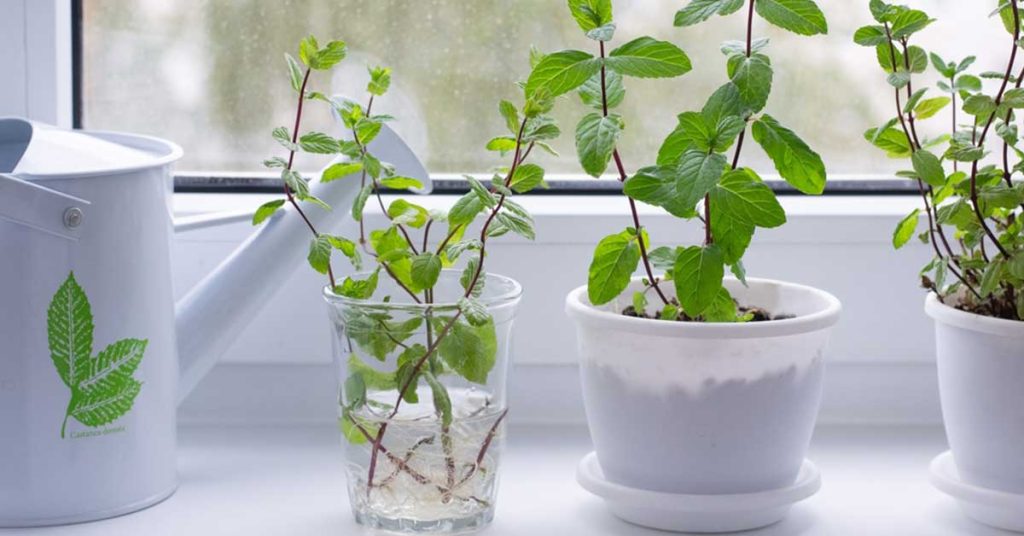
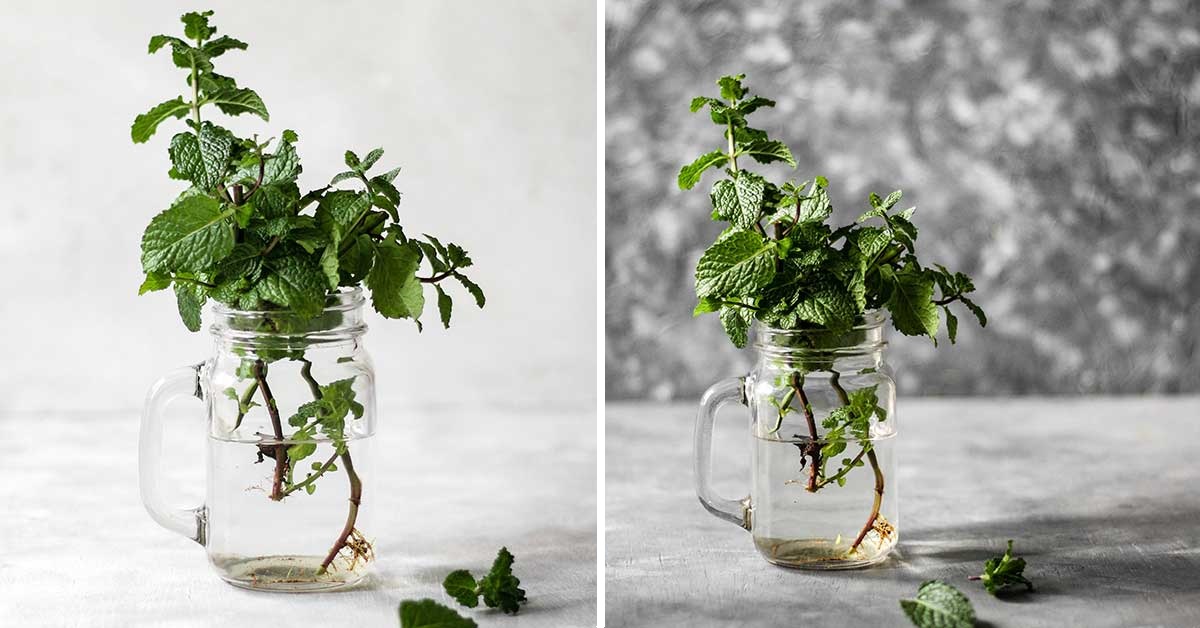
If you were to take some mint cuttings and place them in a sterilized glass filled with clean water, you’ll find that within a few days, tiny white roots will begin emerging from the submerged part of the plant. Here’s how to do it.
- Selecting your mint branches to clip and propagate takes a keen eye. It’s best to select growth at the top of the plant. Cut a 3-inch branch off the plant right under a leaf node, which is the point where leaves grow from the stem. Be sure you use clean, sterilized shears – you don’t want to accidentally make your mint ill.
- Sterilize a glass container and fill it with water. Tap water works, but filtered water is better. Mint isn’t picky, pick your water and roll with it. Place the stems of your mint cuttings in the water. Don’t fully submerge the mint! The green leaves at the top of the cuttings should be sticking out of the water.
- Wait. Wait. And wait a little more. Within a few days, you should see little white buds begin to form on the submerged part of the stems. After a few weeks, there should be a fairly large, established root ball formed. Take the stems out of the water and plant in organic potting soil in a pot. Emphasis on in a pot. As I mentioned already, mint spreads everywhere. Rookie mistake planting them in the ground unless you really want a ton of mint taking over.
- Keep your mint plants well-watered as they get established. At this point, you can cut the tops off of your mint cuttings (a process sometimes called ‘topping’) to stall upward growth, allowing the plants to spend additional energy getting established. Topping mint plants encourages them to grow bushier and discourages flowering.
And that’s pretty much all there is to it! We hope this guide on how to grow mint from cuttings yields many flavorful additions to your mojitos and cookies.
