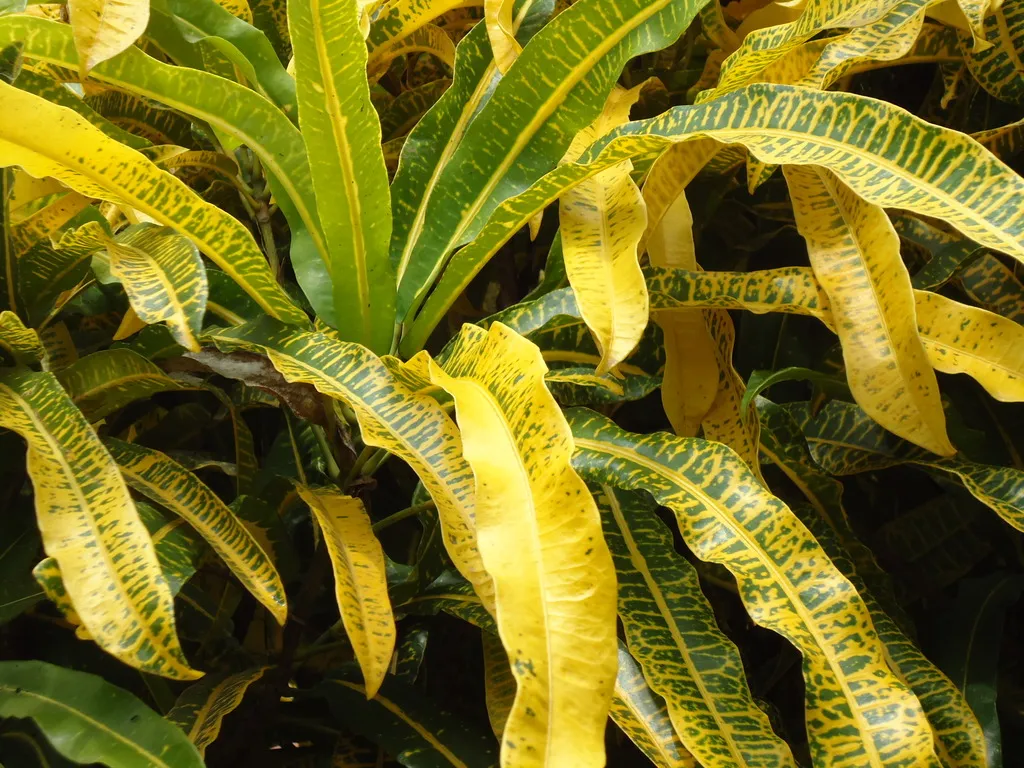

Few things are more disheartening than watching a thriving houseplant slowly fade to yellow. You’ve watered it, kept it near a window, maybe even talked to it a little. Still, the leaves keep turning. The reassuring truth is that yellowing leaves are almost always a distress signal, not a death sentence.
This yellowing, known as chlorosis, is your plant’s way of signaling that something is wrong. The challenge lies in reading exactly what that message means. From watering habits to light placement to invisible insects, the causes are more varied than most people realize, and so are the fixes.
1. Overwatering: The Most Common Culprit
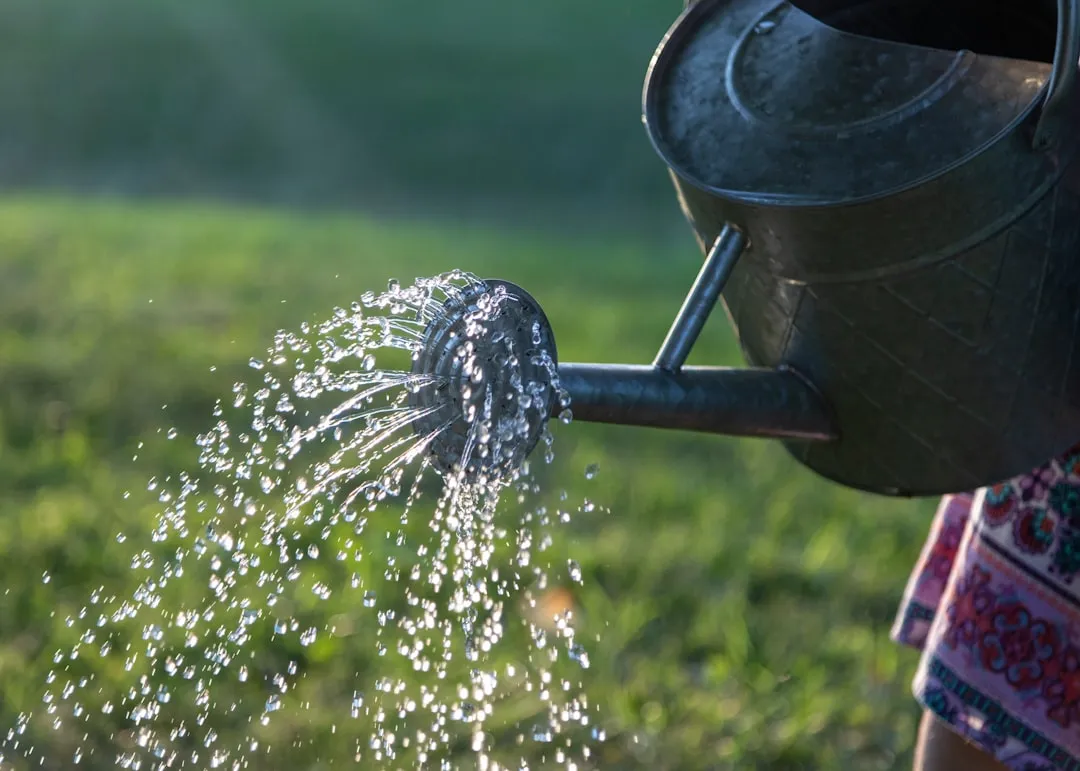
Water issues, either too much or too little, are the leading reason behind yellow leaves. When your plant’s soil is overly wet, roots can’t breathe. They essentially suffocate in place.
Overwatering is one of the leading causes of yellow leaves in houseplants. When you overwater your plants, the roots become waterlogged, leading to poor oxygen circulation and root rot. This stress on the roots results in yellowing leaves.
Snake plants and ZZ plants can develop yellow leaves from overwatering within just seven days of excessive moisture, making them especially unforgiving of careless watering. The fix is straightforward: allow the top inch or so of the soil to dry out before watering again, and ensure your pots have proper drainage to prevent water from accumulating at the bottom.
2. Underwatering: The Other Side of the Same Problem
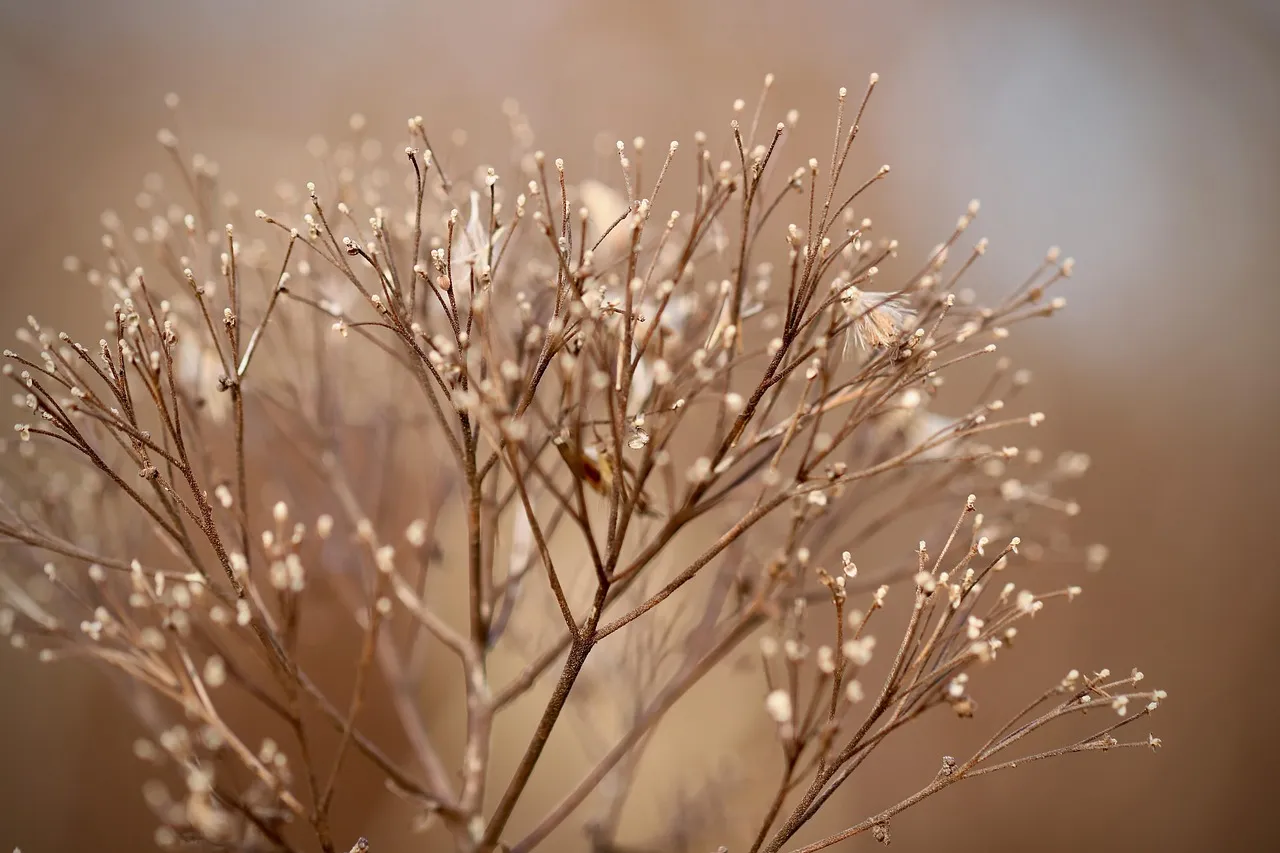
Just as too much water harms plants, too little water also leads to yellow leaves. Underwatering stresses the plant by not providing enough moisture for vital processes such as photosynthesis and nutrient transport.
If you notice your plant has yellow leaves that are curling inwards and the soil is dried out or pulling away from the edges, it’s likely under-watered. This pattern is a useful diagnostic tool that many plant owners overlook.
Overwatered plants turn yellow, soft, and droopy because the roots are in soggy soil. Underwatered plants turn brown and crispy, and the soil feels dry like dust. Learning to tell these two apart is genuinely the most useful skill a houseplant owner can develop.
3. Poor Drainage and Root Rot
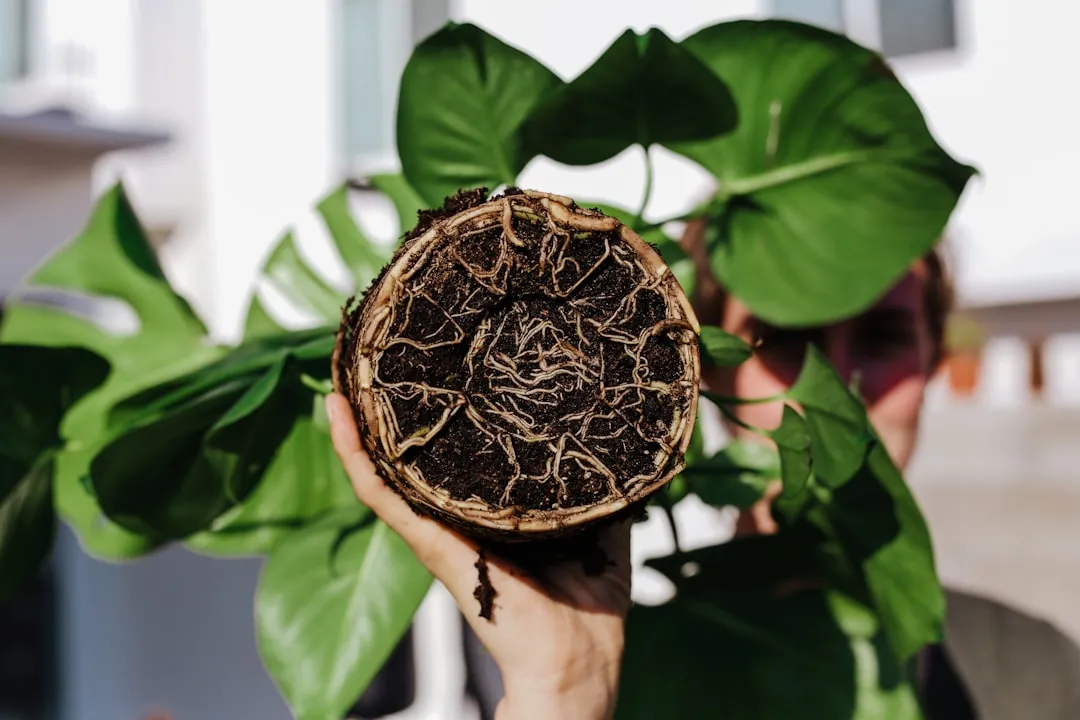
Ensure your pots have adequate drainage. Overwatering symptoms often arise from waterlogged soil due to poor drainage rather than just frequent watering. That distinction matters more than most gardening guides admit.
The most severe consequence of overwatering is root rot, characterized by a foul smell and black, mushy roots. It’s often discovered too late, so prevention is key.
Replace wet soil with fresh potting mix that drains well. Clean the root system and trim damaged parts. If you catch root rot early enough, most popular houseplants can still recover with the right intervention.
4. Inadequate or Excessive Light
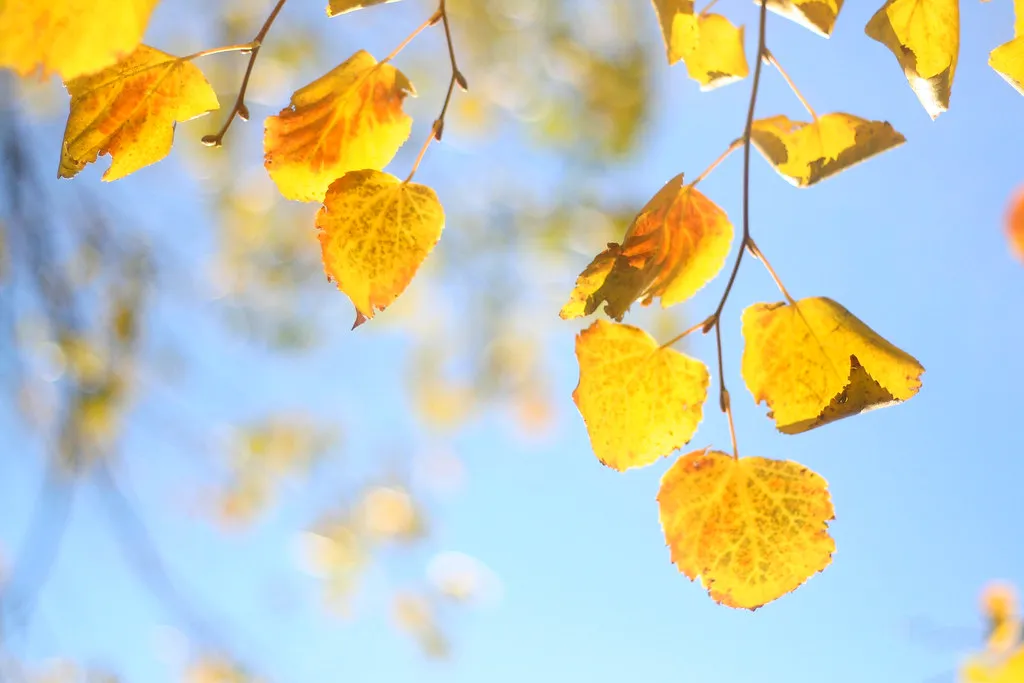
Lighting plays a crucial role in photosynthesis. Insufficient or excessive light can cause stress that manifests as yellow leaves. Plants adapted to bright indirect light will develop yellow leaves when placed in dark corners because they cannot produce enough chlorophyll.
Based on a study on chickpea plants, low light intensity can lead to a significant reduction in plant biomass, with a roughly fifty-three percent reduction in root biomass and nearly a forty percent reduction in total dry biomass in plants grown under low light conditions compared to those in optimal conditions.
Conversely, direct sunlight can scorch delicate leaves, causing them to turn yellow or develop brown spots before eventually falling off. Research your plant’s specific light requirements and place it in an appropriate location with adequate, indirect sunlight. Rotate your plant periodically to ensure even growth.
5. Nutrient Deficiencies
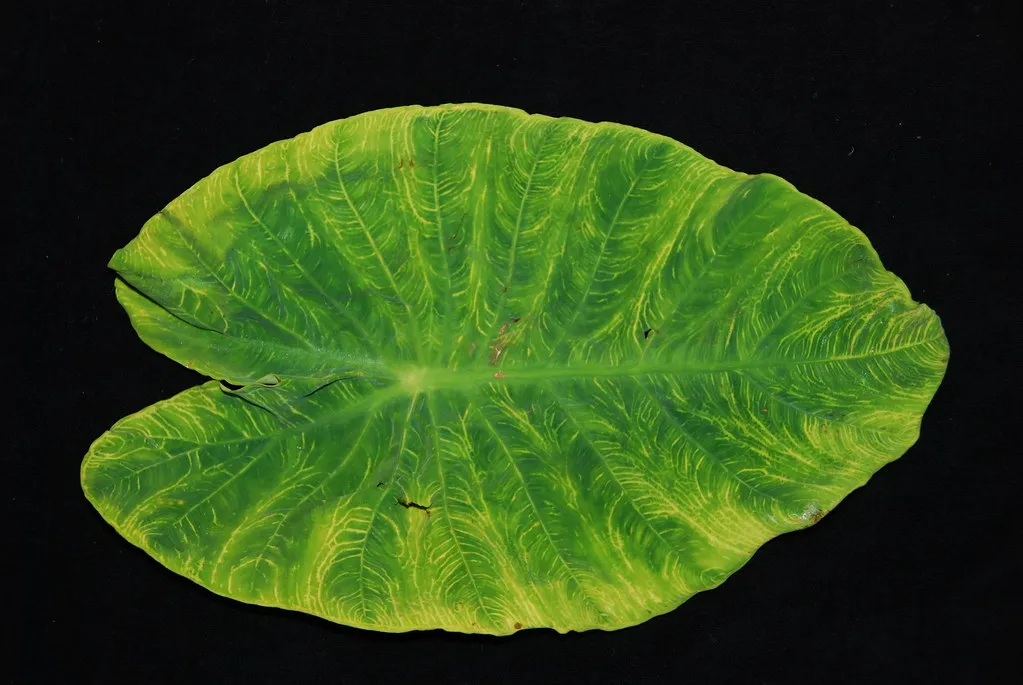
Although yellowing can occur as a natural part of aging, it’s often caused by a lack of chlorophyll in the leaves. When that’s the case, the yellowing is known as chlorosis.
Identifying which leaves turn yellow first and the yellow pattern on your leaves provides clues to common deficiencies. Nitrogen deficiency shows up as a general yellowing, with older leaves closest to the stem turning yellow first, gradually moving outward toward young leaves. Potassium deficiency shows itself when leaf edges turn bright yellow, but the inner leaf stays green.
Iron chlorosis, recognized by leaf yellowing with green veins, is the most common nutrient deficiency. Acid-loving indoor plants like gardenias are particularly prone to this. The remedy is applying a chelated iron product according to the label directions and acidifying the soil using a sulphur product.
6. Seasonal Changes and Dormancy
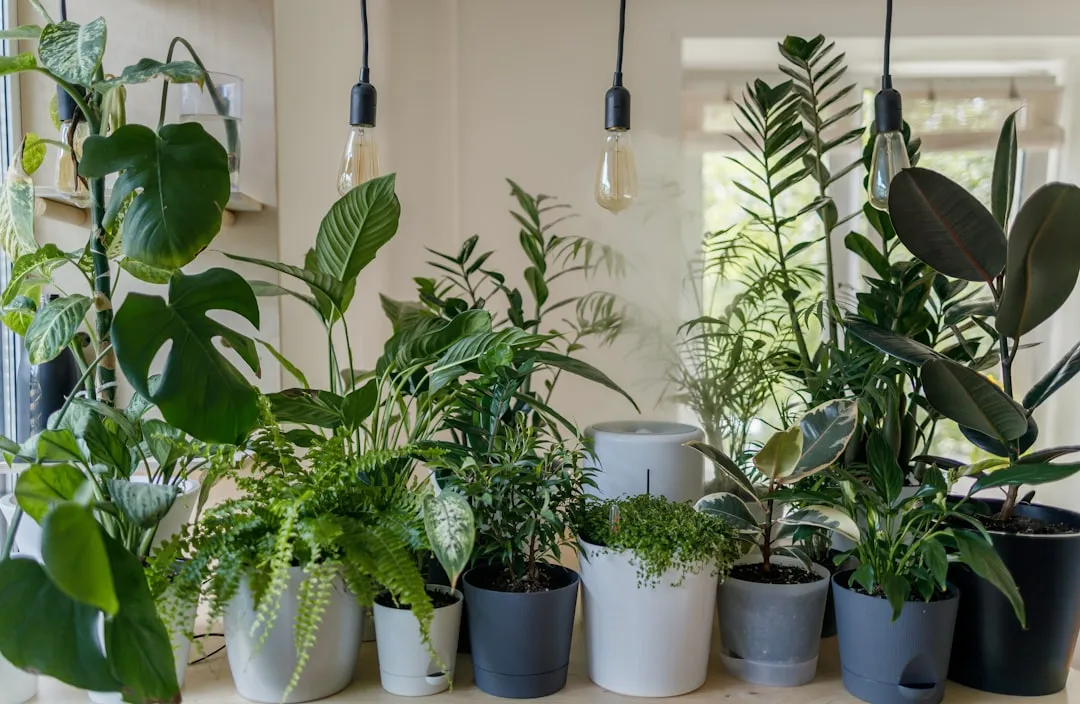
Even though they’re indoors with heated air, houseplants react to the changing seasons. As their needs change, so will your care schedule. Many owners forget this and keep watering at a summer pace through winter.
Plants typically need more water during the growing season in spring and summer, and less during the dormant season in fall and winter. Factors like light, temperature, and humidity all play a role in how much water your plant needs. Higher light and temperature can increase the need for water, while higher humidity decreases it.
It’s normal for a few leaves to turn yellow or even fall off as a plant ages and sprouts more leaves. During dormancy, this process naturally accelerates a little. Scaling back fertilization and watering during this period is the most effective preventive measure.
7. Temperature Stress and Cold Drafts

If your plant is placed too close to any heat source, AC, or cold drafts, exposure to extreme temperatures will affect the plant. Optimal temperature varies somewhat among different houseplants, though the most preferred range is between 69°F and 80°F.
The yellowing could be contributed by a temperature issue, meaning it’s either too cold or too hot for your plant where it is placed. Windows can be deceptive in this regard, offering good light while simultaneously exposing plants to cold air seeping through the glass in winter months.
Moving sensitive plants away from air vents, exterior walls, and single-pane windows during colder months often resolves temperature-related yellowing without any other intervention required. Prevention through smart placement is far easier than recovery.
8. Pest Infestations
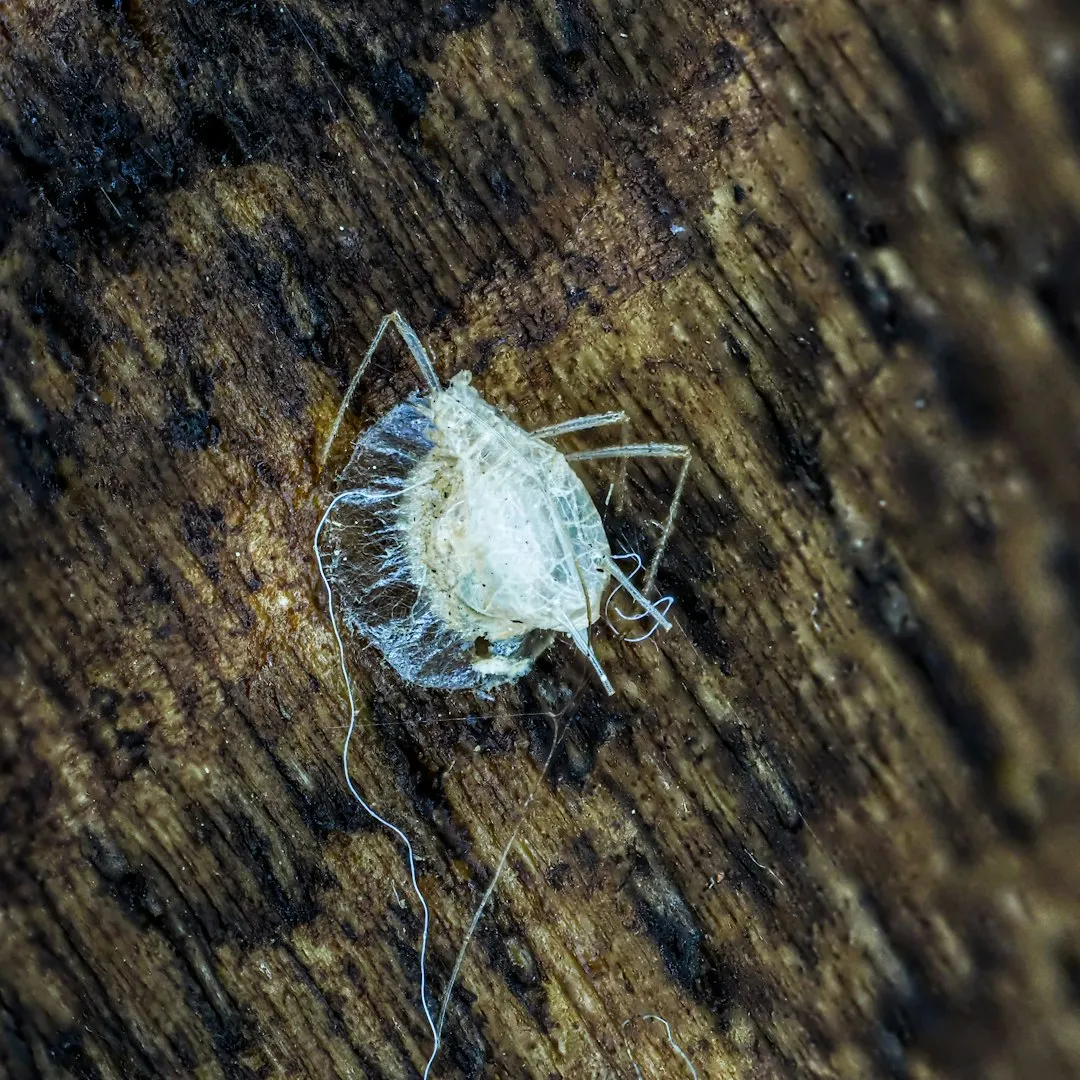
Pests like spider mites, aphids, or mealybugs can damage plant tissues, leading to yellowing leaves. Fungal infections or bacterial diseases can also cause discolouration.
Spider mites are microscopic, making them difficult to detect at first. Signs include fine webbing on the underside of leaves or between stems, yellowing, speckled, or bronzed leaves, and leaves that dry out or fall prematurely. If the mites are left unchecked, leaves become bronzed or yellowed, and the plant can eventually die.
Neem oil is a natural pesticide that disrupts mite reproduction and feeding. Increasing humidity and regularly cleaning leaves also discourages mite proliferation. For mealybugs, use cotton swabs dipped in rubbing alcohol to wipe visible mealybugs off stems and leaf joints.
9. Root-Bound Plants and Repotting Shock
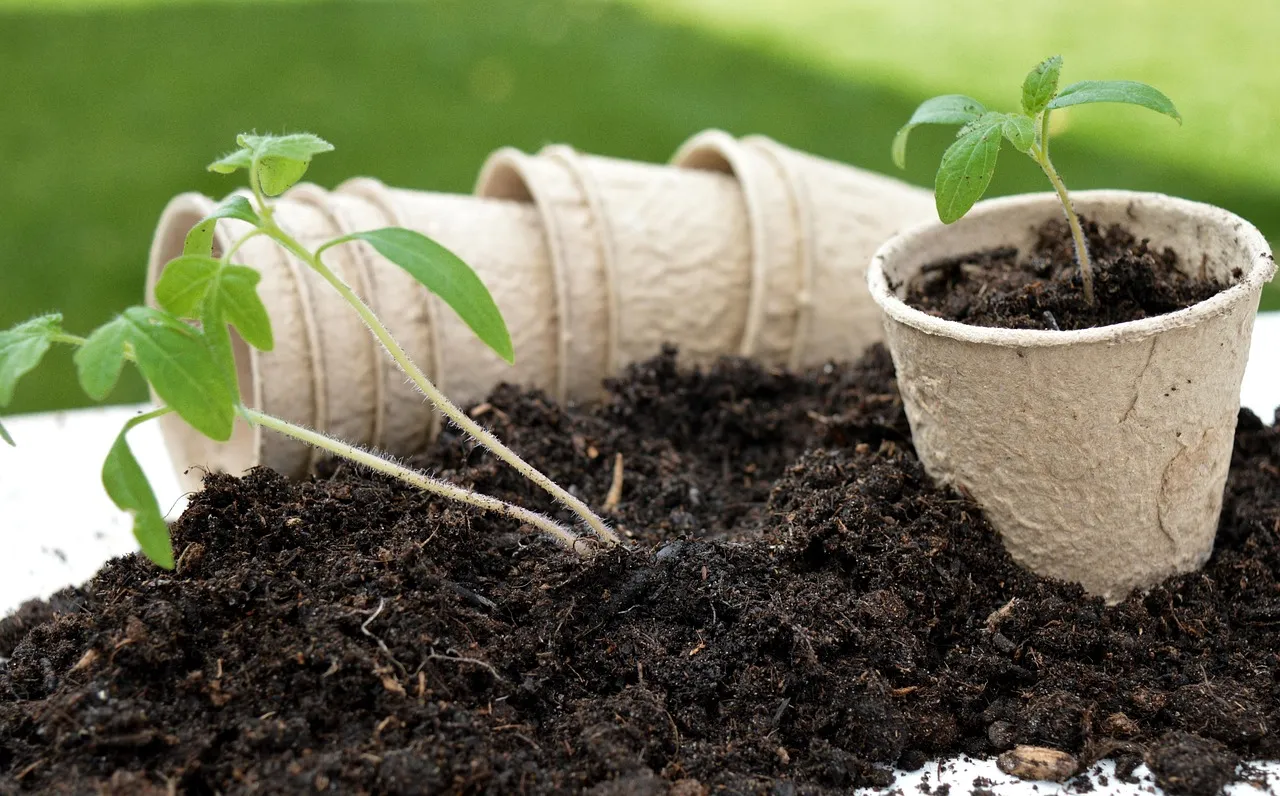
A general malaise of a plant turning yellow means that it’s either pot-bound, with the roots having no room to expand, or your plant is in the early stages of a nutrient deficiency. The solution is to repot into a bigger pot and provide fresh potting soil which contains nutrients and organic matter.
Leaf yellowing and growth stagnation are very common for some plants after repotting. Check if the potting mix is appropriate for the plant and that the plant is receiving the right amount of light. If necessary, adjust its conditions to help the plant recover.
More than likely, your newly repotted houseplant will bounce back in a few weeks and will start to look healthier once adjusted. Patience is genuinely part of the process here. Avoid fertilizing immediately after repotting, as fresh soil already provides nutrients and the roots need time to settle.
10. Fungal and Bacterial Leaf Diseases
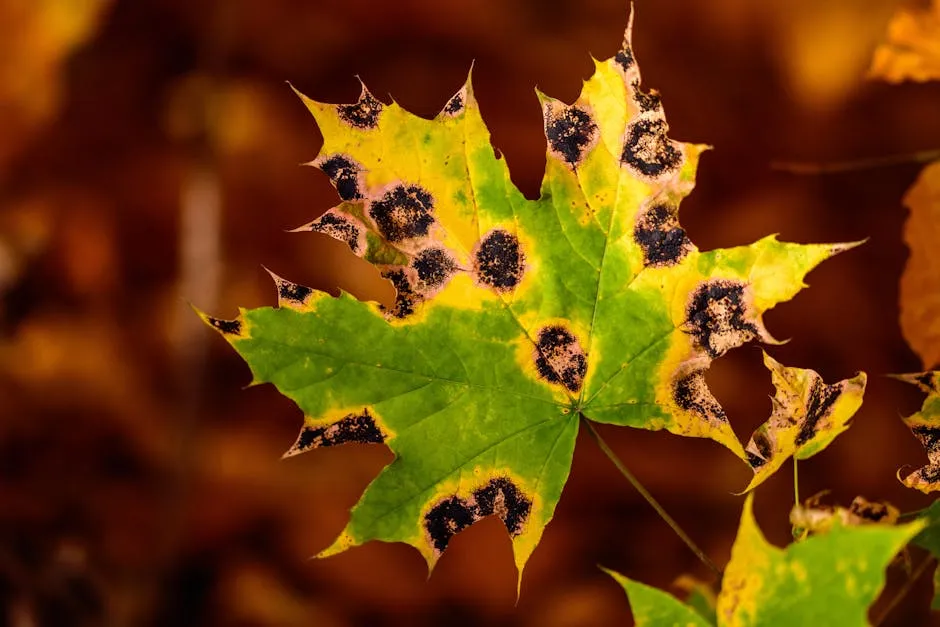
Leaf spot disease on houseplants is typically caused by fungal or bacterial pathogens that thrive in warm, humid conditions. Overwatering, poor air circulation, and wet foliage can promote the growth of these pathogens.
Irregular yellow leaf spots with potential leaf deformities are usually caused either by a pest or a leaf spot disease. If no pests are visible, then this is likely caused by an infection.
To treat leaf spot, remove and dispose of affected leaves, keep the leaves dry, and improve air circulation around the plant. You can also apply a fungicide, which won’t cure already infected leaves but will prevent the infection from spreading on the rest of the plant. Keeping foliage dry when watering, by aiming at the soil rather than the leaves, goes a long way in preventing these issues from developing in the first place.
When Yellow Leaves Are Perfectly Normal
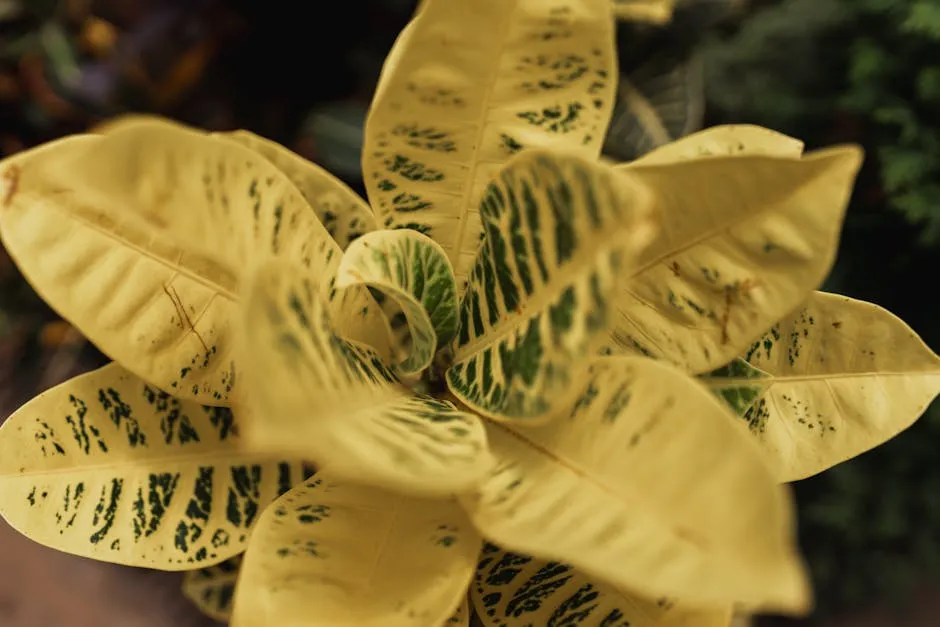
It is normal for the odd lower leaf on a mature plant to yellow and fall. This is simply part of a plant’s natural lifecycle and not a cause for concern unless it’s happening rapidly or across the whole plant.
When houseplant leaves turn yellow, it’s usually one of the first symptoms indicating that the plant is stressed. If the conditions causing the plant stress are not alleviated, the yellow leaves may eventually turn brown and drop. Catching the pattern early is what separates a small fix from a major recovery effort.
Identifying the specific symptoms your plant is showing can help you determine the cause and take appropriate action. When assessing, look at the whole plant, the environment, and the soil to accurately diagnose the cause of yellowing. The leaves are talking. The skill is simply learning to listen.
Conclusion: Read the Leaves, Then Act
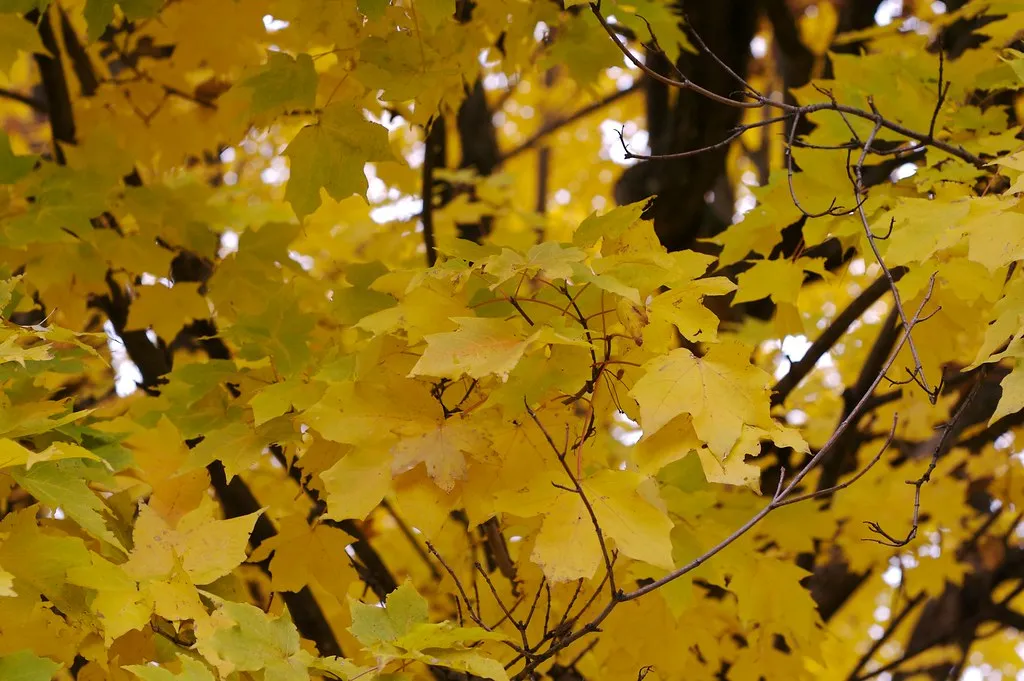
Yellowing leaves rarely signal irreversible damage. In most cases, the problem traces back to something entirely within your control: too much water, too little light, depleted soil, or an unwanted guest feeding quietly on your plant’s sap.
The most effective approach is methodical. Check the soil moisture first. Examine the light placement next. Look closely at the undersides of leaves for insects. Then consider nutrition and temperature. Each clue narrows the diagnosis considerably.
Most houseplants are more resilient than they appear. Give them the right conditions and a little time, and the green usually comes back. A yellow leaf isn’t failure. It’s feedback.
AI Disclaimer: This article was created with the assistance of AI tools and reviewed by a human editor.