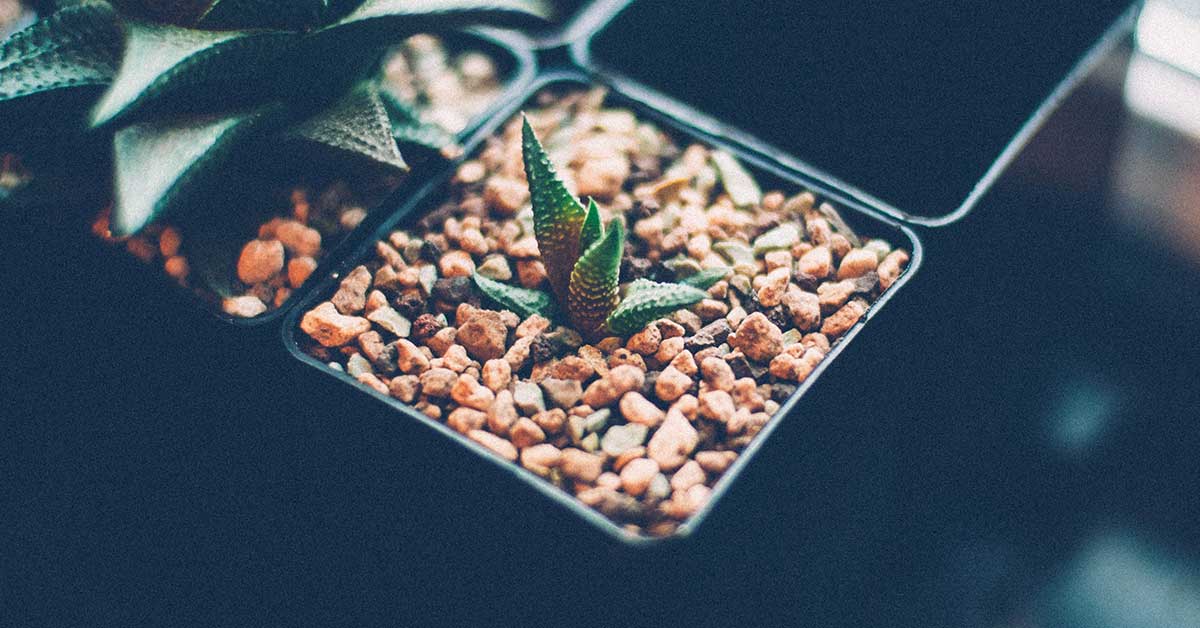

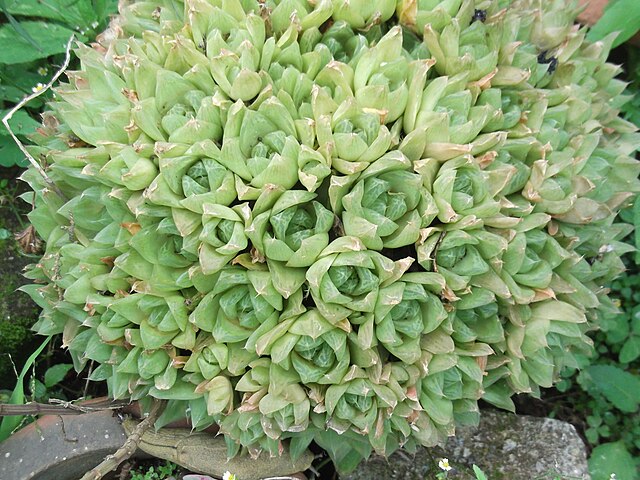
Haworthia is a popular, hardy succulent that grows pointed leaves and is favored because it can take a heck of a lot of neglect and keep on growing. There are more than 70 species of Haworthia succulents, and for the most part, they grow in the same rosette pattern and don’t grow to be very large. If you love your Haworthia plant and want to have more, but don’t feel like spending the money on new houseplants, I have good news: this plant is easy to propagate, as are most succulents! In this article, we’ll be talking about how to propagate Haworthia.
How to Propagate Haworthia
There are three ways that you can propagate Haworthia plants: by seeds, leaf cutting, and dividing them. Division and leaf cutting are probably the easiest ways to make new Haworthia plants, but growing them from seed is a viable option as well. You can buy seeds online or wait until your Haworthia flowers and produces seeds of its own.
Dividing Haworthia
If you grow a Haworthia long enough, say, a few years, congratulations! You now probably have 3-5 Haworthia. That’s the case for my own Haworthia plant as of this article’s writing! This hardy succulent likes to send up “babies” around its base, quickly turning into multiple Haworthia plants. If you love growing Haworthia and want to have a few more separate plants, you can divide these babies off of the parent plant pretty easily.
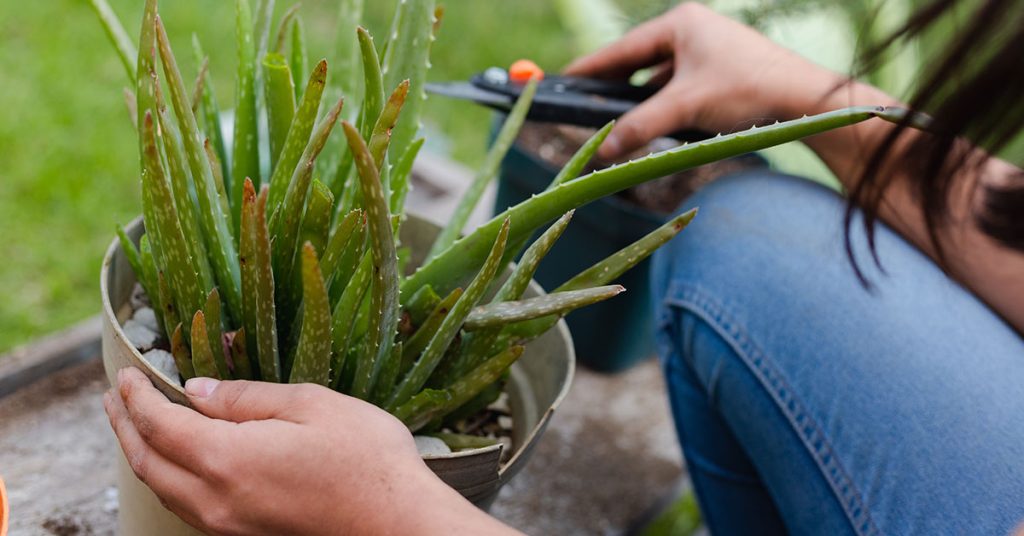
When I divide Haworthia plants, what I like to do is take an extremely sharp paring knife, disinfect it, locate the point where the baby is growing off of its parent plant, and carefully slice the baby off of the main stem. Note: this point may be slightly beneath the surface of the soil, so a small amount of digging may be necessary.
Once you’ve divided your Haworthia baby from the parent, don’t rush into replanting it. It seems counter-intuitive, but leave the cutting in a room temperature, dry location to allow the incision point to heal. After a few days have passed, place your cutting in a cactus potting soil mixture. You may even opt to wait a couple more days before watering. Eventually do give it a thorough watering, but then water at most once per week.
Leaf Cutting Method
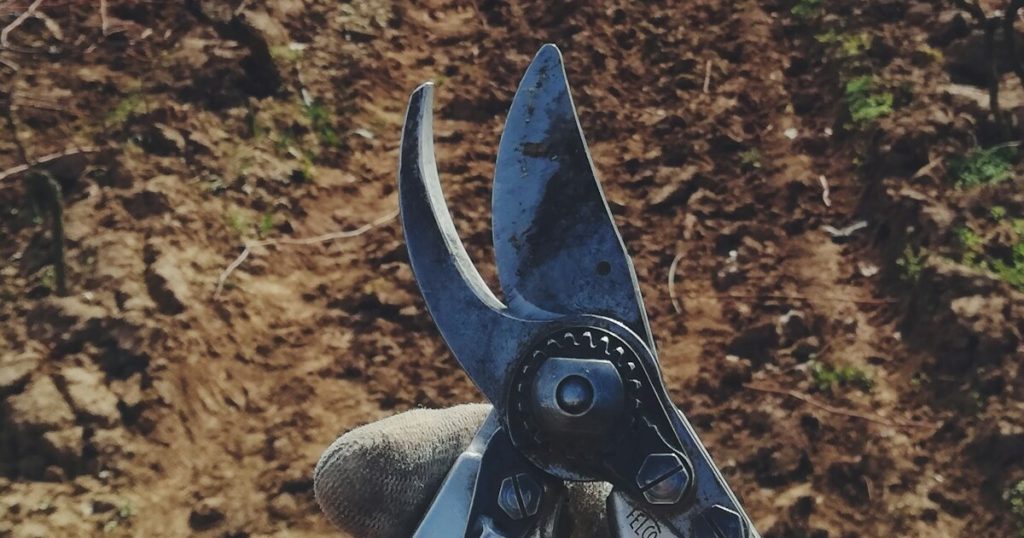
Rooting Haworthia leaves is another easy way to propagate Haworthia. The method is not dissimilar from the method used to divide baby Haworthia off the parent plant. Again, take a very sharp, disinfected paring knife, then choose a healthy leaf near the top of the plant to remove. Note: older leaves toward the base of the plant may root just fine, but tend not to root as easily as younger leaves.
Take your knife and gently cut the leaf away fairly close to the stem of the plant, but be careful not to cut into or damage the stem. Once you’ve removed the leaf, dip the cut part into a bit of rooting hormone and then leave in a room temperature, dry location for around 3 days. During this time, the cut will form a hard ‘scab’ and begin to heal. This may take longer than 3 days, depending on the conditions inside your home.
Once the incision has healed, gently bury the incision on the leaf into a cactus potting soil mix and provide a thorough watering. Place in a location with bright, indirect light and water once weekly. The leaf should begin to slowly root and send up a new stem.
Propagate Haworthia from seed
When grown in suitable conditions, your Haworthia plant will generally send up a stalk of flowers in the summer through fall. Different varieties of Haworthia will flower at different times. The flowers are pretty difficult to miss – the stalks can be ten times taller than the plant itself. If you have multiple Haworthia plants flowering at a time, you can cross-pollinate the plants. Just keep in mind that Haworthia are not self-pollinating. They need more than one flowering plant to do the deed.
If your Haworthia was successfully pollinated, the flowers will give way to seed pods that can be harvested approximately 2 weeks after the flower has died off. From here, you can dry the pods. Once dried, the pods will split open and reveal small, brown seeds with hard shells.
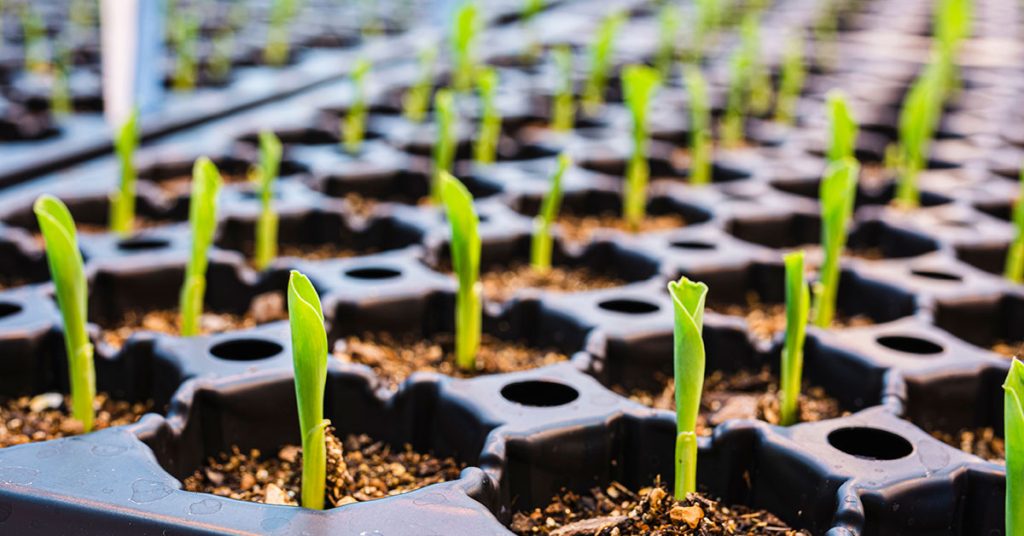
To germinate these seeds, you need small pots, water, cactus potting soil mix, and patience. Here’s what you do:
- Soak the seeds for 30 minutes in warm water. Don’t use hot water, it should really be just barely warmer than room temperature. Soaking the seeds softens the coating on the seeds.
- Fill small pots with cactus soil and put a couple seeds in each pot.
- Lightly cover the seeds with a thin layer of soil, then moisten the soil.
- Place the pots in a greenhouse setting that will trap the moisture and keep humidity high. A standard seed-starting greenhouse container will do the trick.
- Your Haworthia will germinate in around 1-2 weeks.
Once you see your new baby Haworthia plants sprouting, you may be excited to transplant them. But hold on! Your Haworthia babies don’t need to be transplanted until they are about 6 months old. Their root systems grow very slowly, and an early transplant may damage and kill them!