
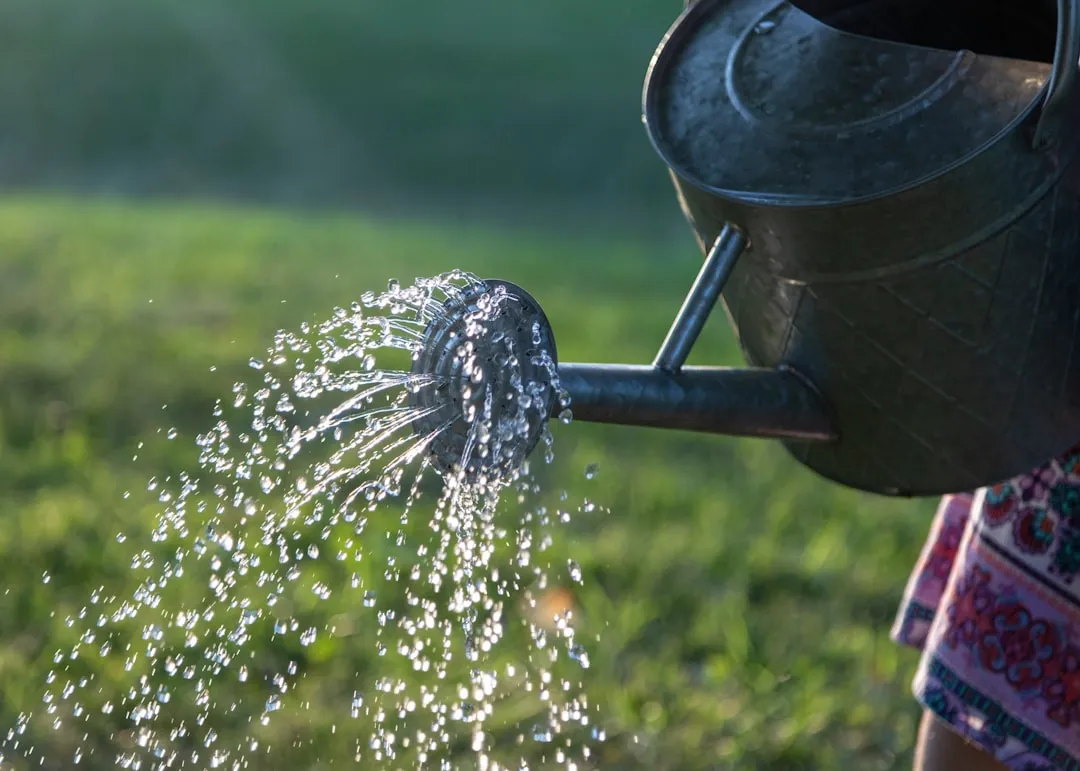
Most vegetable gardeners have watched a tomato plant wilt in a hot afternoon sun, knowing full well they watered it just that morning. Traditional containers dry out fast, and daily top-watering during peak summer can feel relentless. There’s a smarter approach that’s been picking up momentum among home growers, urban gardeners, and rooftop growers alike.
Sub-irrigated planters, often called SIPs, flip the whole watering process upside down. Water sits in a reservoir at the bottom, and the soil draws it upward as plants need it. The method is low-tech, genuinely water-efficient, and cheaper to build yourself than most people expect.
What Exactly Is a Sub-Irrigated Planter?
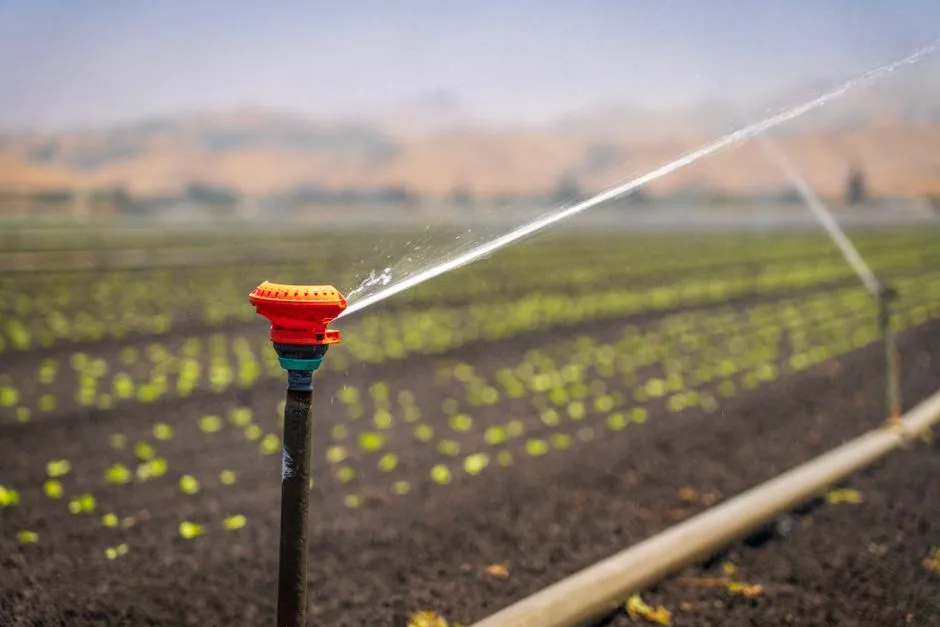
Sub-irrigation, sometimes called a SIP system, describes a type of raised bed or container that waters plants from the bottom up rather than from the top down. This method helps maintain consistent soil moisture and can be more water-efficient than traditional watering techniques.
Sub-irrigation planters are simply planters with a water reservoir at the bottom. The reservoir sits right under the soil. Through capillary action, water wicks up through the potting mix, giving plant roots a consistent supply of moisture. Then, as the plants use water in the soil and create a moisture gradient, more water wicks upward from the reservoir.
It’s worth noting that they are not truly “self-watering” – the gardener still needs to fill the reservoir. Think of it as a smart buffer, not a magic system. You’re still in charge; you’re just doing far less work over time.
Why Build One Instead of Buying Commercial Options?
Using simple SIP technology, you can reduce your watering by up to 80 or 90 percent. Since there are many reasons to sub-irrigate, SIPs are all over the marketplace and can be very expensive.
One gardening community originally learned about building SIPs while gardening on a NYC rooftop, growing hundreds of pounds of vegetables. Watering had become a daily multi-hour chore, and solutions were needed to combat hot and windy conditions that quickly evaporated water from the garden. There are numerous premade SIP solutions to buy, but they can get expensive and don’t always fit the scale of production home growers want.
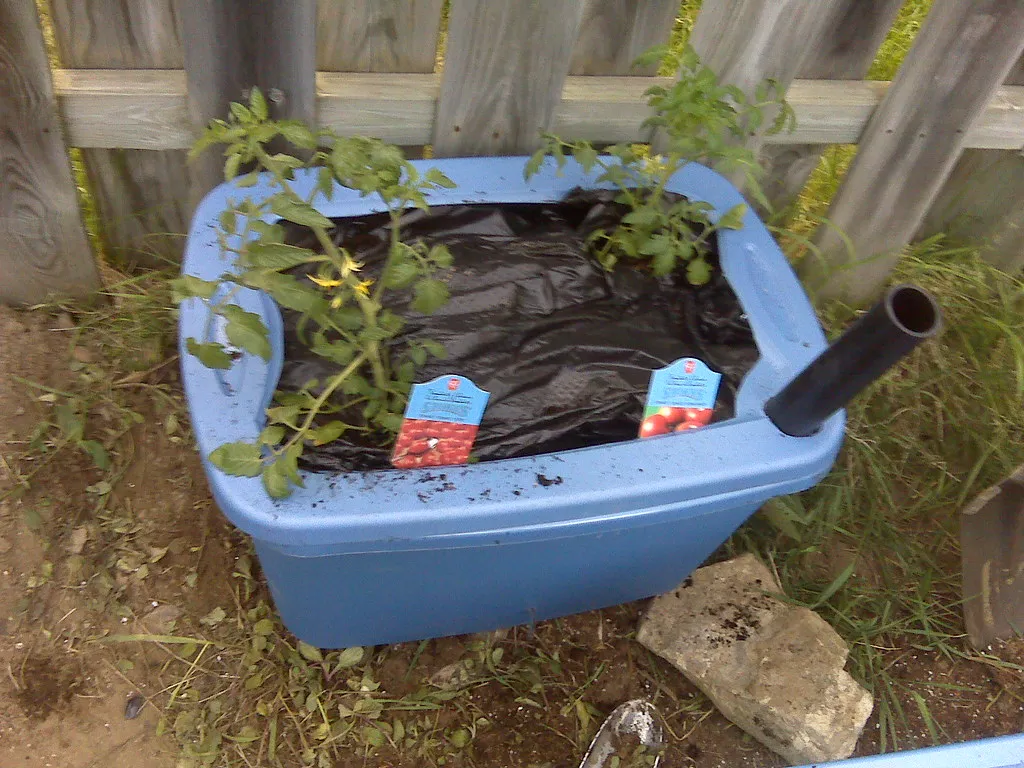
SIPs don’t have to be super fancy and expensive. In fact, many people make their own SIPs, and the internet abounds with DIY sub-irrigated planter guides. A basic homemade version using a plastic storage tote, some drain pipe, and landscape fabric can cost well under $30 to put together.
The Core Components You’ll Need
Here’s what you’ll usually find in a self-watering planter: a water-tight area (the reservoir) at the base of the container, something to hold the potting mix above the reservoir such as mesh or hollow containers or tubing, a way to add water to the reservoir via a fill-tube that extends above the soil surface, a wick (usually the potting mix itself, but a fabric wick can be used too), and an overflow hole so that excess water can escape.
One popular version uses inexpensive perforated drain pipe with a fabric sleeve in the bottom of the planter. Once you fill the drain pipe reservoirs, they allow air to circulate and water to wick up to your plants’ roots whenever they need it.
To create a water-tight planter, use a fish-safe pond liner to line the inside of each bed. Then measure and cut lengths of perforated drain pipes to fit in the bottom of the garden bed. To cap off the drainage pipes, use weed barrier landscape fabric and tape it to the ends. This will help keep dirt from getting into the pipes.
Choosing the Right Dimensions for Your Box

Your bed can be as long as you want, with anything from 2 feet to 12 feet being realistic. Maximum width should be 4 feet if you can access both sides, but don’t go any wider than 2 feet if you can only reach in from one side.
Depth is critical. A depth of around 16.5 inches (including the reservoir depth) is generally advised. The more shallow the planter, the more overly saturated the soil will become. This can lead to root rot, and your plants’ roots will be robbed of space for growth. Anything less than 12 inches is asking for trouble.
On the other hand, going deeper might start to reduce the ability of the soil to wick moisture all the way to the top, with 24 inches suggested as an absolute maximum. The sweet spot, for most vegetables, sits comfortably around 14 to 17 inches total depth.
The Right Liner Makes All the Difference

Do not use a 6-mil plastic lining or a tarp. The reservoir itself will hold up much better if you select a sturdier material. A fish-safe pond liner is the recommended choice.
The overflow tube is also essential. It prevents your garden bed from flooding in the case of too much rain. The overflow tube is installed in the top of the drainage pipe and sends excess water out of the planter on each end.
Seal around the overflow tube where it goes through the pond liner with silicone sealant, and wait for it to cure before exposing the planter to water. This small step saves you from a soggy, root-rotted mess a few weeks in.
Choosing and Preparing the Right Soil Mix
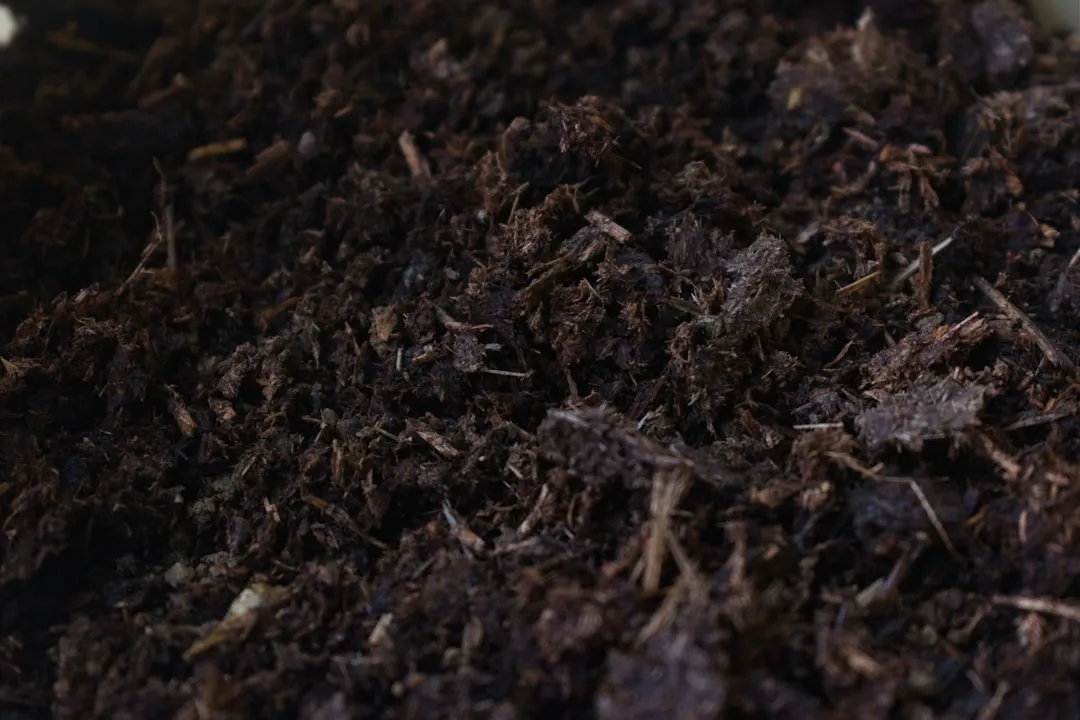
Because SIPs rely on capillary action to deliver moisture from the reservoir to the planting medium, ordinary garden soil will not work. It is far too dense for use in a sub-irrigated system. It becomes compacted easily and does not allow even distribution of water. Instead, use a well-aerated, light potting medium that allows both air and moisture to circulate freely.
Start with two parts potting mix and one part perlite. Add in some organic matter, such as compost or manure, for added nutrients. Wet the soil thoroughly and allow it to drain before using it in your containers.
Coco coir is a preferred mix for SIPs. It has superior wicking properties and is much lighter than soil. It also has a naturally neutral pH, whereas peat is quite acidic unless treated. If you want to keep costs down, a quality commercial potting mix blended with perlite works reliably well too.
Priming Your Planter Before the First Use
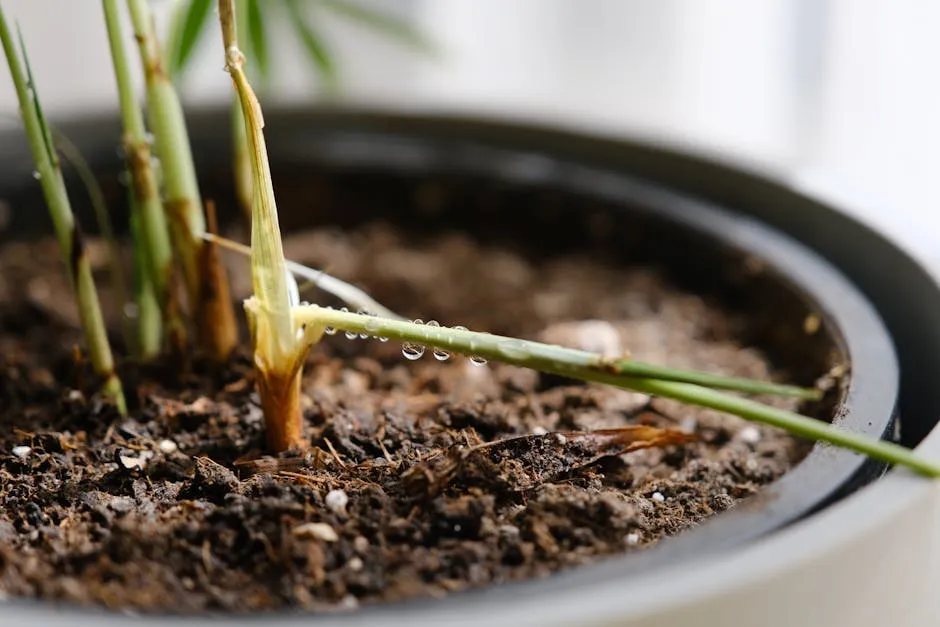
No matter what soil mix you use for a SIP, it must be thoroughly wet before using it. If it is not, wicking or capillary action will be greatly limited. The whole soil profile needs to be moist for wicking to work correctly.
The first layer of your growing medium is the most important when making a SIP. This foundation establishes the wicking process that makes the whole thing work. First, mix up a batch of growing medium with your potting mix and perlite. Water this batch until it is very wet but not so wet that it cannot hold its form. Then pack it around your drainage pipe. Mound up your wet mix in the middle to create a long volcano shape. This mound is what transfers moisture from your water reservoir to the growing medium in the rest of your container.
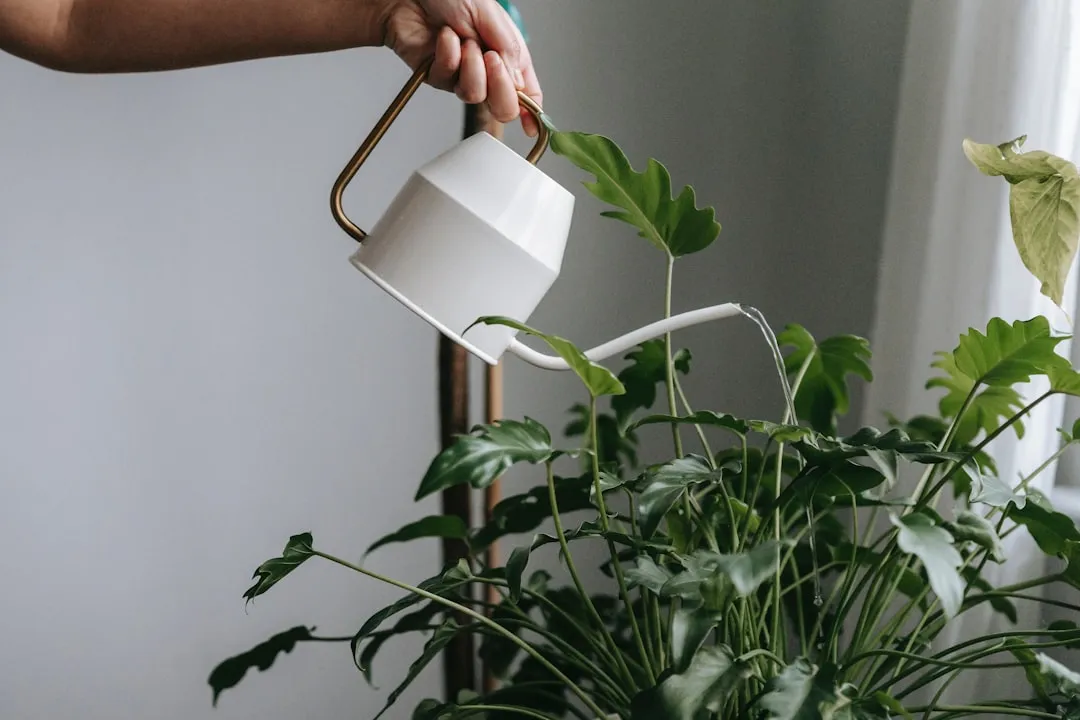
Keep newly planted SIPs lightly watered from the top until you see that water is disappearing from the reservoir. Regular top-watering primes the soil so that capillary action can take place and draw water from the reservoir. Once the system is primed and running, you switch entirely to filling the reservoir from below through the fill tube.
The Best Vegetables to Grow in a SIP Box
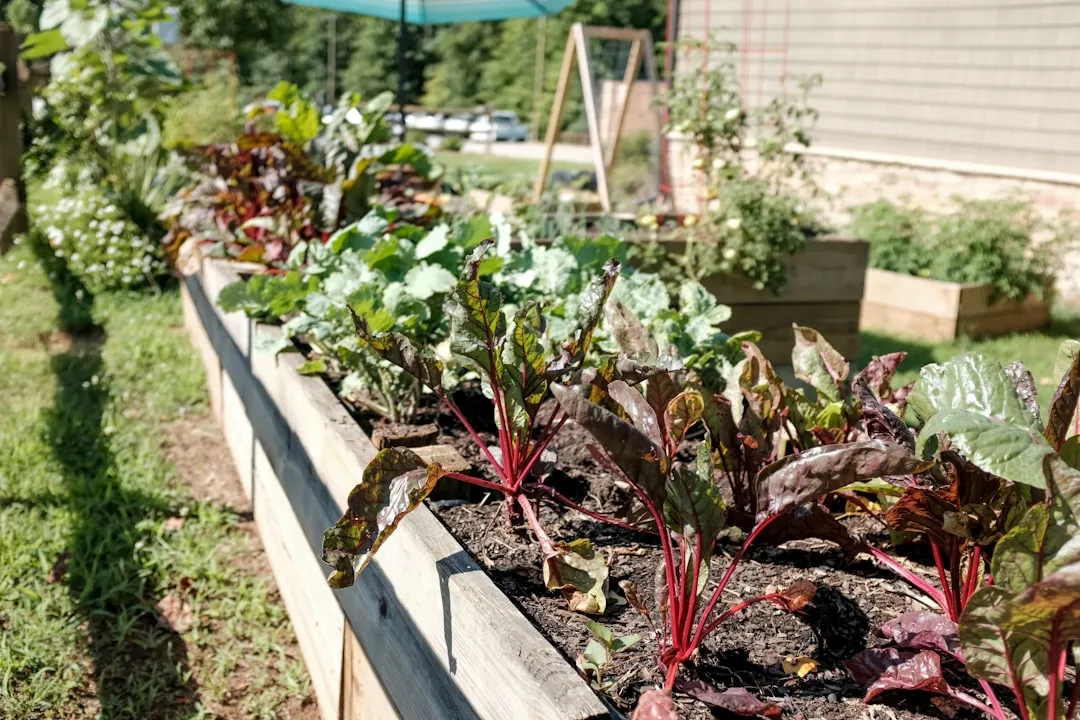
Self-watering garden boxes are ideal for annual vegetables, and there is no limit to what you can grow using one. Sub-irrigated planters work excellently as planting boxes for vegetables – plant peppers, zucchini, squash, broccoli, kale, lettuce, spinach, carrots, and similar crops.
You can easily grow greens like lettuce, arugula, spinach, and mustard in this type of planter. Growing lettuce in an elevated SIP box has been described as a dream experience. The planter can be high enough to keep rabbits out, and the lettuce is effectively drought-proof since the planter is self-watering.
A study on wicking beds, which bring water to the soil via capillary rise, shows that this approach works just as well as standard surface irrigation. In some cases, tomatoes grown in a wicking bed produced better and more plentiful fruits than those watered from the surface. Wicking beds also required less frequent watering, making them more efficient in water use overall.
Ongoing Maintenance and Seasonal Care
Salts don’t wash away with a sub-irrigated planter the way they do in conventional containers, and runoff enters the reservoir. You should flush your self-watering garden box before planting a new crop. Give it a good bath with water to drain any remaining salt from the container.
Remember to empty reservoirs in unused outdoor SIPs before freezing weather arrives. If the water in the reservoir freezes, it will expand and break the container. It’s best to empty, clean, and store SIPs indoors during cold weather.
It’s worth noting that SIPs can come at a premium price if purchased commercially. To maximize your payoff, consider a successive rotation of spring, summer, and fall annual vegetables. Running three rotations a year from a single box is entirely realistic and genuinely satisfying.
Realistic Expectations and Common Mistakes to Avoid
The water reservoir in a SIP is a buffer. It reduces plant stress and eases the effort of watering your plants. But that doesn’t mean you can expect to ignore your plants for weeks on end. Instead, you’ll spend less time watering and more time actually looking at your veggies.
If you’ve struggled to keep container vegetables consistently watered, self-watering containers can make a noticeable difference. The biggest challenge with traditional containers isn’t watering itself – it’s keeping moisture even. Traditional pots dry out quickly, especially in warm weather, and that leads to cycles of stress that affect growth and yield.
These containers can be seen as a hybrid between hydroponic gardening and conventional container gardening. Self-watering containers help conserve water and nutrients and make it possible to ignore your containers for a few days at a time. That last point alone is worth the afternoon it takes to build one.
Final Thoughts
A sub-irrigated planter box is one of those rare DIY projects where the effort-to-reward ratio genuinely works in your favor. A weekend afternoon, a modest materials budget, and a basic understanding of how capillary action works are all you really need to get started.
The difference shows up fast. Vegetables that once wilted by midday stay upright and productive. Watering sessions that once consumed 20 minutes each morning shrink to a weekly reservoir check. For anyone growing food in containers, on a balcony, or on a rooftop, a SIP is less a luxury and more a practical solution to a problem that doesn’t need to exist.
Water is increasingly precious in many growing regions, and growing smart matters. A well-built inexpensive planter box that delivers water directly where roots need it is about as sensible as vegetable gardening gets.
AI Disclaimer: This article was created with the assistance of AI tools and reviewed by a human editor.