
Why Grout Gets So Dirty in the First Place
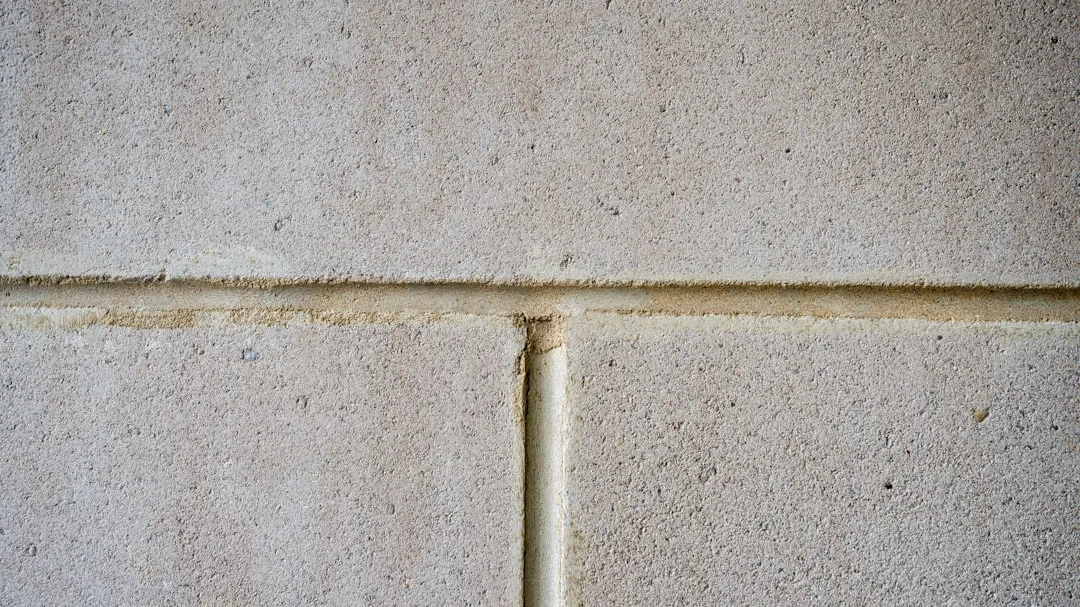
Cement-based grout is a porous material, meaning it loves to absorb dirt, spills, and bacteria. That porosity is what makes grout so difficult to clean with a regular mop or a quick wipe-down. Surface cleaning does almost nothing when the grime is already embedded inside the material itself.
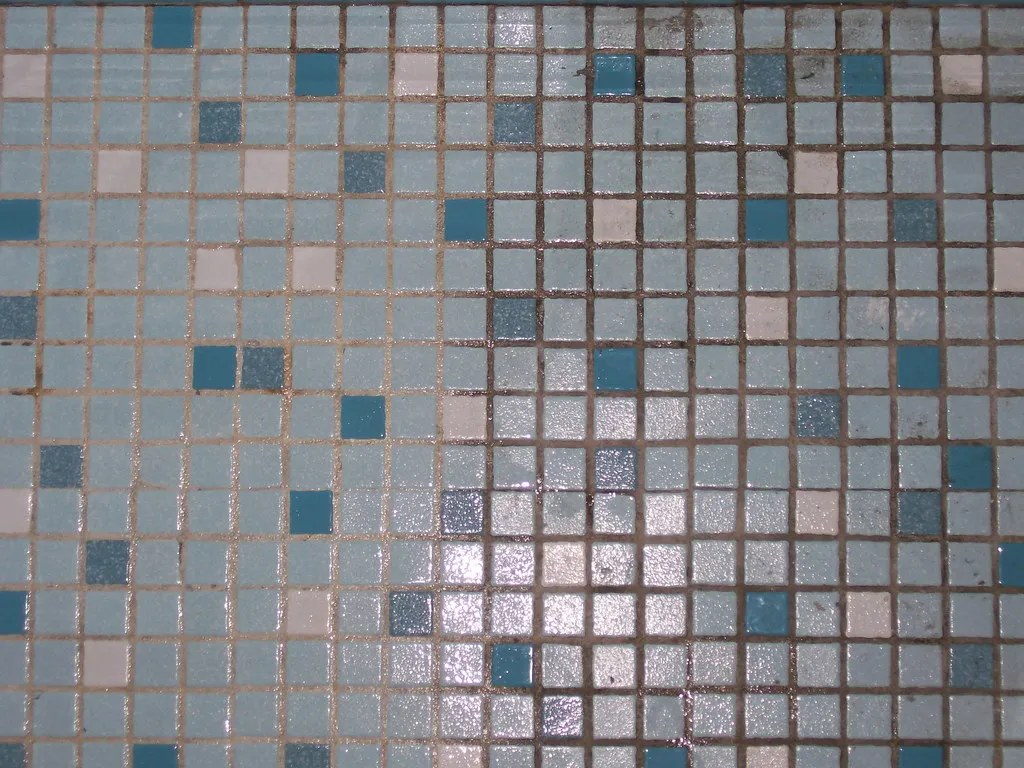
Because grout is porous, it traps spills, moisture, and stains, leaving sparkling floors looking dingy. In high-traffic areas like kitchens and bathrooms, grout becomes discolored due to moisture, soap scum, and everyday foot traffic. Over time, that layering of grime compounds, and what once looked like light discoloration becomes deeply embedded buildup that resists normal cleaning.
Most dull tile and dark grout lines are simply buildup: soap residue, grease, mineral deposits, and everyday traffic. Understanding this helps clarify why baking soda works where other approaches fail, it targets the actual chemistry of what’s stuck in there.
What Baking Soda Actually Is (And Why It Cleans)
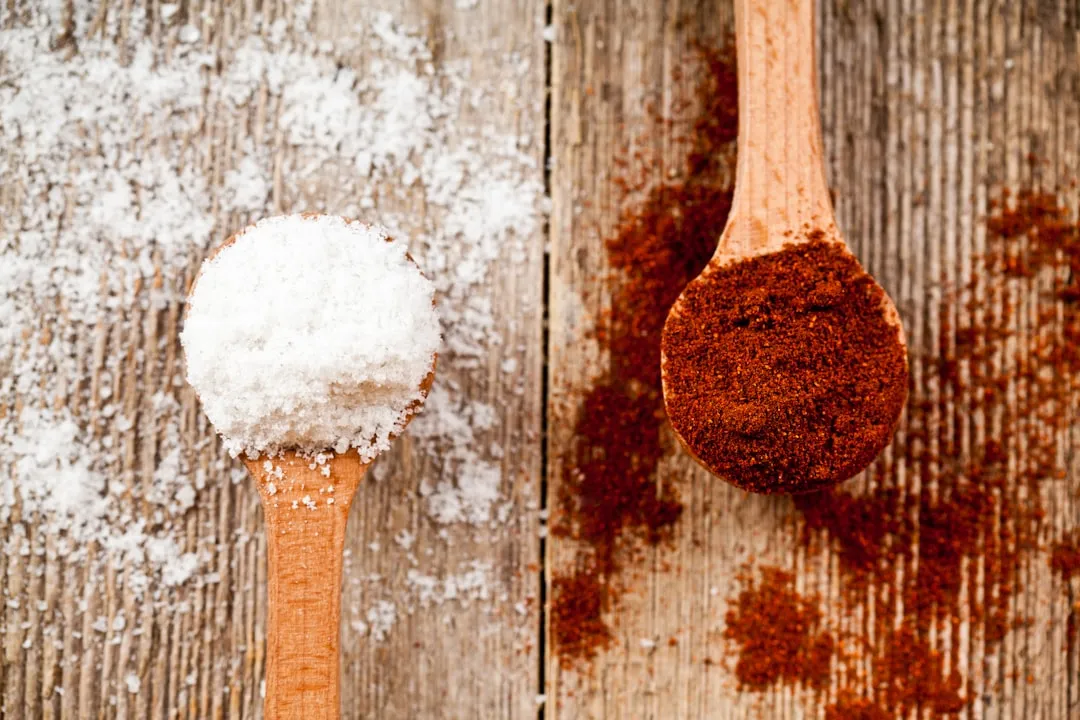
Baking soda cleans grout because it is a mild abrasive with a pH of around 8.3, which means it physically scrubs dirt from porous grout lines and breaks down grease chemically. That combination of mechanical and chemical action is what sets it apart from plain water or simple soap solutions.
It’s also gently abrasive. Those fine, cushiony crystals act like a very soft scouring pad, mechanically dislodging grime without gouging the grout. The combination is the magic: chemistry plus micro-scrub. This is gentle enough not to damage the surface but persistent enough to lift what’s embedded.
Baking soda, scientifically known as sodium bicarbonate, is a mild base with gentle abrasiveness. It helps neutralize acids, deodorizes, and cleans surfaces without causing damage. It’s one of those compounds whose cleaning value is hard to overstate, yet it rarely gets credit outside of baking contexts.
The Real Cost: Under Three Dollars
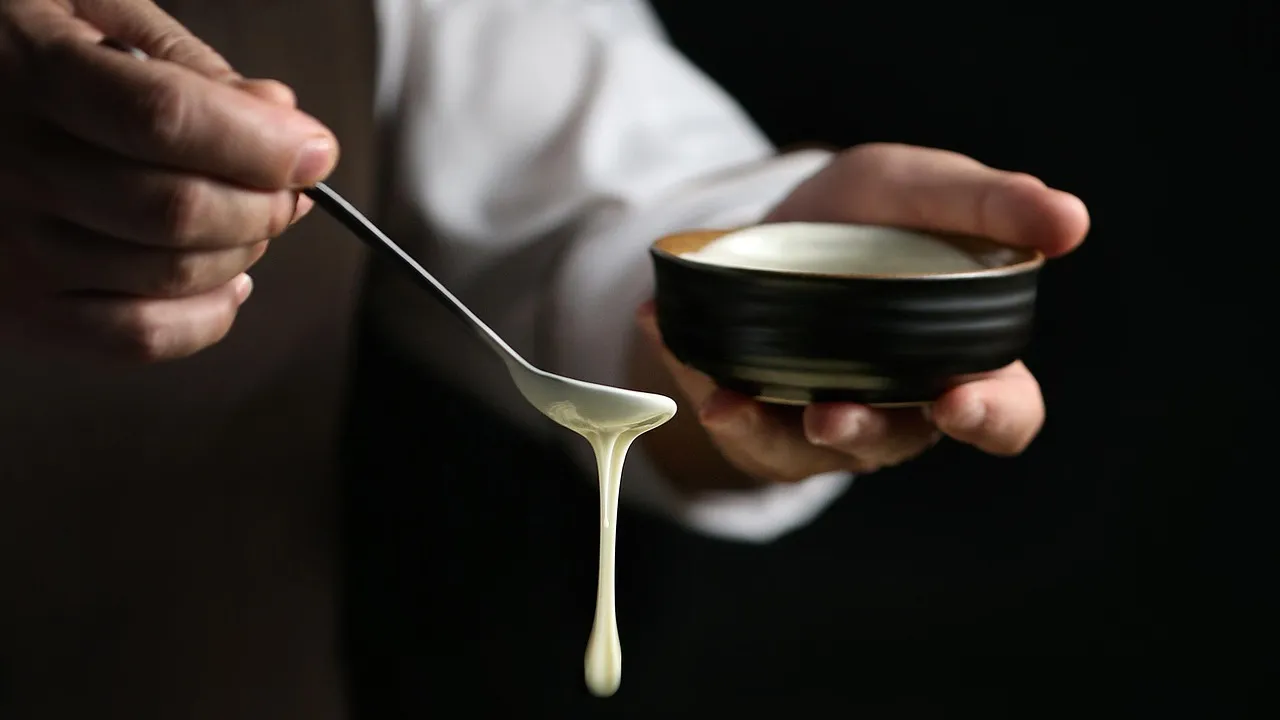
A national price snapshot shows a typical retail range from about 50 cents for a small 12-ounce box to roughly six to ten dollars for larger bulk packages. For most household grout-cleaning purposes, a single box is more than enough for multiple sessions. That’s exceptional value for a product that competes with cleaners costing many times more.
A standard one-pound box of Arm and Hammer baking soda typically costs between $0.80 and $1.50 at major retailers like Walmart and Target. Even at the higher end of current retail pricing, you’re spending less on a month’s worth of grout cleaning than on a single cup of coffee.
Combined with baking soda’s abrasion, you are physically lifting dissolved grime out of the pores. This is why results beat commercial tile and grout cleaners costing ten times as much. The price difference is striking, and for most light to moderate grime, the DIY option holds its own completely.
The Basic Method: Baking Soda and Water
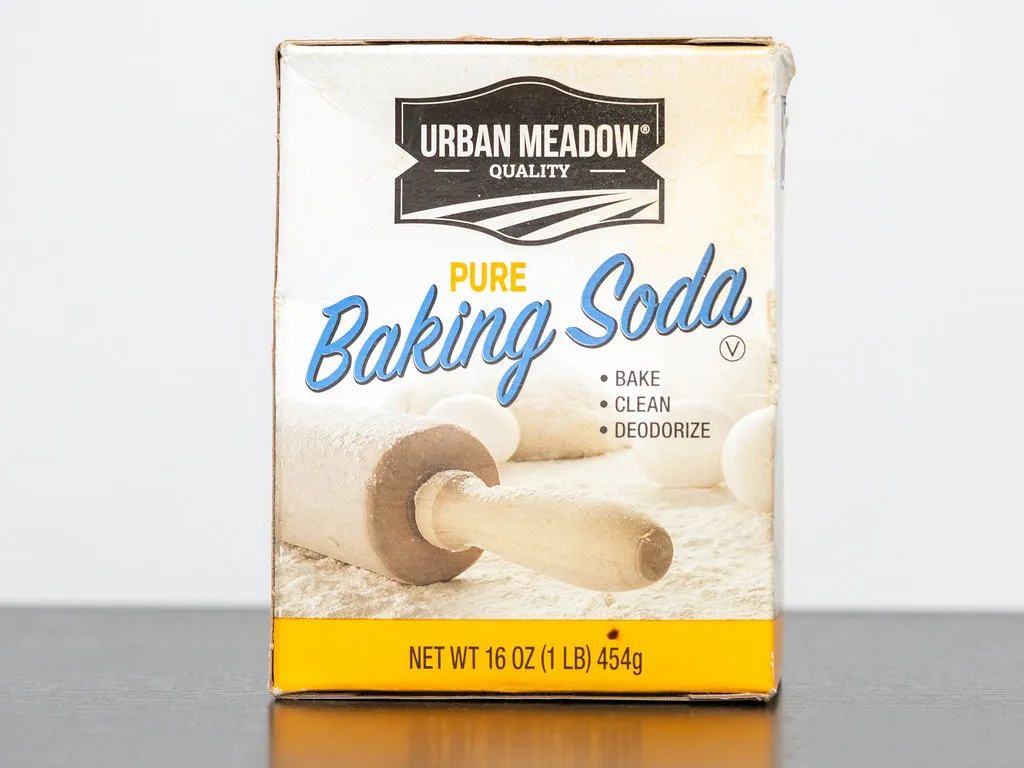
Start with the simplest approach: baking soda and water. Mix equal parts of both into a container to form a paste, and add a little extra baking soda if the mixture comes out too thin. The goal is a consistency that sits on the grout line without running off the surface.
Try two techniques: letting the paste sit for a bit and then scrubbing, or dipping the brush in the paste and scrubbing directly on the grout. The second technique tends to be more effective. Direct, active contact between the abrasive paste and the grout surface tends to produce faster results.
Used correctly, baking soda dislodges dirt and soap scum in under 10 minutes without harsh fumes or expensive products. For routine maintenance and lighter buildup, this water-only version is often all you need. It’s forgiving, non-toxic, and safe for nearly every tile type.
The Upgraded Method: Baking Soda With Hydrogen Peroxide
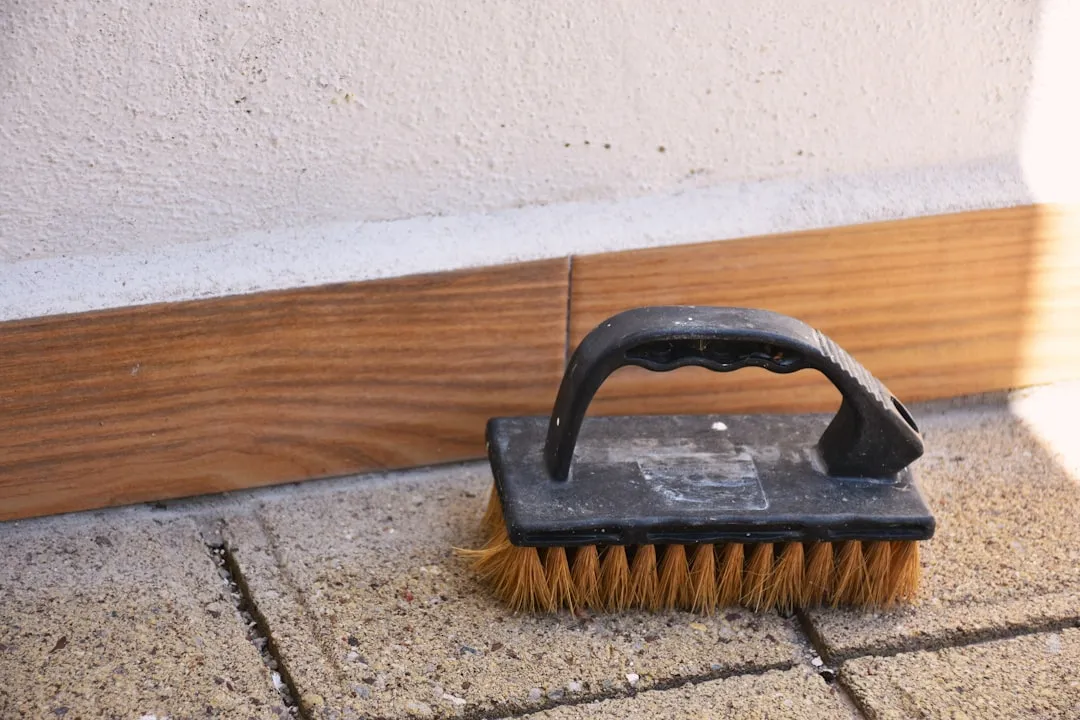
What you need is two parts baking soda to one part hydrogen peroxide at three percent concentration. When hydrogen peroxide meets organic stains, including mold, mildew, and grease, it breaks down their chemical bonds at a molecular level. That oxidizing action is what makes this version considerably stronger than plain paste.
Let the paste rest for five to ten minutes on the grout lines. This gives the hydrogen peroxide time to break down organic stains and lets any added dish soap tackle greasy buildup. You’ll sometimes see small bubbles forming during this time, which is the oxidation reaction actively working on the stain.
This method is particularly effective in areas with high moisture, like bathrooms and showers, where mold and organic buildup are common. Baking soda is mildly abrasive so it helps to remove the dirt that is stuck in the porous grout surfaces without causing any damage, while hydrogen peroxide is a natural alternative to bleach that brightens and eliminates germs, and it is non-toxic, decomposing into water and oxygen.
The Scrubbing Technique That Actually Matters
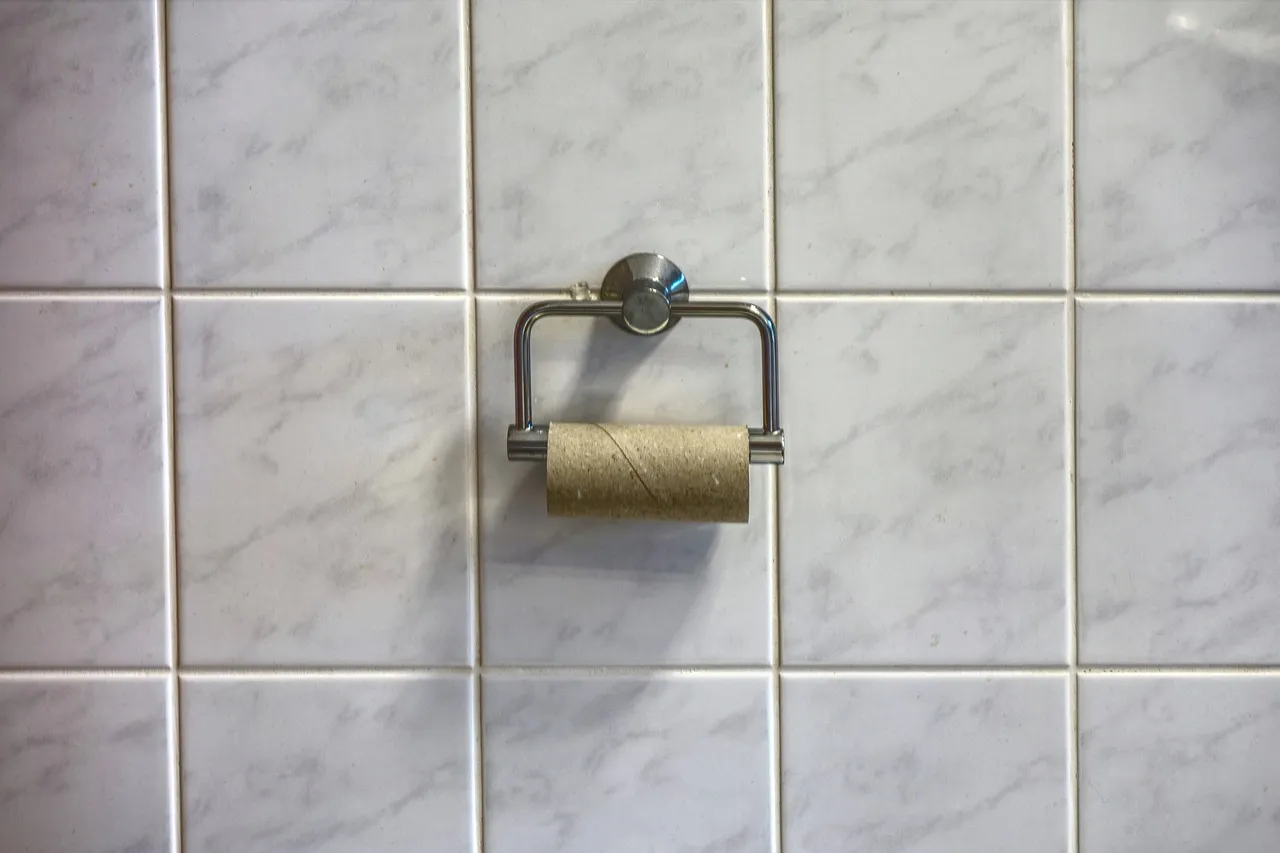
Scrub using short back-and-forth strokes along the grout line, never circular. Circular motion spreads grime onto surrounding tile. This is a small detail, but it makes a noticeable difference in how cleanly the grime lifts out rather than just being redistributed across the surface.
The most common complaint is scrubbing for an hour and still getting gray results. Almost always, the answer is not the product. It is the technique, and usually, the waiting time. Most people apply the paste and immediately start scrubbing, which skips the crucial dwell period that allows chemistry to do its work.
Avoid metal brushes, which can damage grout and create rough surfaces that trap more dirt. A stiff-bristled nylon brush or even an old toothbrush is the right tool. The point is consistent pressure along a narrow line, not aggressive scraping.
What to Avoid: Vinegar and Bleach

Because it’s non-acidic, baking soda is safer on most grout than vinegar-heavy brews, which can etch cement-based lines over time. This surprises a lot of people who have been using vinegar as their go-to eco-friendly cleaner for years. On grout specifically, the acidity works against you.
Some recommend vinegar and water, but this approach should be avoided. Vinegar is natural, but its acidic properties can harm your grout. Do not use acidic cleaners as they may dissolve or pit the grout. What seems like a gentle, natural option can gradually weaken the structural integrity of the grout line.
There are two good reasons to avoid chlorine bleach for regular grout cleaning: repeated bleach applications slowly break down the calcium silicate binders in cement grout, making it brittle and prone to cracking earlier than it should, and bleach fumes in an enclosed bathroom without ventilation are genuinely harmful, especially if any residue of other cleaning products remains on surfaces. For colored grout especially, chlorine bleach will leach color out of tinted grout.
How Testing Has Confirmed the Results
Testing by Apartment Therapy in October 2024 found that while the baking soda and vinegar combination worked for general cleaning, other DIY methods, like hydrogen peroxide mixed with baking soda, proved more effective for tougher stains. This kind of real-world, side-by-side comparison helps cut through the noise of competing cleaning advice online.
Baking soda alone scored well for light-to-moderate dirt and was rated the safest option for marble and natural stone, though it lacked sufficient power for deep stains or mold. That honest range of effectiveness matters, and it points toward matching the method to the actual condition of the grout rather than using one approach on everything.
Grout cleaning is where many people notice the biggest difference. Areas that looked permanently darkened can gradually return to a lighter shade with repeated use, without the harsh smell of stronger chemical cleaners. Consistency over time tends to produce better results than one intense scrubbing session.
Rinsing and Residue: The Step People Skip

Remove all white residue after cleaning, because leftover baking soda attracts new dirt. This is easy to overlook, especially on floor grout where the paste can settle into the lines and dry out. Leaving it behind actually creates the conditions for faster re-soiling.
Rinse thoroughly with a spray bottle to flush paste out of pores, then wipe dry with a clean cloth. The rinsing step isn’t optional. Remaining soap or paste residue can attract new dirt if not properly cleaned away. A thorough rinse followed by drying is what locks in the result.
Make fresh paste each time and do not store it. Hydrogen peroxide degrades within hours once mixed. Mixing only what you need for each cleaning session ensures the paste retains its full cleaning strength, which is why pre-made batches tend to underperform.
Sealing Grout to Lock In Your Work
After deep cleaning, apply grout sealer once or twice per year. Sealed grout resists staining and makes routine cleaning much easier. This is the step that truly extends the life of your cleaning effort, because unsealed grout will absorb new grime almost immediately after cleaning.
Sealing your grout is an excellent way to protect it from stains and dirt absorption. Using a high-quality grout sealer creates a protective barrier, making it easier to clean spills before they stain. The difference in how quickly grout re-soils, sealed versus unsealed, is significant enough to make sealing a worthwhile follow-up step every time you do a deep clean.
Light, regular cleaning prevents grime from settling into porous grout lines where it becomes harder to remove. With a sealed surface and a simple baking soda routine in place, the hours of frustrated scrubbing become unnecessary. The whole system becomes easier to maintain, not just easier to fix.
The most remarkable thing about baking soda as a grout cleaner isn’t the price or even the results. It’s the fact that it works through straightforward science, not brand promises. Sometimes the oldest, plainest answer in the cabinet is the right one, and grout cleaning is a good reminder that complexity doesn’t always mean better.AI Disclaimer: This article was created with the assistance of AI tools and reviewed by a human editor.