
What Is Dry Brining, Really?
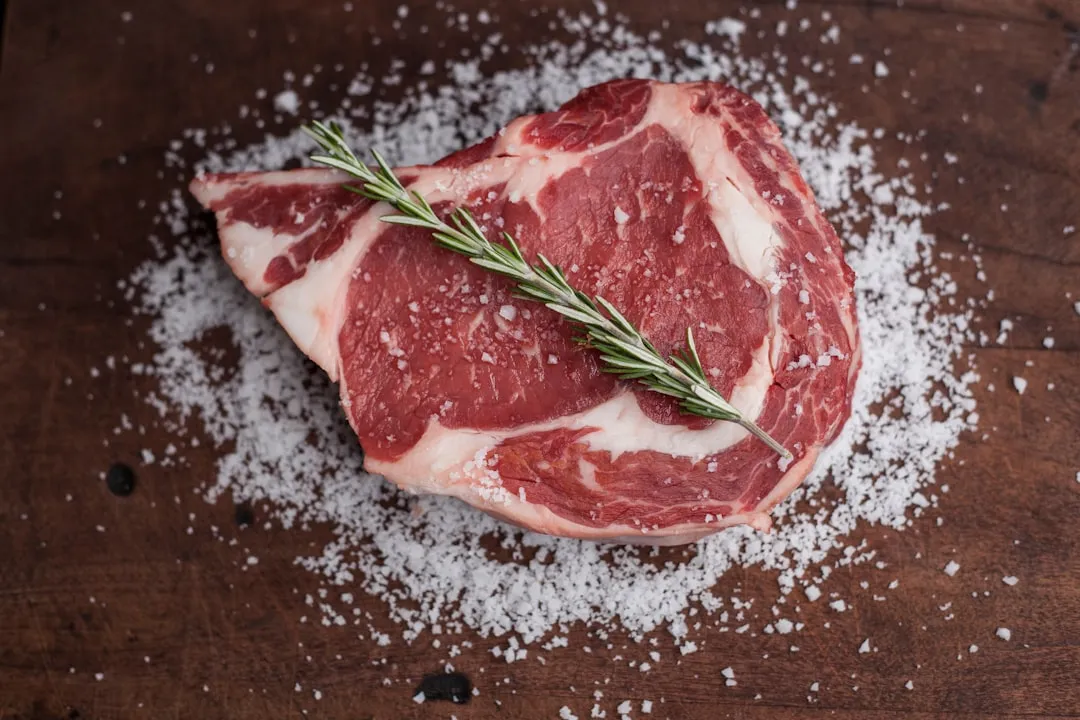
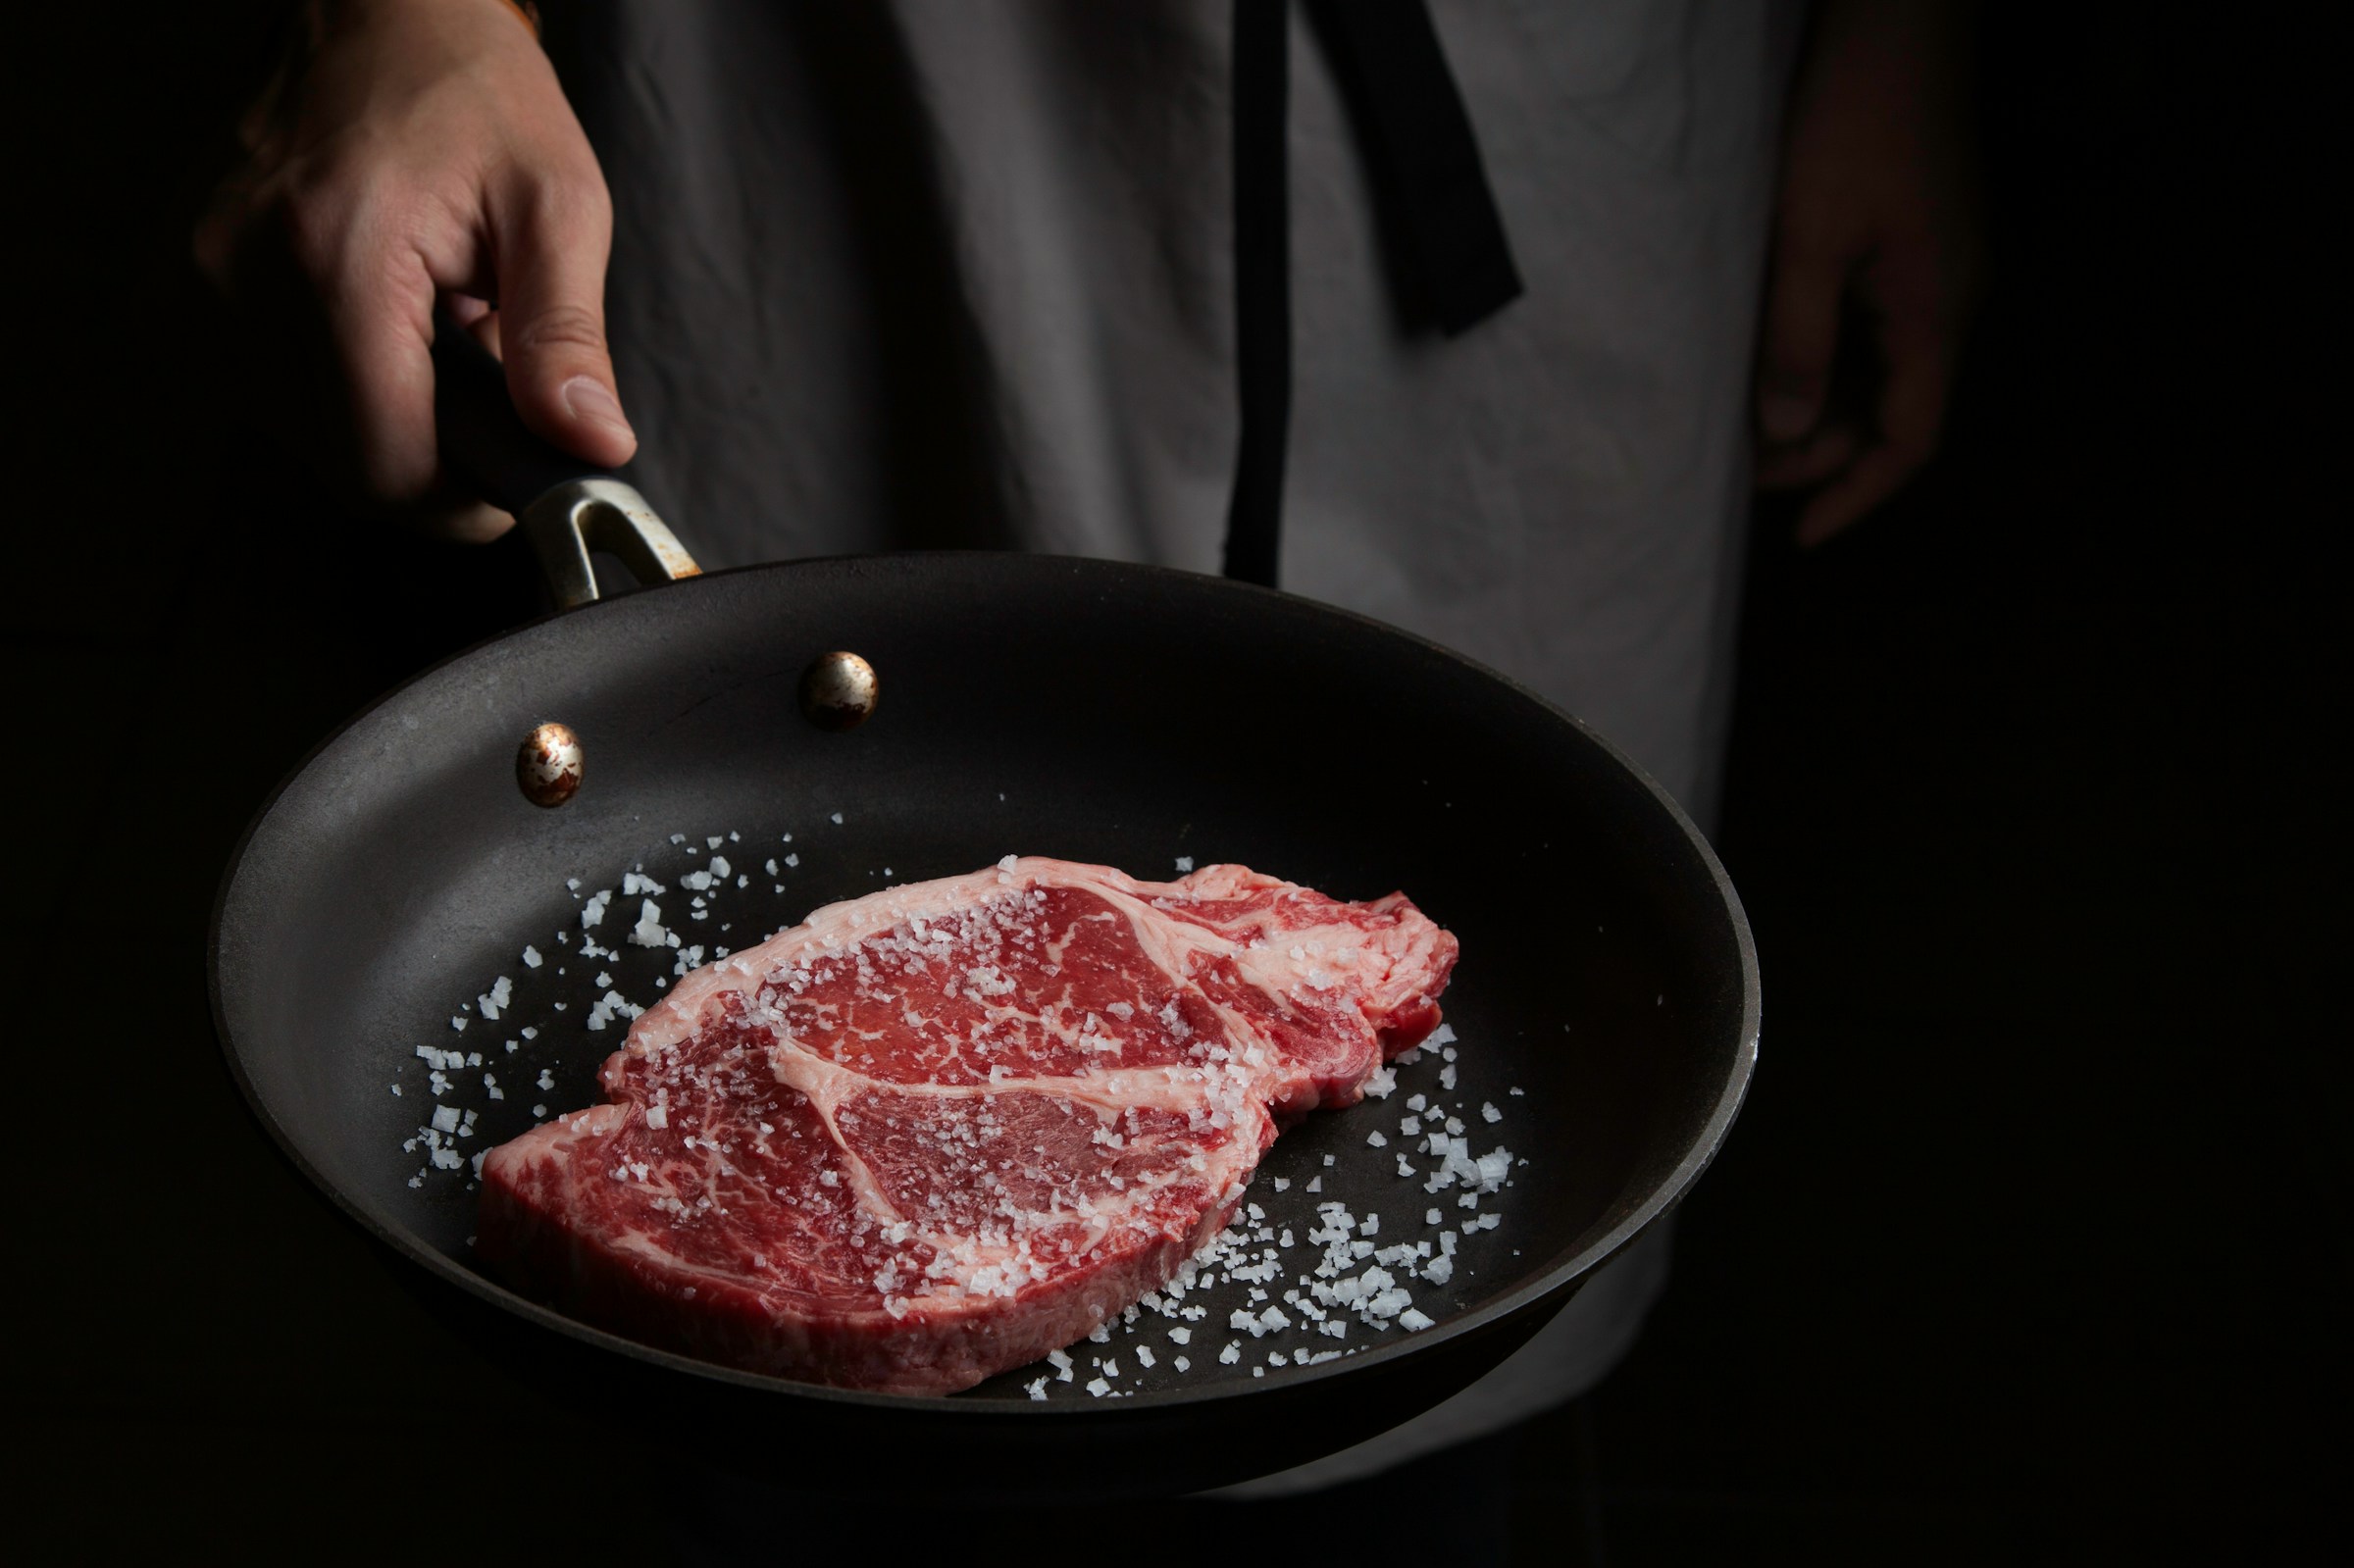
Dry brining, at its most basic, is the process of salting meat in advance of cooking. You salt the surface of the meat and then allow it to rest in the refrigerator for a period of time until that salt has penetrated and absorbed into the meat, resulting in meat that is more tender, more flavorful, and retains more moisture.
Unlike wet brining, there’s no water involved. The salt draws moisture from the meat, which then dissolves the salt, and this concentrated brine is subsequently reabsorbed, seasoning the meat deeply and aiding in moisture retention during cooking.
Dry brining is gaining popularity because of how simple, cheap, and effective it is. It doesn’t require any special equipment, no vacuum bags, no immersion circulators. Just salt, a rack, and patience.
The Science Behind the Salt
The science of dry brining is fascinating. The salt initially draws moisture to the surface through osmosis, creating a small amount of brine that then re-enters the meat, carrying the salt along with it. This process not only seasons the meat thoroughly but also begins to break down its proteins, particularly myosin. This breakdown results in a tender texture and allows the meat to retain more moisture during the cooking process, leading to juicier results.
Salt works to denature proteins. Meat proteins are pretty much strings that are bundled together. Salt has an effect of loosening these strings slightly from each other, creating a more tender bite.
When salt is used to dry brine meat, it not only seasons the surface, but it also starts the process of pulling some water from the meat, tightening the surface up, and helping to boost the Maillard reaction when you sear it.
Why Timing Is Everything
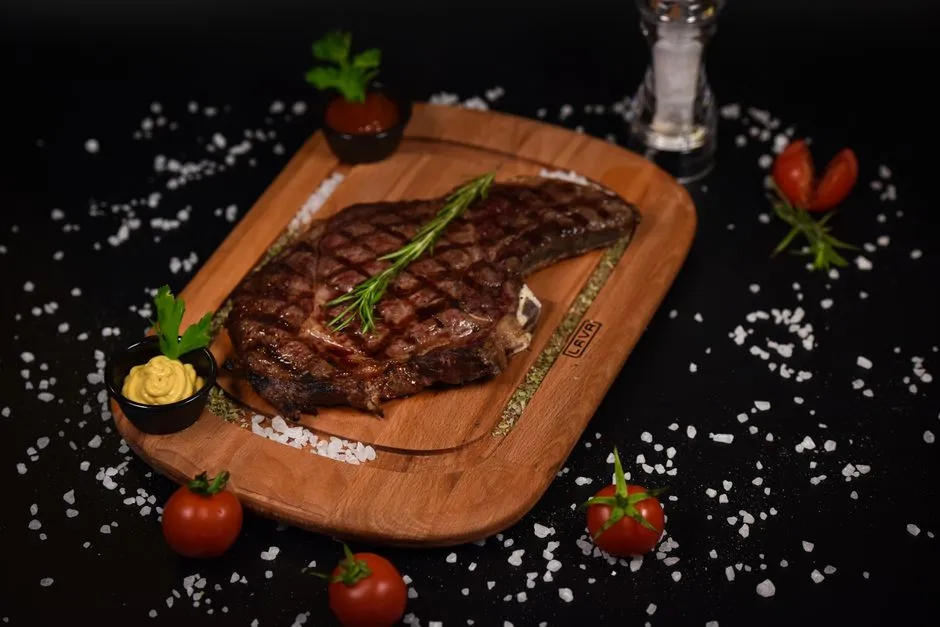
If you can’t find a spare 24 to 72 hours to deep season your steak, salting anywhere between 10 and 60 minutes prior to cooking will just result in a withdrawal of moisture without enough time to have it return into the meat. That’s the trap many home cooks fall into without realizing it.
As a general rule of thumb, you should dry brine your steak for at least 45 minutes ahead of cooking. If you plan to cook your steak sooner than that, you should just salt it right before cooking.
An experiment comparing steaks salted at different intervals found that salting one minute, one hour, and one day prior to cooking showed clear differences. The steak that was salted one day in advance was hands down the clear winner in terms of taste. The ideal dry brining time is a minimum of 12 hours and up to 24 hours for thicker cuts, as this extended time allows for complete salt penetration and surface drying.
Choosing the Right Salt
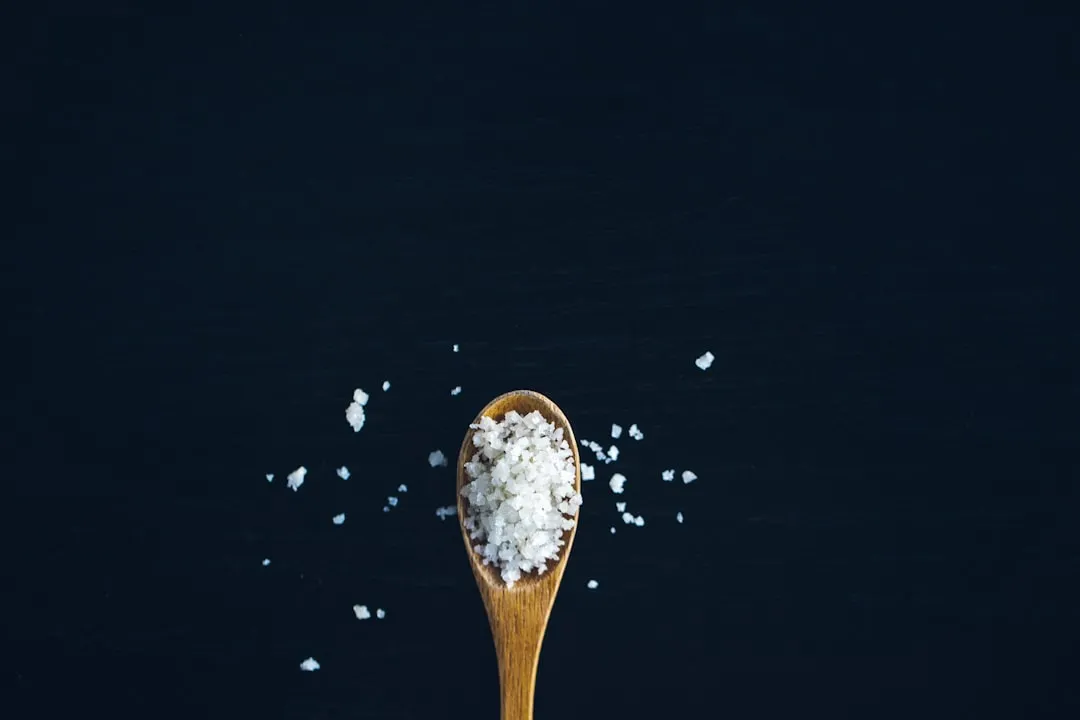
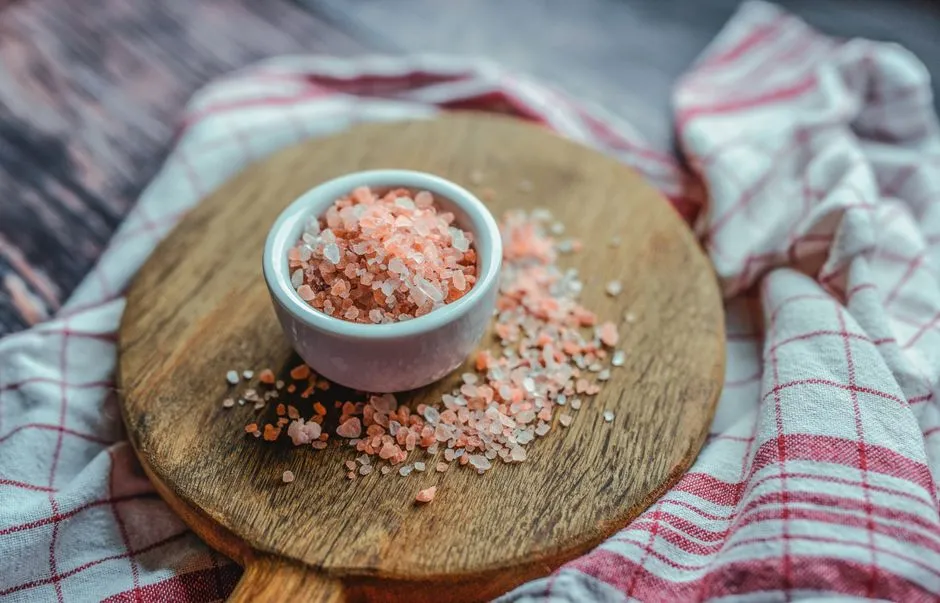
Use a coarse salt, like kosher salt, for even distribution. The larger grains adhere better to the meat and dissolve more slowly, providing a more controlled brining process.
Diamond Crystal kosher salt is worth seeking out for its light, hollow crystals that are easy to pinch and distribute with precision. If you only have fine sea salt or table salt, use half the volume called for in the recipe, as these are much denser and saltier by volume.
Sprinkle kosher salt or sea salt evenly over both sides of the steak, using about one teaspoon per pound of meat. That’s genuinely all there is to the application step.
How to Set It Up in the Fridge
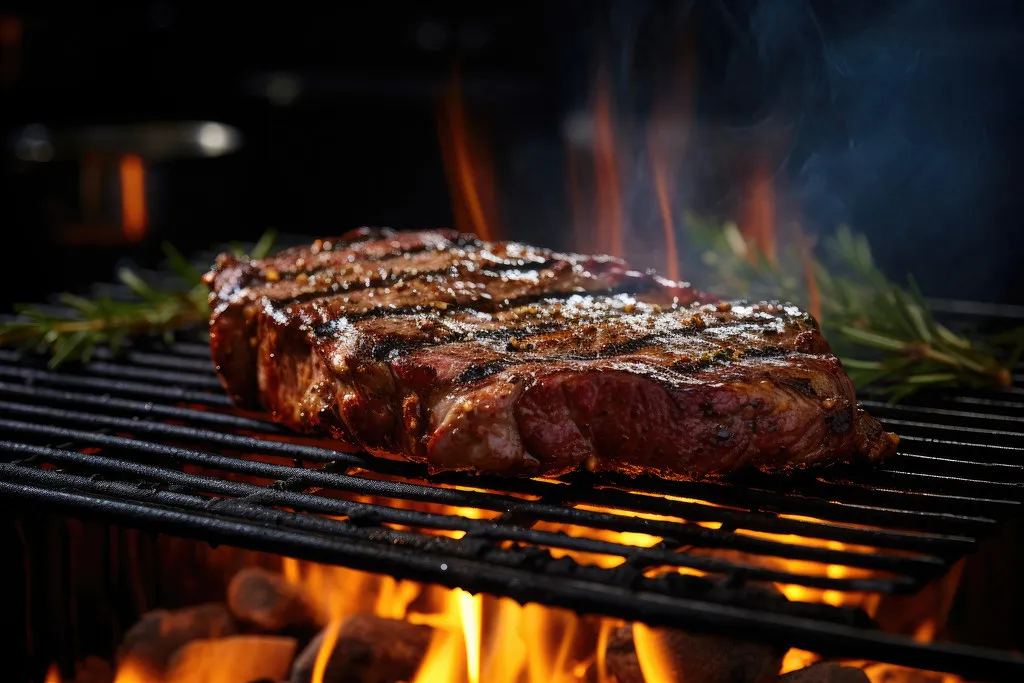
Generously season the steak with kosher salt on both sides, then lay it on a rack above a foil-lined tray, uncovered, and put it into your fridge.
For best results, place the meat on a wire rack-lined baking sheet. This will allow for airflow both under and over the steak, which is important. The circulating air helps dry the surface, which can lead to better browning and a crisper crust when cooked.
Don’t fear the refrigerator’s drying effect. That dry, almost leathery surface is your ticket to an unparalleled sear. It sounds counterintuitive, but it’s genuinely what you want to see.
The Maillard Reaction: The Crust You’re After
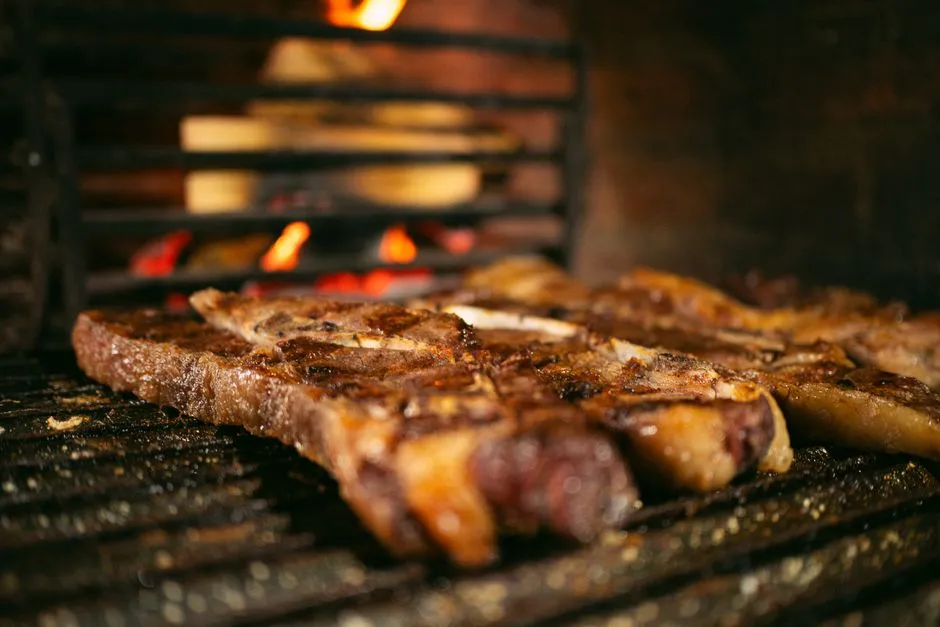
The dry-brined steak’s surface becomes very dry in the refrigerator through a process called desiccation, which means it sears phenomenally well. Water is the enemy of a good crust, as it causes steaming instead of browning. A dry surface means the steak will make immediate, uninterrupted contact with the hot pan or grill, leading to a faster, darker, and crispier Maillard reaction.
The Maillard reaction is a chemical reaction that occurs when a protein and a sugar are combined under intense heat to produce hundreds of different flavor compounds, giving your steak a complex taste, aroma, and gorgeous appearance.
Tossing a well-salted steak into a very hot pan induces the Maillard reaction and can create the perfect sear. Because the Maillard reaction requires such high temperatures (over 300 degrees Fahrenheit), it is best to use a heavy cast iron pan that can handle the heat.
The Cast Iron Pan: Your Best Ally
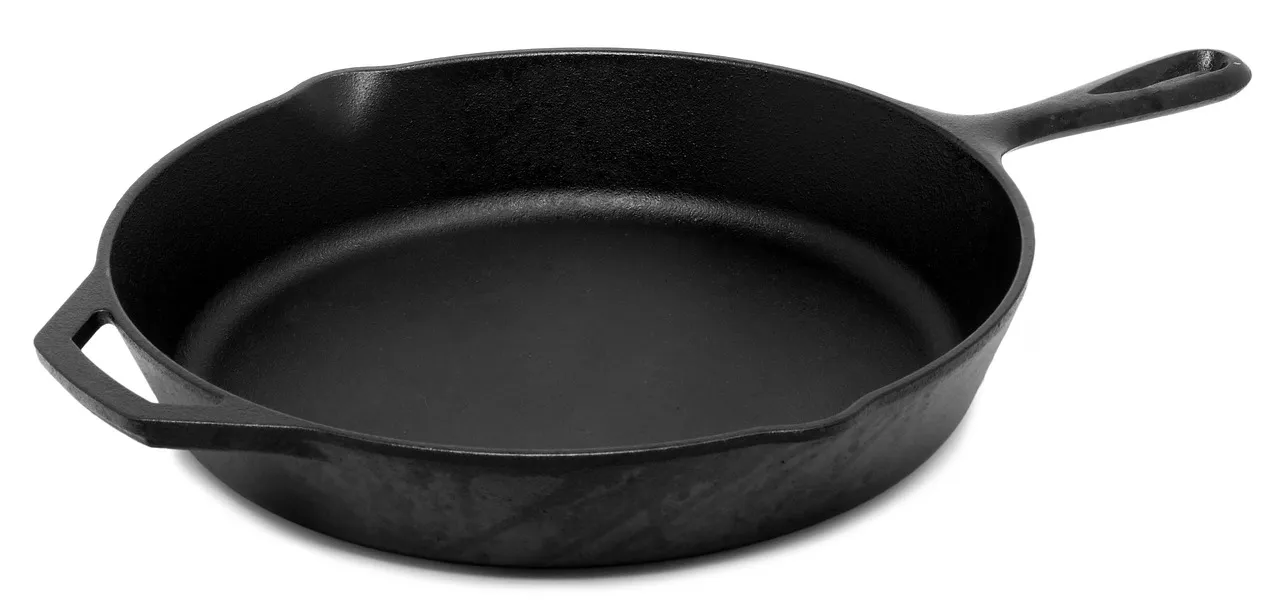
Using cast iron creates a gloriously crusty hard sear because it retains its heat well and allows the entire steak to come into direct contact with the extremely hot surface of the pan.
Place a twelve-inch cast iron skillet over high heat and preheat for a good five to seven minutes, until it’s very hot. A hot surface is crucial in building a thick and crusty sear. Because cast iron is so heavyweight, it takes at least five minutes to ensure both the surface and the core of the skillet are roaring hot and will maintain its temperature once the steak is placed in it.
Butter basting while searing means the steak cooks on both sides simultaneously so that it comes up to temperature faster and doesn’t have a chance to overcook beneath the crust. That’s a real edge over a standard home cook’s approach of just flipping and waiting.
Butter Basting: The $2 Trick’s Best Partner
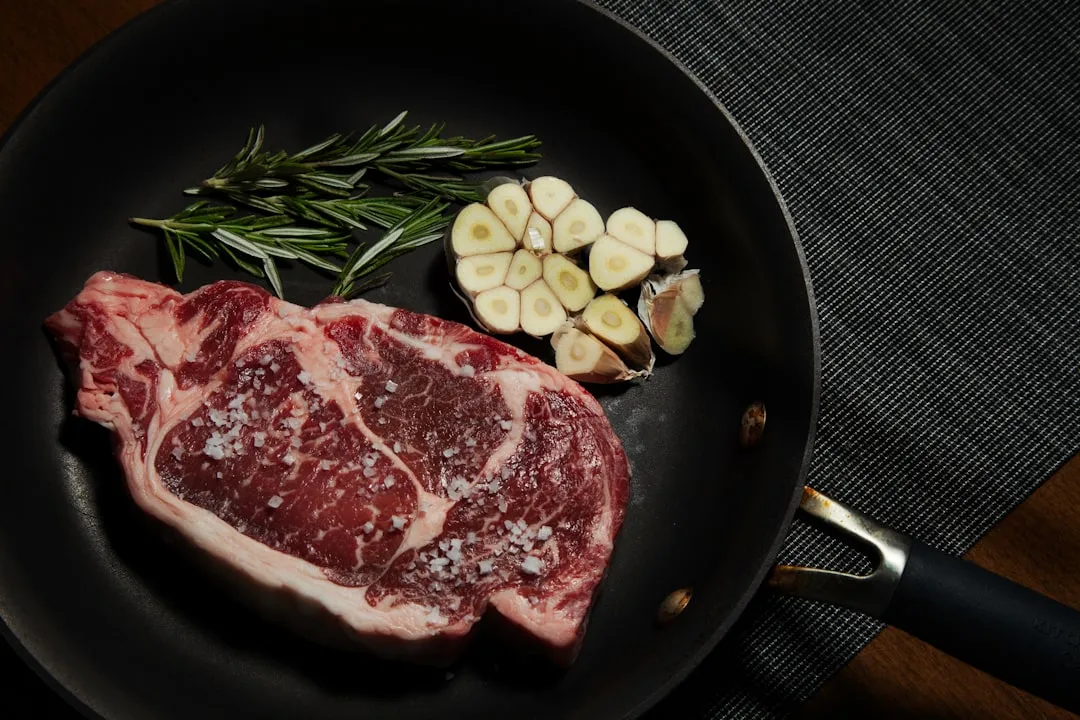
Butter basting is one of the best ways to get restaurant-quality steak at home. Butter is used to baste the steak, ensuring an evenly golden crust as the hot fat coats the meat. This technique is used in restaurants, but is achievable in your home kitchen.
After you give the steak its last flip, reduce the heat to medium-low. Carefully add butter, garlic, and fresh herbs to the skillet. Tilt the skillet toward you and use a large spoon to continuously baste the butter over the steak.
Your hot basting liquid of choice, butter with shallot, garlic, and thyme, helps deliver a beautifully evenly browned crust because you can focus the butter on paler areas that could use a little boost. The final bonus of this method: you’re left with an aromatic browned-butter sauce that you can drizzle over the steak.
The Rest: Don’t Skip It
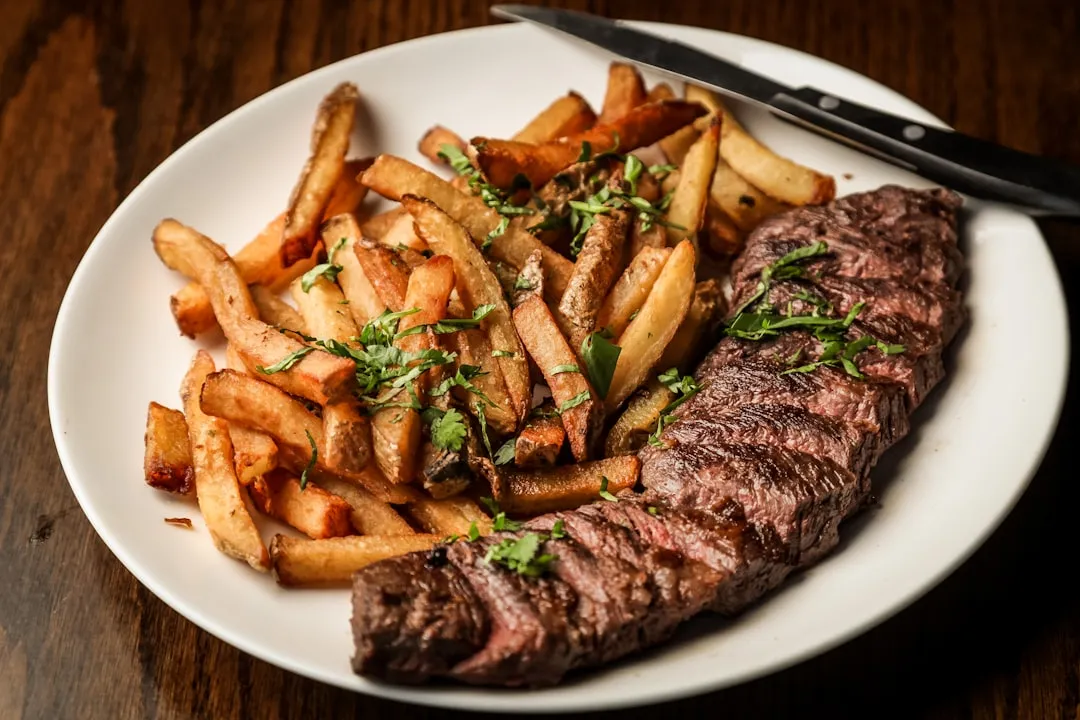
A study published in the Journal of Culinary Science and Technology compared moisture loss in rested versus non-rested steaks. Non-rested steaks lost an average of fifteen percent of their weight as juice runoff during slicing. Rested steaks lost only five to seven percent. That’s a difference of nearly ten percent of the meat’s total weight, which translates directly to a drier, less flavorful eating experience.
Meat continues to cook significantly after leaving the heat source. This carryover cooking is driven by conduction from the hotter outer layers to the cooler core. A thick steak can climb several degrees during this rest period.
Resting the meat on a wire rack allows the drippings to fall away from the meat instead of puddling around it, which would soften the steak’s crust. Ten minutes on the rack, then slice against the grain.
Works on Other Cuts Too
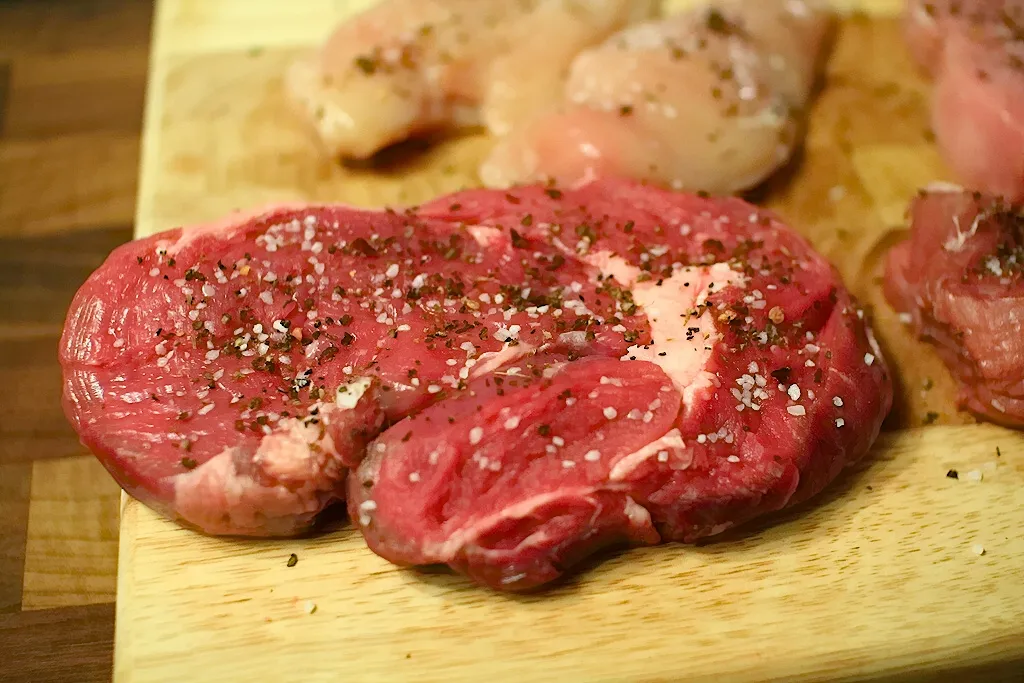
This technique isn’t just limited to transforming a budget steak. It can also work well on other meats like pork chops or beef brisket. The key is adjusting the salting time based on the thickness and type of meat.
While ribeyes and strips are ideal, this method works wonders on leaner cuts like filet mignon or sirloin as well. For very lean cuts, you might reduce the dry brine time to six to eight hours to prevent over-concentration.
Dry brining works most often when cooking steaks, but it works well for almost any kind of meat. It works great for braising cuts, and is especially important if you’re reverse-searing a big cut.
Putting It All Together
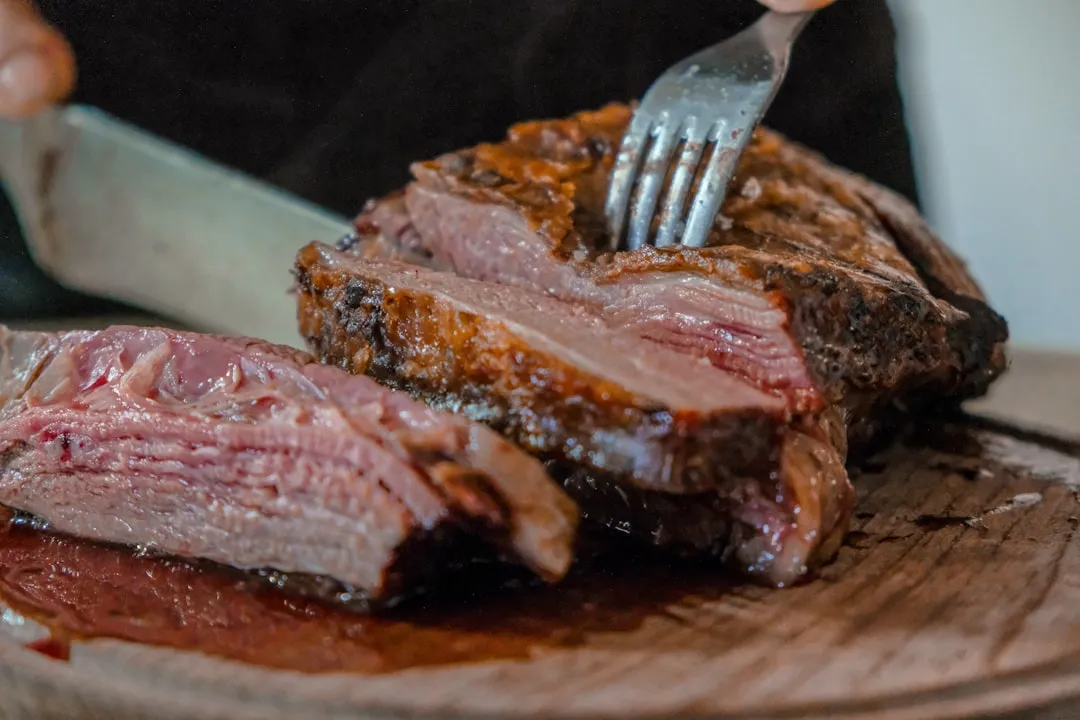
You’ve likely heard that salting meat ahead of time is a good idea, but the dry brine method elevates this principle to a culinary science. Years of testing have shown that this simple technique, which involves salting your steak well in advance of cooking, is the single most effective way to achieve a perfectly seasoned, incredibly juicy, and beautifully crusted piece of meat. It’s a foundational skill for any home cook seeking restaurant-quality results with minimal fuss.
Dry brining is a straightforward yet powerful technique that can significantly enhance the flavor and texture of your meats. By understanding and applying the principles of dry brining, you can achieve restaurant-quality results in your own kitchen.
The full process: salt your steak generously with kosher salt the night before. Let it sit on a wire rack over a baking sheet, refrigerated, for at least one hour, though overnight is ideal for thicker cuts. Remove the steak from the refrigerator about 30 minutes before cooking to bring it to room temperature, then grill or sear to your preferred doneness. Finish with a butter baste, rest it on a rack, and slice against the grain.
A Quiet but Reliable Truth
AI Disclaimer: This article was created with the assistance of AI tools and reviewed by a human editor.