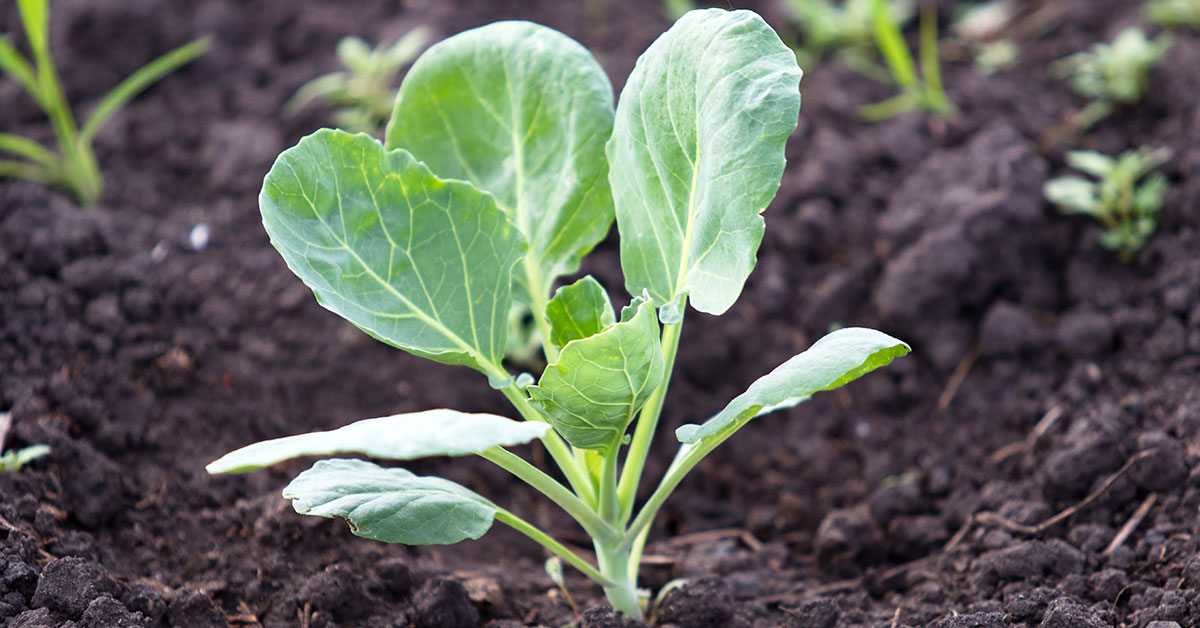

If you’re looking for a unique and delicious addition to your vegetable garden, look no further than the Gustus Brussels Sprout. Whether you’re a seasoned gardener or just starting out, there’s always something new and exciting to grow in your backyard. With its compact size and distinctive flavor, this heirloom variety of Brussels sprouts is a favorite among gardeners and food enthusiasts alike.
In this article, we will delve into the fascinating world of Gustus Brussels Sprout, exploring its origins, optimal growing conditions, and tips for successful cultivation. So, grab your gardening gloves and let’s embark on a journey to discover the wonders of growing Gustus Brussels Sprout in your own backyard.
What is a Gustus Brussels Sprout?
A Gustus Brussels Sprout is a specific variety of Brussels sprout that is known for its excellent flavor and texture. It is a member of the cabbage family and is named after the Latin word “gustus,” which means taste or flavor. The Gustus Brussels Sprout plant typically reaches a height of about 2 to 3 feet and produces compact, round sprouts that grow along the stalk.
These sprouts are usually small in size, about 1 to 1.5 inches in diameter, and have a vibrant green color. The plant itself has a sturdy and robust structure, making it resistant to wind and other environmental conditions. One of the standout features of the Gustus Brussels Sprout is its exceptional taste. The flavor is often described as sweet and nutty, with a mild bitterness that adds depth to its overall profile.
When cooked correctly, the sprouts become tender and slightly caramelized, enhancing their natural sweetness. Gustus Brussels Sprouts are typically grown as a cool-weather crop, as they thrive in temperatures ranging from 45 to 75 degrees Fahrenheit (7 to 24 degrees Celsius). They require well-drained soil with a pH level between 6.0 and 7.5, and they prefer a location that receives full sun or partial shade.
To cultivate Gustus Brussels Sprouts, start by sowing the seeds indoors about six to eight weeks before the last frost date in your region. Once the seedlings have developed a few sets of leaves, transplant them into your garden, spacing them about 18 to 24 inches apart. Ensure they receive consistent moisture throughout their growth period and provide them with regular fertilization to promote healthy growth.
Harvesting Gustus Brussels Sprouts usually occurs around 90 to 100 days after transplanting. Begin by picking the lower sprouts first, as they mature earlier, and allow the upper ones to continue growing until they reach the desired size. To harvest, simply twist or cut the sprouts off the stalk, starting from the bottom and working your way up. Gustus Brussels Sprouts can be enjoyed in various culinary preparations, such as roasting, sautéing, steaming, or even raw in salads. Their delightful flavor makes them a popular addition to many dishes, providing a nutritious and delicious option for gardeners and cooks alike.
What does Gustus Brussels Sprout taste like?
A Gustus Brussels Sprout has a unique and delicious taste. It is a slightly bitter and earthy flavor with a hint of sweetness. The taste is often described as nutty or cabbage-like, but milder and more refined. When cooked properly, the sprouts have a tender yet slightly crisp texture, providing a satisfying bite. The flavor can be enhanced by roasting or sautéing them with complementary ingredients such as garlic, bacon, or balsamic vinegar. Overall, the Gustus Brussels Sprout offers a delightful combination of flavors that will make any vegetable enthusiast appreciate its taste.
How to start from seed
Starting Brussels sprouts from seeds is a great way to grow your own plants and enjoy fresh, homegrown vegetables. Here’s a step-by-step guide to starting Gustus Brussels sprouts:
- Timing: Brussels sprouts are a cool-season crop, so you’ll want to start them indoors about 6-8 weeks before the last expected frost in your area. This will give the plants a head start and ensure they have enough time to mature before hot weather arrives.
- Seed starting mix: Select a high-quality seed starting mix or make your own by combining equal parts of peat moss, vermiculite, and perlite. Fill seed trays or small pots with the mix, leaving a little space at the top for watering.
- Sowing seeds: Plant 2-3 Brussels sprout seeds per cell or pot, placing them about ¼ inch deep. Gently cover the seeds with a thin layer of seed starting mix and lightly pat it down.
- Moisture and warmth: Brussels sprouts seeds need consistent moisture to germinate, so water the trays or pots thoroughly from the bottom, allowing the mix to soak up the water. Place a clear plastic dome or plastic wrap over the containers to create a humid environment. Keep the trays in a warm location, ideally around 70-75°F (21-24°C).
- Germination: Brussels sprouts seeds typically take around 7-10 days to germinate. During this time, check the moisture level regularly and mist the soil if it starts to dry out. Once the seeds sprout, remove the plastic cover and place the trays or pots under grow lights or in a sunny spot.
- Transplanting: When the seedlings have developed their first true leaves (after the initial seed leaves), they are ready to be transplanted into individual pots. Gently separate the seedlings, taking care not to damage their delicate roots, and plant them in larger containers filled with potting soil. Alternatively, you can transplant them directly into the garden once the danger of frost has passed and the soil has warmed up.
- Hardening off: About a week before transplanting the seedlings outdoors, gradually expose them to outdoor conditions. Start by placing them outside for a few hours each day, gradually increasing the time and intensity of exposure. This process, known as hardening off, helps the seedlings adjust to the outdoor environment.
- Planting outdoors: Choose a sunny location with well-drained soil for your Gustus Brussels sprouts. Space the plants about 18-24 inches apart, as they require room to grow and form their sprouts. Dig a hole slightly larger than the root ball of each seedling, gently place it in the hole, and backfill with soil.
- Care and maintenance: Provide regular water to keep the soil consistently moist, especially during dry spells. Mulching around the plants can help conserve moisture and suppress weeds. Fertilize every 3-4 weeks with a balanced vegetable fertilizer, following the package instructions. As the plants grow taller, you may need to stake or support them to prevent toppling over in windy conditions.
- Harvesting: Brussels sprouts take about 90-100 days from transplanting to harvest. The sprouts will start forming at the base of the plant and continue upward. Harvest them when they reach a desired size, typically around 1-2 inches in diameter. Start picking the lower sprouts first, allowing the upper ones more time to develop.
By following these steps, you’ll have a good foundation for growing Gustus Brussels sprouts and enjoying their delicious flavor straight from your garden.
Planting and growing Gustus Brussels Sprout
To plant and grow Gustus Brussels sprouts, follow these steps:
- Choose the right time: Gustus Brussels sprouts are a cool-season crop, so plant them in early spring or late summer/early fall. They thrive in temperatures between 60 to 70°F (15 to 21°C).
- Select a suitable location: Brussels sprouts prefer full sun, but they can tolerate partial shade. Ensure the soil is well-draining, fertile, and rich in organic matter. The pH level should be between 6.0 and 7.5.
- Prepare the soil: Remove any weeds or debris from the planting area. Loosen the soil to a depth of about 12 inches (30 cm) using a garden fork or tiller. Incorporate organic compost or well-rotted manure to improve soil fertility.
- Start seeds indoors (optional): If you have a shorter growing season, you can start Gustus Brussels sprouts seeds indoors about 6 to 8 weeks before the last frost date. Use seed-starting trays or pots filled with seed-starting mix. Keep them in a warm and bright location until they germinate.
- Direct sowing: If you prefer, you can directly sow the seeds outdoors. Plant the seeds about ¼ to ½ inch (6 to 12 mm) deep, spacing them 18 to 24 inches (45 to 60 cm) apart. Cover the seeds lightly with soil and water gently.
- Care and maintenance: Keep the soil consistently moist, but not waterlogged. Mulch around the plants to conserve moisture and suppress weed growth. Water deeply once a week during dry periods. Fertilize every 4-6 weeks with a balanced organic fertilizer.
- Thinning and spacing: When the seedlings are about 2 inches (5 cm) tall, thin them to ensure proper spacing. Leave the strongest and healthiest seedlings, spacing them 18 to 24 inches (45 to 60 cm) apart.
- Support and staking: As the plants grow taller, they may require support. Use stakes or tomato cages to prevent them from toppling over in windy conditions.
- Pest and disease control: Keep an eye out for common pests like aphids, cabbage worms, and flea beetles. Use organic pest control methods such as handpicking or introducing beneficial insects like ladybugs. Regularly inspect the plants for signs of diseases like clubroot or powdery mildew and take appropriate measures to prevent their spread.
- Harvesting: Gustus Brussels sprouts mature in about 90-100 days after planting. Harvest the sprouts when they are firm, green, and about 1 to 1.5 inches (2.5 to 3.8 cm) in diameter. Start picking from the bottom of the stalk and work your way up. Remove any yellowed or damaged leaves.
By following these steps, you can successfully plant and grow Gustus Brussels sprouts in your garden. Enjoy your harvest!
When to harvest
The best time to harvest Gustus Brussels sprouts is usually when the sprouts are firm and about 1 to 1.5 inches in diameter. This typically occurs around 90-100 days after planting, depending on the variety and growing conditions. It’s important to check the plant regularly and harvest the sprouts from the bottom of the stalk first, as they mature from the bottom up. You can continue harvesting as needed until the stalk is bare or until the sprouts start to loosen and become less firm.