

As an avid gardener, I’m always thrilled to share tips and tricks that make plant propagation easier and more rewarding. One of my favorite herbs to propagate is rosemary, not only because of its delightful aroma and culinary versatility but also due to its resilience and beauty in the garden. Growing rosemary from cuttings in water is a simple and effective method that allows you to expand your herb garden effortlessly. Whether you’re looking to boost your kitchen’s herb supply or add more greenery to your outdoor space, this technique is a game-changer!
Rosemary (Rosmarinus officinalis) is native to the Mediterranean region, thriving in warm climates with well-drained soil. Its evergreen, woody stems and needle-like leaves make it a striking addition to any garden. While rosemary is cherished for its robust aroma and numerous health benefits, it’s important to be aware that in some areas, it can become invasive if not properly managed. By growing rosemary from cuttings in water, you can control its growth more effectively and enjoy a thriving, lush herb garden without the worry of it taking over your space. Let’s dive into the step-by-step process of propagating rosemary from cuttings and successfully transplanting your new plants into containers!
Selecting the Right Cuttings
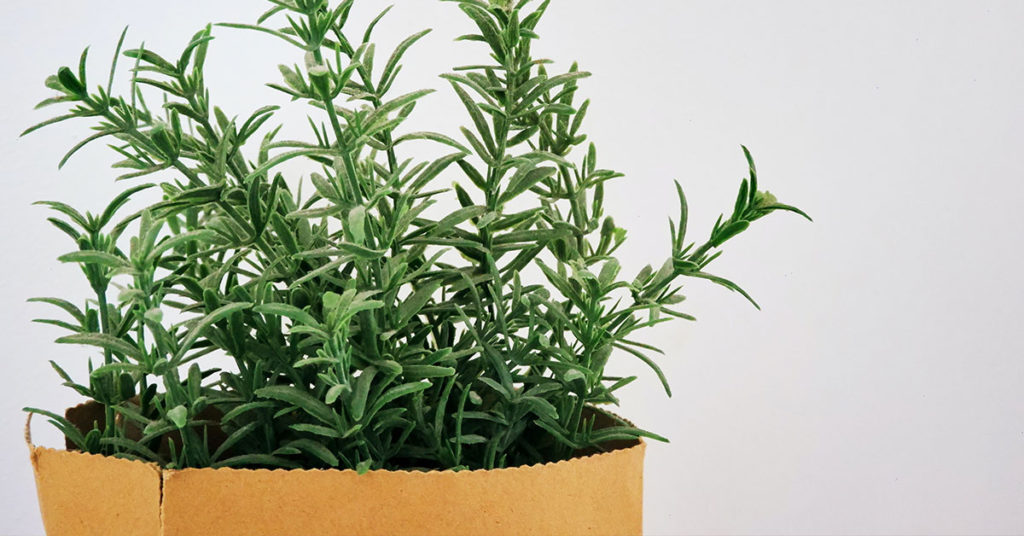
Choosing the right cuttings is crucial for successfully propagating rosemary. Start by selecting healthy, non-flowering stems from an established rosemary plant. Look for stems that are firm and green, avoiding any that show signs of disease or pests. Ideally, the cuttings should be about 4-6 inches long with several sets of leaves. This ensures that the cutting has enough energy to develop roots and grow into a strong new plant. One of my favorite parts of this process is carefully selecting the best stems, as it sets the foundation for a successful propagation journey!
When selecting cuttings, it’s important to make clean, angled cuts just below a leaf node, where the leaf meets the stem. This area is where roots are most likely to develop, increasing the chances of successful rooting. Additionally, removing the lower leaves from the cutting helps reduce water loss and directs the plant’s energy towards root growth. By taking the time to choose the right cuttings and preparing them properly, you’re setting yourself up for a flourishing rosemary garden that you can enjoy for years to come!
Preparing Cuttings for Rooting in Water
Once you’ve selected the perfect cuttings, the next step is to prepare them for rooting in water. Start by trimming the cutting to about 4-6 inches, ensuring that each cutting has at least two or three sets of leaves. Remove any flowers or buds, as these can divert the plant’s energy away from root development. Using a clean, sharp pair of scissors or pruning shears will help make precise cuts and reduce the risk of disease transmission. Preparing your cuttings with care not only enhances their chances of rooting successfully but also promotes healthier growth once they’re transplanted!
After trimming, give the cuttings a gentle rinse to remove any dirt or debris that might harbor pests or pathogens. Pat them dry with a clean cloth or paper towel, taking care not to bruise the stems. Some gardeners like to dip the cut end of the rosemary cutting in a rooting hormone powder to encourage faster root growth, although this step is optional. By thoroughly preparing your cuttings, you create an optimal environment for them to thrive in water, ensuring a higher success rate as they develop into robust new plants!
Setting Up the Rooting Environment

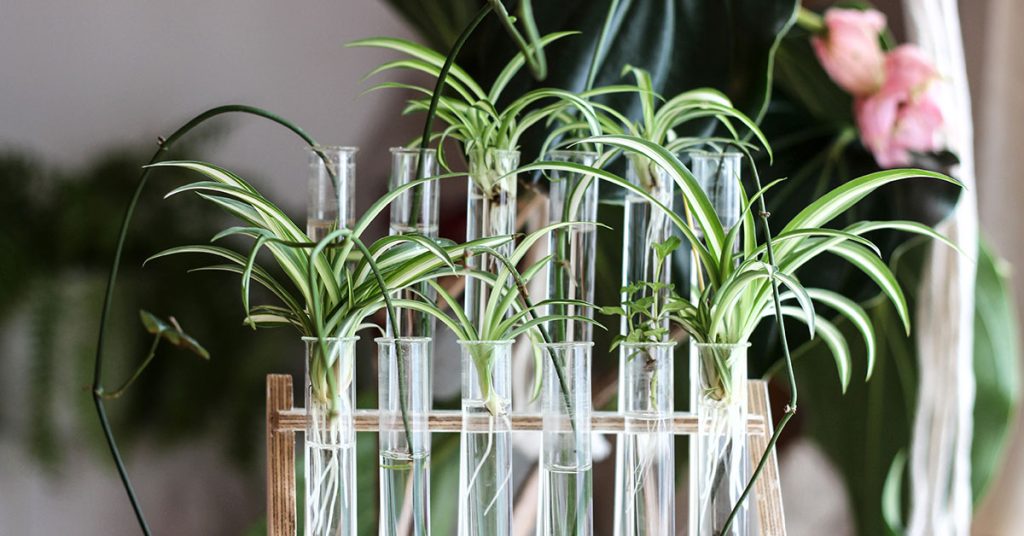
Creating the right environment for your rosemary cuttings to root is essential for their successful growth. Choose a clear glass or jar and fill it with clean, room-temperature water. Place the prepared cuttings in the water, ensuring that the bottom inch of each cutting is submerged while the leaves remain above the waterline. This setup allows the cuttings to receive the moisture they need without the risk of rot. Position the jar in a bright, indirect light location, such as a windowsill that receives plenty of natural light but is shielded from direct sunlight, which can scorch the delicate stems!
Maintaining the right temperature and humidity levels is also important during the rooting process. Rosemary cuttings thrive in warm environments, so keeping them in a consistently warm spot will encourage faster root development. Change the water every few days to keep it fresh and prevent the growth of bacteria or algae, which can hinder root growth and potentially harm the cuttings. By carefully setting up and maintaining the rooting environment, you provide your rosemary cuttings with the optimal conditions they need to develop strong, healthy roots!
Caring for Cuttings in Water
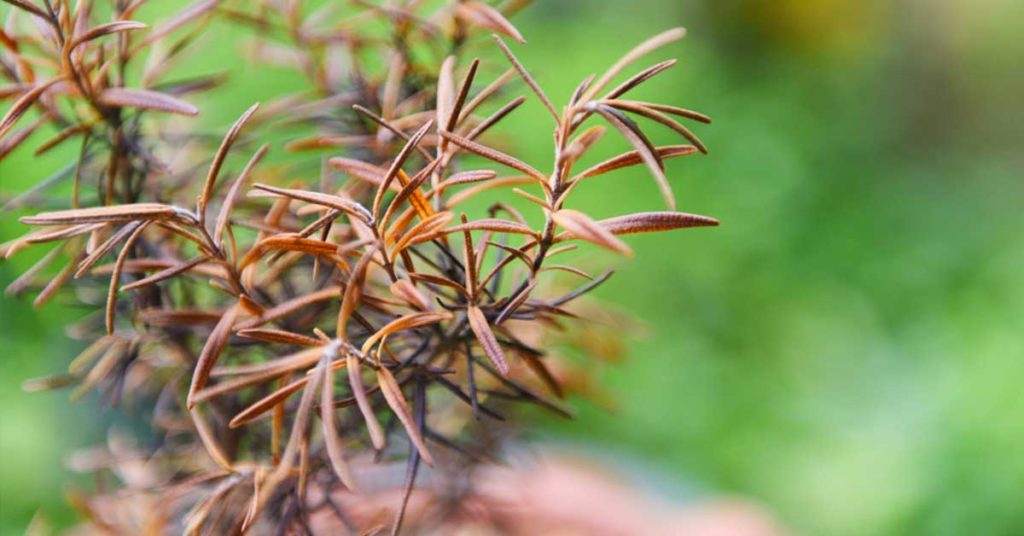
Proper care for your rosemary cuttings while they root in water is key to ensuring their success. Keep the water clean by changing it every few days, which helps prevent the buildup of harmful bacteria and ensures that the cuttings receive a steady supply of oxygen. Additionally, check the cuttings regularly for any signs of rot or disease, such as mushy stems or discolored leaves, and remove any affected parts immediately to protect the healthy sections. Maintaining a clean and healthy environment for your cuttings promotes vigorous root growth and reduces the risk of complications!
Providing consistent light is another important aspect of caring for your cuttings. Place them in a location where they receive ample indirect sunlight, as this helps the cuttings photosynthesize and generate the energy needed for root development. Avoid placing them in areas with fluctuating temperatures or drafts, as these can stress the plants and slow down the rooting process. By diligently caring for your rosemary cuttings in water, you create the ideal conditions for them to develop strong, healthy roots that will support their transition into thriving new plants!
Monitoring Root Growth

Monitoring the progress of your rosemary cuttings as they develop roots is both exciting and essential. Typically, you should start to see roots forming within two to three weeks, although this timeline can vary based on environmental conditions such as temperature and light. Keep an eye on the cuttings, noting the length and thickness of the roots as they grow. Healthy roots are usually white or light brown and firm to the touch, indicating robust development. Observing root growth regularly helps you gauge the health of your cuttings and determine the optimal time for transplanting!
In addition to visual inspections, maintaining a consistent care routine is important during the rooting phase. Continue changing the water every few days and ensuring that the cuttings receive adequate light and warmth. If you notice any signs of stress, such as yellowing leaves or stunted root growth, take immediate action by adjusting the environment or trimming any affected areas. By staying vigilant and attentive to your cuttings’ needs, you can address any issues promptly and support the healthy growth of your new rosemary plants!
Preparing Containers for Transplanting

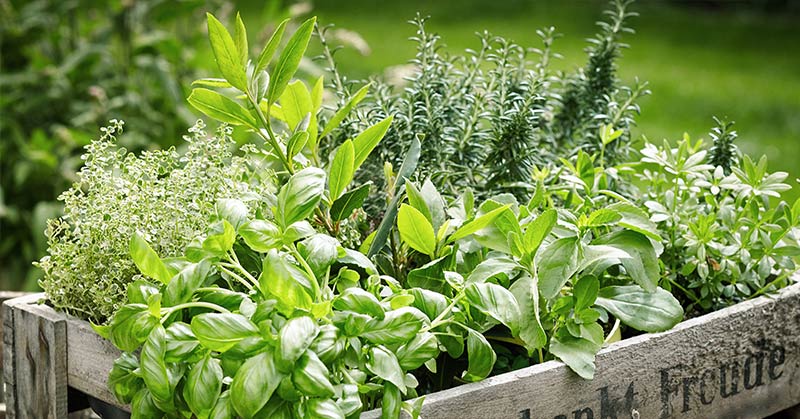
Once your rosemary cuttings have developed a healthy root system, it’s time to prepare containers for transplanting. Choose pots with good drainage to prevent water from accumulating and causing root rot, which rosemary is particularly susceptible to. Fill the containers with a high-quality potting mix that is well-draining yet retains enough moisture to support your plant’s growth. A mix designed for Mediterranean herbs, which often includes components like perlite, sand, and peat moss, works perfectly for rosemary, providing the ideal balance of drainage and nutrient retention!
Before transplanting, gently loosen the roots of each cutting to encourage them to spread out and establish themselves in the new environment. Place the rooted cuttings into the prepared containers, ensuring that the roots are fully covered with potting mix and that the stems are firmly anchored in place. Water the newly transplanted rosemary thoroughly to help settle the soil around the roots and eliminate any air pockets. Properly preparing your containers ensures that your rosemary plants have a stable and nutrient-rich environment to continue their growth and thrive in their new homes!
Transplanting Rooted Cuttings Into Containers
Transplanting your rooted rosemary cuttings into containers is a rewarding step that marks the beginning of their independent growth. Carefully remove the cuttings from the water, taking care not to disturb the newly formed roots. Gently place each cutting into its prepared container, spreading the roots out to avoid overcrowding and ensuring that the plant has ample space to grow. Fill in around the roots with additional potting mix, firming it gently to secure the plant in place. This careful transplantation helps minimize transplant shock and supports the continued development of strong, healthy rosemary plants!
After transplanting, it’s important to provide the newly potted rosemary with the right care to ensure their successful establishment. Place the containers in a bright location with plenty of indirect sunlight, gradually acclimating the plants to their new environment. Water them thoroughly but allow the soil to dry out slightly between waterings to prevent overwatering, which can lead to root rot. Additionally, consider adding a balanced, water-soluble fertilizer to provide essential nutrients that support vigorous growth and vibrant foliage. By following these steps, you set your rosemary plants up for long-term success, allowing them to flourish and become a staple in your herb garden!
Ongoing Care for Container-Grown Rosemary

Once your rosemary plants are successfully transplanted into containers, ongoing care is essential to maintain their health and productivity. Rosemary thrives in sunny locations, so ensure that your containers receive at least six hours of direct sunlight each day. If growing indoors, place the pots near a south-facing window or use grow lights to supplement natural light. Pruning is also important; regularly trim your rosemary plants to encourage bushier growth and prevent them from becoming too woody. This not only keeps the plants looking tidy but also promotes a more vigorous and productive herb garden!
Watering your container-grown rosemary appropriately is crucial for preventing both drought stress and root rot. Allow the top inch of soil to dry out between waterings, then water thoroughly to ensure the moisture reaches the roots. Avoid letting the plants sit in standing water, as this can lead to fungal issues and weaken the plants over time. Additionally, periodically fertilize your rosemary with a balanced, water-soluble fertilizer to provide essential nutrients that support healthy growth and robust foliage. By maintaining consistent care, your container-grown rosemary will continue to thrive, providing you with fresh, aromatic herbs for all your culinary needs!
Troubleshooting Common Issues

Even with the best care, you might encounter some challenges when growing rosemary from cuttings. One common issue is root rot, which can occur if the cuttings are overwatered or if the containers lack proper drainage. To prevent this, ensure that you’re using well-draining soil and containers with adequate drainage holes. If you notice the stems becoming mushy or the leaves turning yellow, it may be a sign of root rot. In such cases, remove the affected parts of the plant and adjust your watering routine to allow the soil to dry out more between waterings.
Another potential problem is slow or stunted root growth, which can be caused by insufficient light or low temperatures. To encourage healthy root development, make sure your cuttings are placed in a bright location with consistent warmth. Additionally, avoid placing the cuttings near drafts or in areas with fluctuating temperatures, as this can stress the plants and hinder their growth. By addressing these common issues promptly and adjusting your care routine as needed, you can overcome obstacles and ensure the successful propagation of your rosemary plants!
Conclusion

Growing rosemary from cuttings in water and transplanting them into containers is a rewarding and efficient way to expand your herb garden. This method not only allows you to propagate rosemary easily but also ensures that your new plants are strong, healthy, and ready to thrive in their new environments. From selecting the right cuttings and preparing them for rooting to transplanting and ongoing care, each step is manageable and offers a fulfilling gardening experience.