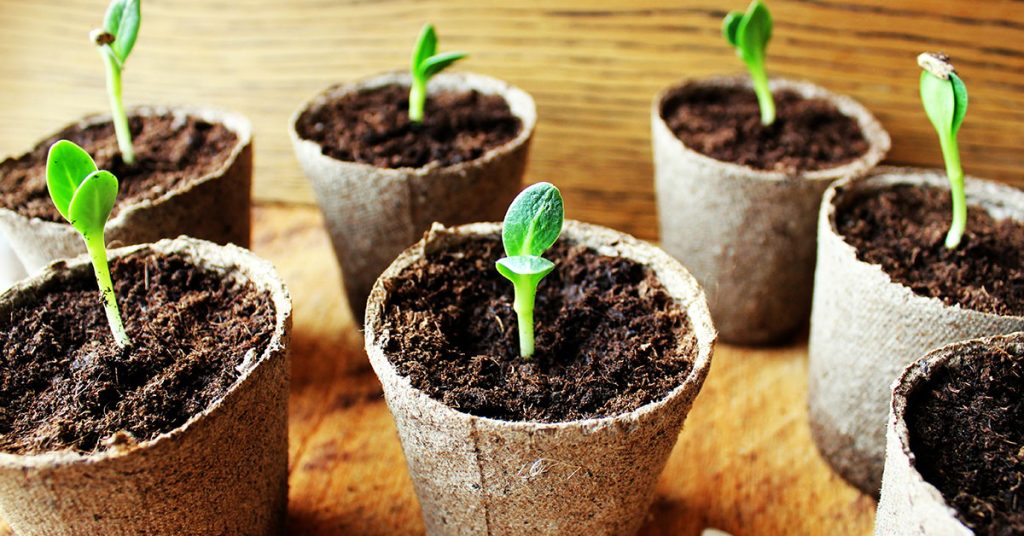

Welcome to the world of growing the Goosebumps pumpkin, where the ordinary pumpkins become extraordinary! If you’re looking to add a touch of whimsy and intrigue to your garden, these unique and captivating pumpkins are the perfect choice. With their distinctive warty skin and vibrant orange color, Goosebumps pumpkins are sure to be a conversation starter.
But don’t let their appearance fool you – these pumpkins are not just for decoration. They are also deliciously sweet and make a great addition to your favorite pumpkin recipes. In this article, we will delve into the fascinating world of growing Goosebumps pumpkins, from selecting the right seeds to nurturing them into healthy, thriving plants. Whether you’re a seasoned gardener or a beginner, get ready to embark on a pumpkin-growing adventure like no other!
What are Goosebumps pumpkins?
Goosebumps pumpkin, also known as the “Goosebumps variety,” is a unique and eye-catching pumpkin cultivar. It is characterized by its distinctive warty or bumpy skin, which gives it a spooky and textured appearance. The bumps on the pumpkin’s surface are typically green or yellow, contrasting with the orange color of the rest of the fruit. Goosebumps pumpkins are medium-sized, ranging from 8 to 15 pounds in weight. They have a round to slightly flattened shape and a sturdy stem. The flesh of the Goosebumps pumpkin is dense, sweet, and flavorful, making it suitable for various culinary uses, including pies, soups, and roasted dishes. This variety is highly popular during the Halloween season due to its unique appearance, which adds an extra touch of spookiness to fall decorations and pumpkin carving. Goosebumps pumpkins require similar growing conditions as other pumpkin varieties, thriving in full sun, well-draining soil, and regular watering. With proper care, they can be a fun and visually appealing addition to any pumpkin patch or garden.
What do Goosebumps pumpkins taste like?
Goosebumps pumpkins are known for their unique flavor profile, which is a delightful combination of sweetness and nuttiness. The flesh of the Goosebumps pumpkin is smooth and creamy, with a rich, earthy taste that is reminiscent of roasted chestnuts.
When cooked, Goosebumps pumpkins develop a lovely caramelized flavor, enhancing their natural sweetness. This sweetness is not overpowering but rather well-balanced, making it a versatile pumpkin for both sweet and savory recipes.
The nuttiness of the Goosebumps pumpkin adds depth to its flavor, providing a subtle, pleasant undertone that complements its natural sweetness. This characteristic makes it an excellent choice for baking pumpkin pies, breads, and other desserts.
Overall, the flavor of Goosebumps pumpkins is distinct and delicious, making them a popular choice among pumpkin enthusiasts. Whether used in soups, stews, or desserts, their unique combination of sweetness and nuttiness adds a delightful twist to any dish.
How to start Goosebumps pumpkin seeds
Here’s a step-by-step guide on how to start growing Goosebumps pumpkins:
- Selecting the Seeds: Start by choosing high-quality Goosebumps pumpkin seeds. Look for reputable seed suppliers or nurseries that specialize in pumpkin varieties. Ensure that the seeds are fresh and disease-free.
- Timing: Goosebumps pumpkins are typically planted in late spring or early summer, once the soil has warmed up and there is no longer a risk of frost. Check the recommended planting time for your specific region.
- Soil Preparation: Pumpkins prefer well-draining soil with a pH level between 6.0 and 7.5. Prepare the soil by removing any weeds, rocks, or debris. Loosen the soil to a depth of at least 12 inches and mix in organic matter like compost or well-rotted manure to improve fertility.
- Planting: Create mounds or raised beds for your pumpkin plants, as this helps with drainage. Space the mounds about 4-6 feet apart to allow the vines to spread. Plant 2-3 seeds per mound, about 1 inch deep. Cover the seeds with soil and gently firm it down.
- Watering: Keep the soil consistently moist, but not waterlogged. Water the plants deeply once or twice a week, depending on the weather conditions. Avoid overhead watering, as wet foliage can lead to disease issues. Consider using drip irrigation or soaker hoses to deliver water directly to the roots.
- Sunlight: Goosebumps pumpkins require full sun to thrive. Choose a location in your garden that receives at least 6-8 hours of direct sunlight each day.
- Fertilizing: Pumpkins are heavy feeders and benefit from regular fertilization. Apply a balanced, slow-release fertilizer or compost around the base of the plants at the time of planting. Additionally, you can side-dress the plants with a nitrogen-rich fertilizer once they start to vine.
- Mulching: Apply a layer of organic mulch, such as straw or wood chips, around the base of the plants. Mulching helps conserve moisture, suppresses weed growth, and maintains a more consistent soil temperature.
- Pest and Disease Control: Keep an eye out for common pumpkin pests like aphids, squash bugs, and cucumber beetles. Regularly inspect the plants and remove any pests by hand or use organic insecticidal soap if necessary. To prevent diseases, avoid overhead watering, provide good air circulation, and promptly remove any infected plant material.
- Harvesting: Goosebumps pumpkins are ready for harvest when the rind has hardened and developed a deep orange color. The stem should be dry and starting to crack. Cut the pumpkins from the vine, leaving a few inches of stem attached. Handle them carefully to avoid any damage.
Remember to enjoy the process and have fun growing your Goosebumps pumpkins!
When to plant your Goosebumps pumpkin outdoors
The ideal time to plant Goosebumps pumpkins is in late spring or early summer, when the soil temperature has reached at least 60°F (15°C) and all chances of frost have passed. This is typically around mid to late May in most regions. Planting at this time ensures that the pumpkins have enough warm weather to grow and mature before the colder temperatures of fall arrive.
Growing & care guide
Goosebumps pumpkins are a unique variety known for their bumpy and warty skin texture, which gives them a spooky appearance. To ensure successful growth and healthy development of your Goosebumps pumpkins, here are some best practices for caring for them:
- Planting: Choose a sunny location in your garden with well-draining soil. Pumpkins require at least 6-8 hours of direct sunlight daily. Before planting, prepare the soil by adding organic matter, such as compost or well-rotted manure, to improve its fertility and drainage.
- Timing: Goosebumps pumpkins are typically planted in late spring or early summer when the soil has warmed up and all chances of frost have passed. Check the seed packet or consult your local agricultural extension office for specific planting dates in your region.
- Spacing: Allow ample space for your Goosebumps pumpkins to spread out. Each plant should be given a minimum of 3-5 feet of space in all directions to ensure proper air circulation and prevent overcrowding.
- Watering: Pumpkins require consistent moisture, especially during the flowering and fruiting stages. Water deeply once or twice a week, providing around 1-2 inches of water per week. Avoid overhead watering, as it can increase the risk of fungal diseases. Instead, use a soaker hose or drip irrigation to water the base of the plants.
- Mulching: Apply a layer of organic mulch, such as straw or wood chips, around the base of the plants. Mulching helps retain soil moisture, suppresses weed growth, and regulates soil temperature. It also prevents direct contact between the pumpkins and the soil, reducing the risk of rot.
- Fertilizing: Pumpkins are heavy feeders and benefit from regular fertilization. Before planting, incorporate a balanced organic fertilizer into the soil. Once the plants start producing vines, side-dress them with compost or a slow-release organic fertilizer every few weeks. Avoid excessive nitrogen fertilizers, as they can promote vine growth at the expense of fruit development.
- Pollination: Pumpkins have separate male and female flowers, and pollination is essential for fruit formation. Bees and other pollinators are crucial for transferring pollen between flowers. To attract them, plant pollinator-friendly flowers nearby or use a small paintbrush to transfer pollen manually from male to female flowers.
- Pest and disease control: Monitor your Goosebumps pumpkins regularly for common pests like aphids, squash bugs, and cucumber beetles. Handpick any visible pests or use organic insecticidal soap if necessary. Fungal diseases, such as powdery mildew, can be prevented by providing good air circulation, avoiding overhead watering, and applying organic fungicides if needed.
- Harvesting: Goosebumps pumpkins are ready for harvest when their skin has fully hardened and turned a deep orange color. The stem should be dry and brown. Cut the pumpkins from the vine using a sharp knife or pruning shears, leaving a few inches of stem attached. Handle them carefully to avoid any damage.
By following these best practices, you can ensure the successful growth and development of your Goosebumps pumpkins, resulting in a bountiful harvest of spooky and unique-looking pumpkins. Happy gardening!
Harvesting guide
Goosebumps pumpkins are a unique variety known for their bumpy, warty skin. To ensure a successful harvest, it’s important to know when and how to pick them.
Timing: Goosebumps pumpkins are typically ready for harvest around 90 to 110 days after planting the seeds. However, it’s crucial to monitor the pumpkins closely for signs of maturity. Look for the following indicators:
- Skin color: The pumpkins should have a deep orange color all over, indicating that they have reached their full ripeness.
- Hardness: Gently press your finger against the skin; it should feel hard and resist your pressure. If it feels soft or gives in easily, the pumpkin is not yet mature.
- Stem drying: The stem attached to the pumpkin should start to dry out and turn brown. This is another sign that the pumpkin is ready for harvest.
Harvesting: Once you have determined that your Goosebumps pumpkins are mature, follow these steps to harvest them properly:
- Use a sharp knife or pruning shears to cut the stem about 2 to 3 inches above the pumpkin. Avoid tearing or breaking the stem, as this can lead to rotting or other damage.
- Leave a small portion of the stem attached to the pumpkin. This helps to prevent rot and extends the shelf life of the harvested pumpkins.
- Be careful while handling the pumpkins, as their bumpy skin can be delicate. Avoid dropping or bumping them, as this can cause bruising or other damage.
Curing: After harvesting, it’s beneficial to cure your Goosebumps pumpkins for a week or two. This process helps to toughen the skin and prolong their storage life. Place the pumpkins in a warm, dry area with good air circulation. Ideally, the temperature should be around 80°F (27°C) and the humidity around 80%. Turn the pumpkins occasionally to ensure even curing.
Storage: Once the pumpkins are cured, you can store them in a cool, dry place with a temperature between 50°F to 55°F (10°C to 13°C). Make sure to keep them away from direct sunlight, as it can cause them to deteriorate quickly. With proper storage conditions, Goosebumps pumpkins can last for several months.
Remember, harvesting pumpkins at the right time and handling them carefully will ensure the best quality and longevity. Enjoy your Goosebumps pumpkins in various culinary creations or as decorative items during the fall season!