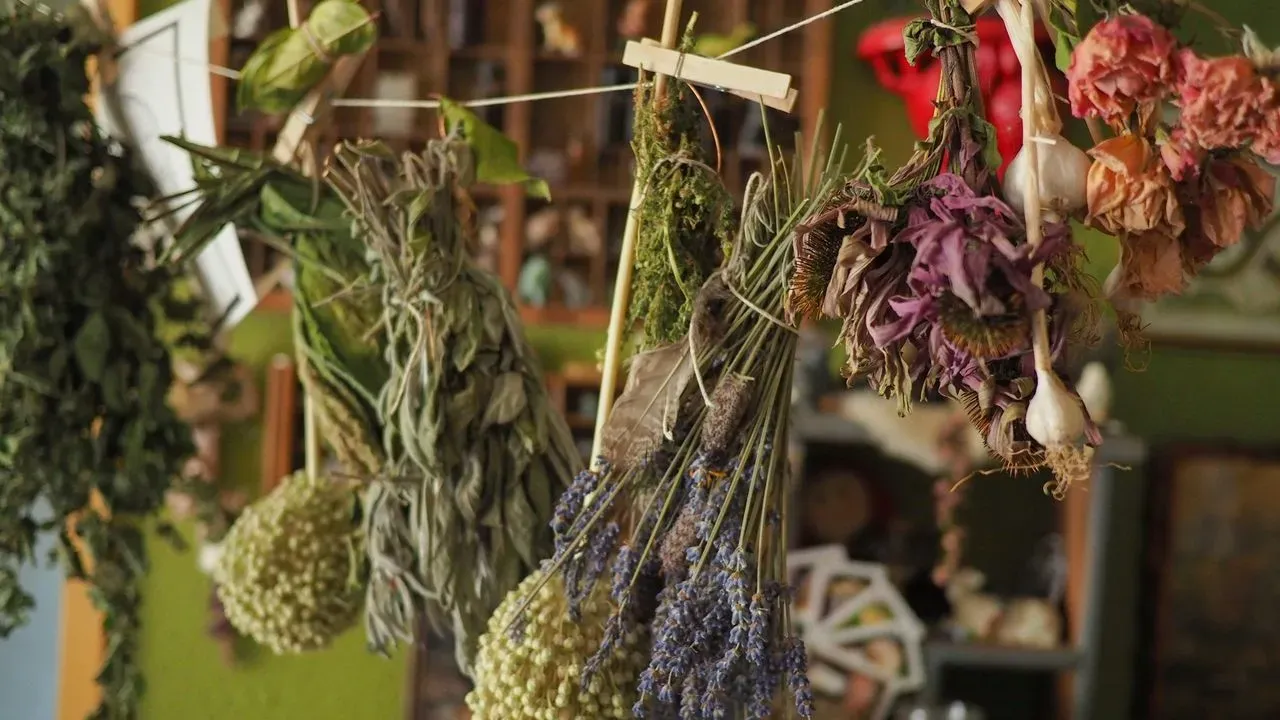

Drying herbs offers gardeners a practical way to extend the life of their harvest well into the colder months. The tradition stretches back centuries, when people turned to herbs for both flavor and healing. Multiple approaches exist, each suited to different plant types and conditions. ([1])
Why Drying Matters in Late Season
Gardeners often face a final rush of growth just before frost arrives. Capturing that abundance now prevents waste and fills the pantry with homegrown flavor for months ahead. Fresh herbs from the garden carry more aroma and potency than many store-bought options, making the effort worthwhile.
The process removes moisture while protecting the essential oils that give herbs their character. Done correctly, dried leaves retain color, scent, and taste far longer than expected. This simple preservation step turns a seasonal surplus into a steady supply.
Getting Herbs Ready to Dry
Harvest in mid-morning once dew has lifted but before strong afternoon sun hits the plants. Cut stems just before flowering begins, when oil content peaks. Take no more than one-third of any plant to keep it healthy for continued growth.
Shake off loose dirt and insects outdoors, then inspect leaves and stems for damage or pests. Remove any yellow, wilted, or spotted foliage. Rinse only if truly necessary, and always pat the herbs completely dry afterward. Excess moisture invites mold during the drying phase.
Separate woody herbs such as rosemary, thyme, oregano, and sage from tender varieties like basil, mint, and lemon balm. Different types respond best to different techniques, so sorting early improves results.
Five Reliable Drying Methods
Each technique balances simplicity, speed, and the needs of specific herbs. Gardeners can choose based on available space, equipment, and weather conditions.
- Traditional hanging: Tie small bunches of woody herbs with rubber bands and hang them upside down in a warm, dry, shaded spot with good airflow. Most bunches finish in one to two weeks.
- Flat drying on a towel: Spread tender leaves in a single layer on a clean cloth in a shaded indoor area. Turn them occasionally for even drying, which usually takes about a week.
- Bowl drying: Strip leaves from stems and place them in a shallow bowl. Stir every day or two in a dry, shaded spot until the leaves turn brittle.
- Oven drying: Spread leaves on a baking sheet at the lowest oven setting with the door slightly open. Check every thirty minutes; most batches finish in two to four hours.
- Dehydrator drying: Arrange leaves in a single layer on trays at 95 to 115 degrees Fahrenheit. This controlled method often completes in one to four hours and preserves color and oils well.
Small batches can also work in a microwave between paper towels in short bursts, though close monitoring prevents scorching.
Storing for Long-Term Use
Leaves are ready when they feel brittle and crumble easily between the fingers. Stems should snap cleanly rather than bend. Allow everything to cool fully before packing to avoid trapped moisture.
Place whole leaves in airtight glass jars and store them in a cool, dark cabinet. Label each jar with the herb name and date. Crush leaves only at the moment of use, since whole pieces hold aroma longer. Properly stored herbs remain flavorful for one to three years.
Common Pitfalls to Avoid
Direct sunlight fades color and weakens flavor, so always dry in shade. High heat can scorch leaves and create bitter results. Overly large bunches trap moisture and risk mold. Storing herbs before they are fully dry invites spoilage later.
With attention to these details, the final jars deliver consistent quality. A modest investment of time now rewards cooks with garden-fresh taste through winter and beyond.
AI Disclaimer: This article was created with the assistance of AI tools and reviewed by a human editor.