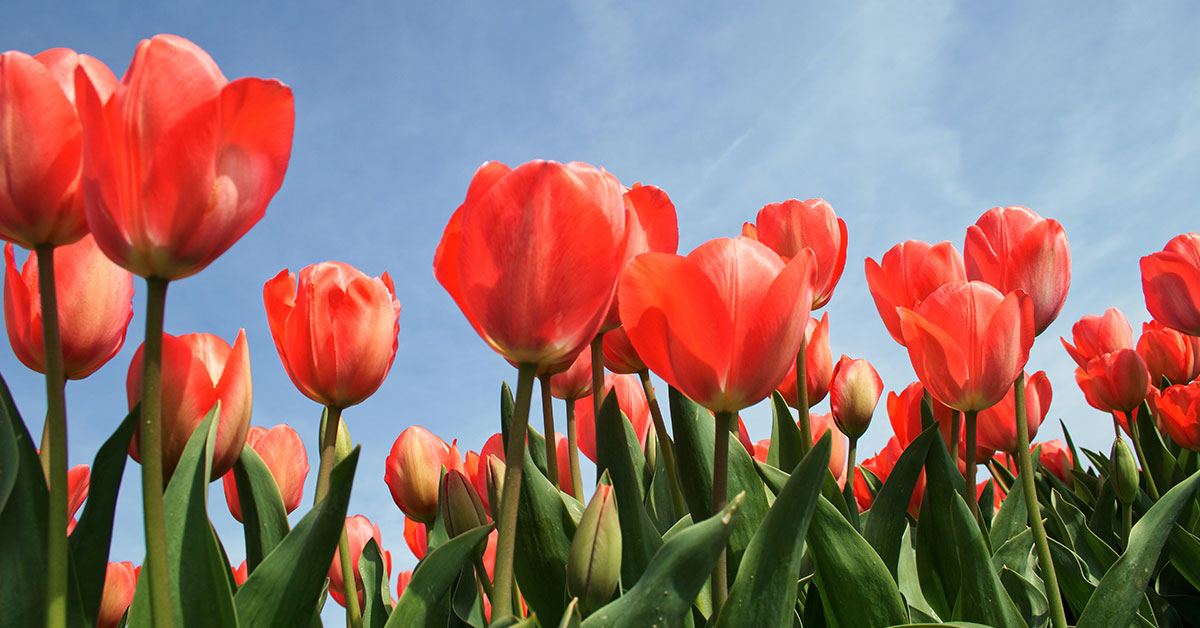

August might feel like vacation mode for many garden chores, but it’s actually prime time to set your spring bulbs up for spectacular tulip shows. After a summer of heat and growth, your beds need careful preparation so those Tulipa gesneriana bulbs (native to Central Asia and non‑invasive in home gardens) can settle in and build strong roots before winter’s chill. I know how frustrating it is to see bare patches come spring because the soil wasn’t ready or pests had their way—so let’s dive into eleven essential tasks that will have you waking up to riotous tulip color next April!
From soil testing to pest patrols, each task not only primes your beds but also supports the beneficial insects and soil life that underpin healthy blooms. You’ll learn how to create nesting spots for ground‑nesting bees, foster earthworm activity, and even plant early‑flowering companions to keep pollinators buzzing through fall. Grab your trowel, and let’s transform your late‑summer garden into next year’s tulip paradise!
Scout and Control Bulb Pests
Rodents like voles and squirrels can munch or bury tulip bulbs before they even sprout. I once found half my bulbs gone by spring—such a bummer! In August, set humane traps or install mesh fencing around beds to deter hungry critters.
These protective measures also give ground‑nesting bees and beneficial predatory insects a safe environment. Leaving some uncovered soil edges near the fence offers nesting real estate for miner bees, while keeping bulbs secure ensures your tulips thrive undisturbed!
Test and Amend Soil pH

Tulips prefer slightly acidic to neutral soil (pH 6.0–7.0). A soil test kit in August reveals if your beds skew too acidic or alkaline. I learned the hard way that oak‑leaf mulch had driven my pH down, resulting in stunted tulips the following spring!
Based on results, add garden lime to raise pH or sulfur to lower it. Correct soil chemistry not only boosts bulb root development but also nurtures earthworms, whose tunnels aerate the beds and offer passageways for solitary bees seeking summer nesting sites!
Incorporate Organic Matter

Well‑rotted compost or aged manure improves soil structure and fertility—key for tulip root establishment. One of my favorite tasks is mixing in two to three inches of compost, which also feeds soil microbes and earthworms throughout fall.
Those wriggly engineers create channels that improve drainage and aeration, benefiting bulb health. Plus, healthy microbial life supports the early‑flowering shrubs you might plant to attract queen bumblebees come spring!
Improve Drainage in Heavy Soils

Tulip bulbs rot if left in waterlogged ground. August’s drier weather is ideal for amending clay soils with coarse sand or grit. I once left bulbs in a soggy patch and lost half to rot—never again!
Raised beds or gently sloped planting areas encourage excess water to run off. These upgrades not only protect bulbs but also create nesting banks for digger bees that favor sloping, well‑drained terrain for their burrows.
Divide Overcrowded Perennials

Perennials like daylilies and hostas often encroach on bulb beds. In August, lift and divide any clumps to free up space and loosen soil. I’ve rescued countless tulip bulbs this way, preventing them from being crowded out!
Dividing perennials also refreshes your beds’ health, opening crevices for ground‑nesting mason bees. These busy pollinators will appreciate the bare spots you leave behind for nesting in late winter!
Plan and Pre‑Order Tulip Varieties
Popular or specialty tulip bulbs sell out fast. Use August to research color schemes and bloom times, then pre‑order your favorites from reputable growers. I once waited too long and missed a rare parrot‑tulip variety—lesson learned!
Ordering early ensures you get disease‑free, top‑quality bulbs. When spring arrives, healthy bulbs bring vibrant blooms that attract honeybees and solitary bees to your garden’s first feast of the year!
Lightly Mulch After Planting

While heavy mulch can delay soil warming, a light layer of straw or chopped leaves after fall planting protects bulbs from temperature swings. August is perfect for gathering mulch material and storing it for October use.
This mulch also conserves moisture for earthworms and shield ground‑nesting bees from early frosts. Come spring, as mulch breaks down, it feeds the soil and keeps tulip beds welcoming to pollinators!
Plant Early‑Blooming Companion Flowers
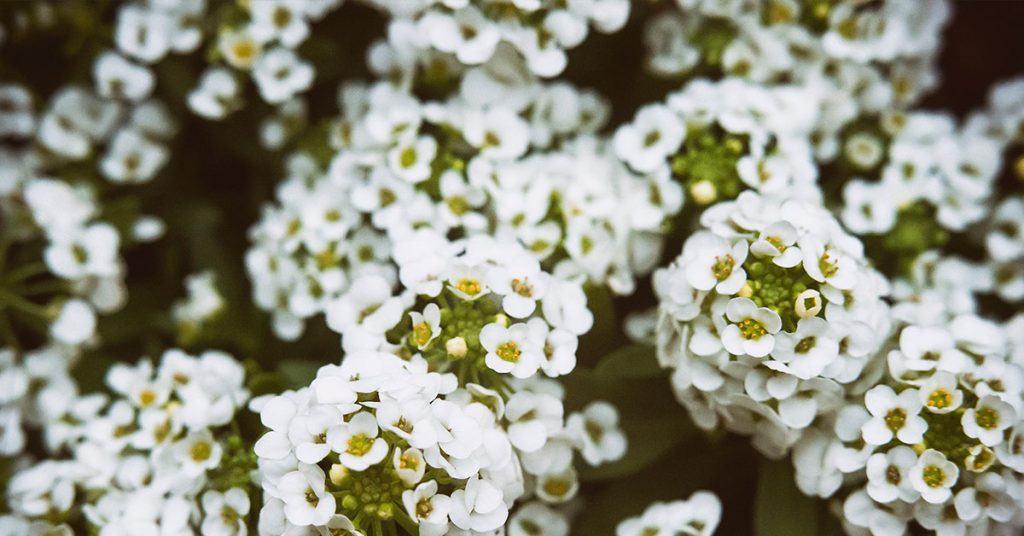
Sow seeds of annuals like alyssum or phacelia (both non‑invasive) in August to bloom before tulips emerge. Their blossoms attract hoverflies and lacewings in fall, whose larvae feed on aphids and other pests.
These companion blooms also provide continuous forage for bees, maintaining a pollinator population that will eagerly visit your tulips next spring, ensuring robust pollination and fuller seed set for those you leave standing!
Prune and Remove Dead Foliage
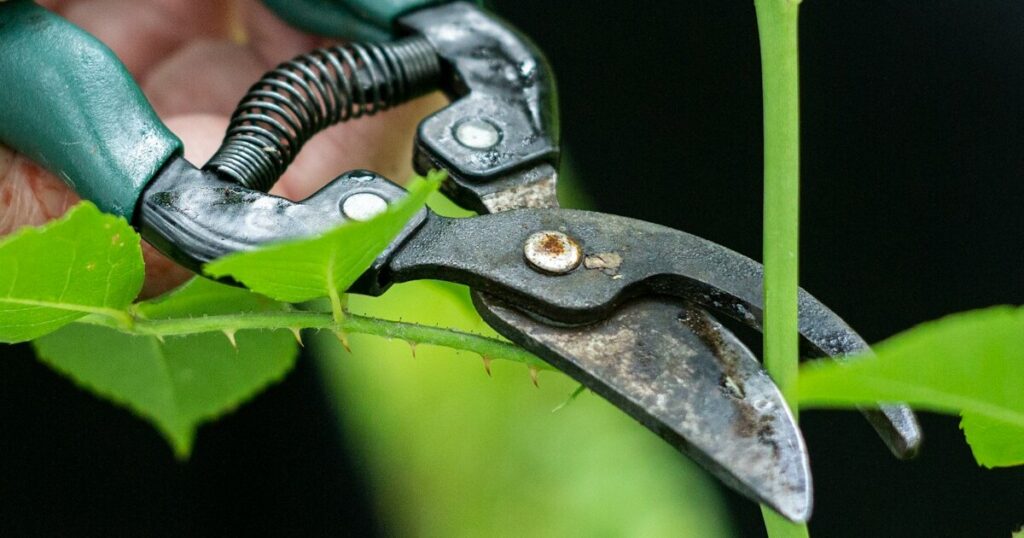
Clearing spent summer foliage from tulip beds prevents disease carryover. I know how frustrating it is to see moldy leaves harboring fungal spores that attack next year’s bulbs—so clear them away now!
Tidying the beds also exposes soil edges for ground‑nesting bees, giving them easy access to nesting sites. A clean bed in August translates to a healthy, organized display of tulips in spring!
Apply Bulb‑Boost Fertilizer

A low‑nitrogen, high‑phosphorus bulb fertilizer in August jump‑starts root growth. Sprinkle around your beds and gently work it in; this feed supports energy storage in bulbs for spectacular next‑year blooms.
As fertilizer breaks down, it stimulates earthworm activity that enriches soil structure. Strong roots mean sturdier stems and more flowers that attract spring‑emerging pollinators!
Mark and Map Your Planting Zones

Before the ground freezes, label where each tulip variety is planted. I once dug up a beautiful cultivar by mistake because I didn’t mark its location—so disappointing!
A clear map helps you rotate bulbs and companion plants each year, reducing disease risk. It also lets you track which zones attracted the most bee activity, so you can tailor soil conditions and nesting spots for maximum pollinator benefit!