
Curly kale, also known as Brassica oleracea acephala, is a versatile and nutritious leafy green that has gained immense popularity among gardeners and health-conscious individuals alike. With its vibrant green, frilly leaves and distinctively earthy flavor, curly kale is not only aesthetically pleasing but also packed with essential vitamins and minerals.
Whether you are a seasoned gardener looking to expand your vegetable repertoire or a beginner eager to cultivate your own produce, this article will delve into the fascinating world of curly kale, discussing its origins, cultivation techniques, potential health benefits, and delicious culinary uses. Get ready to discover the wonders of this remarkable leafy green and unlock its full potential in your garden and kitchen.
What is Curly Kale?
Curly kale, also known as Scots Kale or simply kale, is a leafy green vegetable that belongs to the Brassica oleracea species. Which also includes other popular vegetables like broccoli, cauliflower, and cabbage. It is known for its distinctive ruffled or curly leaves, which give it a unique appearance. The plant itself has a tall, upright growth habit, with a central stalk that produces clusters of leaves along its length. The leaves are typically dark green in color, although some varieties may have a bluish or purplish hue. The curly leaves are deeply lobed and have a slightly rough texture. Curly kale is highly nutritious and is considered a superfood due to its high content of vitamins A, C, and K, as well as minerals like calcium, iron, and potassium. It is also rich in antioxidants and fiber, making it a valuable addition to a healthy diet.
In terms of cultivation, curly kale is a cool-season crop that thrives in moderate temperatures ranging from 40 to 75 degrees Fahrenheit (4 to 24 degrees Celsius). It is generally grown as an annual plant, although it can tolerate light frost and continue to produce leaves throughout the winter in milder climates. Curly kale can be grown in a variety of soils, but it prefers well-draining, fertile soil enriched with organic matter. It requires consistent moisture, but overwatering should be avoided to prevent root rot. It is recommended to provide the plant with full sun to partial shade for optimal growth.
Harvesting curly kale can begin when the leaves are large enough to be picked, usually around 60 to 70 days after planting. You can start by harvesting the outer leaves, allowing the inner leaves to continue growing. Regularly harvesting the outer leaves promotes continuous growth and ensures a longer harvest period. Curly kale is a versatile vegetable that can be used in various culinary preparations. It can be eaten raw in salads, sautéed, steamed, added to soups, stews, and stir-fries, or even baked into crispy kale chips. Its slightly bitter and peppery flavor adds a unique taste to dishes.
Overall, curly kale is a nutritious and attractive vegetable that is relatively easy to grow. As well as provides a range of culinary possibilities. Whether you are a seasoned gardener or a beginner, adding curly kale to your garden can be a rewarding experience.
What does Curly Kale taste like?
Curly kale, also known as Scots kale or green curly kale, has a distinct taste that is both earthy and slightly bitter. It has a crisp texture and a robust flavor that can be described as a mix between cabbage and spinach. Some people also find it slightly nutty or peppery.
When cooked, curly kale tends to become milder and slightly sweeter. It retains a bit of its firmness and offers a pleasant chewiness. The bitterness diminishes, allowing other flavors to shine through, making it a versatile ingredient in various dishes.
Raw curly kale has a more assertive taste, and its leaves can be slightly tough to chew. However, when used in salads or as a base for green smoothies, its flavor adds depth and character.
Overall, the taste of curly kale is often described as hearty, nutritious, and refreshing. It pairs well with a variety of ingredients and can be prepared in numerous ways. Making it a popular choice among health-conscious individuals and culinary enthusiasts alike.
How to start from seed
Starting curly kale from seeds is a fairly straightforward process. Here’s a step-by-step guide to help you get started:
- Selecting seeds: Choose a reliable seed supplier and look for a variety of curly kale that suits your preferences. There are different types available, such as Winterbor, Scarlet, or Redbor. Consider factors like taste, color, and hardiness.
- Indoor or outdoor: Determine whether you want to start the seeds indoors or directly sow them in the garden. Starting indoors allows for better control of temperature and germination conditions, but you can also sow seeds directly in the garden if the weather is favorable.
- Timing: Kale is a cool-season vegetable that thrives in temperatures between 45°F and 75°F (7°C to 24°C). Start seeds indoors about 6-8 weeks before the last expected frost date in your region, or sow directly in the garden a few weeks before the last frost date.
- Preparing the soil: Whether you’re starting indoors or outdoors, make sure the soil is well-draining, fertile, and enriched with organic matter. Kale prefers slightly acidic to neutral soil with a pH range of 6.0-7.5.
- Starting indoors (optional): If starting indoors, fill seed trays or pots with a seed-starting mix or a combination of potting soil and vermiculite. Moisten the soil but avoid making it too wet. Plant seeds about ¼ to ½ inch deep, spacing them 1-2 inches apart.
- Germination: Place the seed trays or pots in a warm location (around 70°F/21°C) with good air circulation. Cover the trays with a plastic dome or a plastic wrap to create a mini greenhouse effect, which helps retain moisture. Germination usually takes 7-14 days.
- Lighting: Once the seedlings emerge, remove the plastic cover and place them under grow lights or near a bright, south-facing window. Provide 12-16 hours of light each day to ensure healthy growth. If using artificial lights, keep them about 4-6 inches above the seedlings.
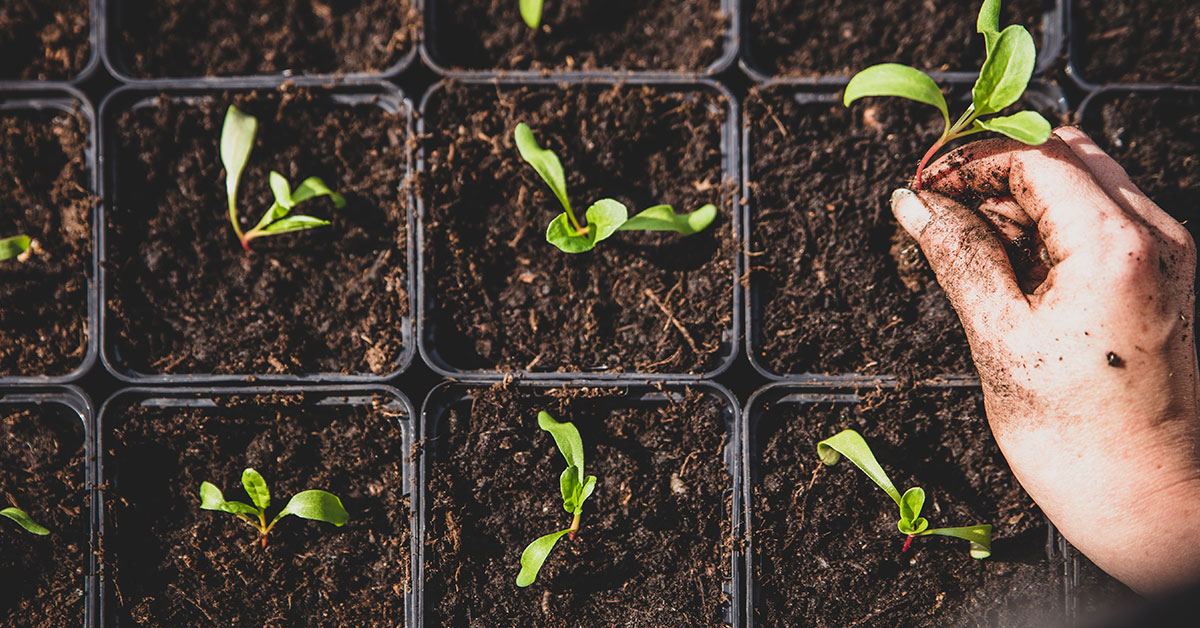
- Transplanting: When the seedlings have developed 3-4 true leaves and are about 3-4 inches tall, they are ready for transplanting. Harden them off gradually by exposing them to outdoor conditions for a few hours each day, gradually increasing the time over a week.
- Outdoor planting: If you’re directly sowing in the garden, prepare the soil by removing any weeds and loosening it with a garden fork or tiller. Sow the seeds about ¼ to ½ inch deep, spacing them 12-18 inches apart in rows that are 18-24 inches apart.
- Care and maintenance: Keep the soil consistently moist but not waterlogged, especially during dry periods. Mulching around the plants can help retain moisture and suppress weeds. Regularly inspect for pests like aphids or cabbage worms and take appropriate measures to control them.
- Harvesting: Curly kale leaves can be harvested when they reach a usable size, usually around 8-10 weeks after planting. Start by picking the outer leaves and leave the central growing point intact for continuous growth. Harvesting in cool weather enhances the flavor.
With proper care and attention, your curly kale plants should grow vigorously and provide you with a bountiful harvest of nutritious greens. Enjoy!
Planting and growing Curly Kale
Here are the steps for planting and growing curly kale:
- Choose a suitable location: Curly kale thrives in cool weather, so select a spot that receives at least 6 hours of sunlight per day. Ensure the soil is well-draining and fertile.
- Prepare the soil: Remove any weeds or debris from the planting area. Loosen the soil using a garden fork or tiller, and amend it with organic matter like compost or aged manure to provide essential nutrients.
- Start seeds indoors (optional): If you want an early start, you can start kale seeds indoors 4-6 weeks before the last frost date. Use seed starting trays or pots filled with seed starting mix. Sow the seeds about ¼ inch deep and keep the soil consistently moist until germination occurs.
- Direct sow seeds: Alternatively, you can directly sow kale seeds in the garden. Sow the seeds about ½ inch deep and 12-18 inches apart in rows. Cover the seeds with soil, pat it down gently, and water thoroughly.
- Watering: Keep the soil consistently moist, but not waterlogged. Water deeply whenever the top inch of soil feels dry. Avoid overhead watering, as it can encourage disease.
- Fertilizing: Kale is a heavy feeder, so it benefits from regular fertilization. Apply a balanced, slow-release fertilizer or use a liquid fertilizer every 4-6 weeks, following the package instructions.
- Mulching: Apply a layer of organic mulch around the kale plants to help retain soil moisture, suppress weeds, and regulate soil temperature.
- Thinning: If you started seeds indoors or sowed seeds densely, thin the seedlings when they reach 4-6 inches tall. Space them around 12-18 inches apart to provide enough room for growth.
- Pests and diseases: Keep an eye out for common pests like aphids, cabbage worms, and slugs. Use organic pest control methods or handpick the pests to protect your plants. Proper spacing and good air circulation can help prevent diseases like powdery mildew.
- Harvesting: Curly kale leaves can be harvested when they reach a suitable size, usually around 8-10 inches in length. Start by picking the outer leaves and leave the central ones to continue growing. Regular harvesting encourages continuous production.
By following these steps, you should be able to successfully plant and grow curly kale in your garden. Enjoy the nutritious and delicious harvest!
When to harvest
The best time to harvest curly kale is when the leaves are mature and firm. Generally, this occurs around 55-75 days after planting, depending on the specific variety and growing conditions. Kale leaves are typically ready for harvest when they are about 8-10 inches long and have a deep green color. It’s important to note that kale leaves become more tender and sweeter after a light frost. Harvesting after a light frost can enhance the flavor. However, be sure to harvest before the leaves start to yellow or become damaged.