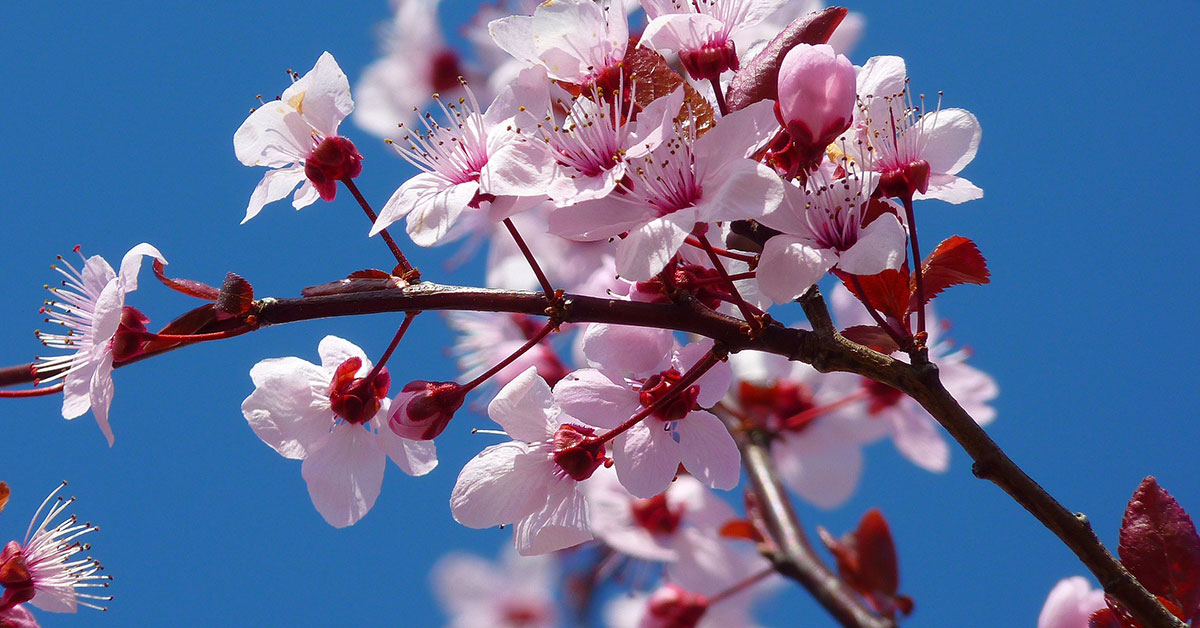

Welcome to the world of cherry tree cultivation! In this article, we will delve into the intricacies of growing the magnificent Cavalier Cherry tree. Known for its stunning beauty and delectable fruit, the Cavalier Cherry is a popular choice among gardeners and orchard enthusiasts.
With its vibrant blossoms in spring and bountiful harvests in summer, this variety is sure to bring joy and satisfaction to any garden or orchard. Whether you are a seasoned gardener or a beginner, this comprehensive guide will equip you with the knowledge and techniques needed to successfully cultivate and care for your own Cavalier Cherry tree. So, let’s embark on this horticultural journey together and unlock the secrets to growing this remarkable tree.
What is a Cavalier Cherry?
Cavalier Cherry is a popular variety of sweet cherry tree known for its exceptional flavor and productivity. It is a deciduous fruit tree that typically reaches a height of 15 to 20 feet and spreads about 10 to 15 feet wide. The tree has an upright, vigorous growth habit with a rounded canopy. The Cavalier Cherry tree produces medium to large-sized cherries that are deep red in color with a glossy skin.
The fruit has a firm texture and a rich, sweet flavor that is highly prized by cherry enthusiasts. It ripens in mid to late summer, usually around June or July, depending on the climate. This cherry variety is self-fertile, meaning it does not require another cherry tree for pollination. However, planting another cherry tree nearby can increase the yield. Cavalier Cherry is also known for its high productivity, often producing abundant crops of cherries.
When it comes to cultivation, Cavalier Cherry prefers full sun exposure and well-draining soil. It is adaptable to various soil types but thrives in loamy, fertile soil. Regular watering is essential, especially during dry periods, to ensure proper fruit development. Pruning should be done in late winter or early spring to maintain the tree’s shape and promote good air circulation.
Overall, Cavalier Cherry is an excellent choice for home gardeners and orchard growers alike, offering delicious, high-quality cherries and a relatively easy cultivation process.
What does Cavalier Cherry taste like?
Cavalier cherries are known for their exceptional flavor profile, making them a favorite among cherry enthusiasts. These cherries have a sweet and tangy taste that is truly delightful. The flavor is predominantly sweet, with a hint of tartness that adds a refreshing zing to each bite.
The sweetness of Cavalier cherries is rich and luscious, reminiscent of ripe summer fruits. They have a natural sweetness that is not overpowering, allowing the other flavor notes to shine through. The balance between sweetness and tartness creates a harmonious flavor experience that is both satisfying and intriguing.
In terms of taste, Cavalier cherries have a distinct cherry flavor that is intense and vibrant. The juicy flesh of these cherries bursts with a burst of fruity goodness that is hard to resist. Their flavor is often described as bold and robust, with a depth that lingers on the palate.
Furthermore, Cavalier cherries have a slight floral undertone that adds a delicate and aromatic element to their flavor profile. This subtle floral note enhances the overall taste experience, making these cherries even more enjoyable.
Whether eaten fresh, used in desserts, or incorporated into savory dishes, Cavalier cherries bring a burst of flavor that is both sweet and tangy, making them a true delight for cherry lovers.
How to start Cavalier Cherry from seed
Starting Cavalier Cherry trees from seeds can be a bit challenging, as they may not come true to the parent plant and may take longer to bear fruit. However, if you still want to give it a try, here is a step-by-step guide:
- Seed Selection: Obtain fresh Cavalier Cherry seeds from a reputable source. Make sure the seeds are fully ripe and have not been subjected to any treatments or chemicals.
- Seed Preparation: Soak the seeds in water for 24 hours to help soften the hard seed coat. This will aid in germination.
- Stratification: After soaking, place the seeds in a plastic bag with a moistened paper towel or peat moss. Seal the bag and refrigerate it for 90-120 days. This process is called stratification and mimics the natural winter dormancy period.
- Germination: After stratification, remove the seeds from the refrigerator and sow them in individual pots or seed trays filled with a well-draining potting mix. Plant the seeds at a depth of about 1 inch (2.5 cm) and cover them lightly with soil.
- Moisture and Temperature: Keep the soil consistently moist but not waterlogged. Maintain a temperature of around 70°F (21°C) during the germination process. You can use a heating mat to provide bottom heat if necessary.
- Germination Time: Cavalier Cherry seeds can take anywhere from 2-8 weeks to germinate. Be patient and provide the necessary care during this period.
- Transplanting: Once the seedlings have developed a few sets of true leaves and are about 6-8 inches (15-20 cm) tall, they can be transplanted into larger pots or directly into the ground. Choose a sunny location with well-draining soil for planting.
- Care and Maintenance: Water the young trees regularly, especially during dry spells. Mulching around the base of the tree will help retain moisture and suppress weeds. Fertilize with a balanced, slow-release fertilizer according to the package instructions.
- Pruning and Training: As the tree grows, prune it to develop a strong central leader and remove any crossing or damaged branches. Training the tree to a desired shape early on will help maintain its structure and promote better fruit production.
- Pollination: Keep in mind that Cavalier Cherry trees are not self-fertile, so you will need to plant another compatible cherry variety nearby for cross-pollination and fruit set.
Remember, growing cherry trees from seeds is a long-term process, and it may take several years for the tree to reach maturity and start bearing fruit. Grafting or purchasing a grafted tree from a nursery is generally the preferred method for growing cherry trees to ensure consistent fruit quality and characteristics.
When to plant Cavalier Cherry outdoors
The ideal time to plant Cavalier Cherry trees is during the late winter or early spring, before the tree begins to bud. This allows the tree to establish its root system before the onset of hot summer temperatures. Planting in late winter or early spring also ensures that the tree has enough time to acclimate to its new environment and establish strong roots before the following winter.
Growing & care guide
Cavalier Cherry trees are a popular choice for home gardeners due to their beautiful blossoms and delicious fruit. To ensure the health and productivity of your Cavalier Cherry tree, it is important to follow some best practices for care. Here are some guidelines to help you successfully grow and maintain your tree:
- Planting: Choose a sunny location with well-draining soil for your Cavalier Cherry tree. The soil should be rich in organic matter and have a pH level between 6.0 and 7.5. Dig a hole that is wide and deep enough to accommodate the tree’s root system. Place the tree in the hole, making sure the graft union is above the soil line. Backfill the hole with soil, gently firming it around the roots.
- Watering: Proper watering is crucial for the establishment and growth of your Cavalier Cherry tree. Water deeply and thoroughly, ensuring that the soil is moist but not waterlogged. During the first year, water the tree regularly, especially during dry spells. As the tree matures, it will become more drought-tolerant, but it is still important to provide adequate moisture during fruit development.
- Pruning: Pruning helps maintain the shape and size of the tree, promotes airflow, and encourages fruit production. It is best to prune your Cavalier Cherry tree during the dormant season, typically in late winter or early spring. Remove any dead, damaged, or diseased branches. Thin out crowded branches to allow sunlight to reach the inner parts of the tree. Prune to create an open center or modified central leader shape, which will help with fruiting and overall tree health.
- Fertilizing: Cherry trees, including Cavalier Cherries, benefit from regular fertilization to ensure optimal growth and fruit production. Apply a balanced, slow-release fertilizer in early spring before new growth begins. Follow the manufacturer’s instructions for application rates. Avoid over-fertilizing, as this can lead to excessive vegetative growth at the expense of fruit production.
- Pest and Disease Control: Cavalier Cherry trees are susceptible to various pests and diseases, including aphids, cherry fruit fly, brown rot, and powdery mildew. Monitor your tree regularly for signs of infestation or disease. Use organic or chemical controls as necessary, following the instructions carefully. Applying dormant oil spray during the dormant season can help control overwintering pests and their eggs.
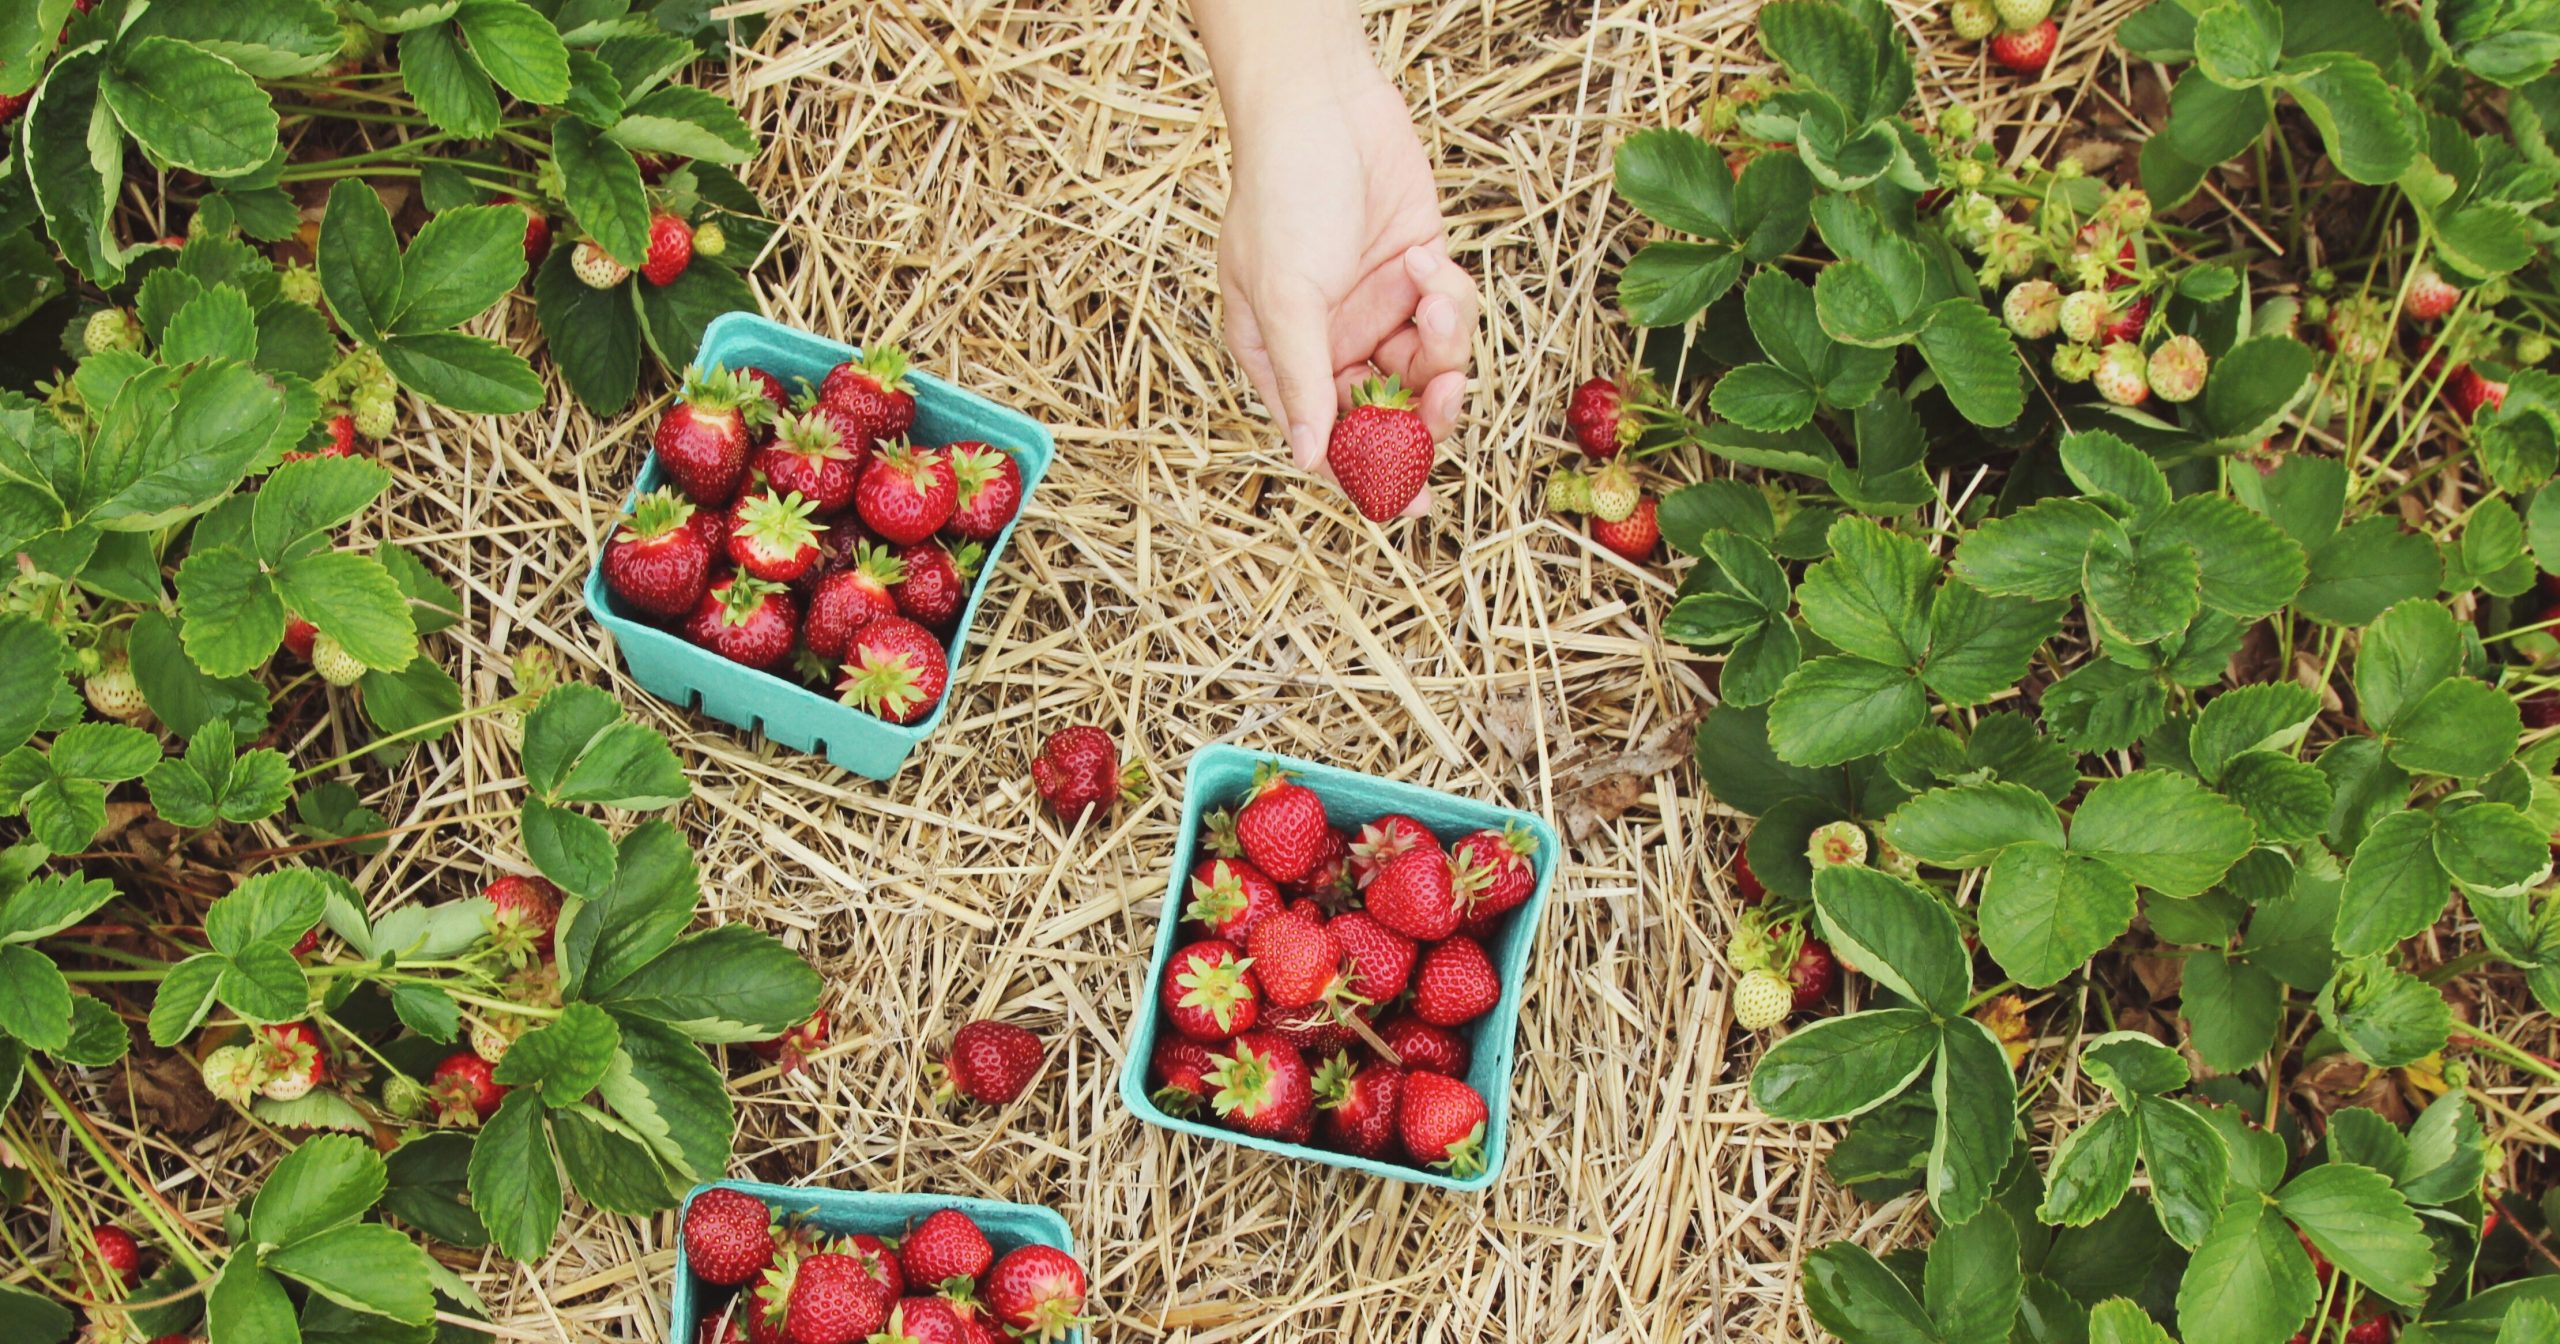
- Harvesting: Cavalier Cherries are typically ready for harvest in late spring or early summer, depending on your location and climate. The cherries should be firm, plump, and have a deep red color. Gently twist or cut the cherries from the tree, being careful not to damage the branches or surrounding fruit.
By following these best practices, you can ensure the health and productivity of your Cavalier Cherry tree. Regular care, including proper watering, pruning, fertilizing, and pest control, will help you enjoy a bountiful harvest of delicious cherries for years to come.
Harvesting guide
Cavalier cherries are a popular variety known for their sweet and juicy taste. Here’s a guide on when and how to harvest Cavalier cherries:
- Timing: The timing of cherry harvest is crucial to ensure optimal flavor and ripeness. Cavalier cherries are typically ready for harvest in late spring to early summer, depending on your specific climate and growing conditions. The cherries will change from green to a deep red color when they are ripe.
- Checking for ripeness: To determine if the cherries are ready for harvest, gently squeeze a few fruits. Ripe cherries should be firm but slightly yielding to pressure. They should also have a glossy appearance and a deep red color. Avoid harvesting cherries that are still green or have a pale color, as they may not have reached their full sweetness.
- Harvesting: To harvest Cavalier cherries, gently twist or pull the fruit from the stem. Be careful not to damage the cherries or the tree branches. It’s best to harvest cherries in the morning when temperatures are cooler, as this helps to preserve their quality. Use a ladder or step stool if needed to reach higher branches.
- Handling: Handle the cherries with care to prevent bruising or damage. Place them gently into a shallow container or basket, ensuring that they are not stacked too deep to avoid crushing the lower layers. Avoid leaving the harvested cherries in direct sunlight for an extended period, as this can cause them to spoil or lose their freshness.
- Storing: If you’re not planning to consume the cherries immediately, store them in the refrigerator to maintain their freshness. Place the cherries in a breathable container or a perforated plastic bag to allow air circulation. Stored properly, Cavalier cherries can last for up to a week in the refrigerator.
Remember, cherries taste best when eaten fresh, so try to harvest and enjoy them as soon as possible after picking. Enjoy the delicious flavor of your homegrown Cavalier cherries!