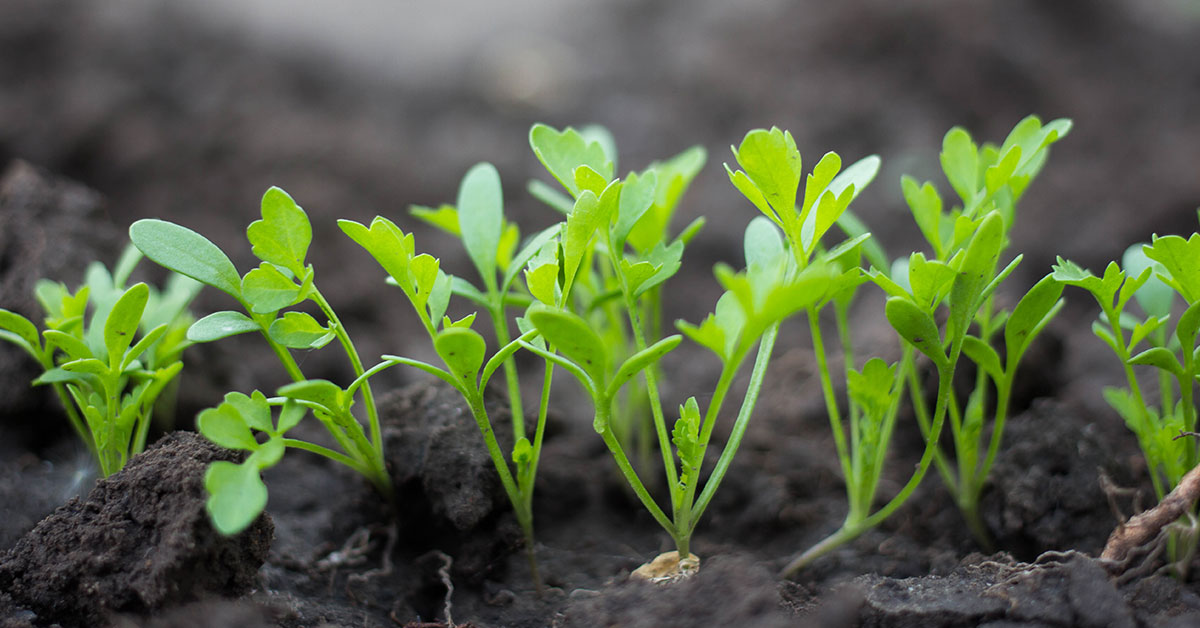

If you’re a food enthusiast looking to add a touch of gourmet goodness to your dishes, Astro Arugula is a green that should not be missed. This lesser-known variety of arugula, also known as Eruca vesicaria, boasts a unique flavor profile that is both peppery and nutty, making it a favorite among chefs and food connoisseurs alike. But this delightful green is not just about its taste; it also offers a plethora of health benefits.
Packed with essential nutrients, vitamins, and antioxidants, Astro Arugula is a powerhouse of goodness that can elevate both the flavor and nutritional value of your meals. In this article, we will delve into the fascinating world of Astro Arugula, exploring its origins, cultivation techniques, culinary uses, and incredible health benefits.
Whether you’re an experienced gardener or a novice, this comprehensive guide will equip you with all the knowledge you need to grow, harvest, and incorporate Astro Arugula into your culinary adventures. So, let’s embark on this green journey and discover the wonders of Astro Arugula together!
What is an Astro Arugula?
Astro Arugula, also known as Eruca vesicaria, is a popular variety of arugula that is commonly grown in gardens. It is a leafy green vegetable that belongs to the Brassicaceae family, which includes other cruciferous vegetables like broccoli and cabbage. Astro arugula is known for its distinct peppery flavor, making it a favorite among many food enthusiasts. Its leaves are slender, deeply lobed, and have a vibrant green color.
The plant itself is relatively small, usually reaching a height of about 6 to 12 inches (15 to 30 cm) when fully matured. This arugula variety is often grown as a cool-season crop, thriving in moderate temperatures. It prefers full sun but can tolerate some shade, especially in hotter climates. Astro arugula is relatively easy to grow and can be cultivated in both containers and traditional garden beds.
When it comes to cultivation, Astro arugula requires well-drained soil with a pH level around 6.0 to 7.0. It is recommended to sow the seeds directly into the ground or containers, as transplanting can hinder its growth.
The seeds should be planted about ¼ inch (0.6 cm) deep and spaced apart by a few inches to allow the plants to develop properly. Astro arugula has a relatively fast growth rate and can be harvested within 30 to 40 days after sowing. The leaves are typically harvested when they are young and tender, as they tend to become more pungent and bitter as they mature.
Regular harvesting promotes continuous growth and ensures a fresh supply of leaves throughout the growing season. This variety of arugula is not only delicious but also packed with nutrients. It is a good source of vitamins A, C, and K, as well as folate, calcium, and potassium.
Astro arugula is often used in salads, sandwiches, and as a garnish for various dishes, adding a unique and flavorful twist to meals. Overall, Astro arugula is a versatile and relatively low-maintenance plant that can be a great addition to any garden. Its distinctive taste and nutritional benefits make it a popular choice among both experienced and novice gardeners.
What does Astro Arugula taste like?
Astro Arugula is a delightful and flavorful variety of arugula that has a unique and distinct taste. When you take a bite of Astro Arugula, you will first notice its peppery and slightly bitter flavor. This bold and tangy taste is what sets it apart from other leafy greens.
The peppery notes are reminiscent of radishes or mustard greens, adding a zesty kick to any dish. The bitterness is mild and pleasant, enhancing the overall flavor profile of the arugula.
Astro Arugula also has a subtle nuttiness, which adds depth to its taste. This earthy undertone balances out the spiciness, creating a well-rounded flavor that is both refreshing and satisfying.
When used in salads, Astro Arugula adds a burst of flavor and complexity. Its sharp and robust taste can cut through the richness of other ingredients, making it an excellent addition to any salad or sandwich.
Overall, Astro Arugula offers a bold and lively taste experience that is sure to tantalize your taste buds. Whether you enjoy it on its own or incorporate it into various dishes, this arugula variety is a delightful addition to any culinary creation.
How to start from seed
Astro arugula, also known as wild rocket, is a flavorful and nutrient-rich green that can be easily grown in your garden or in containers. Here’s a step-by-step guide to help you start your own astro arugula plants:
- Choose the right time: Astro arugula prefers cool weather, so it’s best to start planting it in early spring or late summer/early fall, depending on your climate. Avoid planting during the hottest months of summer.
- Select a suitable location: Arugula thrives in full sun but can also tolerate partial shade. Ensure that the location you choose has well-draining soil with a pH between 6 and 7. If your soil is heavy clay, amend it with organic matter to improve drainage.
- Prepare the soil: Clear the area of any weeds or debris. Loosen the soil to a depth of around 6-8 inches using a garden fork or tiller. Mix in compost or well-rotted manure to enrich the soil with nutrients.
- Sow the seeds: Scatter the astro arugula seeds directly onto the prepared soil. Aim for a seed spacing of around 1 inch apart. You can also sow them in rows, spacing the rows about 12 inches apart. Lightly press the seeds into the soil, ensuring they are covered with a thin layer of soil (around ¼ inch).
- Watering: Keep the soil consistently moist but not waterlogged. Arugula prefers regular watering, especially during dry spells. Use a gentle spray or a watering can to avoid displacing the seeds.
- Thinning: Once the seedlings emerge and develop their first true leaves, thin them out to provide enough space for growth. Space the seedlings about 4-6 inches apart, allowing them room to develop into mature plants.
- Fertilizing: Astro arugula doesn’t require heavy fertilization. However, you can apply a balanced organic fertilizer or top dress with compost to provide additional nutrients if needed.
- Harvesting: Arugula grows quickly, and you can start harvesting the outer leaves when they reach 2-3 inches in length. Snip the leaves near the base, leaving the central growing point intact. This allows the plant to produce more leaves for an extended harvest period.
- Pests and diseases: Arugula is generally resistant to pests and diseases. However, keep an eye out for common garden pests like aphids, flea beetles, or slugs. If necessary, use organic pest control methods or companion planting to deter these pests.
- Succession planting: To enjoy a continuous supply of fresh arugula, consider sowing new seeds every few weeks. This will ensure a staggered harvest and prevent all your arugula from maturing at once.
By following these steps, you can easily start and grow your own astro arugula plants. Enjoy the crisp and peppery flavor of this delicious green in your salads, sandwiches, or as a garnish!
Planting and growing Astro Arugula
To plant and grow Astro arugula, here are the steps you can follow:
- Choose the right time: Arugula is a cool-season crop, so it’s best to plant it in early spring or late summer/early fall when temperatures are milder.
- Select a suitable location: Arugula prefers full sun but can also tolerate partial shade. Ensure the soil is well-draining and rich in organic matter. Arugula can also be grown in containers or raised beds if you have limited space.
- Prepare the soil: Remove any weeds or debris from the planting area. Loosen the soil with a garden fork or tiller to a depth of 6-8 inches. Incorporate compost or well-rotted manure to improve soil fertility and drainage.
- Sow the seeds: Scatter the Astro arugula seeds evenly over the prepared soil. Aim for a spacing of about 1 inch apart. Lightly press the seeds into the soil, ensuring they are in good contact with the soil. Cover the seeds with a thin layer of soil or compost.
- Watering: Keep the soil consistently moist but not waterlogged. Arugula has shallow roots, so regular shallow watering is beneficial. Avoid overhead watering to prevent disease.
- Thinning: Once the seedlings emerge and develop their first true leaves, thin them out to provide enough space for proper growth. Thin the seedlings to a spacing of about 4-6 inches apart.
- Fertilization: Arugula doesn’t require heavy fertilization. However, you can side-dress the plants with a balanced organic fertilizer or compost during the growing season to provide additional nutrients.
- Pests and diseases: Monitor your arugula plants regularly for common pests like aphids, flea beetles, or slugs. Use organic pest control methods such as handpicking or applying insecticidal soap if necessary. Arugula is generally resistant to many diseases, but proper spacing and good airflow can help prevent issues.
- Harvesting: Arugula leaves can be harvested when they reach a desirable size, usually around 2-3 inches long. You can either pick individual leaves or cut the entire plant about an inch above the soil surface. Regular harvesting promotes continuous growth.
- Storage: Arugula is best used fresh. If you need to store it, you can keep the leaves in a plastic bag with a damp paper towel in the refrigerator for a few days.
By following these steps, you should be able to successfully plant and grow Astro arugula in your garden. Enjoy the fresh and peppery flavors of this delicious green!
When to harvest
Astro arugula is a fast-growing variety that is typically ready for harvest approximately 30-40 days after sowing the seeds. However, the best time to harvest astro arugula ultimately depends on your personal preference for the flavor and the size of the leaves.
For a milder taste, you can harvest the leaves when they are small, usually around 2-3 inches in length. This is typically done about 25-30 days after sowing. These young leaves are tender and have a milder flavor, perfect for salads or as a garnish.
If you prefer a stronger, more peppery flavor, you can wait until the leaves grow larger, around 4-6 inches in length. This usually occurs around 35-40 days after sowing. At this stage, the leaves are still tender but have a more pronounced taste. They can be used in salads, sandwiches, or even cooked in various dishes.
To harvest, simply cut the leaves from the base of the plant, leaving some leaves behind to allow the plant to continue growing. Harvesting regularly by taking outer leaves or cutting the entire plant will encourage new growth and prolong the harvest period.
Remember to always harvest in the morning when the leaves are at their freshest and before the heat of the day causes them to wilt. Enjoy your astro arugula harvest!