
Why the Heirloom Look Has Taken Over Fall Decor
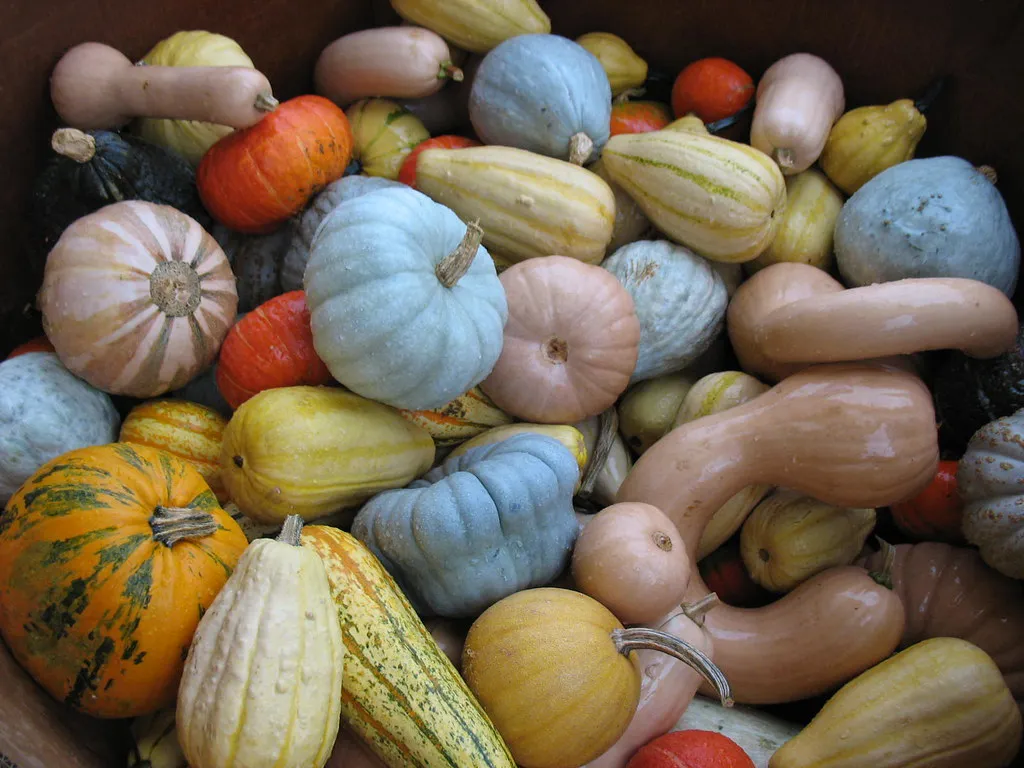
The appeal of heirloom pumpkins is real and backed by market interest. The person who wants to deck out their front porch or entrance is increasingly drawn to unique heirloom varieties, which are growing rapidly in popularity, as observed by garden center marketing professionals in October 2024. The problem is that genuine heirloom varieties, like the slate-blue Jarrahdale or the French Fairytale pumpkin, can be hard to source locally and priced accordingly.
Organic and heirloom varieties have gained popularity as consumers seek more diverse and sustainably produced options. That shift in taste has naturally pushed creative home decorators toward replication. If you can make a three-dollar grocery store pumpkin look like a Jarrahdale, why spend more?
Starting with the Right Pumpkin
Not all grocery store pumpkins are equal candidates for this project. Smooth-skinned varieties with clearly defined ridges respond best to the layered paint technique because the ridges give shadows somewhere to live. Dry brushing isn’t meant to get down into the cracks and fully cover, but rather just highlight texture on the surface and accent with a different color.
Avoid pumpkins with deep sheen or waxed surfaces, as these resist paint adhesion. If you have a really high-gloss pumpkin, use light-grit sandpaper to remove the sheen. You can also easily use a spray primer instead of sanding. A quick pass with fine sandpaper takes about two minutes and makes all the difference in how paint bonds to the surface.
Choosing Your Paint: Chalk Paint Is the Core Tool
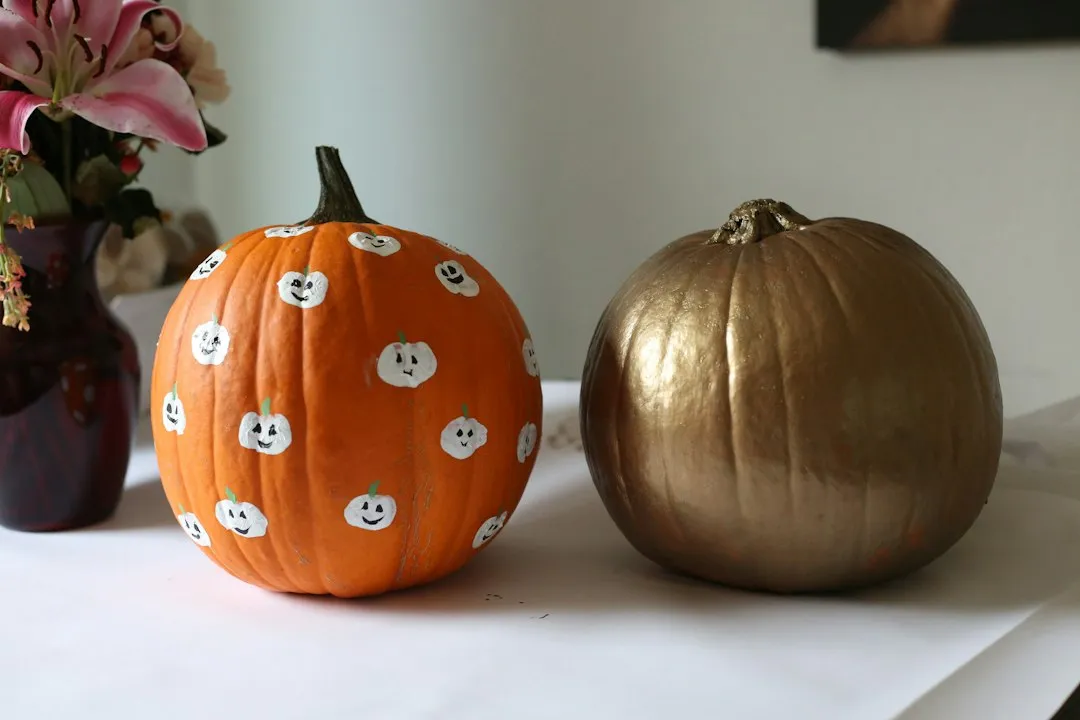
Chalk-style paint works well for this kind of project because it’s easy to use, sticks to almost anything, and delivers a well-worn vintage feel. That matte, slightly porous finish is exactly what gives the finished pumpkin its aged quality. Glossy acrylic would look painted; chalk paint looks like something that simply grew that way.
Neutral colors work especially well here, since traditional bright fall orange generally clashes with more refined interior palettes. Grays, soft greens, dusty creams, and muted blue-greens are the go-to choices. Soft greens, blues, purples, and grays play a big role in capturing the heirloom palette, particularly because real heirloom varieties like the Jarrahdale pumpkin carry a beautiful bluish, greenish color with a slight haze of gray.
The Base Coat: Laying the Foundation
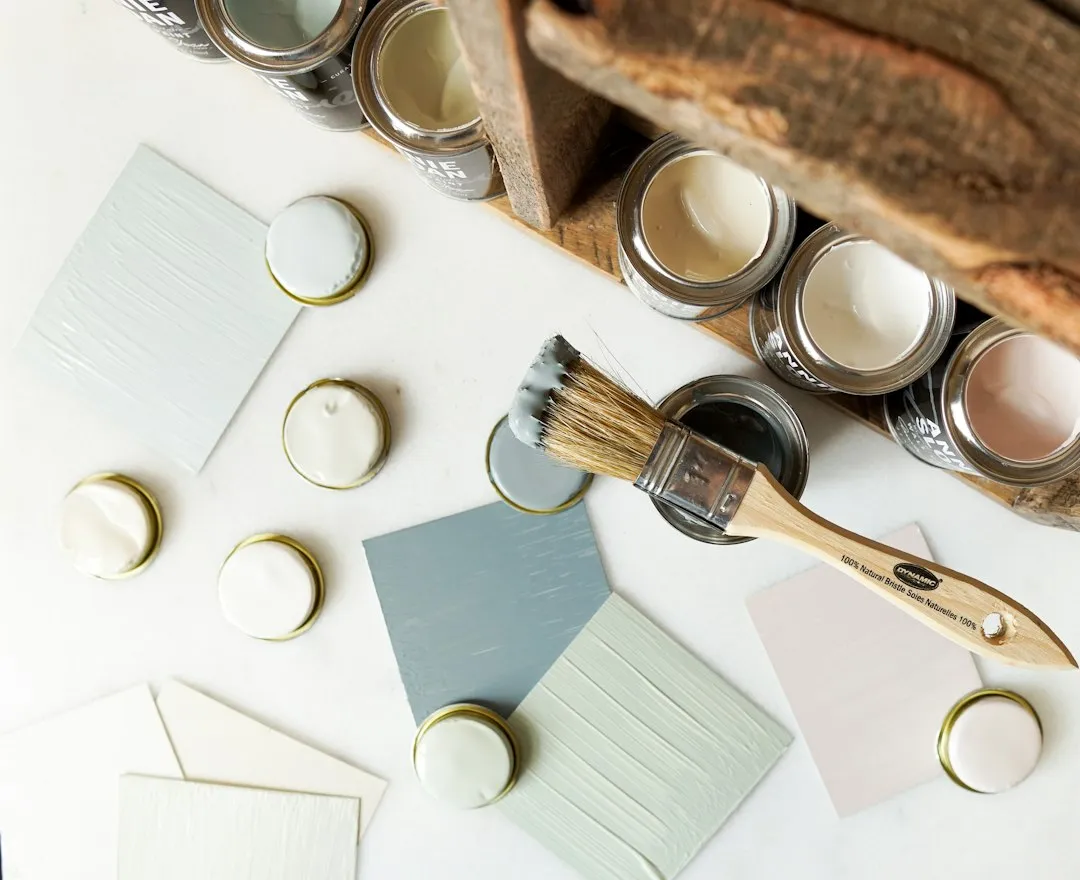
Apply your chosen chalk paint in two solid coats, letting each dry fully before continuing. Two coats with overnight drying time is recommended. Don’t rush this step. Patience here pays off in the final result, because a thin or uneven base will make the finishing steps harder to control.
If using chalk-type paint, blending a few different shades of the same color paint will give more variation in the paint finish. To get different shades, add a small amount of white, brown, or black paint to your base paint color. This slight variation from the very first coat is what separates a flat, painted look from something that reads as genuinely organic. Real pumpkins are never one uniform color.
The Dry Brush Technique: Where the Magic Happens
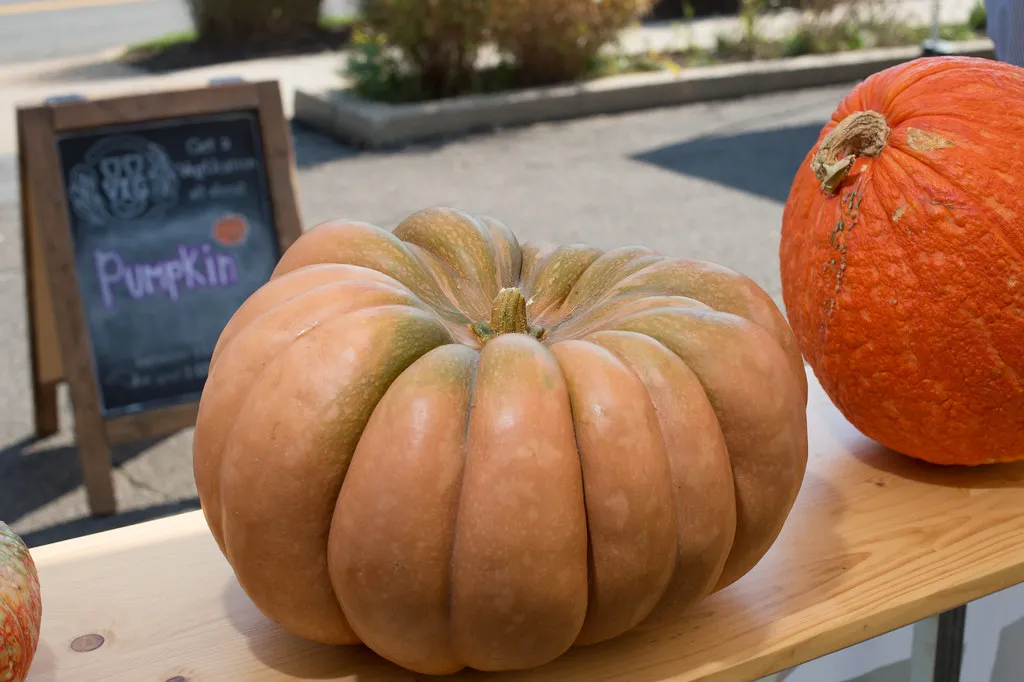
Dry brushing is the heart of the antique effect. Load a chip brush lightly with a lighter shade of your base color, then wipe most of the paint off onto a paper plate until the brush leaves only a whisper of color on the surface. Dry brush several strokes of white or cream on your pumpkin and allow it to dry completely. The goal is barely-there coverage that catches the raised ridges without flooding the surface.
This simple step takes pumpkins from looking like they’ve been painted to actually having the texture and color variations of a real pumpkin. No two pumpkins are ever going to look alike or turn out exactly the same. That unpredictability is a feature, not a flaw. The slight variation between one pumpkin and the next is exactly what makes a grouping look collected rather than purchased.
Adding Patina: Brown Wax in the Ridges
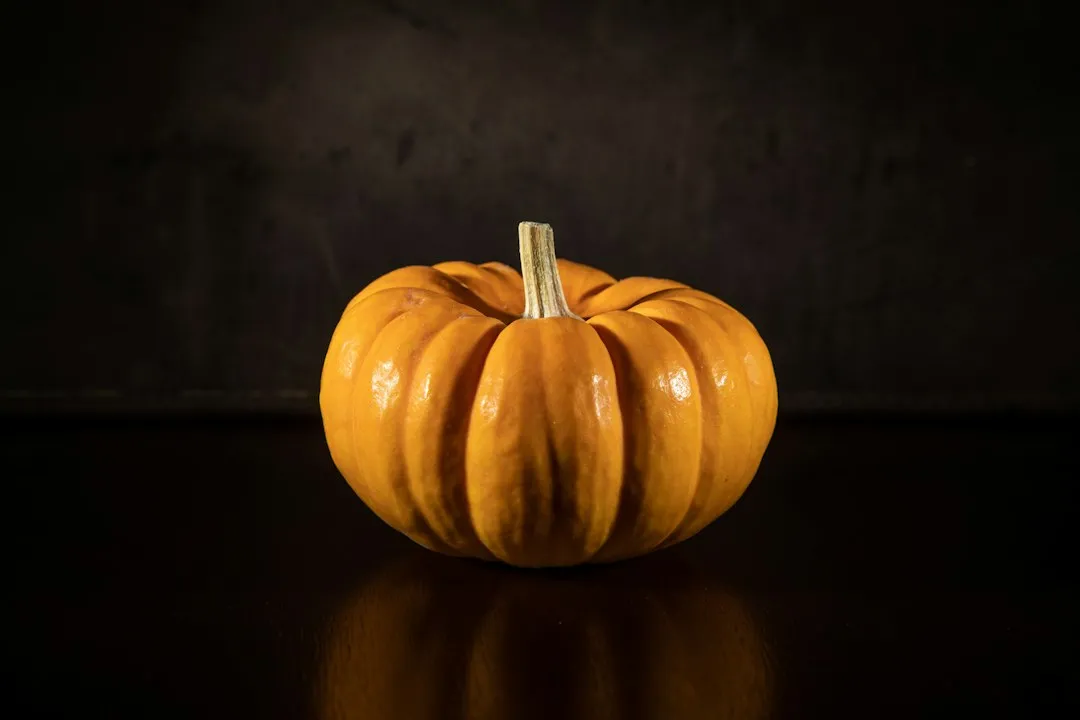
Once the paint is fully dry, the brown wax step transforms a pretty pumpkin into something that genuinely looks aged. After the paint is completely dry, apply brown wax. Using both light brown wax and dark brown wax means each pumpkin varies in color. Work the wax into the grooves and ridges with a rag or chip brush, then wipe back the excess from the raised surfaces.
Apply clear furniture wax with a rag over the entire pumpkin, then apply dark wax over the top, making sure to get into all the grooves. Adding clear wax first allows you to manipulate the dark wax where you want. If you added dark wax directly, it would get very dark and would be difficult to remove. The clear wax allows you to take off the dark wax more easily.
Shading the Ridges for Depth
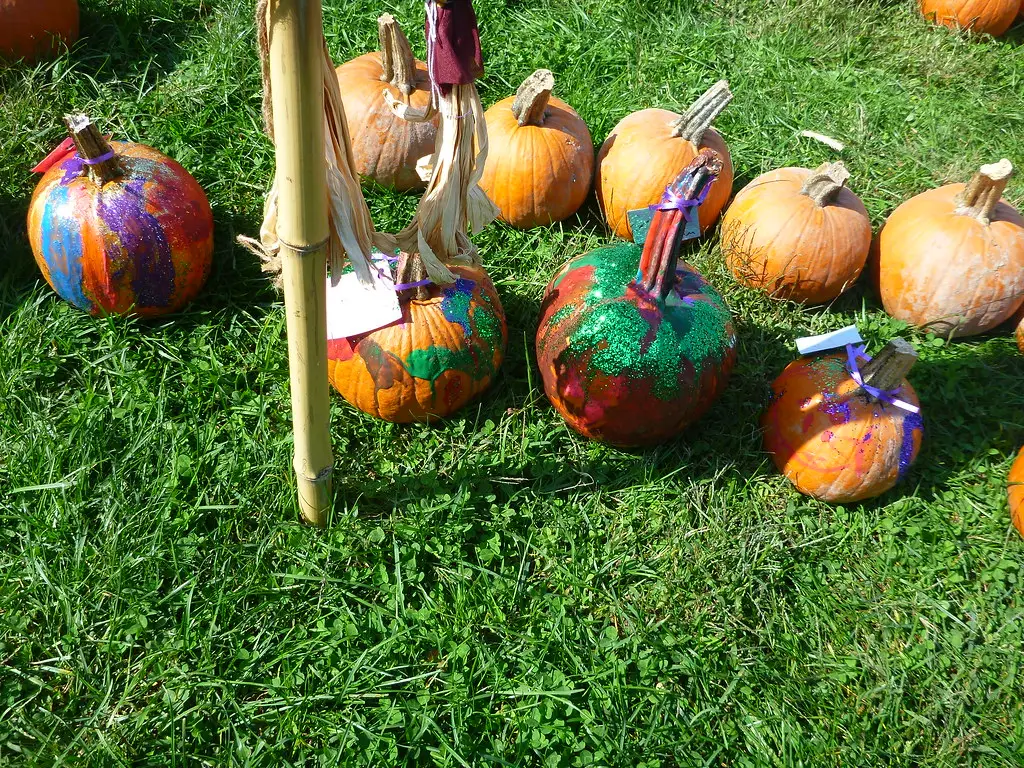
Beyond wax, a targeted paint wash into the ridge lines adds a layer of depth that reads as genuine age. Once the chalk paint is completely dry, add depth in between the pumpkin segments by mixing a small amount of brown and camel-colored acrylic paint. Dilute with white chalk paint for a smoother finish. Apply this mix sparingly with a fine detail brush, then wipe back with a barely damp cloth before it dries.
If you want to take it a step further, use a detail brush and lightly paint in between the ridges of the pumpkin. For an aged or dirty look, use brown. For a soft, waxy feel, use cream or white paint. Be sure to rub whichever paint you choose into the ridges of the pumpkin or gourd to make it look more natural. This small step is the one most beginners skip, and it’s the one that accounts for most of the difference between a convincing result and a craft project that still looks like a craft project.
The Stem Makes or Breaks the Illusion
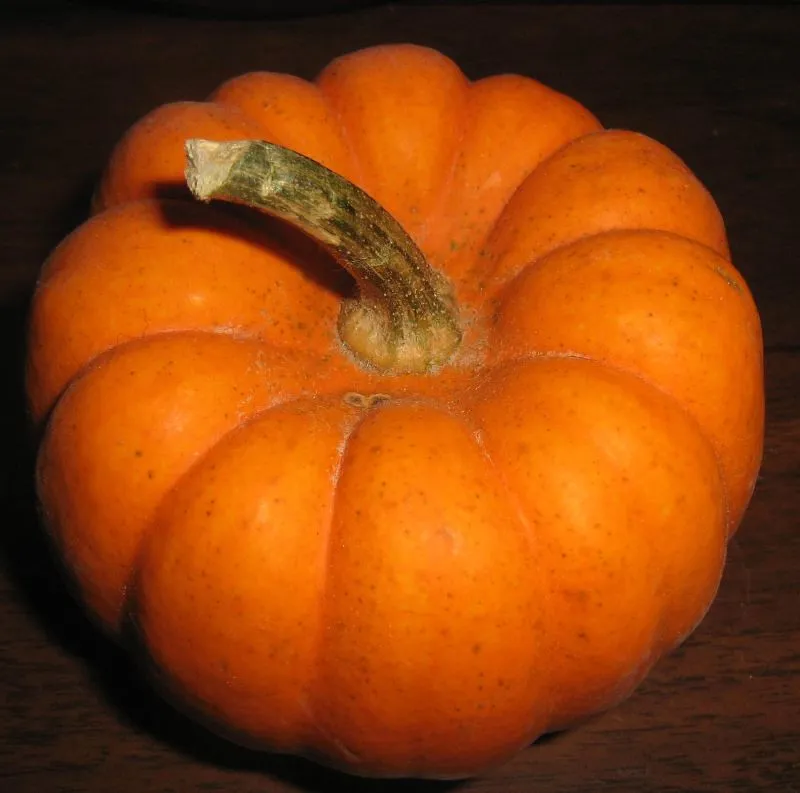
A plastic stem is the fastest way to ruin an otherwise convincing antique effect. When it comes down to it, the stem on a pumpkin is really what makes a faux pumpkin look real or fake. If you’re working with a real grocery store pumpkin, the stem is already an asset. Paint it with a dry-brushed mix of brown, gray, and cream to replicate the dried, weathered look of a genuine heritage variety.
For added authenticity, you can finish the project using real pumpkin stems glued into place with a hot glue gun. Saving stems from real pumpkins purchased in prior seasons and storing them somewhere dry through the year is a surprisingly useful habit. They cost nothing and elevate the result considerably.
Color Palettes That Nail the Antique Effect
The colors you choose determine which heirloom variety you’re channeling. The Jarrahdale pumpkin, an heirloom variety from Australia, features a slate-blue rind and deep, blocky ribs, which can be replicated with a mix of soft gray and muted blue-green chalk paint. For a warmer, more French-farmhouse feel, creamy tans and dusty sage greens mimic the Long Island Cheese pumpkin.
Neutral paint colors bring an elegant touch to any home when applied to pumpkins. Chalky finish paints in names like “Vintage,” “Heritage,” “Relic,” and “Yesteryear” are available from brands like DecoArt Americana and Fusion Mineral Paint, and those names aren’t accidental. The colors are vintage, soft, and neutral, making them a great accent for fall decorating.
Distressing: The Final Layer of Age
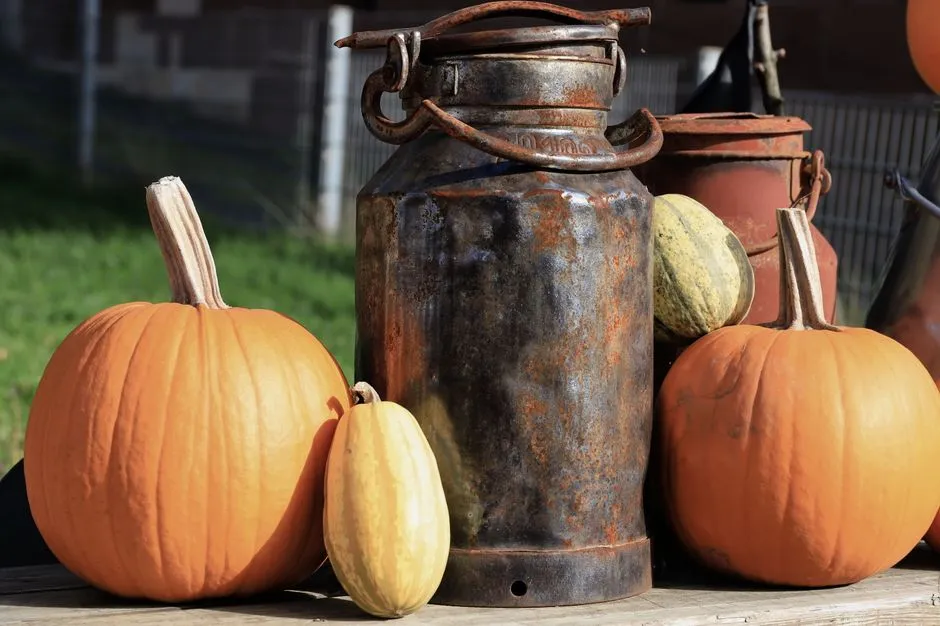
Distressing adds the final convincing touch that separates a painted pumpkin from an heirloom-looking one. Using an extra-fine grit sanding block, lightly sand away areas on the pumpkin to allow the base color to show through. The contrast between sanded and unsanded areas creates a genuine sense of wear. Focus on the highest points of the ridges, where natural wear would accumulate on an object handled over many seasons.
The goal is to make the pumpkin look shabby, rustic, and distressed, so avoiding total paint coverage is intentional. This is perhaps the hardest thing to accept for first-timers: the less perfect, the more convincing. Real heirloom pumpkins show their years. Your painted version should too.
Reuse, Longevity, and Why This Trick Actually Makes Sense
One of the most practical arguments for this technique isn’t aesthetic at all. The best part is that you don’t need to throw the pumpkin away at the end of the season and can keep them around for many years to enjoy. A foam or plastic pumpkin that has been chalk-painted and waxed becomes a durable seasonal decoration rather than a single-use vegetable headed for the compost pile after Halloween.
Heirloom pumpkins have historically been hard to find and often quite expensive, which makes the DIY route particularly sensible. Search interest in artificial and mini pumpkins for fall decor spiked dramatically in 2024, increasing by over one hundred percent compared to January, with sales peaking in late autumn, which suggests this approach to reusable, customizable pumpkin decor is well within the mainstream. A grocery store pumpkin that gets painted well this October could still be sitting on your mantle in 2028.
The Takeaway
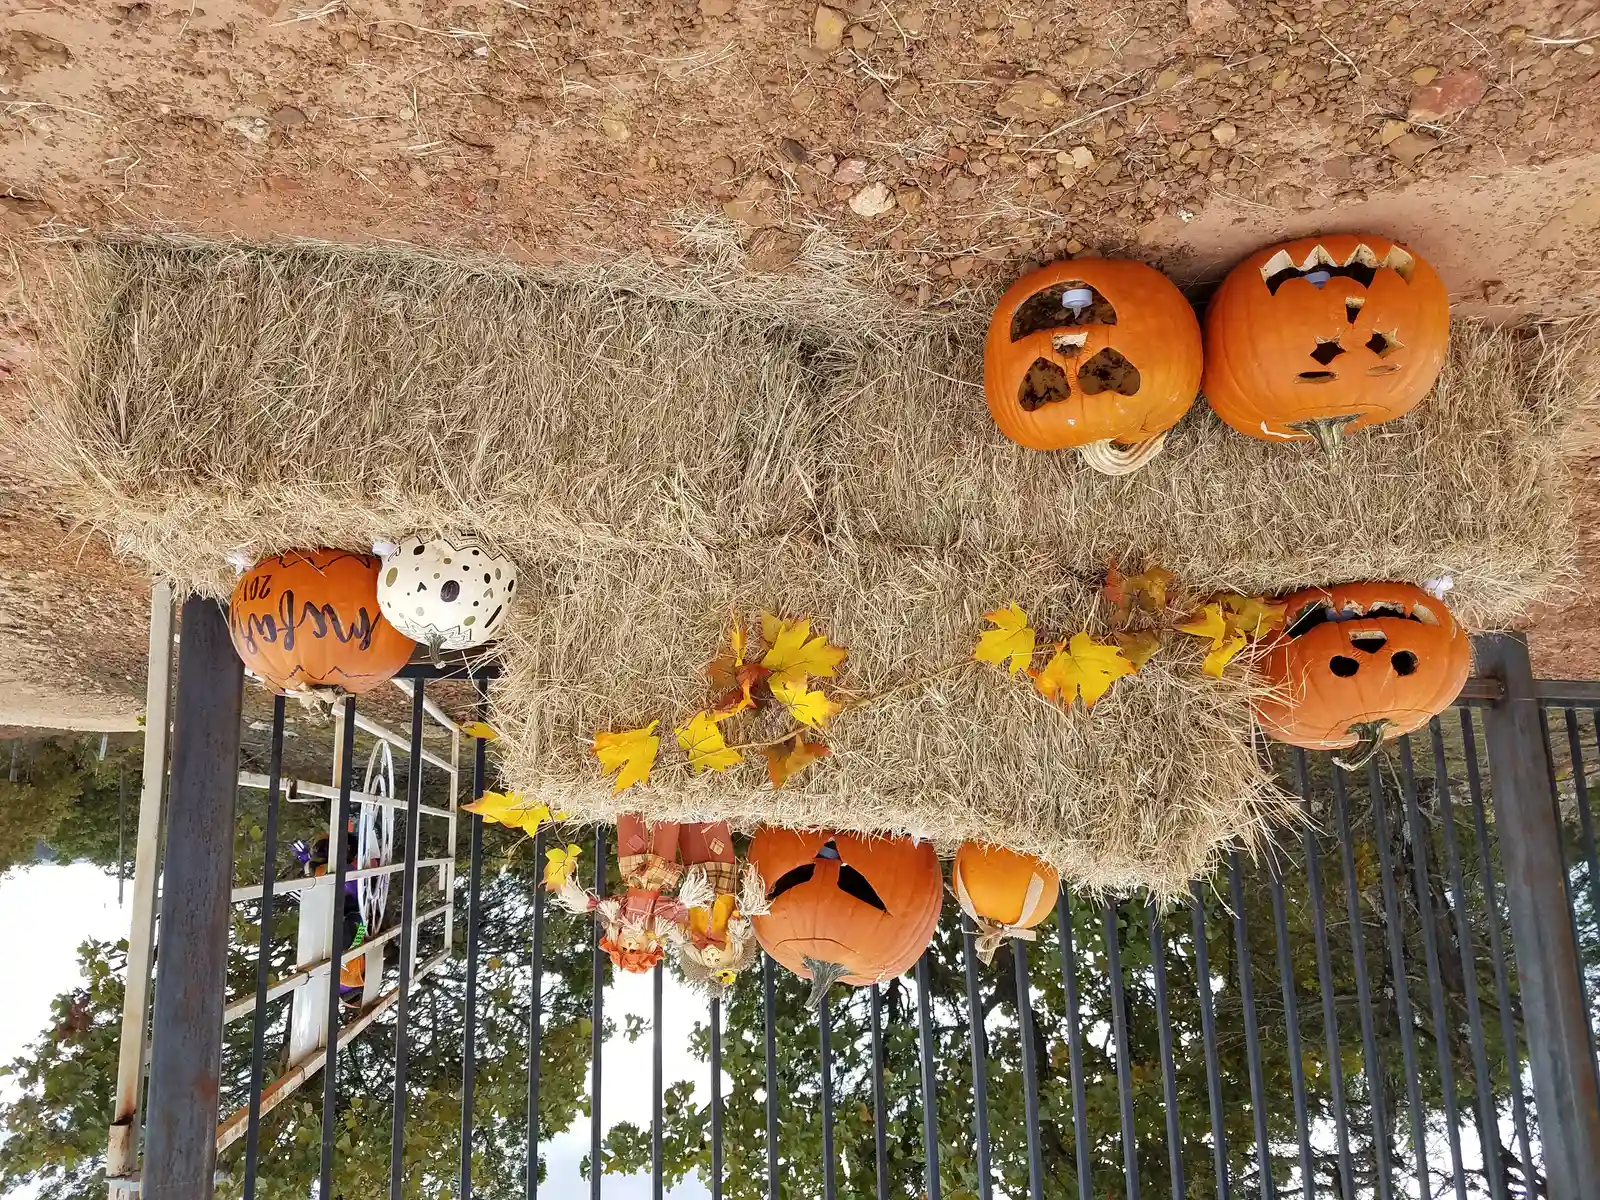
The antique heirloom look that home decor enthusiasts spend considerable money chasing at farmers markets and specialty garden centers is genuinely reproducible with chalk paint, a chip brush, some brown wax, and a little patience. The technique rewards imperfection. It asks you to stop before the project looks finished, because that’s precisely when it starts looking real.
What makes this trick worth knowing isn’t just the result. It’s the understanding it gives you about what makes something look old: layered color, shadow in the right places, and the quiet evidence of wear. Once you see how those elements work together on a pumpkin, you start noticing them everywhere.
AI Disclaimer: This article was created with the assistance of AI tools and reviewed by a human editor.